How to Change The Default Windows Font on Your PC
You can change the default Windows font with a few system tweaks
3 min. read
Updated on
Read our disclosure page to find out how can you help Windows Report sustain the editorial team. Read more
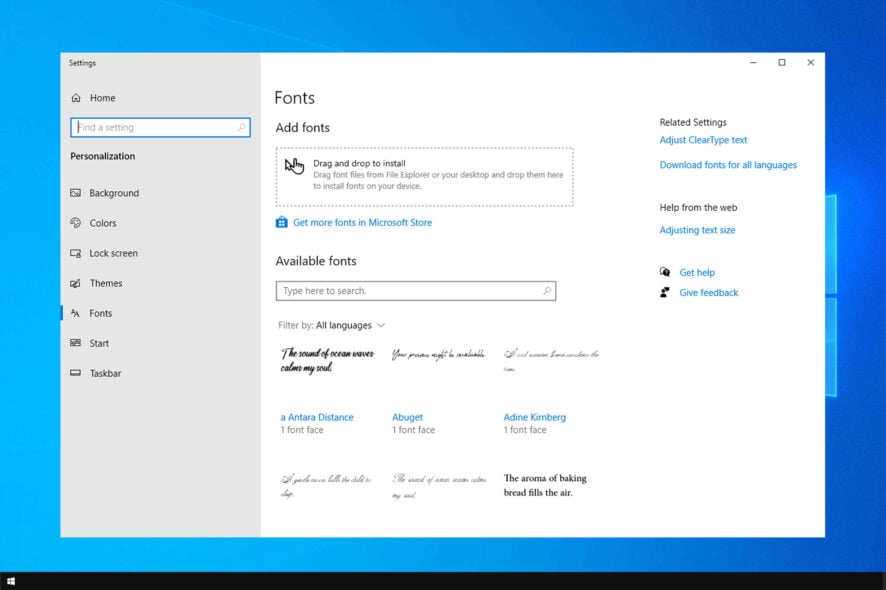
While Windows is fairly customizable, many wonder how to change the default font. This isn’t as easy as changing your settings, but it’s possible.
The default system font in Windows is Segoe UI. However, it’s possible to change it with a few minor tweaks.
Before we start, keep in mind that this is an advanced method, so it’s always a good idea to create a backup.
How can I change the Windows 10 default font?
1. Change your registry
- Press the Windows key + R to open the run Window and type regedit. Press Enter to start Registry Editor.
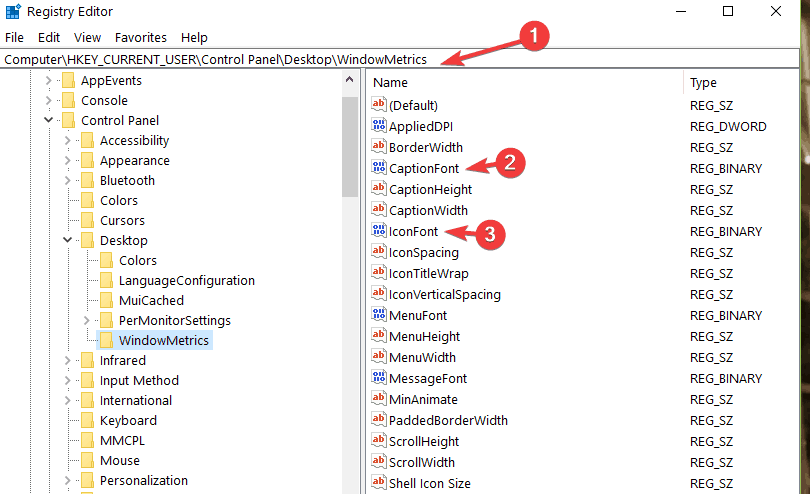
- When Registry Editor opens navigate to
HKEY_CURRENT_USER\Control Panel\Desktop\WindowsMetrics - On the right side of Registry Editor you’ll see a list of keys such as Caption font, Icon font, etc.
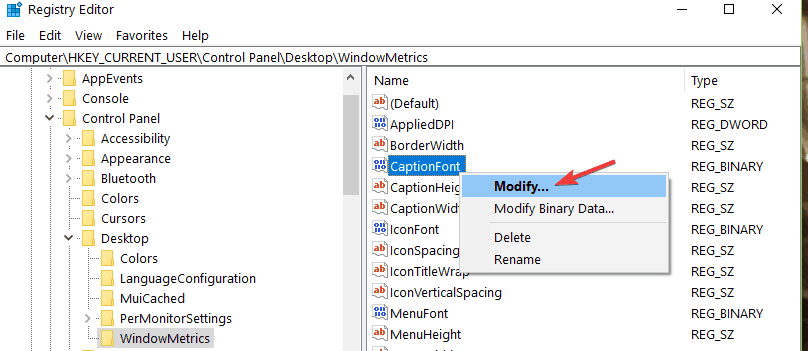
- Select the font you want to change, right-click it, and choose Modify.
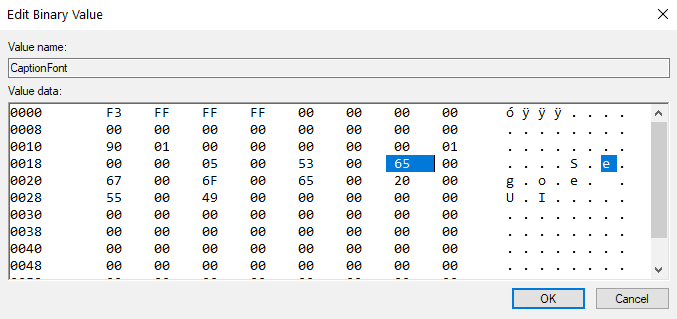
- A new window will open with the name of the registry key and font name on the right side.
- Change the font name to name of the font you want to use. Be sure that you watch the spaces while entering the new font name.
2. Add reg file to the registry
- Go to Start and type control panel. Select Control Panel.
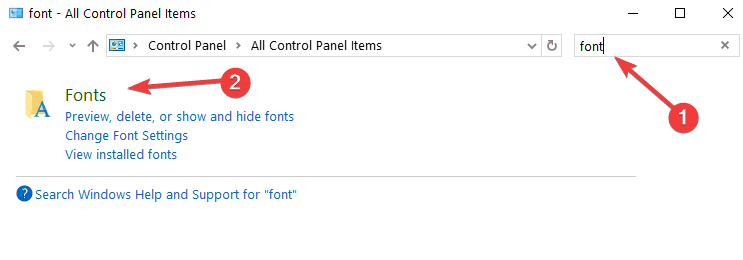
- Go to the search box type fonts and click the Fonts option.
- The list of fonts available on Windows 10 should now be available on the screen.
- Launch Notepad, copy this Registry code into the document, and replace ENTER-NEW-FONT-NAME with the name of the font that you want to use:
Windows Registry Editor Version 5.00
[HKEY_LOCAL_MACHINE\SOFTWARE\Microsoft\Windows NT\CurrentVersion\Fonts]
"Bell MT UI (TrueType)"=""
"Bell MT UI Bold (TrueType)"=""
"Bell MT UI Bold Italic (TrueType)"=""
"Bell MT UI Italic (TrueType)"=""
"Bell MT UI Light (TrueType)"=""
"Bell MT UI Semibold (TrueType)"=""
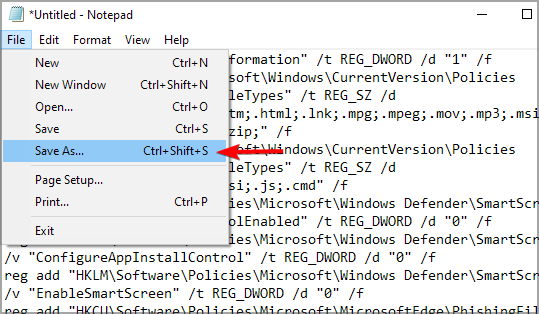
"Bell MT UI Symbol (TrueType)"=""[HKEY_LOCAL_MACHINE\SOFTWARE\Microsoft\Windows NT\CurrentVersion\Font\Substitutes]"Bell MT UI"="ENTER-NEW-FONT-NAME" - Go to the File menu and save the document.
- Click Save As and save it with the .reg extension.
- Double-click on the new .reg file to add it to the registry.
- Confirm your choice and restart your machine.
Changing fonts isn’t as simple as changing font size or installing new fonts since it requires modifying the registry. Since this is an advanced process, we advise extra caution.
On the other hand, it’s pretty simple to change font, style, and size in Notepad on Windows 11. We also have a great guide on how to change the font in Outlook on Windows 11 or bold letters in Discord.
Did we miss another method to change the default font on Windows? If so, let us know in the comments below.


User forum
3 messages