0x0000042b Error on Windows 11: How to Fix it
Your GPU drivers could use a clean install for a seamless login
Key notes
- Error code 0x0000042b can be fixed by restarting related services or clearing the build-up Xbox cache.
- This error is a sign of hardware failure, so check out early signs for any failing components on your PC.
- Stay with us as we explore the causes behind this issue and how to fix it.
Xbox login errors like the 0x0000042b can stall any attempts to play games on your PC. Without an entry gateway, enjoying all that the Xbox app has to offer can be a thing of the past.
Still, this isn’t the end. With a little bit of tweaking, you should regain access to your account in no time.
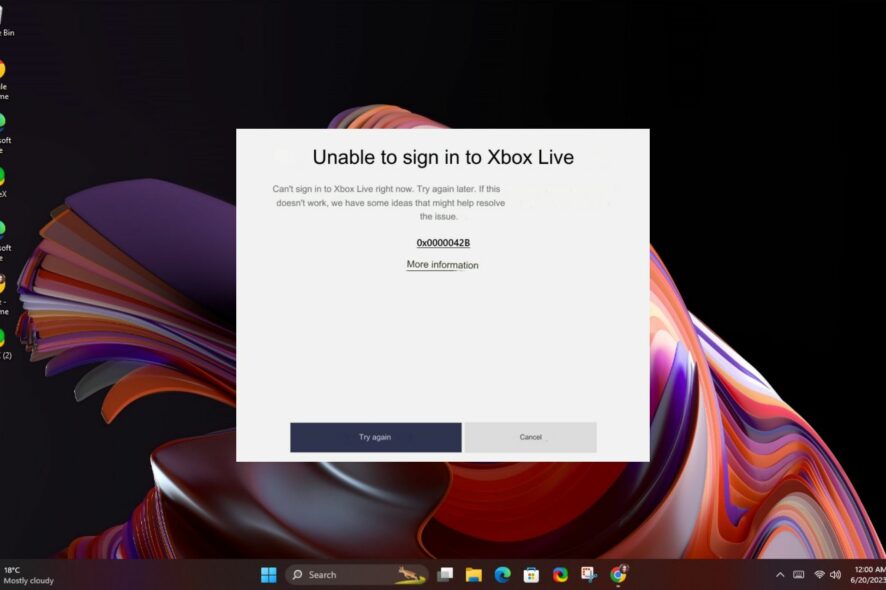
What is 0x0000042b Error on Windows 11?
This is a login error when attempting to access your Xbox app or Xbox GamePass account. Some users can get past the login page, but after playing for a short while, the screen throws the 0x0000042b error.
It is typically triggered by bad drivers or hardware conflicts, but a corrupt DLL file or a virus infection can also be behind it.
How do I fix the 0x0000042b error on Windows 11?
A few checks to look out for before moving onto the somewhat technical steps include:
- Check for Windows updates and install if available.
- Check for any updates of the Xbox app in the Microsoft Store, log out then log back into your Xbox account.
- Verify that your date, time, and region settings are in sync, then restart your PC.
- Restart your Xbox console.
- Try accessing Xbox on your browser as a temporary solution.
1. Restart related services
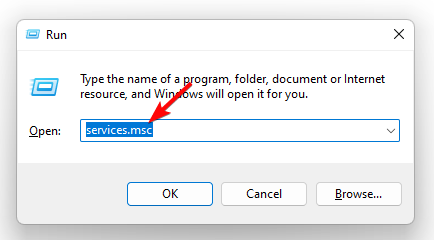
- Hit the Windows + R keys to open the Run command.
- Type services.msc in the dialog box and hit Enter.
- Locate Gaming Services, right-click on it, and select Properties.
- Under the Startup section, click on the drop-down menu and select Automatic.
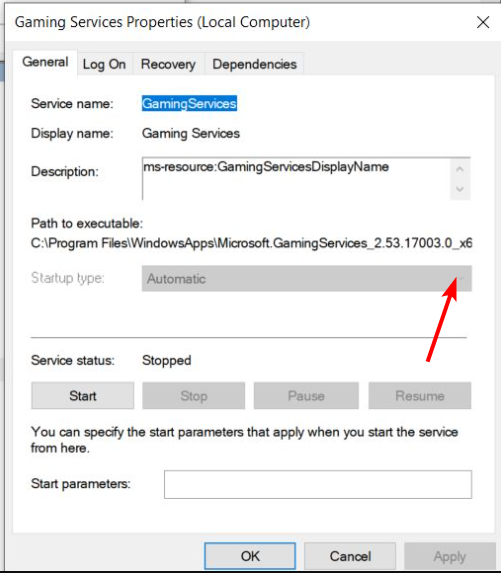
- Hit Apply, then OK to save the changes.
- Repeat the same steps for IP Helper, Xbox Live Auth Manager, Xbox Live Game Save, and Xbox Live Networking Service.
2. Clear Xbox cache
- Press the Xbox button on your console.
- Select Settings.

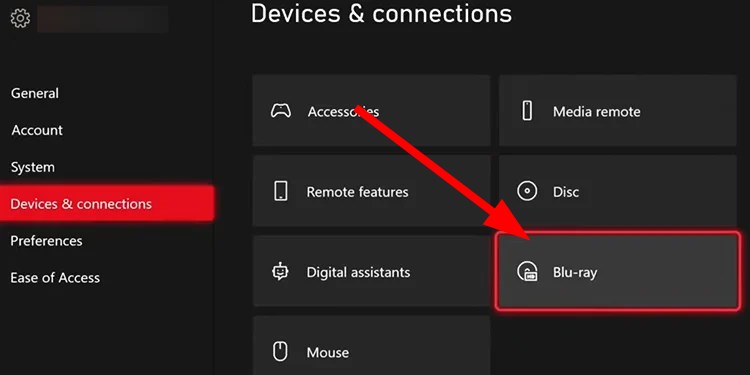
- Click on Device & connections on the left.
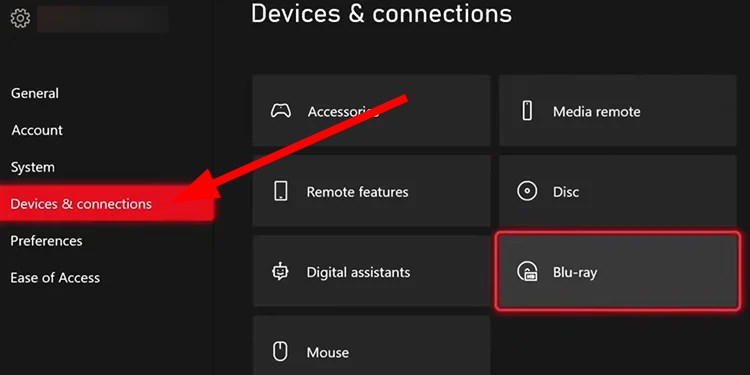
- Select Blu-ray.
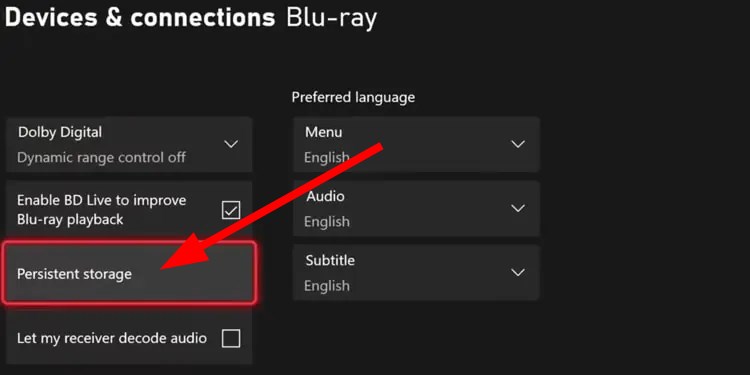
- Select Persistent Storage.
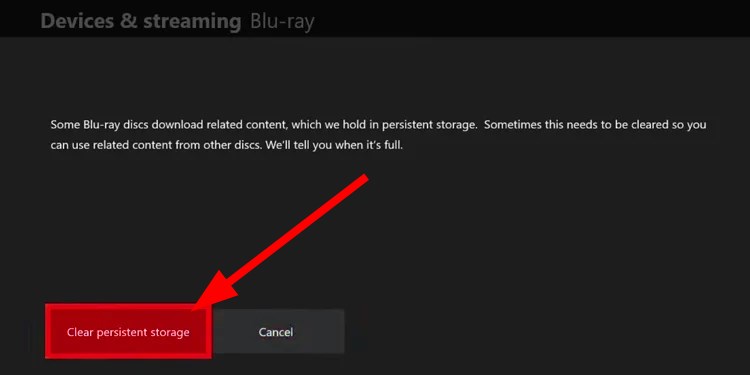
- Choose Clear persistent storage.
3. Re-register the DLL file
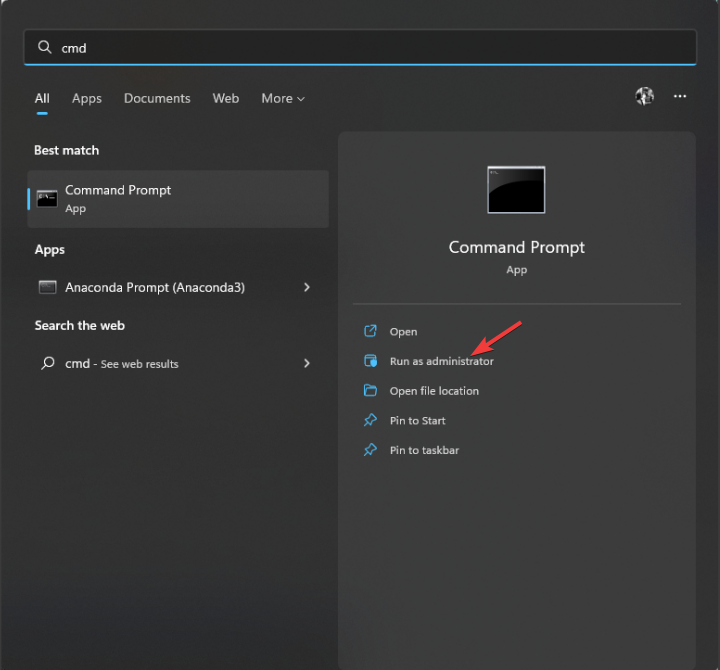
- Press the Windows key, type cmd, and click Run as administrator.
- Type the following command to register the DLL file again and hit Enter:
regsvr32 NvLddmkm.DLL - Restart the computer and launch the Xbox app to ensure the issue is resolved.
NvLddmkm is the associated DLL file for your NVIDIA driver, re-registering it will help fix any issues with missing or corrupt DLL files.
4. Run DISM and SFC scans
- Hit the Start Menu icon, type cmd in the search bar, and click Run as administrator.

- Type the following commands and press Enter after each one:
DISM.exe /Online /Cleanup-Image /Restorehealthsfc /scannow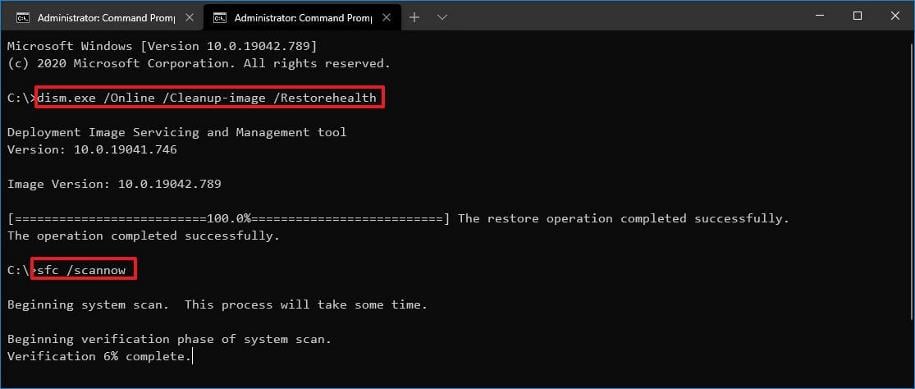
5. Scan for viruses
- Press the Windows key, search Windows Security, and click Open.

- Select Virus & threat protection.
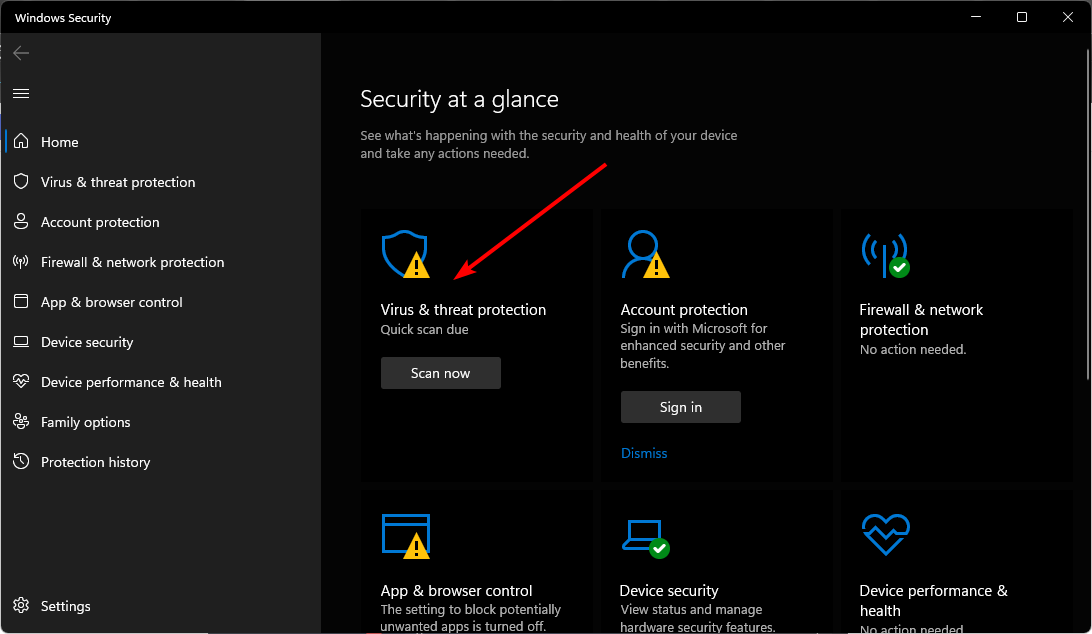
- Next, press Quick scan under Current threats.
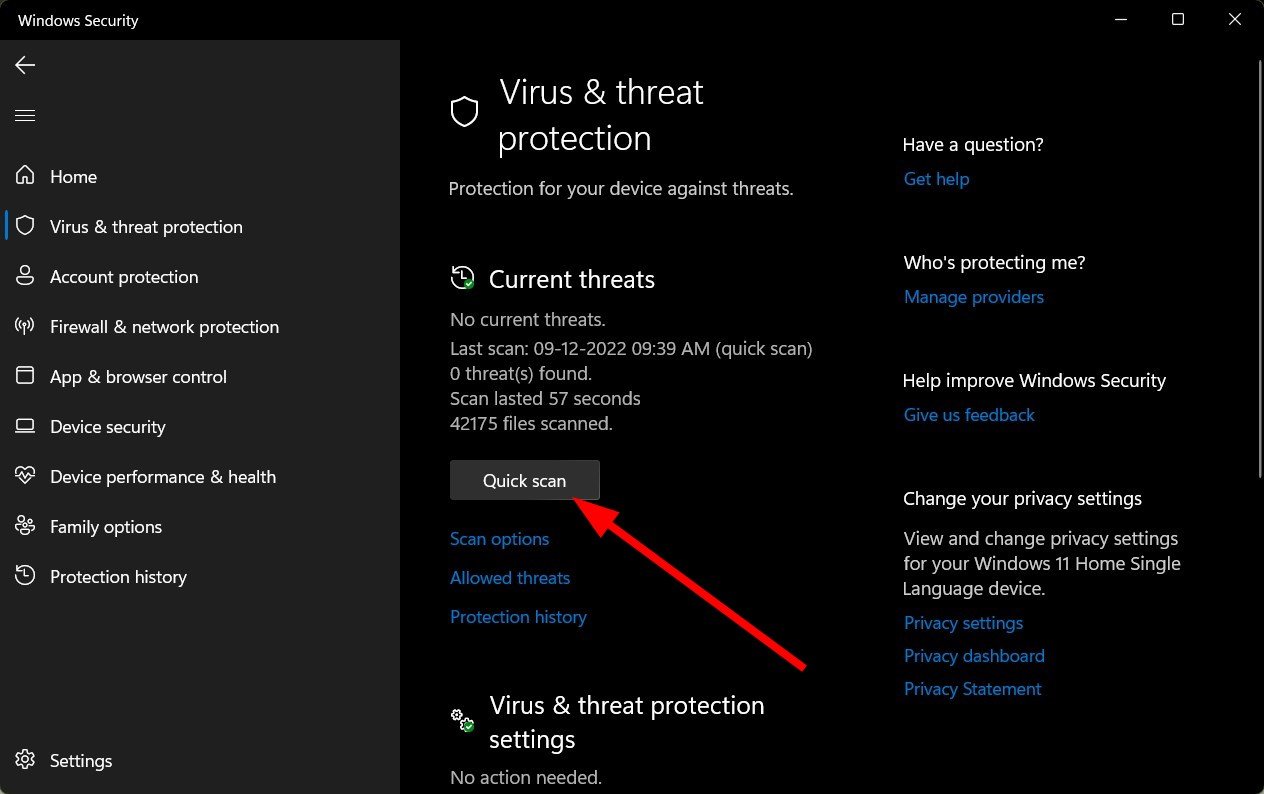
- If you don’t find any threats, proceed to perform a full scan by clicking on Scan options just below Quick scan.
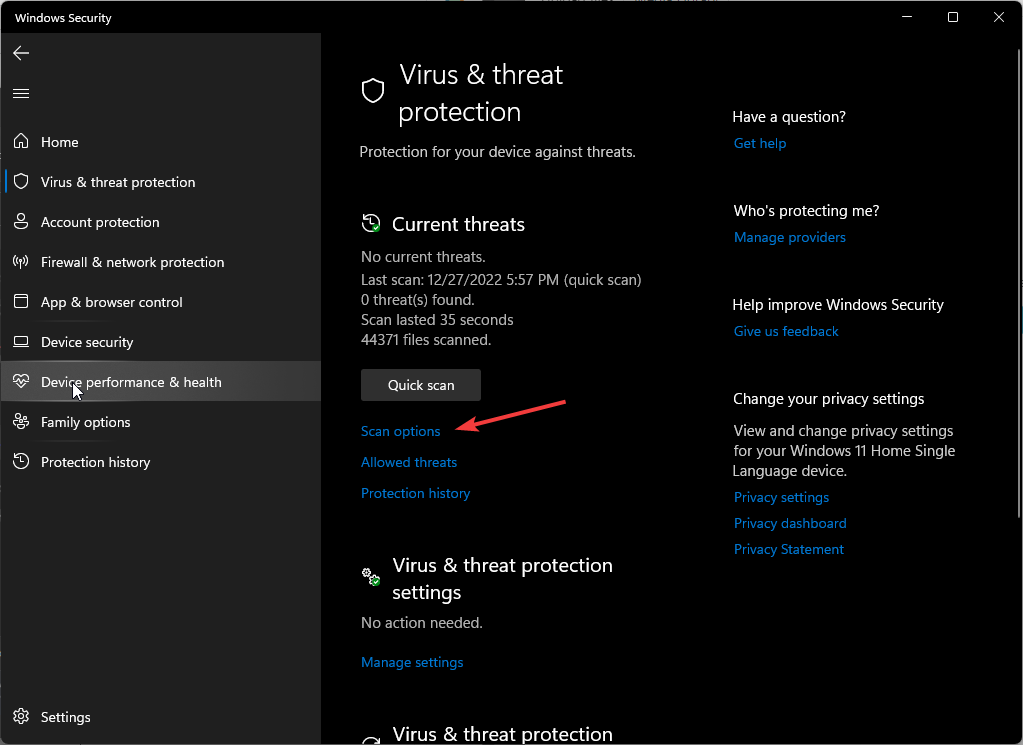
- Click on Full scan, then Scan now to perform a deep scan of your PC.
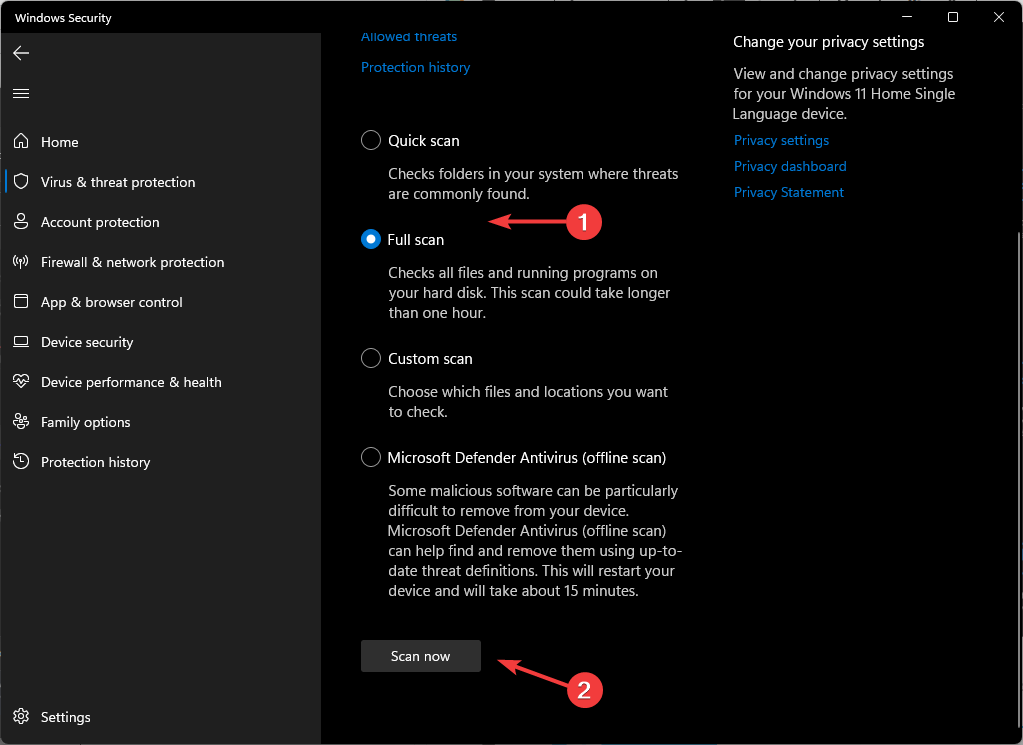
- Wait for the process to finish and restart your system.
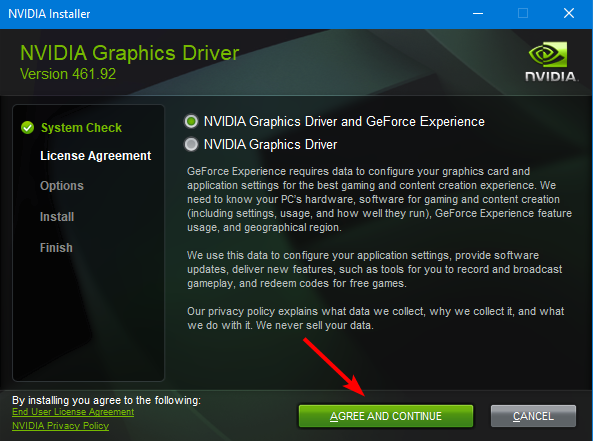
6. Clean install the NVIDIA driver
- Before you download and install the NVIDIA drivers, ensure you close all unnecessary background processes, disable an overzealous antivirus/firewall, and disable any overclocking software.
- Navigate to your browser and download the corresponding NVIDIA driver for your OS.
- Locate the installation file, right-click on it, and select Run as administrator.
- Click Yes if the UAC prompt pops up and leave the default storage path as suggested.
- Agree to the terms and conditions.
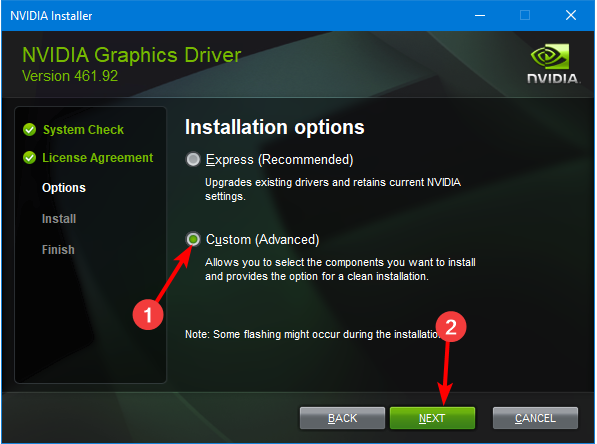
- In the next window, select Custom (Advanced) install, then hit Next.
- Check the Perform a clean installation box then hit Next.
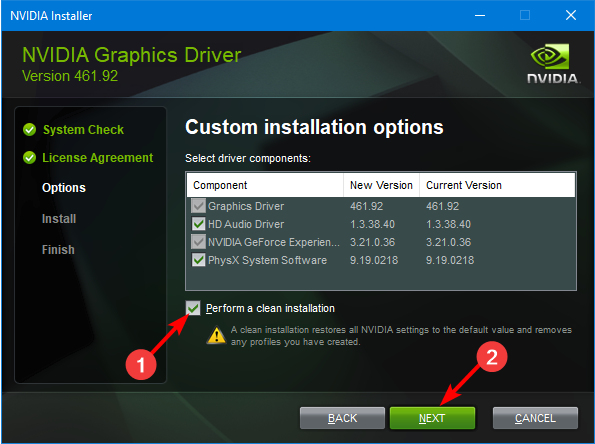
- Wait for the installation to finish, then restart your PC.
The reason behind a clean installation instead of a regular update of drivers is to ensure all previous entries are removed and replaced with newer compatible ones.
 NOTE
NOTE
7. Reset the Xbox app
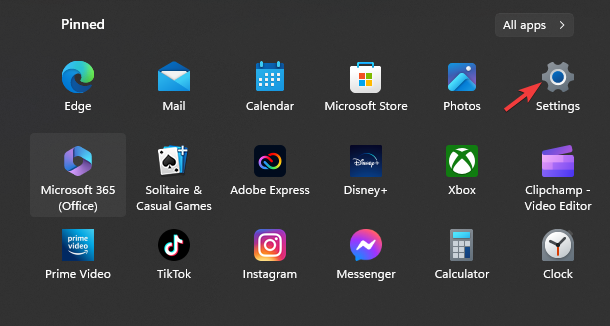
- Press the Windows key and click on Settings.
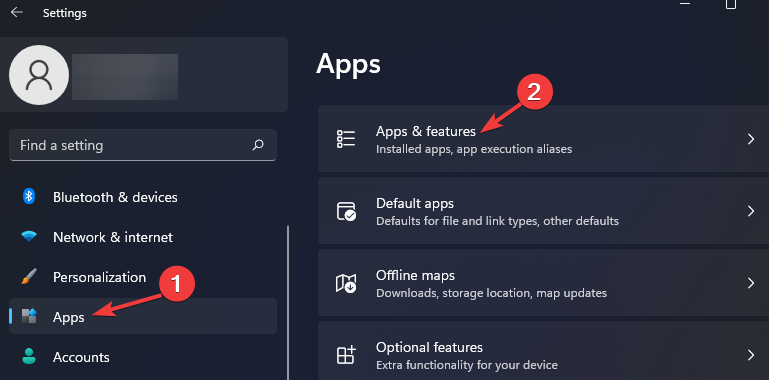
- Select Apps from the left side and click on Apps & features from the right.
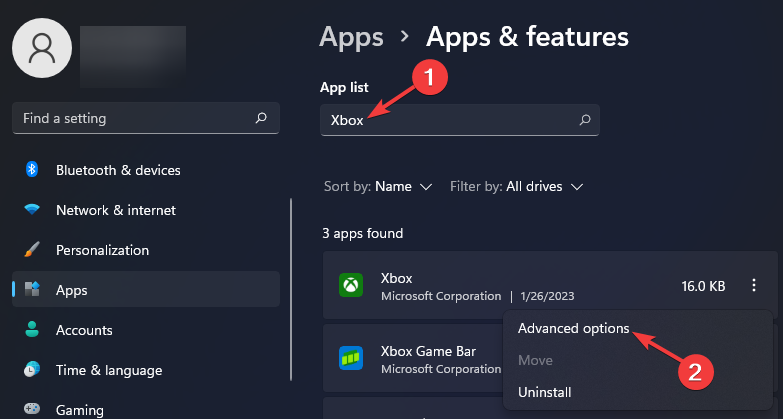
- Type Xbox in the search box, hit Enter, click on the three-dot icon, and select Advanced options.
- Scroll down and under the Reset section and click on Reset.
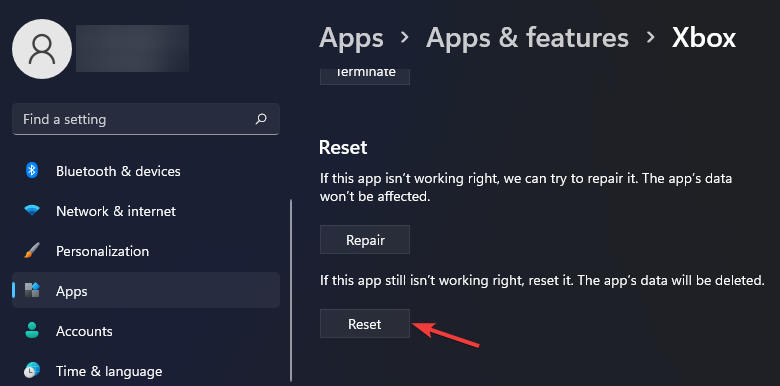
- Windows 11 will reset the app.
8. Reinstall the Gaming Services app
- Click on the Start menu, type Windows PowerShell in the box and select Run as administrator.
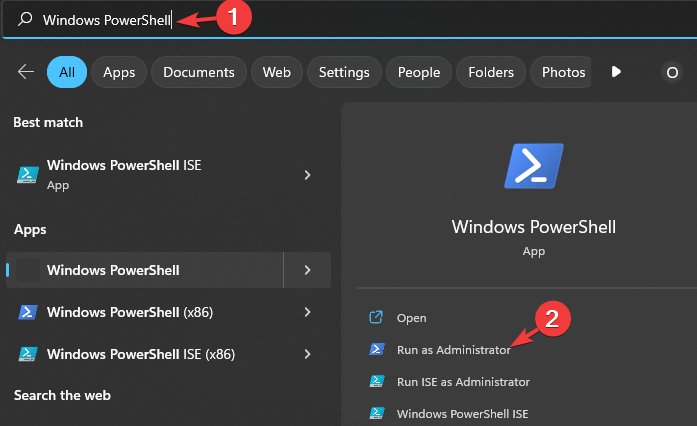
- Select Yes when the User Account Control (UAC) prompt appears.
- Key in the following command in the console and press Enter to uninstall the Gaming Services app:
get-appxpackage Microsoft.GamingServices | remove-AppxPackage -allusers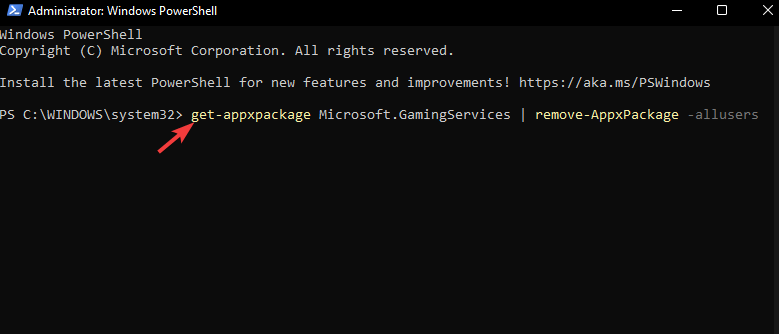
- Now, run the following command to open the Gaming Services app page in Microsoft Store:
start ms-windows-store://pdp/?productid=9MWPM2CQNLHN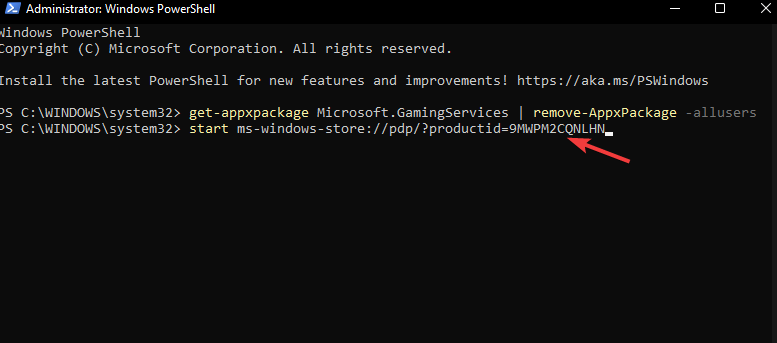
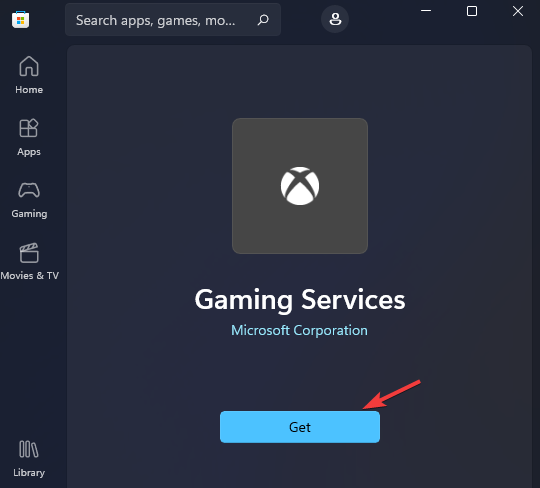
- Finally, click on the Get button to download the Gaming Services app once more.
Hopefully, you were able to fix the 0x0000042b error that your were facing on Xbox. If none of them were successful, your hardware might be failing. You’ll need to run a hardware disgnostic test to pinpoint the problematic component.
Unfortunately, Xbox sign-in errors happen in different variations such as error code 0x80a30204 but luckily, the fixes aren’t too hard.
You can tell us which solution worked for you by commenting below. In addition, if you tried any other unmentioned fix, we would like to hear your stories and see if you can help others fix their 0x0000042b login error.
Read our disclosure page to find out how can you help Windows Report sustain the editorial team. Read more


Improve this guide

User forum
0 messages