How to Stop the Xbox App from Automatically Signing in to Windows 11
Only deliberate sign-ins when you disable auto-sign-in
The Xbox app has an auto-sign feature where it automatically signs into your Windows 11 device using your Microsoft account.
While this can be convenient for most gamers, sometimes when it signs into the wrong account, it can be problematic especially if you’re on a shared computer and would like to keep your sign-in credentials private.
How do I stop Xbox from automatically signing in to Windows 11?
1. Disable Xbox automatic sign in
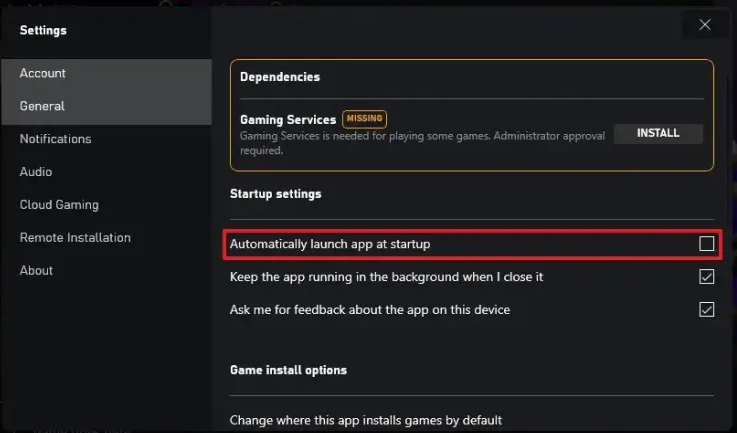
- Launch your Xbox app and go to Settings.
- Go to General.
- Uncheck the Automatically launch app at startup option under Startup settings.
2. Delete accounts and cache folder
- Open File Explorer using the Windows key + E shortcut. In the address bar paste the following line:
%userprofile%\AppData\Local\Packages\Microsoft.XboxIdentityProvider_8wekyb3d8bbwe\AC\TokenBroker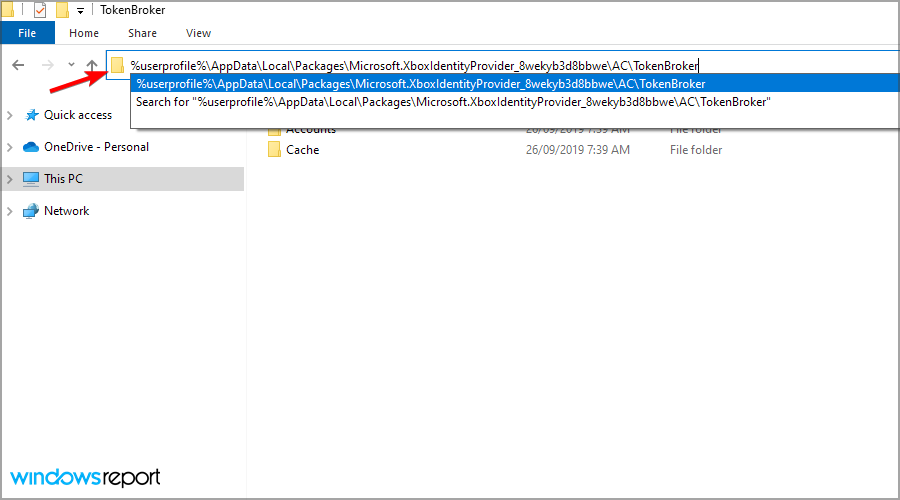
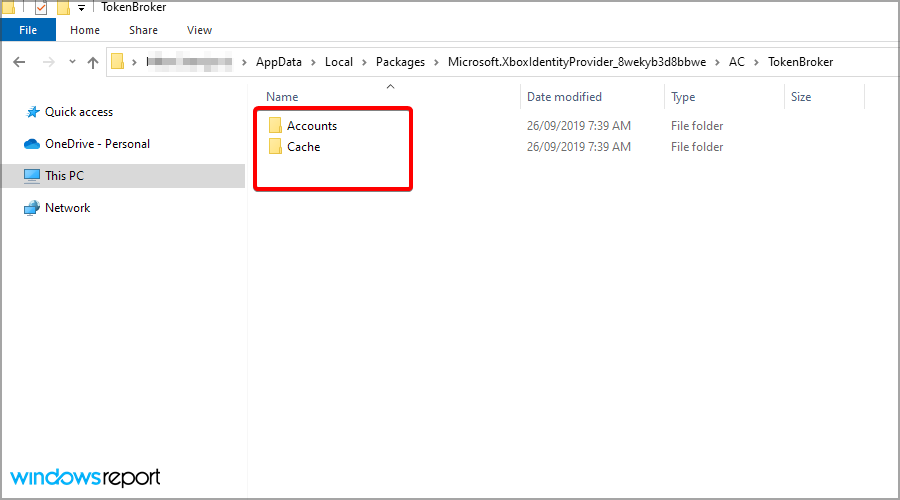
- If there are Accounts and Cache folders available make sure that you delete them.
- After removing the cache, log out of your Xbox app, restart your PC and see if it automatically signs in to your Windows 11.
Clearing this information means deleting all associated passwords and any other credentials tied to your Xbox account. You’ll have to log in afresh the next time you start up Windows.
3. Remove your password from Windows Credential Manager
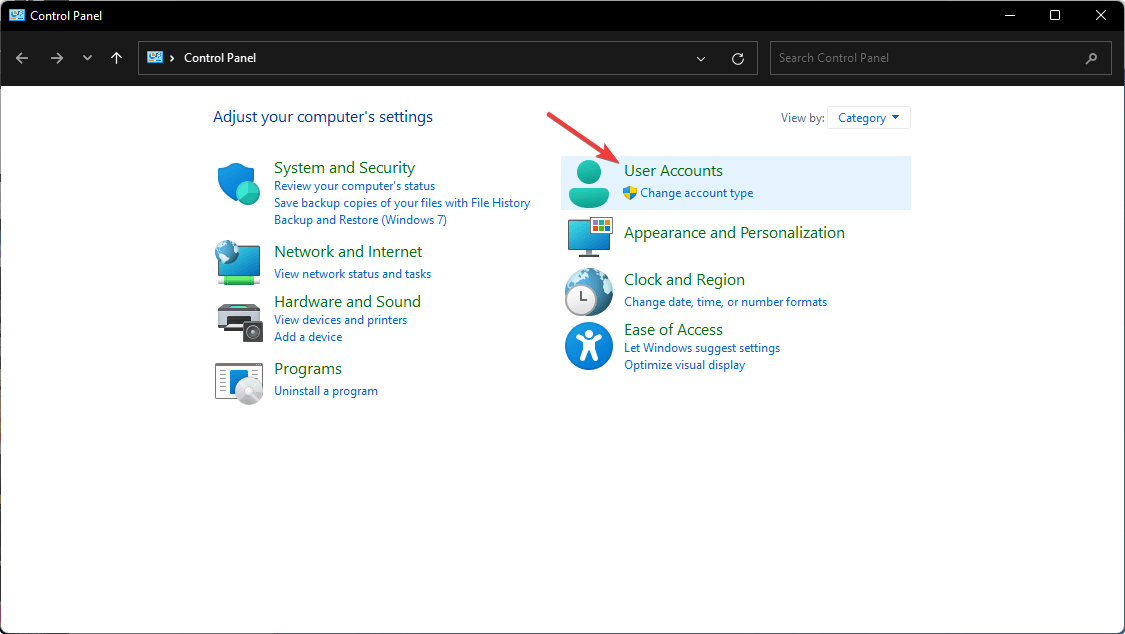
- Click on the Windows Search icon on the taskbar, type Control Panel and click Open.

- Select User Accounts.
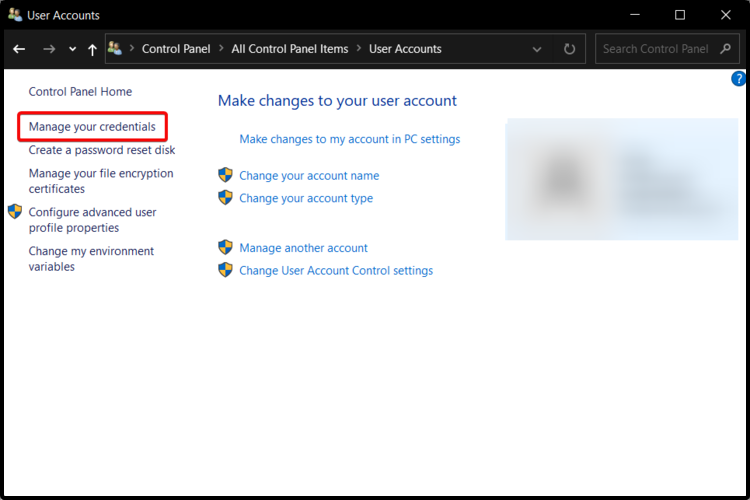
- Click on Manage your credentials on the left-hand side.
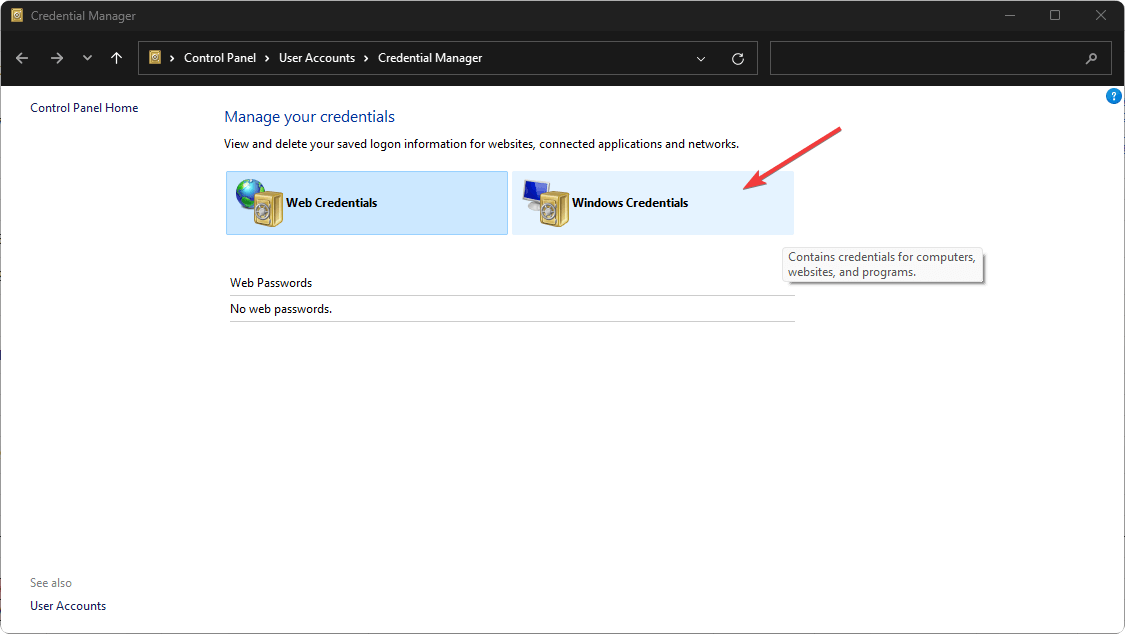
- Select Windows Credentials in the new window.
- Expand the unfamiliar user account, and in the drop-down menu, click Remove to get rid of that user.
- Next, press the Windows + E keys to open File Explorer.
- Navigate to the following path:
C:\Users\username\AppData\Local\Packages(change the Username to the name of your user account).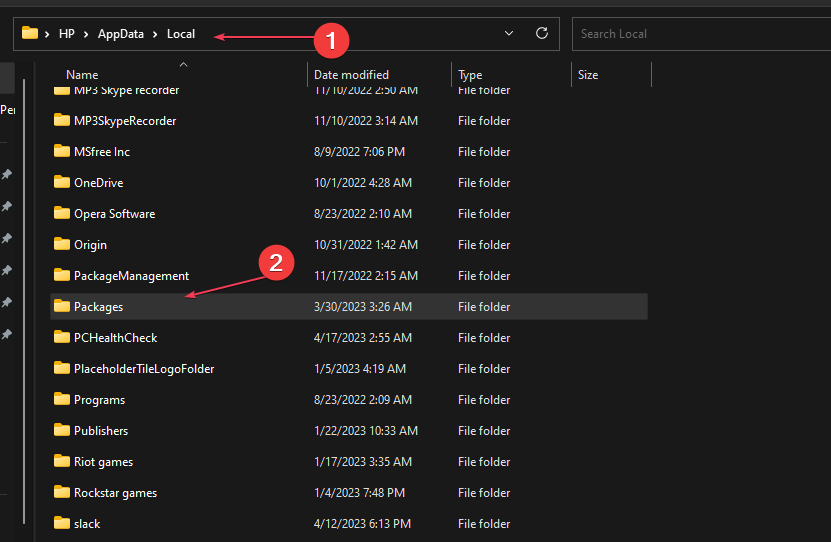
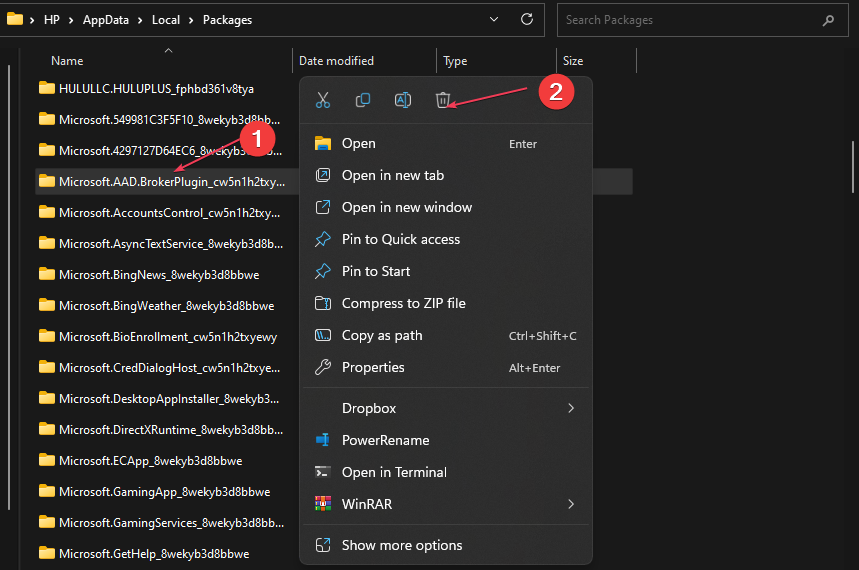
- In the Packages folder, locate Microsoft.AAD.BrokerPlugin_cw5n1h2txyew and right-click on it. Select Delete from the context menu and restart your PC.
- Sign in with the Xbox Console Companion.
4. Enable 2FA Authentication
- Navigate to your browser and go to your Microsoft account.
- From the top-right corner, click My Microsoft account.
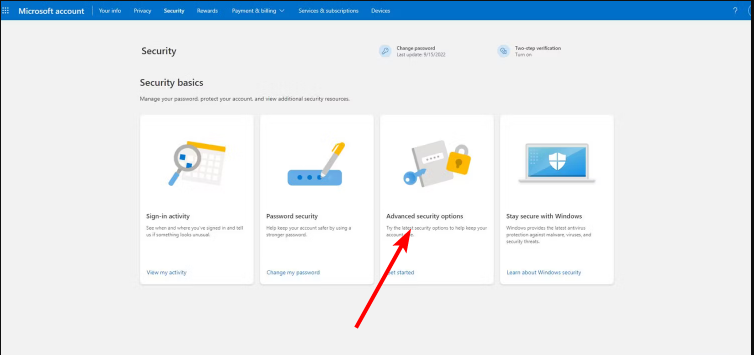
- Go to the Security tab. Then, on the next page, click Other ways to sign in.
- Click Use my password.
- Select Advanced security options.
- Under Additional security, click Turn on for Two-step verification.
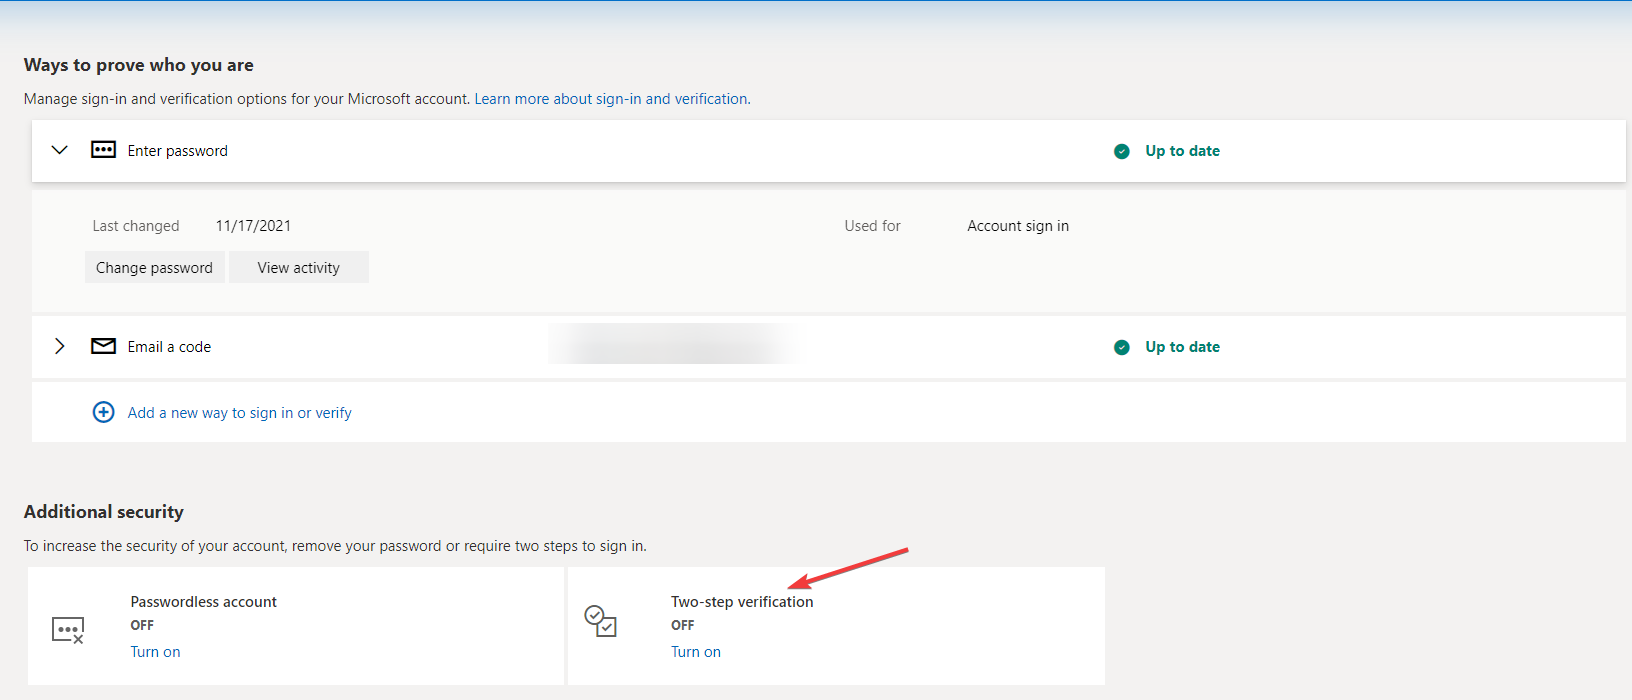
After removing your password, enabling the two-factor authentication for your Microsoft account will not only add an extra layer of protection but also lock out unauthorized devices and apps from signing in without a verification code.
This in turn will prevent the Xbox app from automatically signing in to your Windows 11.
5. Reinstall the Xbox app
- Clean your registry with a reliable registry cleaner.
- Log into your Microsoft Store with your desired Xbox account, install a game, and launch it.
- Close the game.
- Now go back to the Microsoft Store, install the Xbox app.
- Next, press the Windows+ I keys to open the Settings app.
- Type Windows PowerShell (Admin) and select the matching result from the list of options.
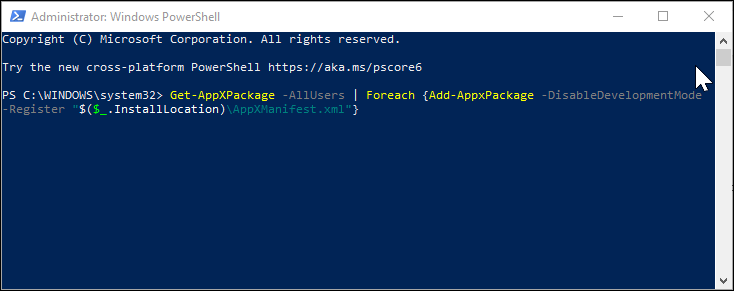
- In the PowerShell window, enter the following command and hit enter to execute:
Get-AppXPackage -AllUsers | Foreach {Add-AppxPackage -DisableDevelopmentMode -Register "$($_.InstallLocation)\AppXManifest.xml"} - Wait for the command to execute, and then restart your PC.
- After the restart, check whether the Xbox app is automatically signing in to your Windows 11.
6. Reinstall the Gaming services app
- Press Windows + R to open Run, type powershell, and hit Ctrl + Shift + Enter.
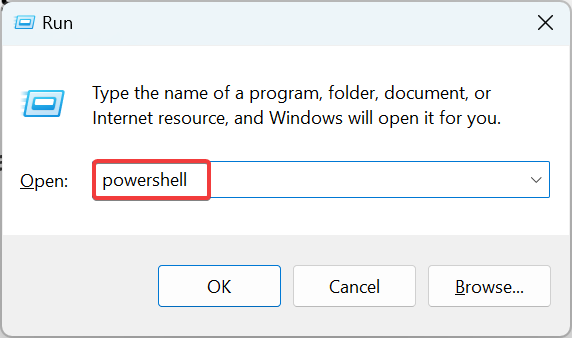
- Click Yes in the UAC prompt.
- Now, paste the following command and hit Enter:
get-appxpackage Microsoft.GamingServices | remove-Appxpackage –allusers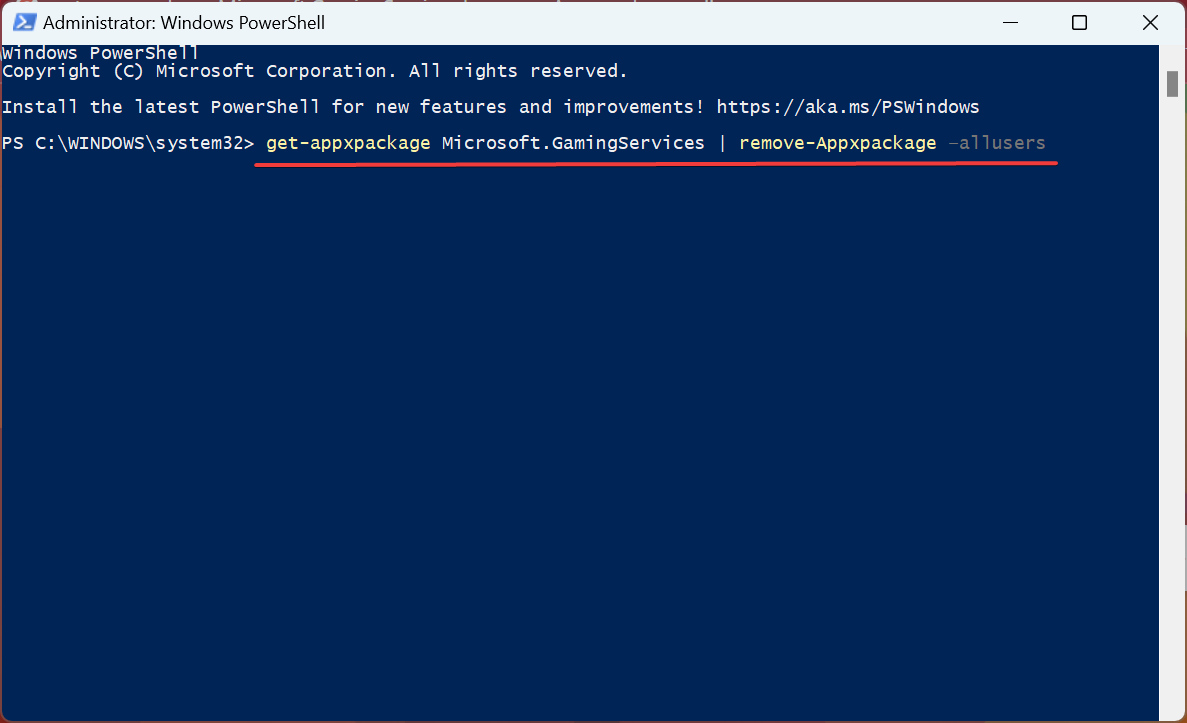
- Next, execute the following command:
start ms-windows-store://pdp/?productid=9MWPM2CQNLHN - Finally, click on the Get button to reinstall the Gaming Services.

Finally, the Xbox app automatically signing into your Windows 11 may not be a huge problem per se especially if it is the right account. However, for the sake of your privacy and security, it is important to disable automatic sign-in and exercise more control.
And if none of the above steps have been helpful, another option would be to create a local account temporarily. Alternatively, you can also copy your user profile to a new one and see if this resolves the problem.
Aside from automatic sign-ins, Xbox may also fail to sign in at times but nothing a Windows update can’t fix. However, if the Xbox app is not working on your Windows PC, that may require more muscle like resetting the app to default settings.
And it’s a wrap from us but we’d like to know whether you’ve managed to stop Xbox from automatically signing in to your Windows 11. Which solution worked for you or do you have any other not mentioned above? Drop us a line in the comment section below.
Read our disclosure page to find out how can you help Windows Report sustain the editorial team. Read more


Improve this guide


User forum
0 messages