0x800700c1: How to Fix This Windows Update Error Code
Tested and trusted fixes for this Update error code
5 min. read
Updated on
Read our disclosure page to find out how can you help Windows Report sustain the editorial team. Read more
Key notes
- The error occurs when Windows can’t install the downloaded updates.
- It can be due to corrupt update caches and outdated system files.
- Running the troubleshooter and resetting the update components may be worthy options.
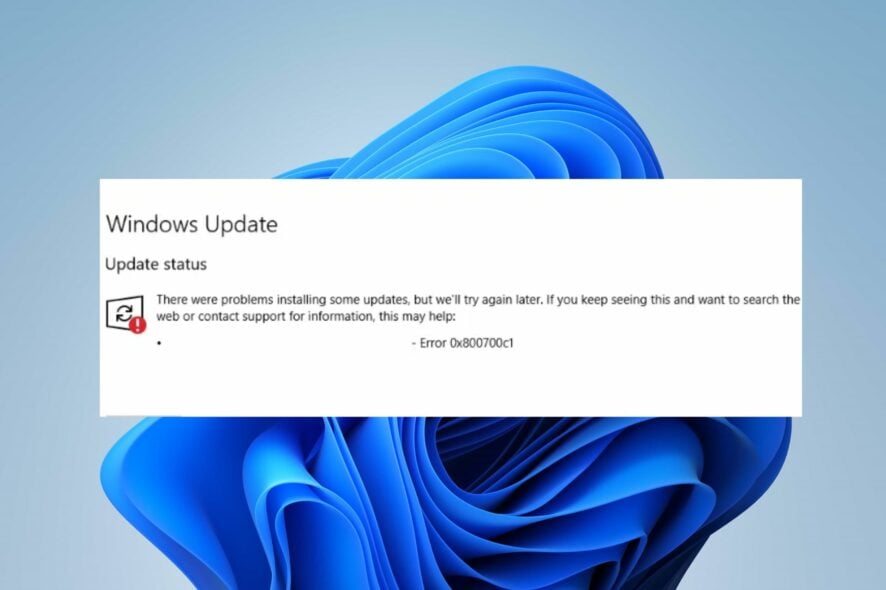
Microsoft releases new updates and patches for Windows to help fix bugs and improve performance. However, our readers report the error 0x800700c1 during their updates installation. Hence, this article will discuss how to fix the error on Windows 11.
Also, you may be interested in our guide on Windows update error 0x8007045b and some fixes for it.
What causes the Windows update error 0x800700c1?
Some notable factors that can cause the Window update error 0x800700c1 on your PC are:
- Faulty Windows update components – The installation process requires certain services to work on your PC. If these services are not running correctly, it can cause issues with the installation process.
- Windows update Temporary cache folder – Old updates and patches installed on your computer are stored in the Windows updates installer patch files and saved as cache files in a folder. They can become corrupt with time and, as a result, can cause interference with the Windows update services.
- Corrupt system files – When your system files are corrupt, they prevent the Windows update installation process from using them when needed and cause the Windows update error 0x800700c1.
Irrespective of the causes, you can resolve the error by following the below steps.
How can I fix the Windows update error code 0x800700c1?
Before attempting any advanced troubleshooting steps, go through the following preliminary checks:
- Turn off background apps running on your PC.
- Temporarily disable antivirus software.
- Restart Windows in Safe Mode and check if the error 0x800700c1 persists.
If you can’t resolve the error, go ahead with the solutions below:
1. Run Windows Update troubleshooter
- Press Windows + I key to open the Settings app.
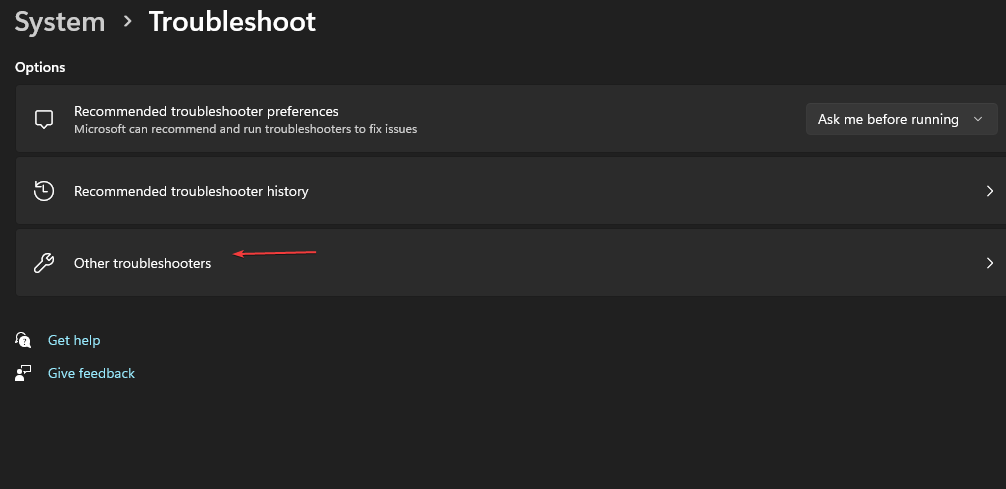
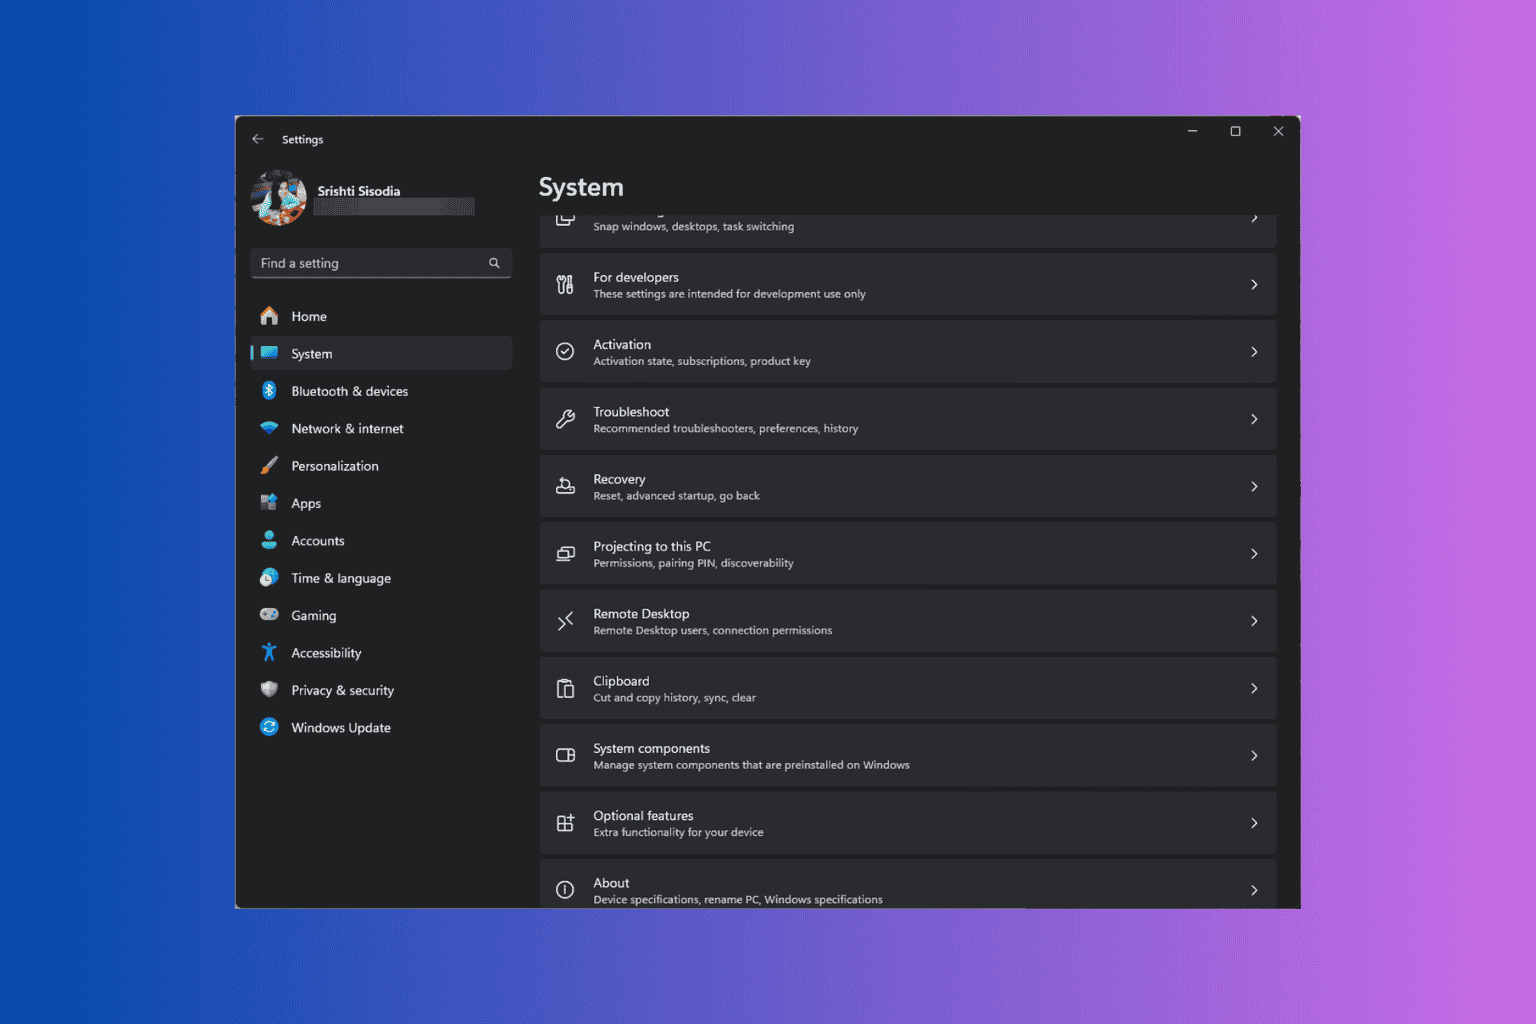
- Select System, Troubleshoot, then click on the Other troubleshooters.
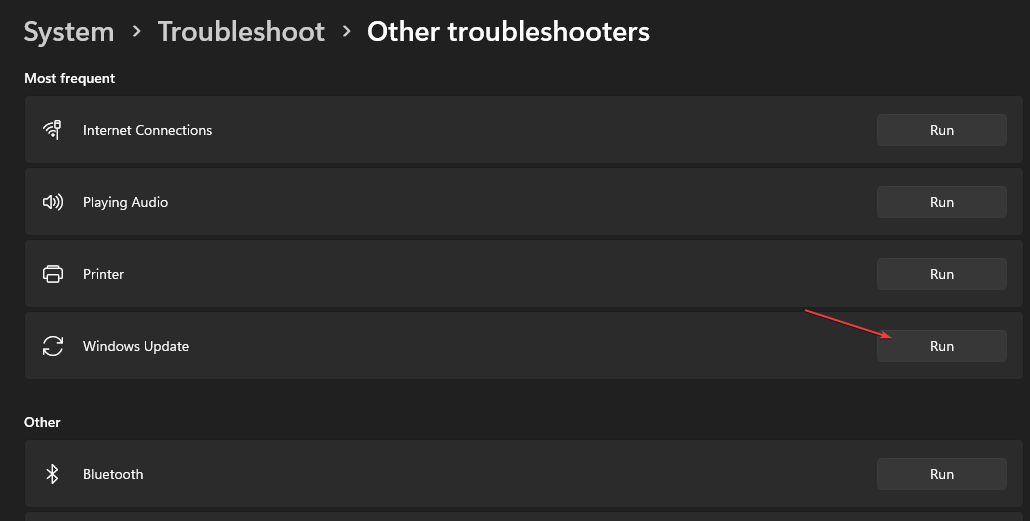
- Go to Most Frequent, select Windows Update, and click the Run button.
- Follow the on-screen instructions to complete, then restart your PC.
The Windows Update troubleshooter will resolve issues affecting the Windows updates installation. You can check ways to run the Windows Update troubleshooter on Windows 11.
2. Reset the Windows Update components
- Left-click the Start button, type Command Prompt, and select the Run as administrator option.
- Click Yes on the User Account Control prompt.
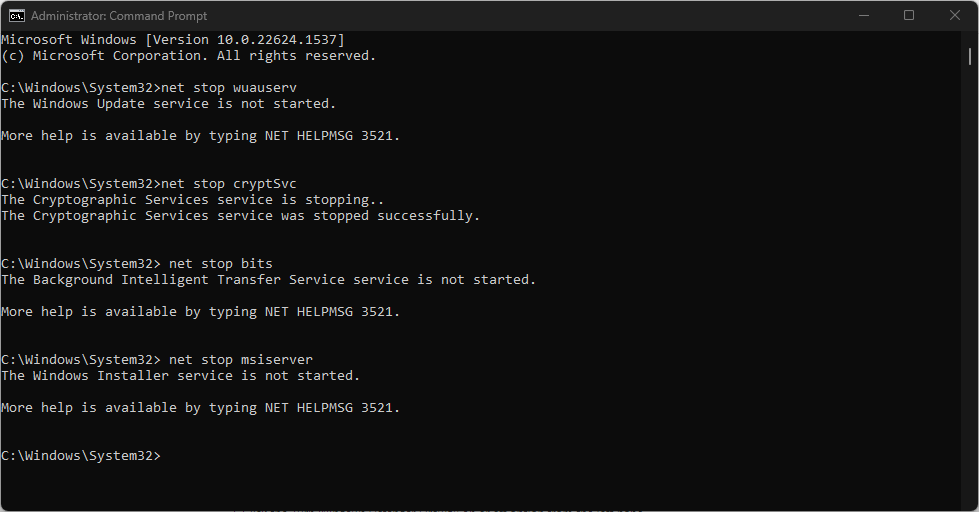
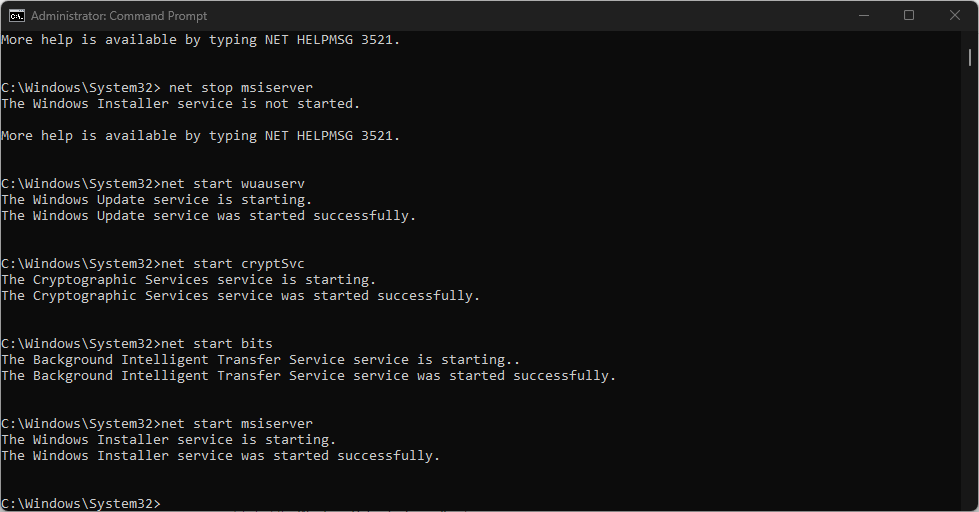
- Copy and paste the following commands and press Enter after each one:
net stop wuauservnet stop cryptSvcnet stop bitsnet stop msiserver - Copy and paste the following command one after the other:
ren C:\Windows\SoftwareDistribution SoftwareDistribution.oldren C:\Windows\System32\catroot2 Catroot2.old - Type the following commands and press Enter after each one:
net start wuauservnet start cryptSvcnet start bitsnet start msiserver - Close the Command Prompt and restart your PC.
Resetting the Windows Update components will fix the issues causing the 0x800700c1 update error. Read our article if you encounter problems running the Command Prompt as an administrator on Windows 11.
3. Disable Windows Firewall
- Left-click the Start button, type control panel, then press Enter.
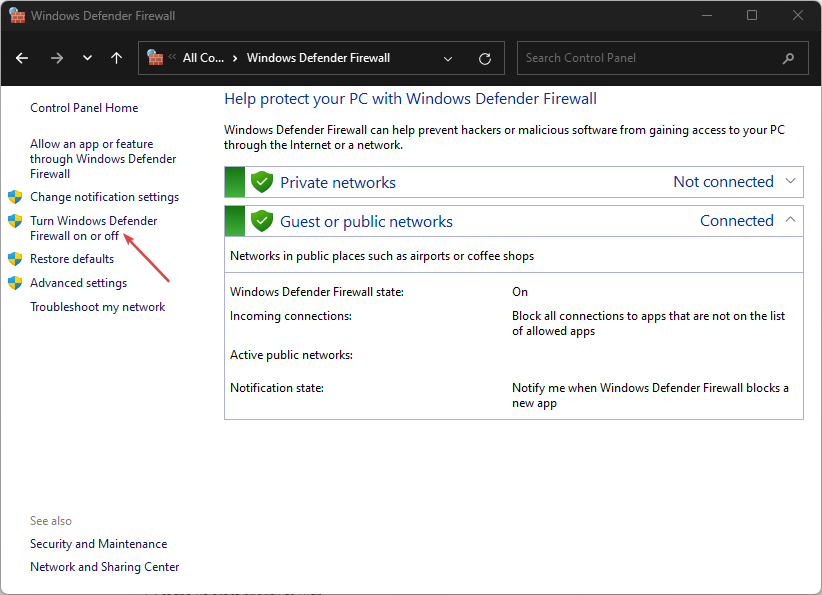
- Select the Windows Defender Firewall option.
- Click the Turn Windows Defender Firewall on or off option from the left pane.
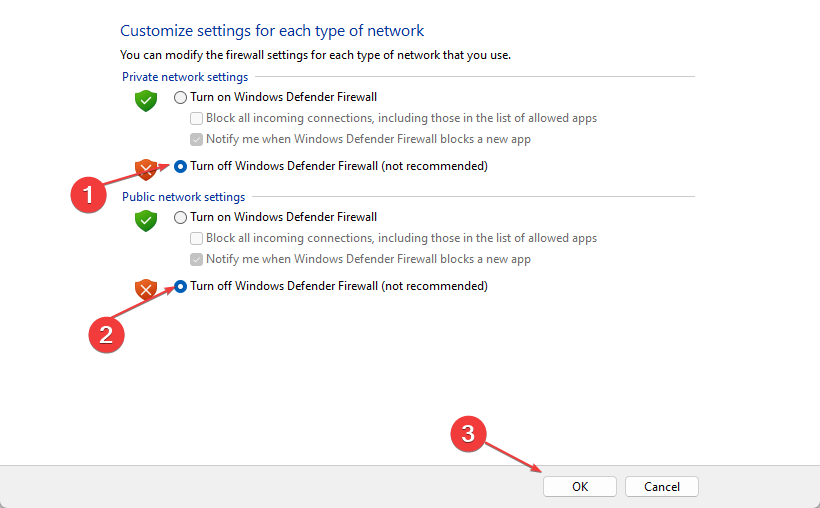
- Navigate to Private network settings and Public network settings, then click the radio buttons for the Turn off Windows Defender Firewall (not recommended) option.
- Restart your PC to see if you can install the Windows update.
Disabling the Windows Defender Firewall will resolve any interference it’s causing during the Windows installation process. Read our article about how to disable the Windows Defender Firewall on Windows 11.
4. Perform an SFC scan
- Left-click the Start button, type Command Prompt and click on Run as administrator.
- Click Yes on the User Account Control prompt.
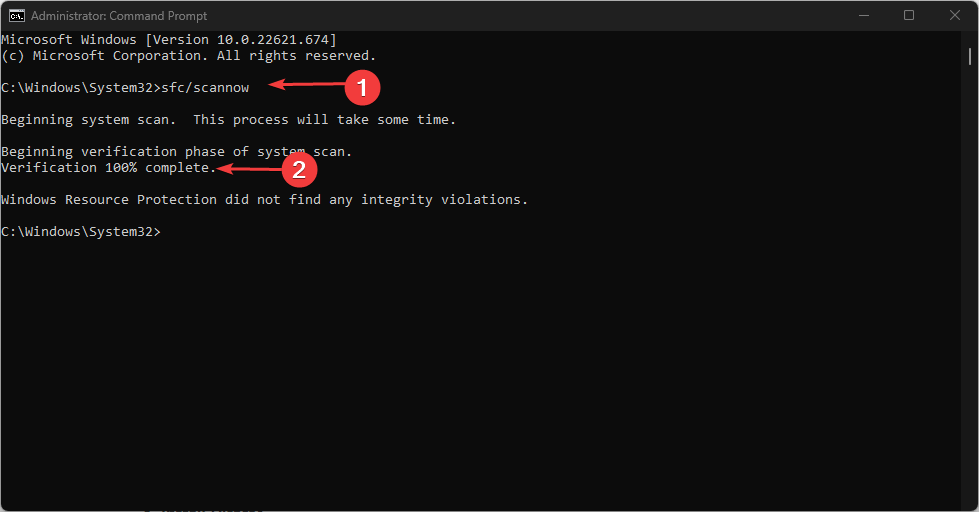
- Type the following and press Enter:
sfc /scannow - Restart your PC and check if the error persists.
An SFC scan will find and repair corrupted or missing system files on your PC liable for causing the Update error. You can read about how to fix SFC scannow not working on your Windows device.
There are also efficient solutions that can help you solve PC errors automatically and resolve Windows update issues. These are the system repair tools that will troubleshoot your Windows device and repair registry or file errors with one click.
5. Clear Windows Update cache
- Press Windows + I to open File Explorer.
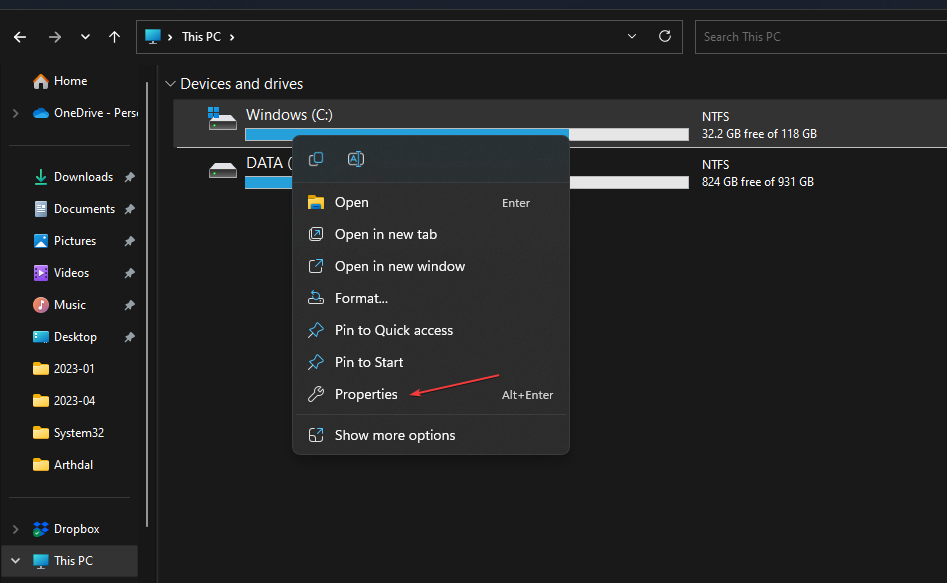
- Go to Local Disk (C) and right-click, then click on Properties from the drop-down.
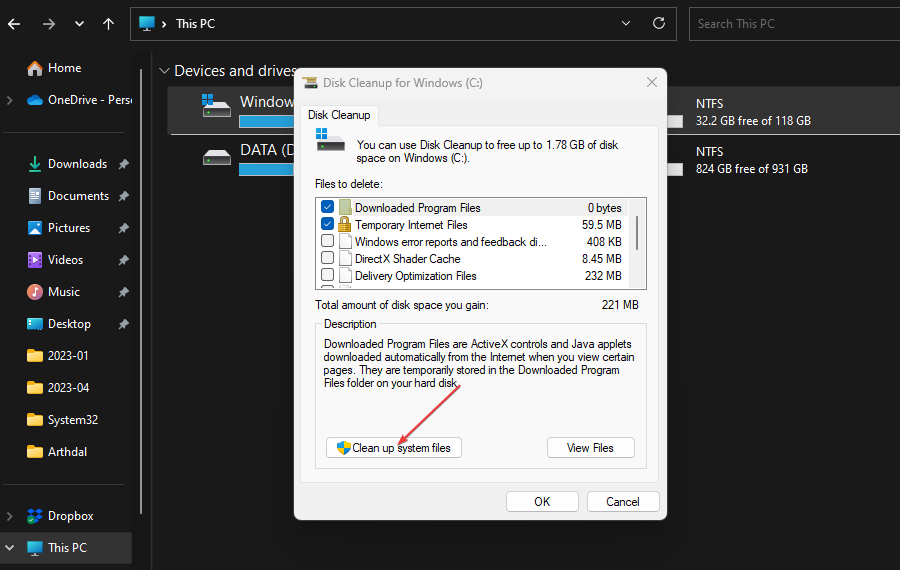
- Select Disk Clean-up, then click the Cleanup system files button.
- Check the boxes for Windows upgrade log files and Temporary Windows Installation files, then click OK.
- Exit the File Explorer and restart your PC to check if the error persists.
Deleting the Windows update cache files will clear the corrupt update files affecting the update process and allow the system to write new files.
Read our article on what to do if File Explorer keeps crashing your PC.
Alternatively, you can read about fixing slow Windows updates on PCs. Likewise, do not hesitate to learn what to do if Windows Update is stuck at 100% on Windows 11.
If you have further questions or suggestions, kindly drop them in the comments section.
User forum
0 messages