0x80240009 Installer Encountered An Error: 5 Ways to Fix it
Repairing system files should do the trick here
4 min. read
Updated on
Read our disclosure page to find out how can you help Windows Report sustain the editorial team. Read more
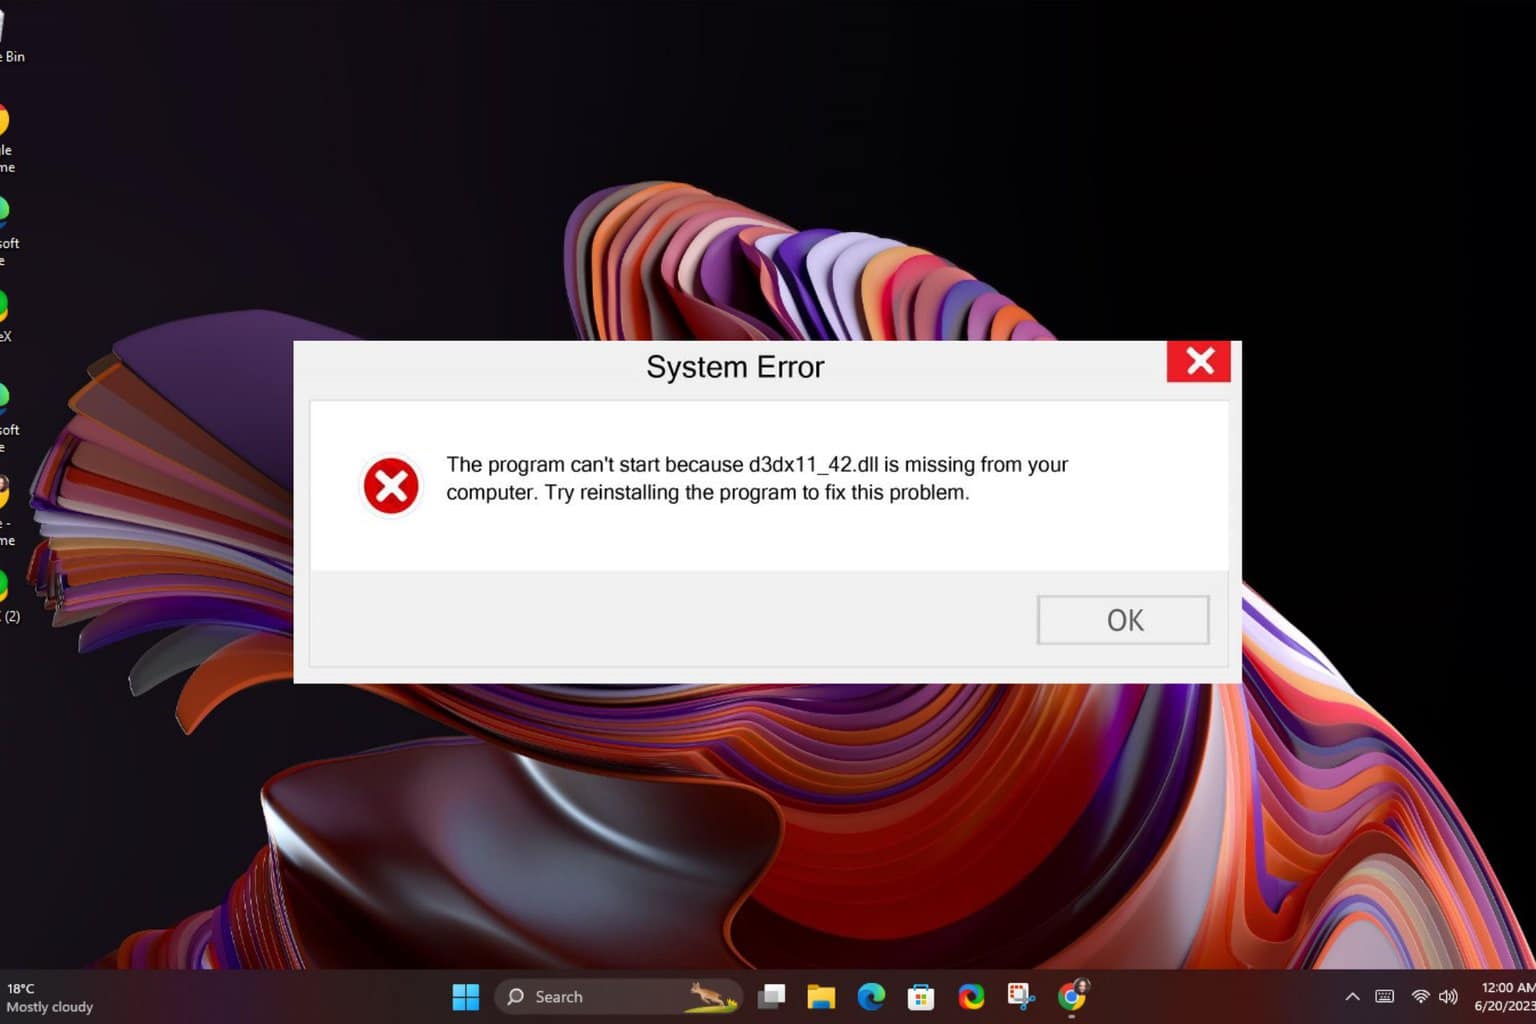
Many have encountered Windows failed to install the following update with error 0x80240009, and this issue can leave your system vulnerable and out of date, so it’s important to fix it. Keep on reading to learn how to do that.
What is error 0x80240009?
The error appears if there’s an issue with the update cache, file system corruption, or issues with your antivirus.
How can I fix the Windows update error 0x80240009?
1. Clear Windows update cache
- Press the Windows key + R, type cmd, and select Run as administrator under Command Prompt.
- Now, type the following commands and press Enter after each:
Net stop bitsNet stop wuauservNet stop appidsvcNet stop cryptsvcDel %ALLUSERSPROFILE%\Microsoft\Network\Downloader\qmgr*.dat /QDel "%HOMEDRIVE%\Users\All Users\Microsoft\Network\Downloader\qmgr*.dat" /QDel %WINDIR%\SoftwareDistribution\*.* /s /QNet start bitsNet start wuauservNet start appidsvcNet start cryptsvc - Finally, wait for the command to finish running and try the update again.
Oftentimes, the update error 0x80240009 is caused by a corrupt update cache. You can fix this by clearing the faulty files and allowing your PC to build another.
2. Repair system files
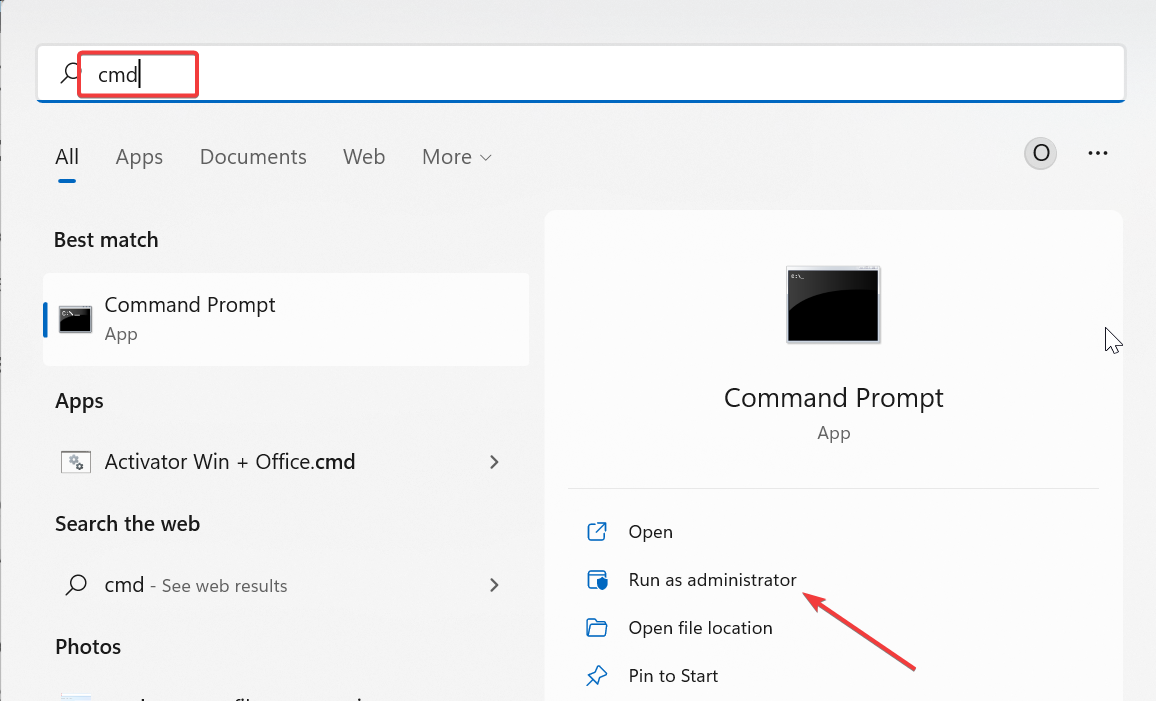
- Press the Windows key, type cmd, and select Run as administrator under Command Prompt.
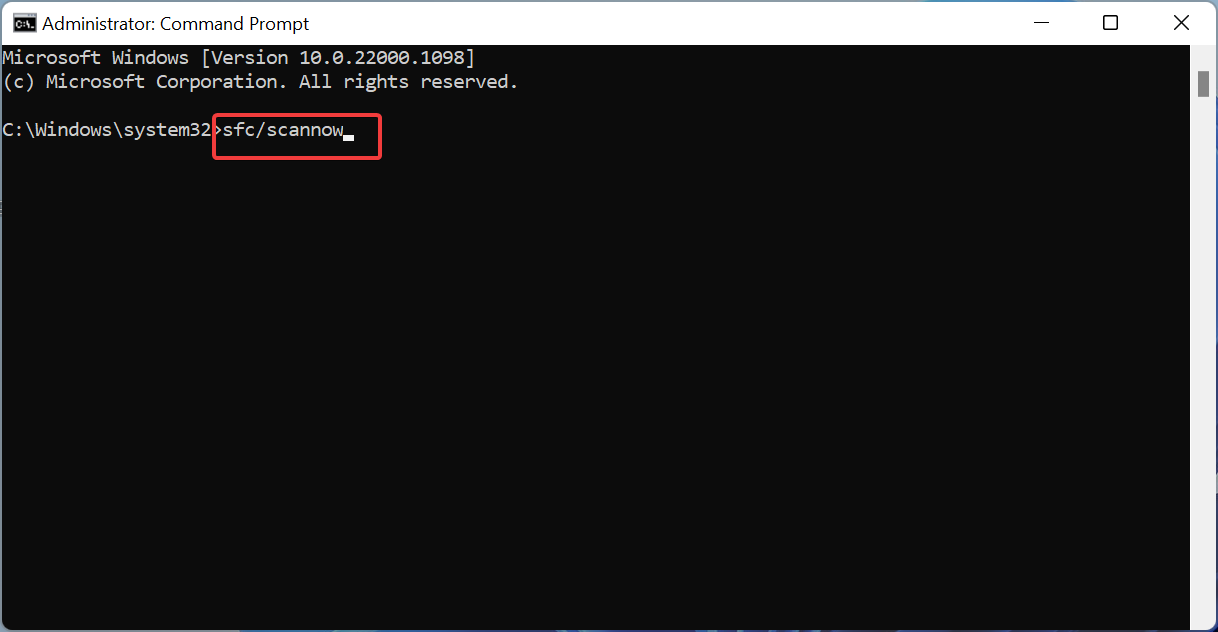
- Type the command below and hit Enter:
sfc /scannow - Finally, wait for the command to finish running and restart your PC.
This issue might sometimes be due to problems with your system files. Restoring these files should do the trick in this case.
To make things easier and faster, we recommend using a dedicated repair tool. This practical software will restore any broken, missing, or faulty system files with just a few clicks of the mouse.
3. Disable antivirus
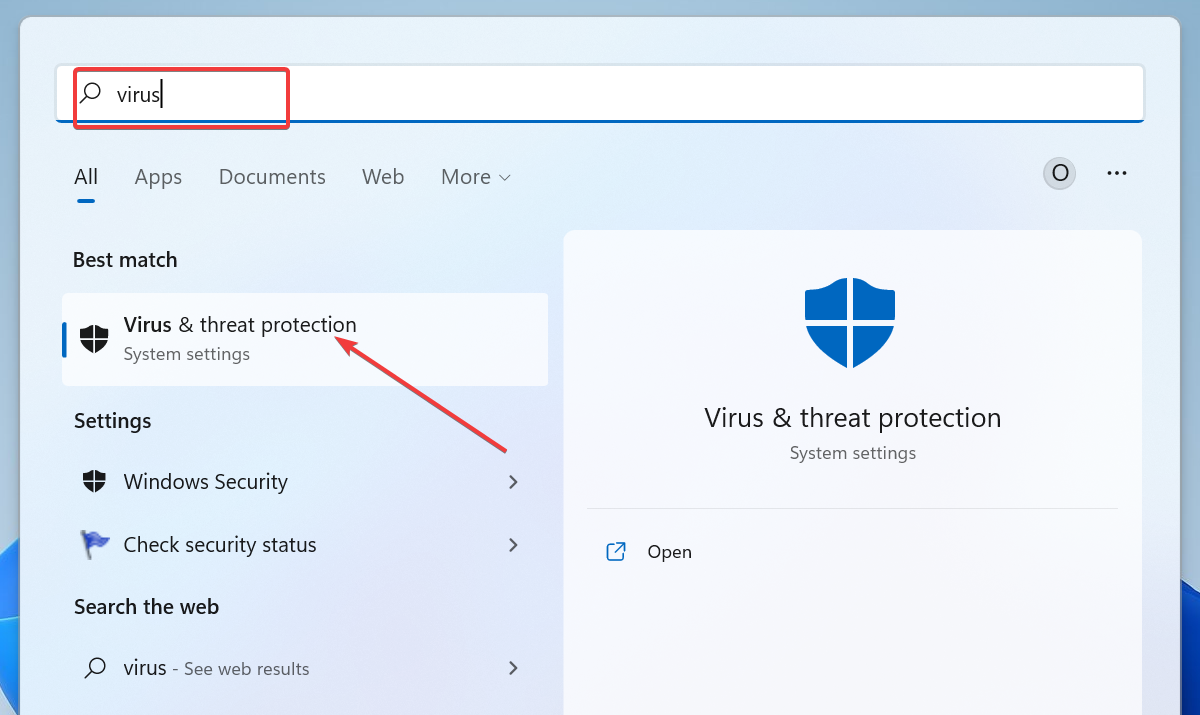
- Press the Windows key + S, type virus, and click Virus & threat protection.
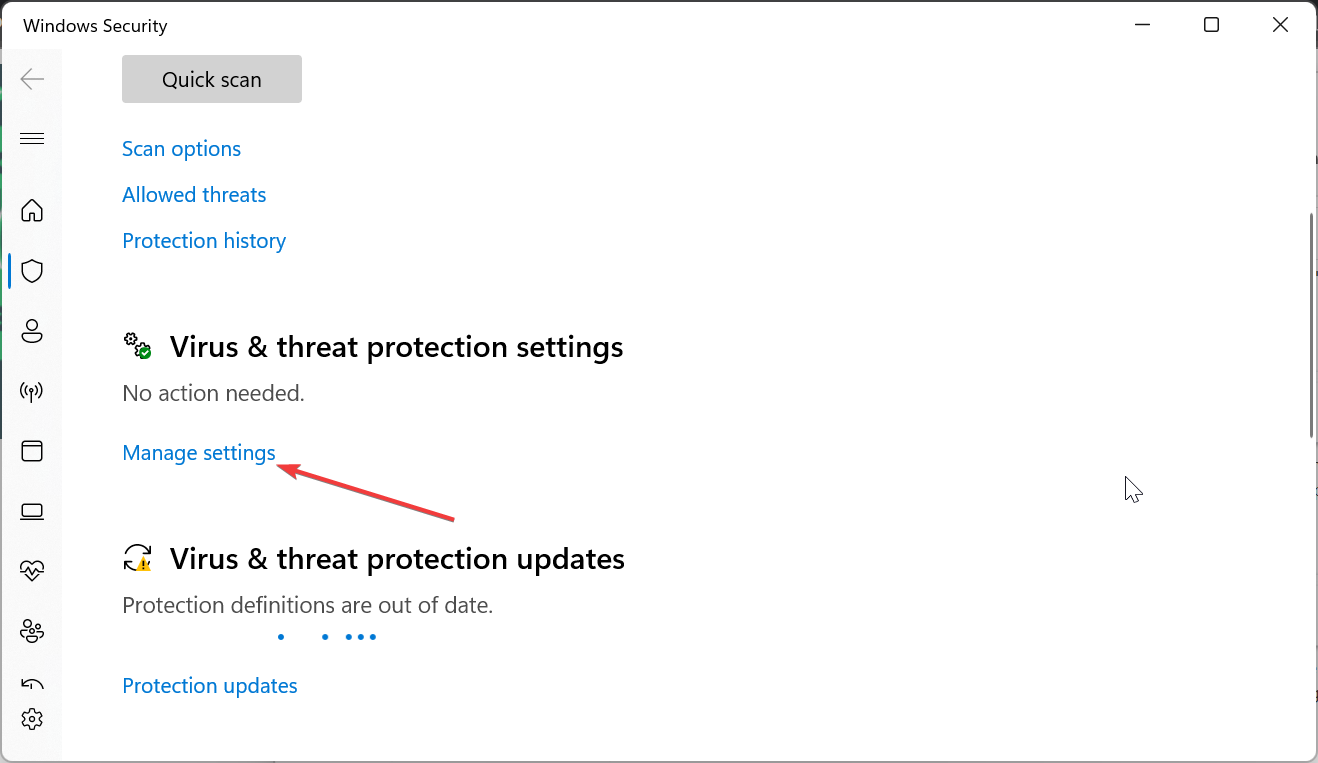
- Click the Manage settings link.
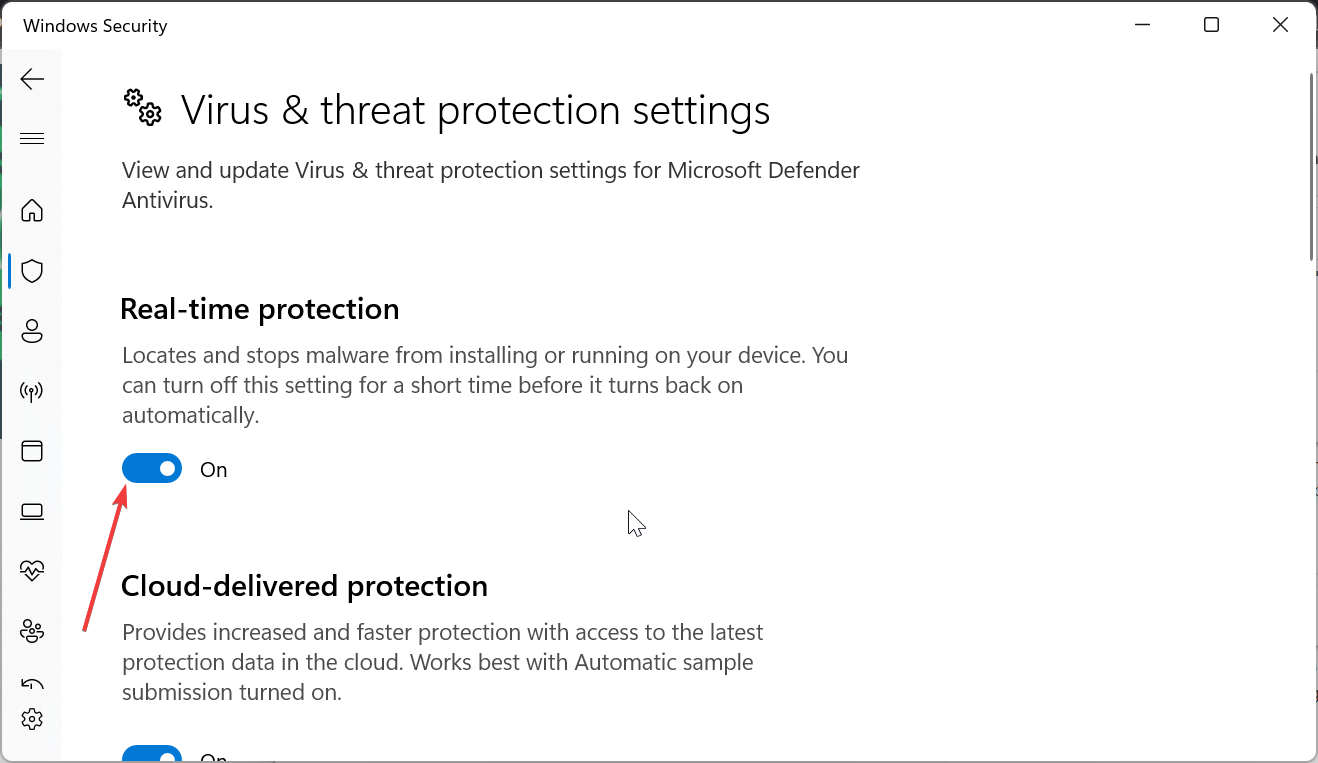
- Finally, toggle the switch for Real-time protection backward to disable it.
You can get the installer encountered an error 0x80240009 due to third-party antivirus software, such as McAfee, so be sure to remove McAfee from your Windows 11 PC completely. For best results, use the McAfee Removal Tool.
4. Run the Windows Update troubleshooter
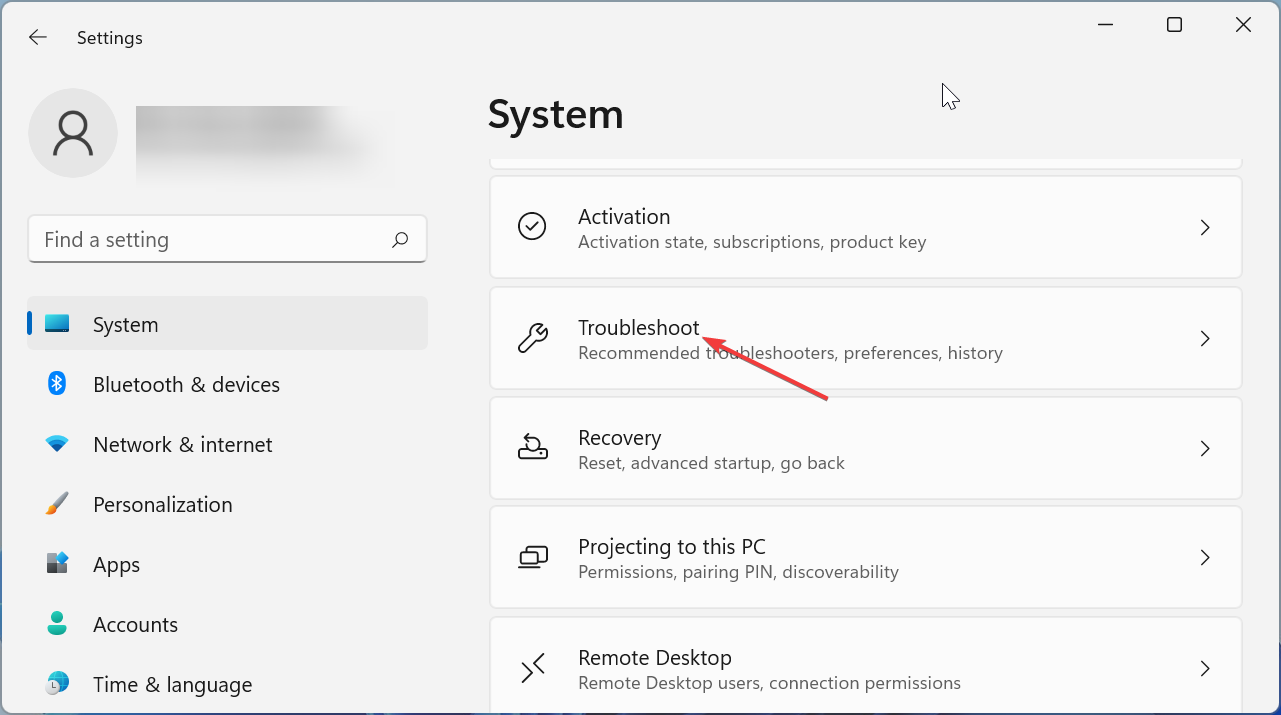
- Press the Windows key + I and select Troubleshoot in the right pane.
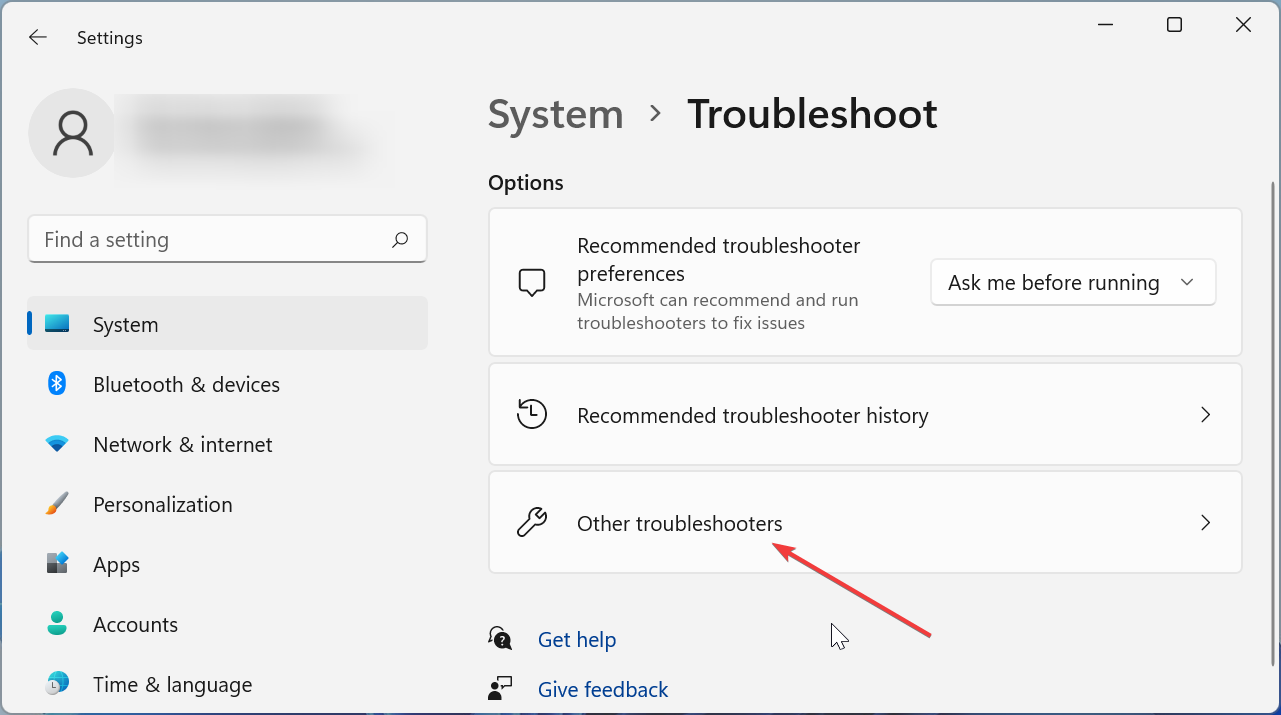
- Click Other troubleshooters on the next page.
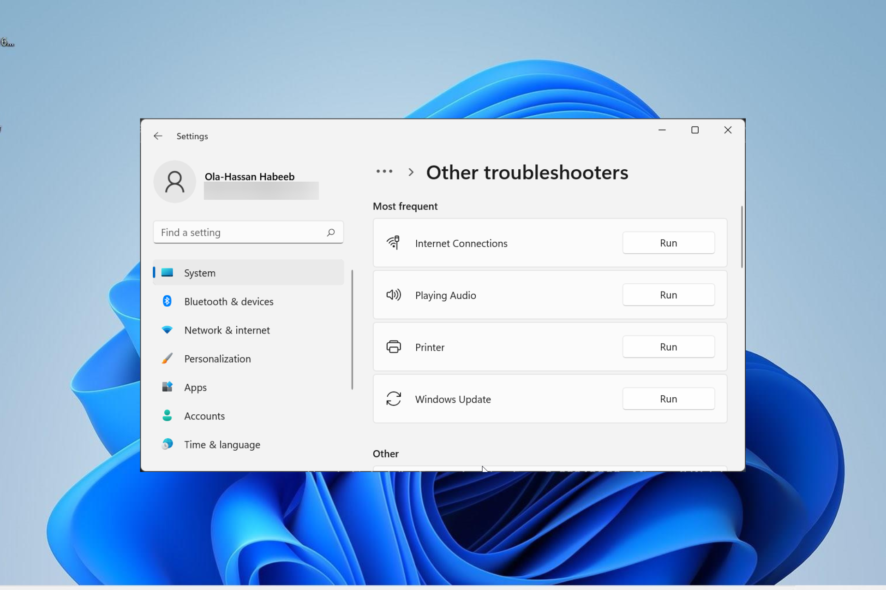
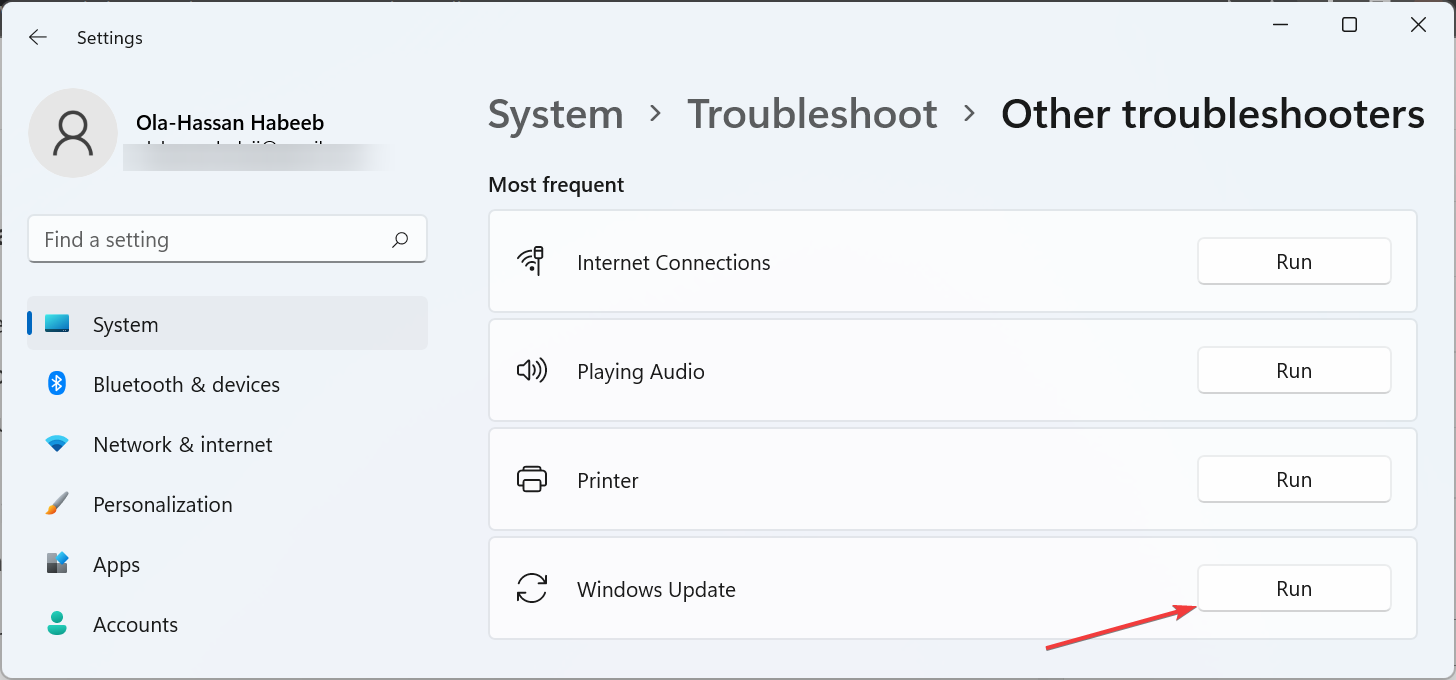
- Finally, click the Run button before the Windows Update option.
Sometimes, you can get the 0x80240009 error message because of minor glitches with the update process. The solution is to run the Windows Update troubleshooter, which will help you restart the needed processes.
5. Delete the update download path
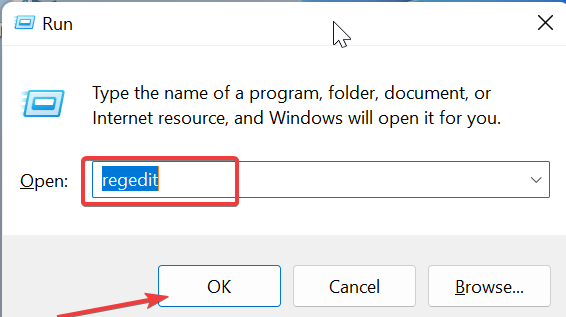
- Press the Windows key + R, type regedit, and click OK.
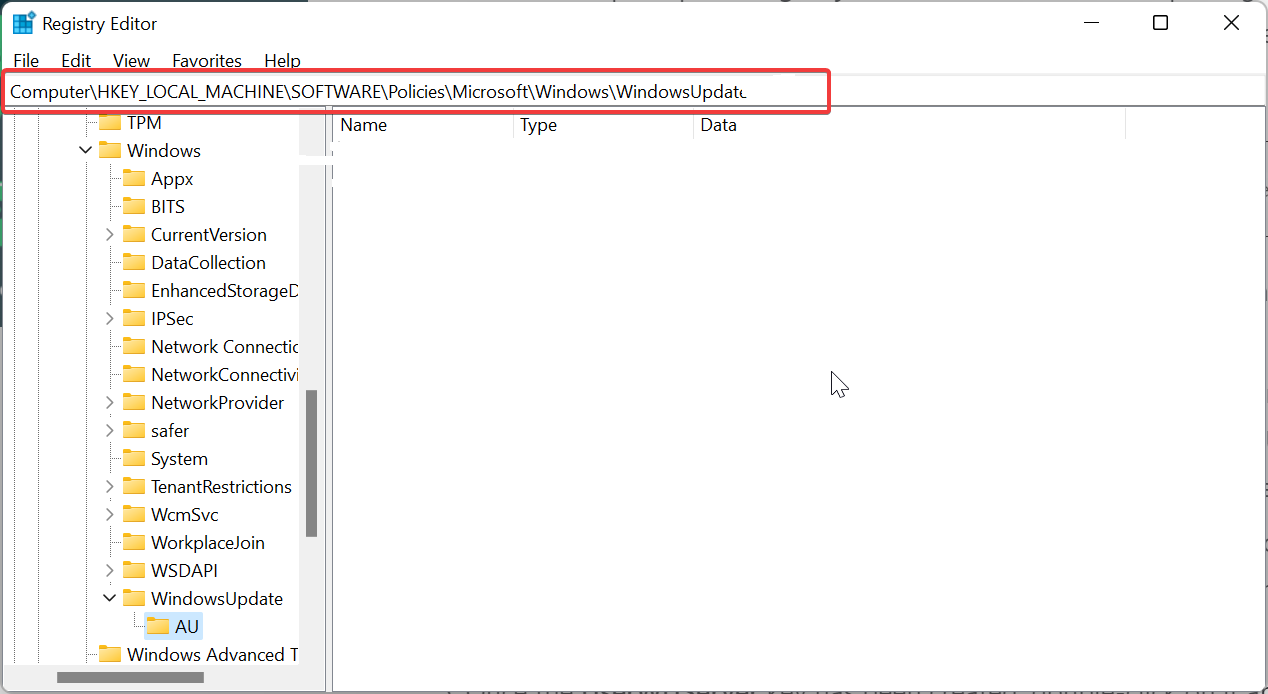
- Now, navigate to the path below in the left pane:
HKEY_LOCAL_MACHINE\SOFTWARE\Policies\Microsoft\Windows\WindowsUpdate - Next, locate the WUServer and WIStatusServer options in the right pane. If these two options are unavailable, this solution won’t work for you.
- Finally, right-click each of them and select the Delete option.
At times, you might be able to get rid of the Windows failed to install the following update with error 0x80240009 message by clearing the update download path. This should clear up any potential glitch that can cause the issue.
We have reached the end of this detailed guide on fixing the Windows update error 0x80240009. With the information in this article, you should now be able to solve the problem for good.
If you are dealing with a similar issue in Windows update error 0xc1900223, check our detailed guide to fix it quickly. Many also reported There were some problems installing updates error, but we covered those in another guide.
Another common error is Windows Update error 0x80245006, but we covered it in detail in our other guide, so don’t miss it.
Feel free to let us know the solution that helped you fix this issue in the comments below.

![How to Fix the Windows Update Error Code 0x80240009 [Easy Guide]](https://i.ytimg.com/vi/be-eWOS--kQ/hqdefault.jpg)


User forum
0 messages