What is WMIADAP.exe & Should You Remove it?
Everything you need to know to get rid of the errors!
5 min. read
Updated on
Read our disclosure page to find out how can you help Windows Report sustain the editorial team. Read more
Key notes
- The WMIADAP.exe process updates the WMI repository with performance-related information.
- Many users found the process to be consuming high CPU or being flagged as malware by the antivirus.
- The problems are usually easy to resolve, and a quick scan or repair of system files does the trick.
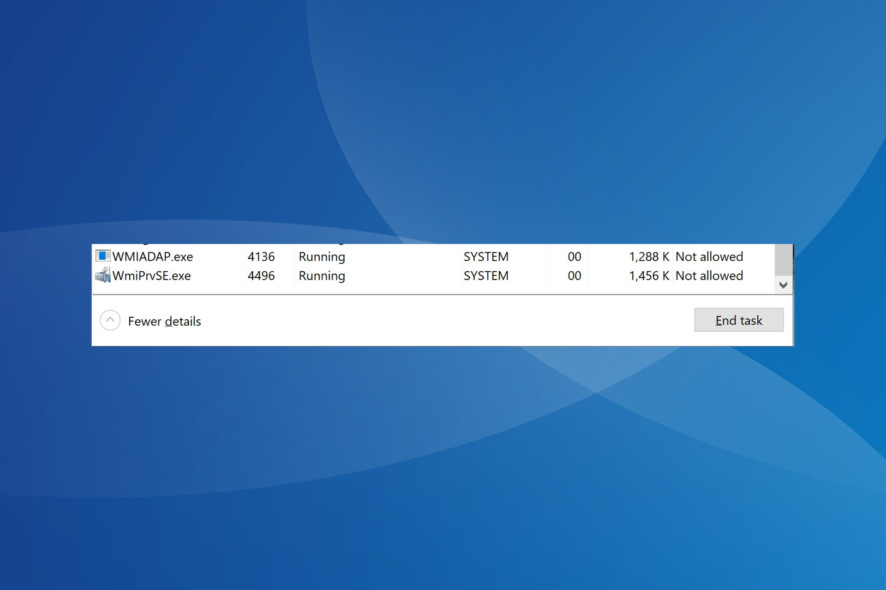
WMI, or Windows Management Instrumentation, is a repository that stores vital information. And certain processes and applications related to it run on the PC. One such that many had trouble with is WMIADAP.exe.
Users typically report high CPU usage due to the process, and for some, the antivirus flagged it as malware. Many even found WMIADAP.exe running right after startup. So what exactly is the process, and how can you fix its errors? Let’s find out!
How do I fix WMIADAP.exe errors?
Before we proceed to the slightly complex solutions, here are a few quick ones to try:
- Restart the computer.
- Check for any available Windows updates and install them.
- Disable any third-party antivirus installed on the PC.
If none work, move to the fixes listed next.
1. Disable all non-critical startup apps
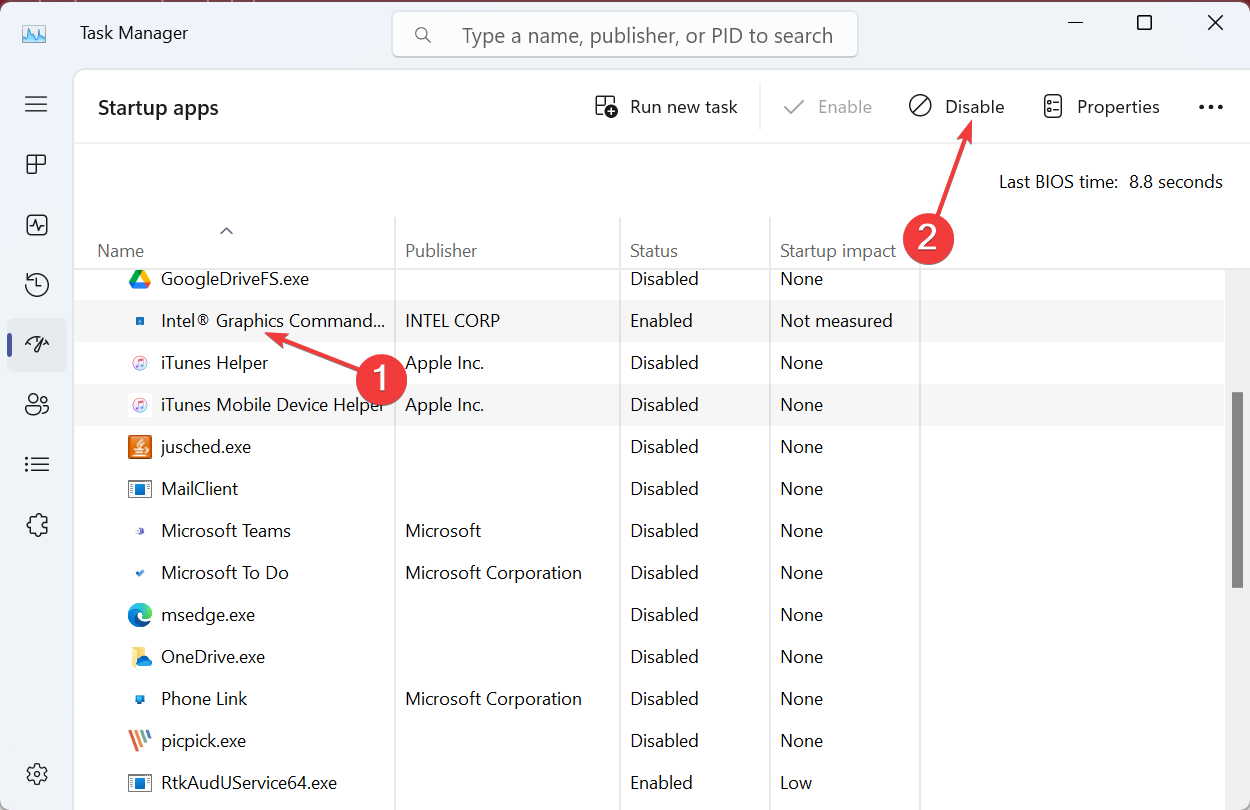
- Press Ctrl + Shift + Esc to open the Task Manager, and navigate to the Startup apps tab.
- Now, select all non-critical apps listed here individually, and click Disable.
- Once done, restart the computer.
Maybe an app on your PC conflicts with the process and triggers WMIADAP.exe’s high CPU consumption. So, disable the app from startup.
And if that doesn’t work out, you will need to uninstall the programs triggering the issue. Simply identify when the problem first started, make a list of apps installed around the same time, and remove them individually until you find the problematic one.
2. Repair corrupt system files
- Press Windows + R to open Run, type cmd, and hit Ctrl + Shift + Enter.
- Click Yes in the UAC prompt.
- Paste the following commands individually and hit Enter after each for the DISM tool:
DISM /Online /Cleanup-Image /CheckHealthDISM /Online /Cleanup-Image /ScanHealthDISM /Online /Cleanup-Image /RestoreHealth - Next, execute this command for the SFC scan:
sfc /scannow - Finally, restart the computer for the changes to apply.
Often the corrupt system files affect the functioning of core Windows processes and apps, including WMIADAP.exe.
A quick way to repair these is to run the DISM tool and the SFC scan or let a reliable third-party software do the job for you.
3. Scan for malware
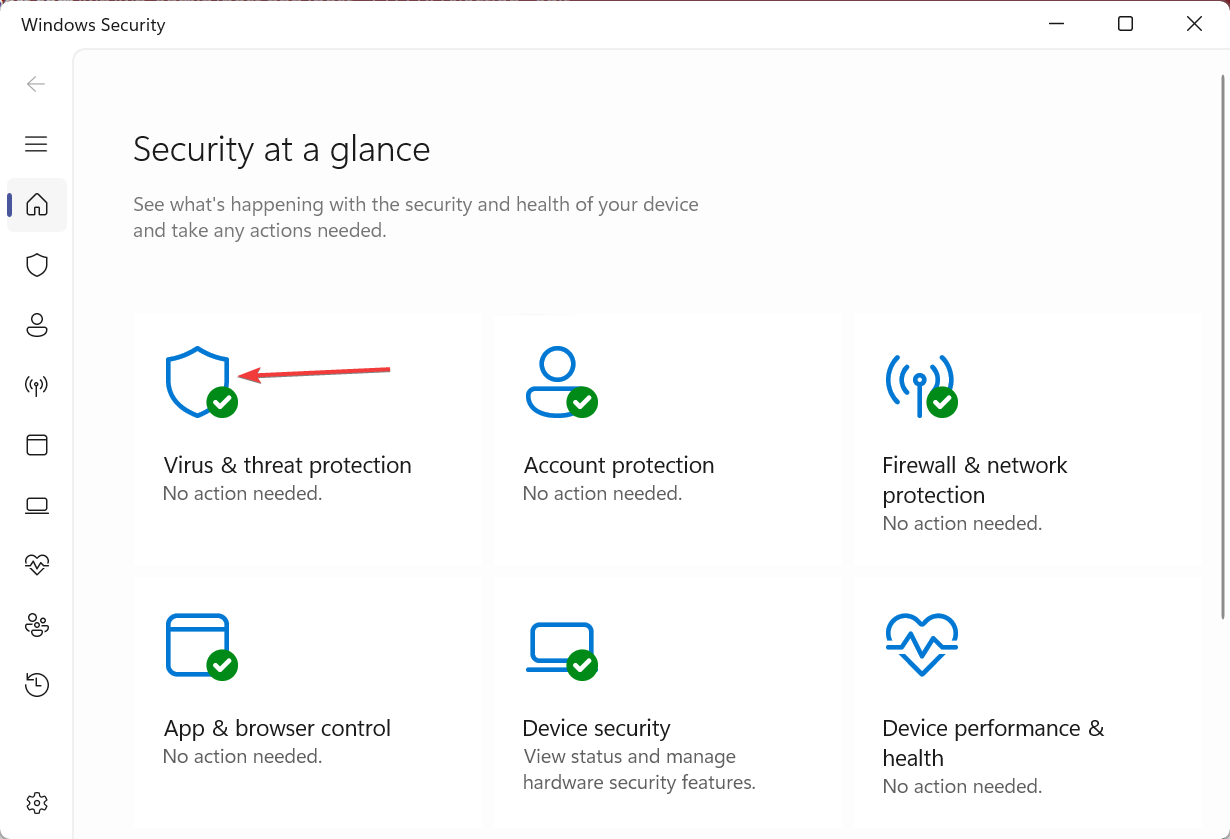
- Press Windows + S to open Search, type Windows Security in the text field, and click the relevant search result.
- Click on Virus & threat protection.
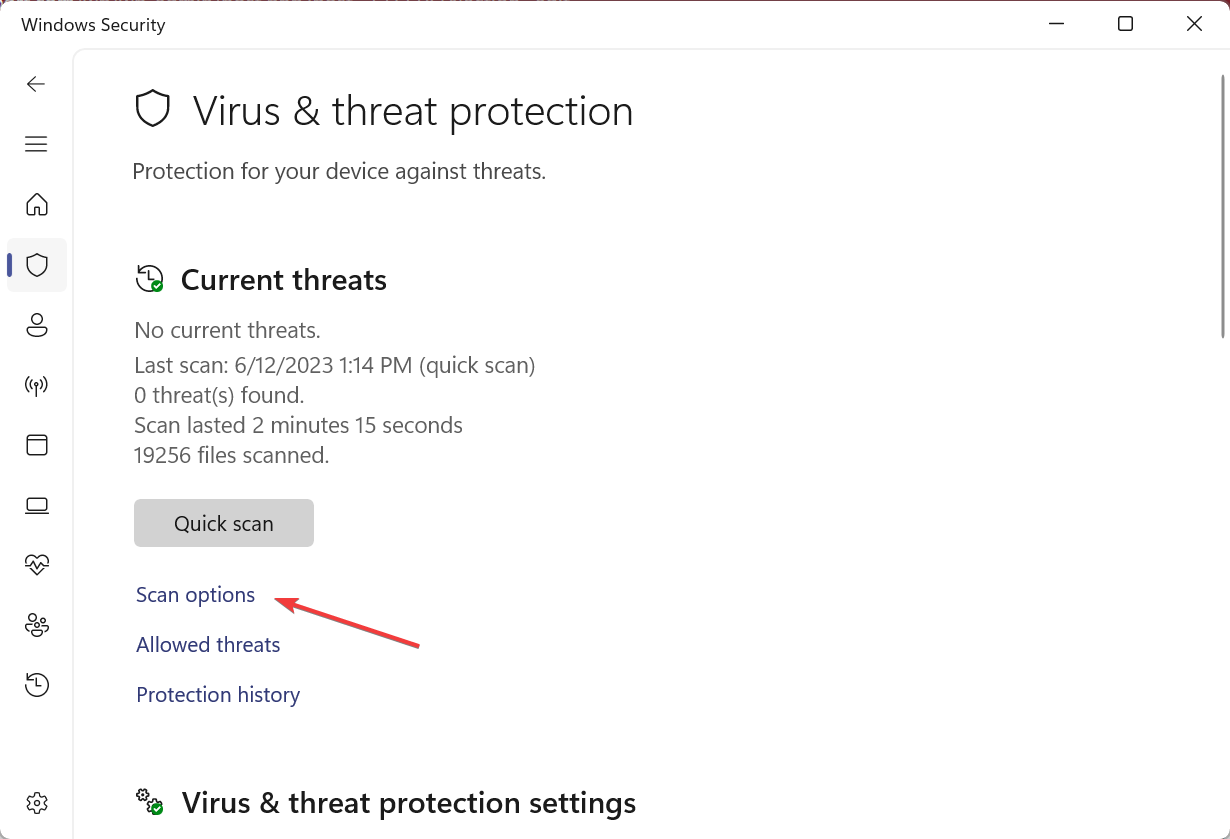
- Select Scan options.
- Now, choose Full scan, then click on the Scan now button, and wait for the scan to complete.
If you are wondering whether WMIADAP.exe is a virus and running it is safe, a full system malware scan should make it clear. Besides, if Windows Security doesn’t present convincing results, you could rely on an effective third-party antivirus.
4. Uninstall recent Windows updates
- Press Windows + I to open Settings, select Windows Update from the navigation pane, and click on Update history.
- Scroll to the bottom and click on Uninstall updates.
- Click on Uninstall next to the update you want to remove.
- Again, click Uninstall in the confirmation prompt.
If you started facing problems after a recent update, it could be an introduced change or any new configuration that might be conflicting with WMIADAP.exe and triggering errors. And the best option here is to uninstall the update and wait for a patch to be released.
5. Perform an in-place upgrade
- Go to Microsoft’s official website, select the product language and edition, then download the Windows ISO.
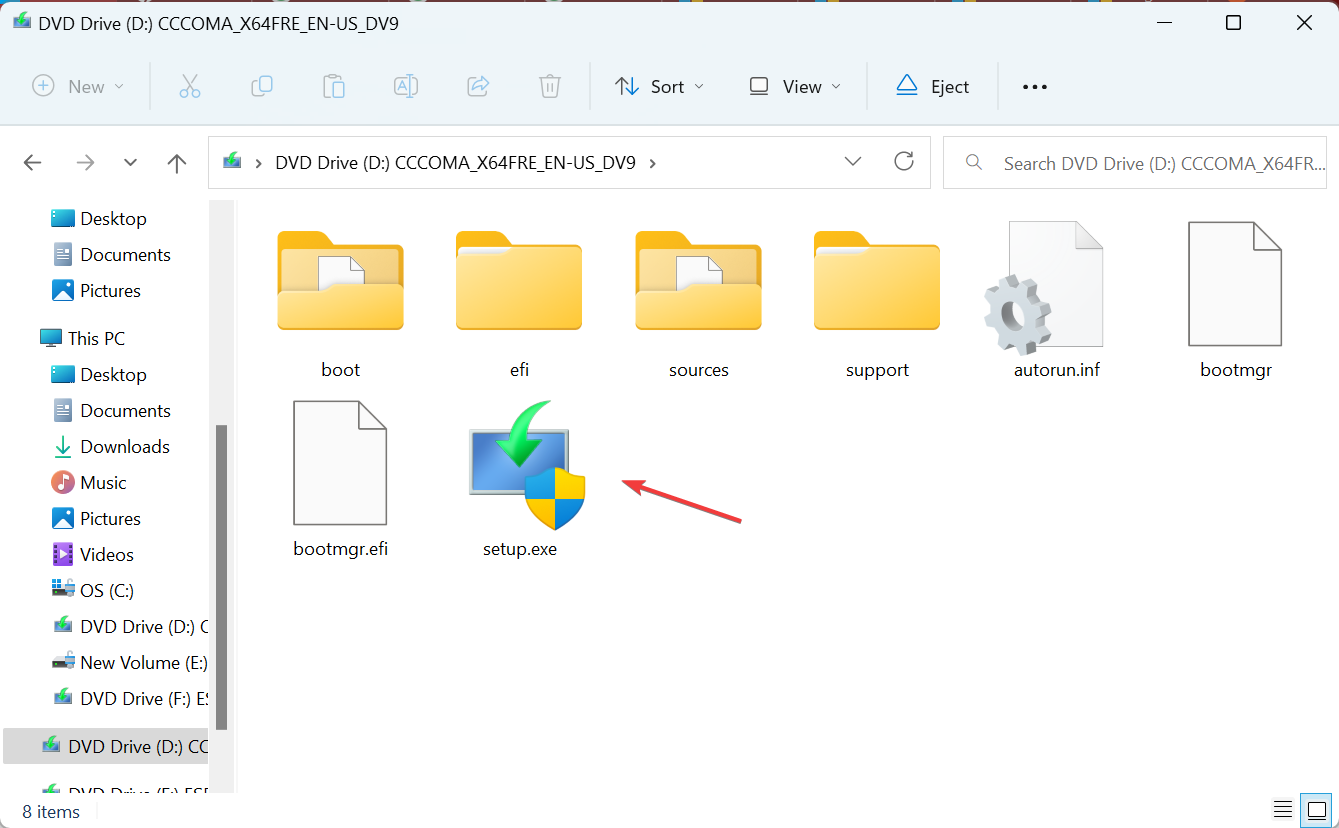
- Open the downloaded ISO and run setup.exe.
- Click Yes in the prompt that appears.
- Click Next to proceed.
- Now, click Accept to agree to Microsoft’s license terms.
- Make sure the setup reads, Keep personal files and apps, and click on Install to start the repair upgrade process.
When nothing works, you can perform an in-place upgrade to get things up and running. Remember, the repair upgrade works only for built-in processes and apps. And since WMIADAP.exe is one, it should do the trick. Also, the process wouldn’t affect the personal files or apps on the PC.
Once you have fixed things, check out some quick tricks to speed up Windows and make it run faster than ever. We also have a guide that explains how to remove DLADiag.exe, so don’t miss it.
Keep in mind that WMIADAP is a built-in application in Windows that keeps sending updates to the WMI Repository regarding performance information. Given that it’s present by default, WMIADAP plays a vital part in the OS.
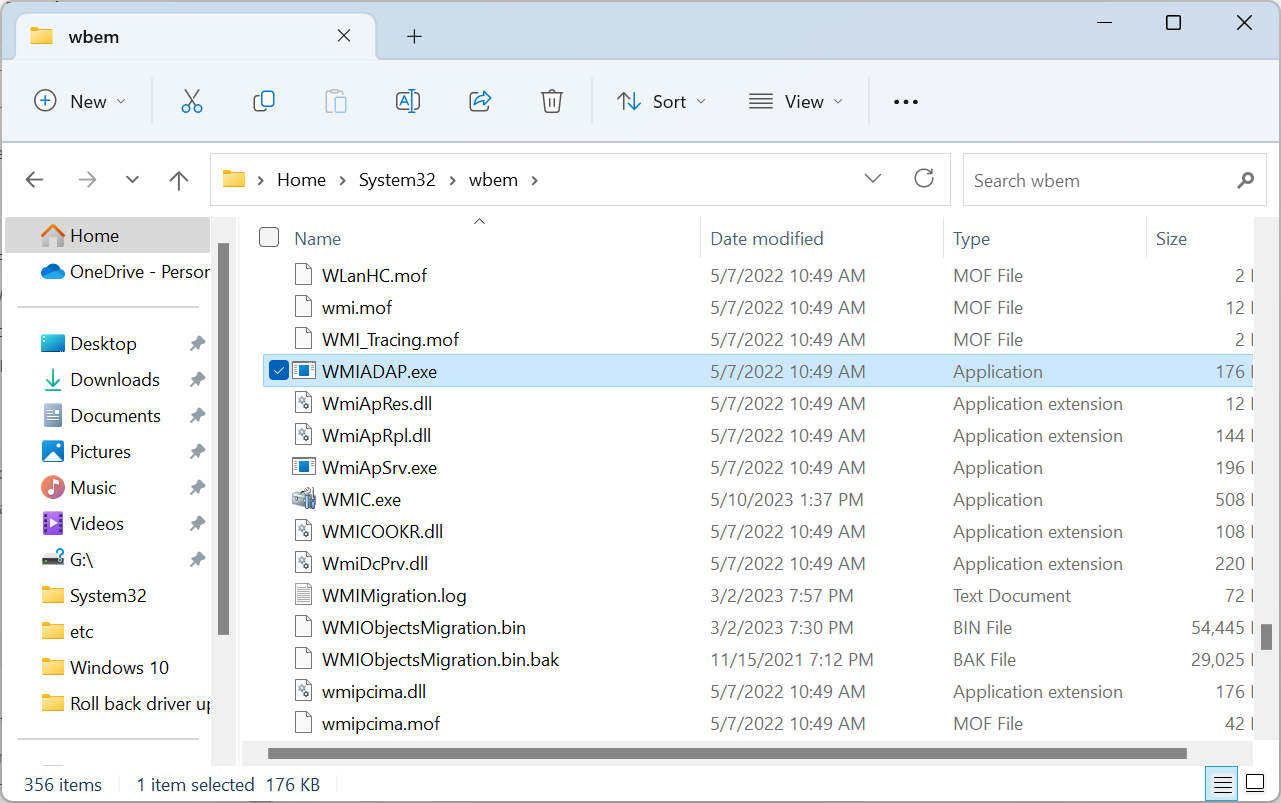
The WMIADAP.exe file is stored in the following directory:C:\Windows\System32\wbem
The process offers several switches to be able to execute functions better and perform the intended purpose. The /f switch parses the performance libraries, while the /r switch parses Windows Driver Model drivers.
Should I remove WMIADAP.exe?
Microsoft recommends against disabling or removing WMIADAP.exe in its official blog post unless an expert suggests otherwise and the changes do not adversely affect the PC.
But remember, there are cases where malware or viruses disguise as WMIADAP.exe and continue running on the PC unabated since you can’t identify it. An increased CPU usage due to the process may present a problem.
These are all easily fixable and should be the preferred option before you disable the WMIADAP app. Avoid tinkering with all built-in Windows processes and apps to prevent damage to the OS.
For any queries or to share what worked for you, drop a comment below.









User forum
0 messages