Printer Printing Colors Wrong: 6 Ways to Fix it
Calibrate your display for an accurate color profile
![]() 6 min. read
6 min. read
![]() Published on
Published on
Share this article
Improve this guide
Read our disclosure page to find out how can you help Windows Report sustain the editorial team. Read more
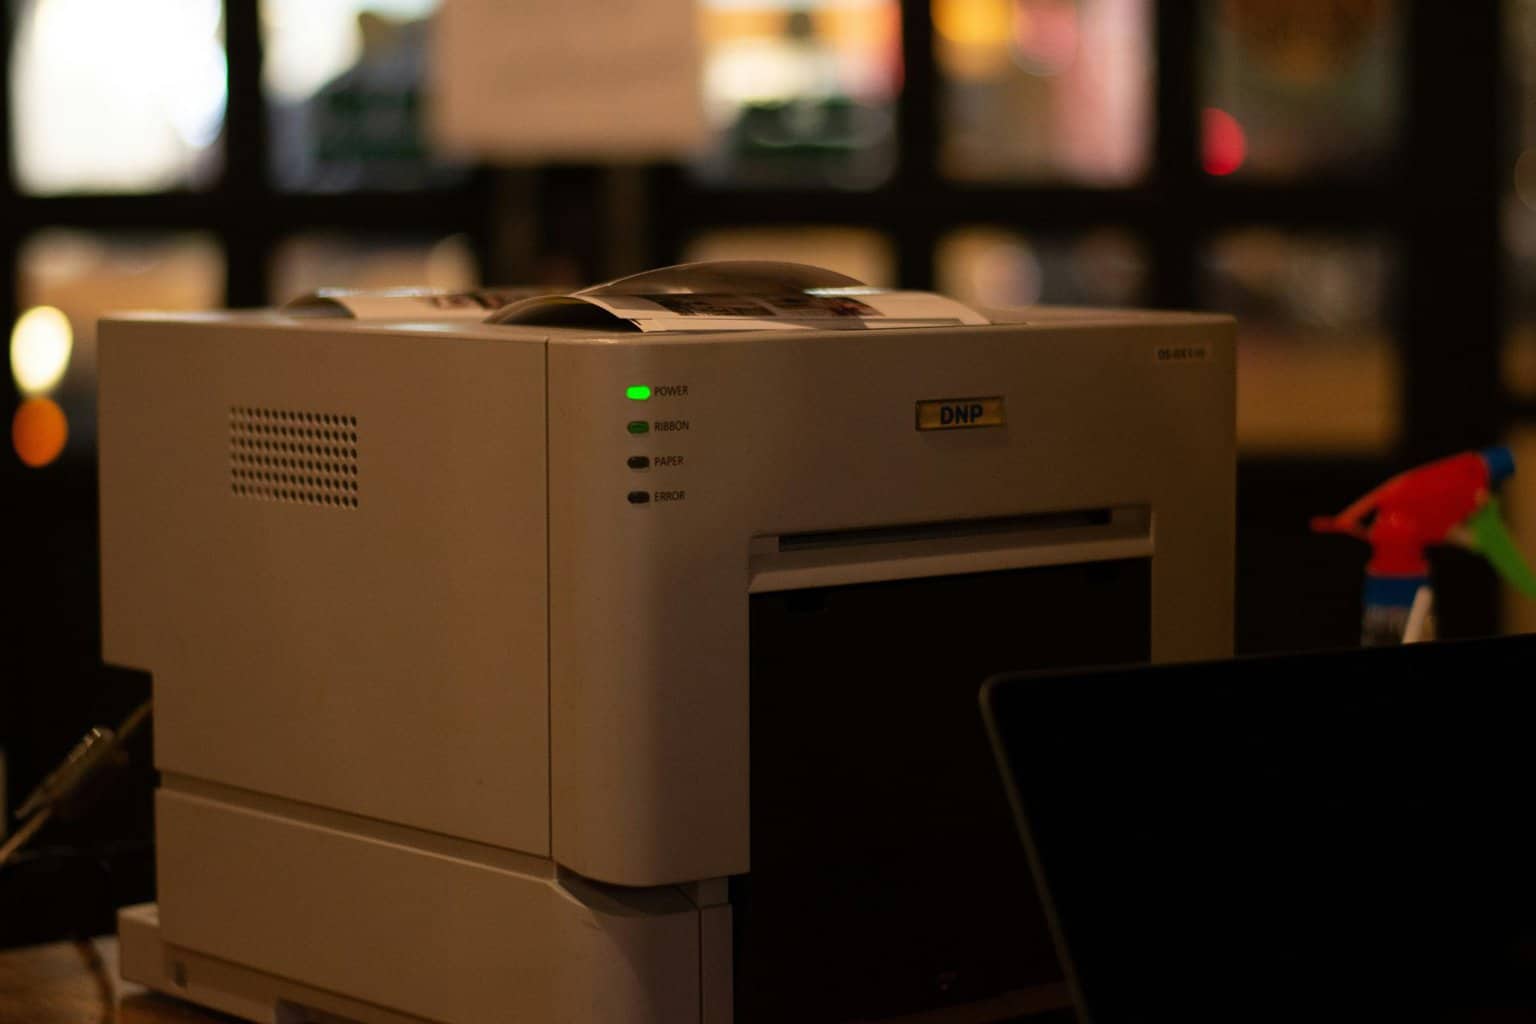
It’s not often that your printer will be printing colors all wrong but if it happens, it’s probably just a wrong cartridge placement or printer settings.
Often times, the quality of paper, level of ink toner and incorrect color profiles play a part in the final outcome.
How do I get my printer to print in color accurately?
1. Clean the printhead
 NOTE
NOTE
1.1 Automatically
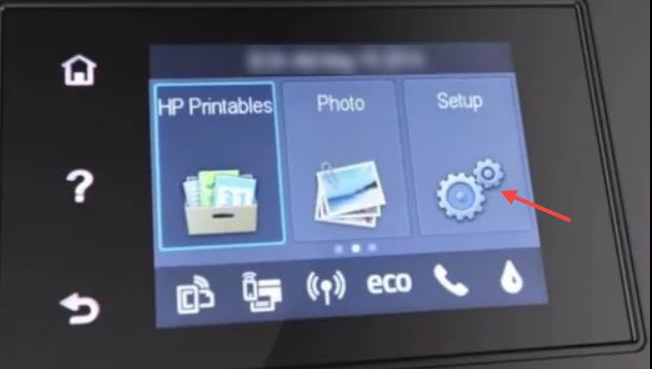
- Open your HP printer paper tray and load some plain paper.
- Go to the printer control panel and select Setup.

- Scroll until you reach the Printer Maintenance option, then tap to select.
- Select Clean Printhead, and a test page will print.
- Examine the test page.
1.2 Manually
- Turn off your HP printer and unplug the power cord from the wall outlet.
- Wait five minutes or until the printer cools down completely before proceeding further to avoid electric shock or injury from hot surfaces while handling parts inside the printer.
- Open the cartridge access door, remove all the cartridges, and put them somewhere with the ink opening up. Do not leave the cartridge outside of the printer for longer than 30 minutes.
- Now carefully, lift the latch handle on the print carriage until it stops and remove the printhead, also by lifting it up.
- Use an alcohol wipe to clean the copper contacts on both sides of each cartridge. Do not touch any other part of these cartridges or let any liquid get inside them.
- Blow out any remaining dried ink or dust from inside each nozzle opening on your printhead. Do not use anything sharp or abrasive to clean inside your nozzles.
- Replace each cartridge in its slot and ensure it is firmly seated before closing and locking them back into place. You should hear a click sound as confirmation.
2. Update your printer software
- Navigate to your browser and go to the Software and Driver Downloads page for HP printers.

- Click on Printers, enter the required model number, and press the Submit button.
- Expand the Firmware category on the printer’s software page.

- Click Download to save the firmware listed there to a folder.
- Open the folder that includes the downloaded firmware. Then open the firmware file and follow the on-screen instructions to install the latest firmware.


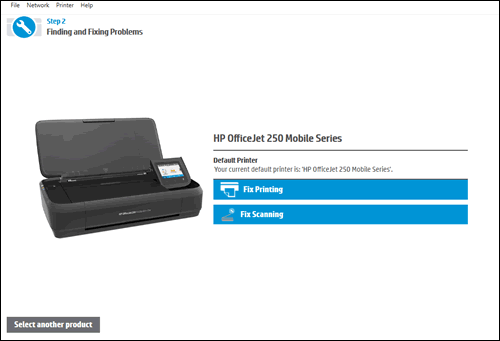
3. Run the printer’s diagnostic tool
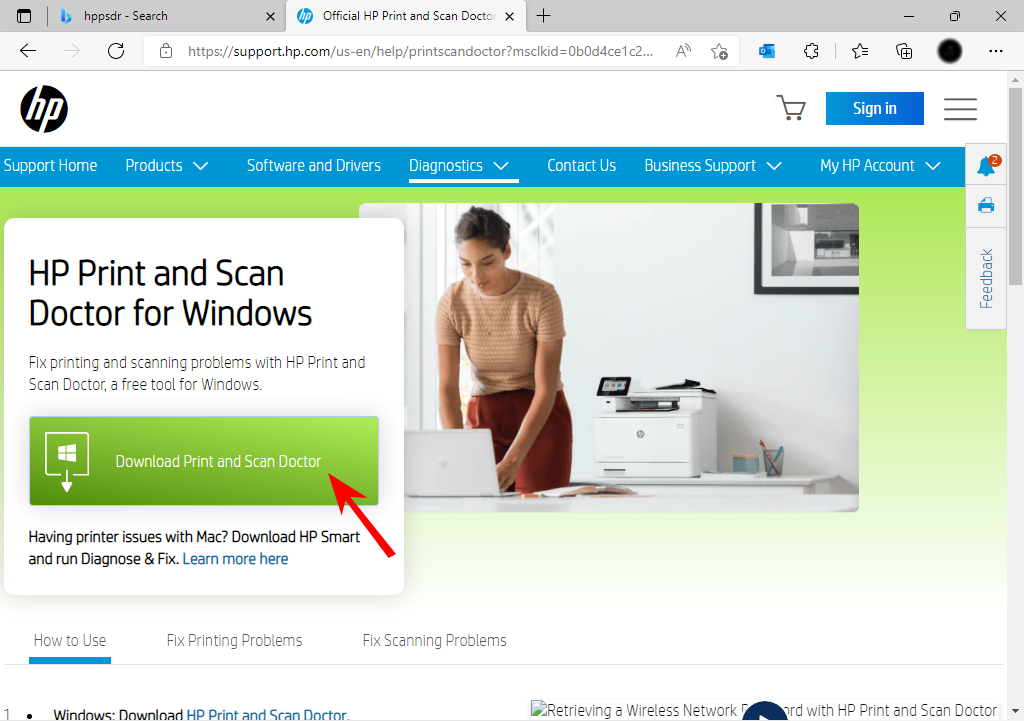
- Download the HP Print and Scan Doctor application.

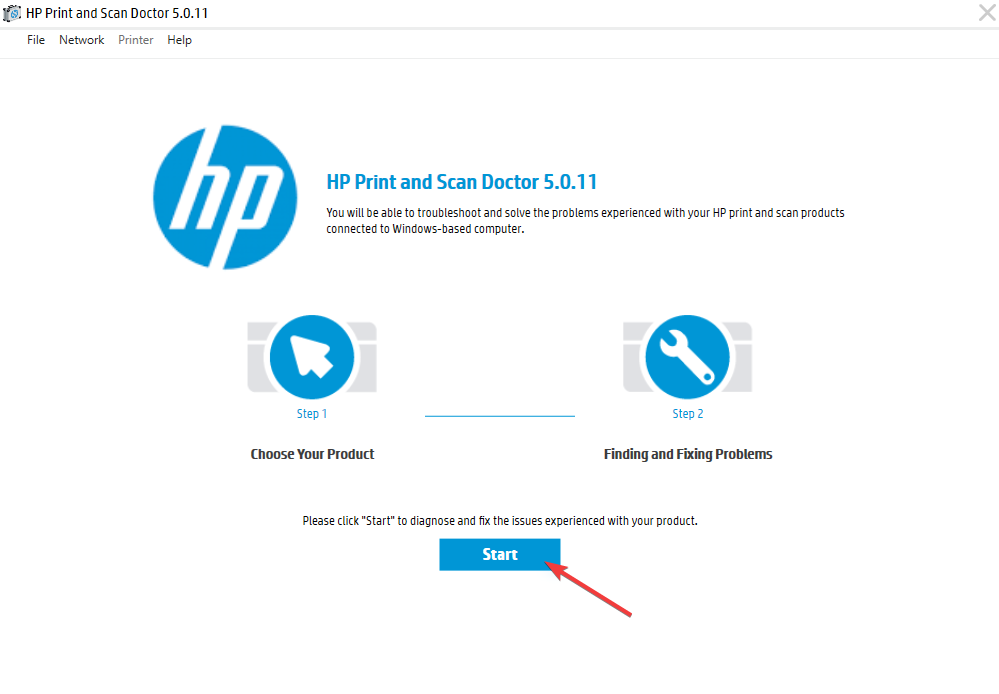
- Open HPPSdr.exe from the download location. You might need to be an administrator to be able to do this.
- Click on Start and select your printer. If your printer is not present, reboot your printer, then choose Retry.

- Follow the prompts the application gives you and choose Yes if it asks to turn on printer updates. Then set your default printer.
- Now, select the printer that the Problem with printhead error arises for, and click the Next button.
- Select the Fix Printing option.

- HP Print and Scan will then display some troubleshooting results. Follow the troubleshooting instructions if the software displays any X crosses, highlighting unresolved printer errors.
4. Update Printer drivers
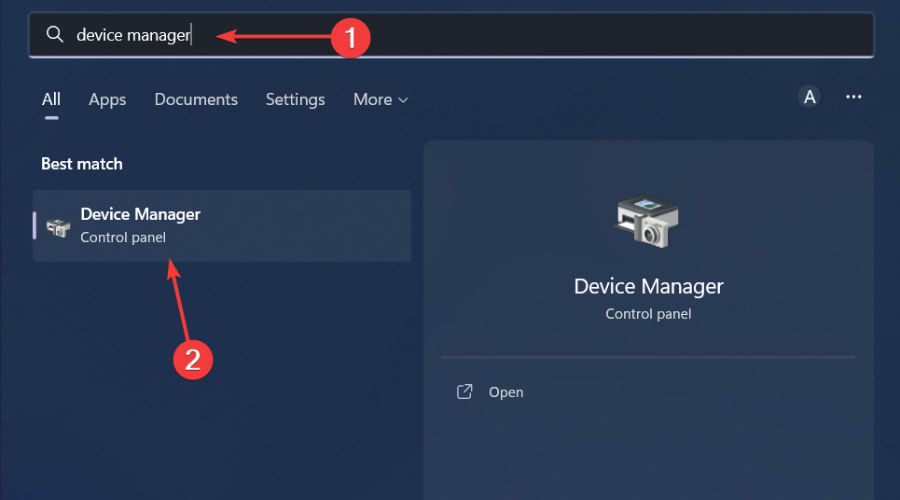
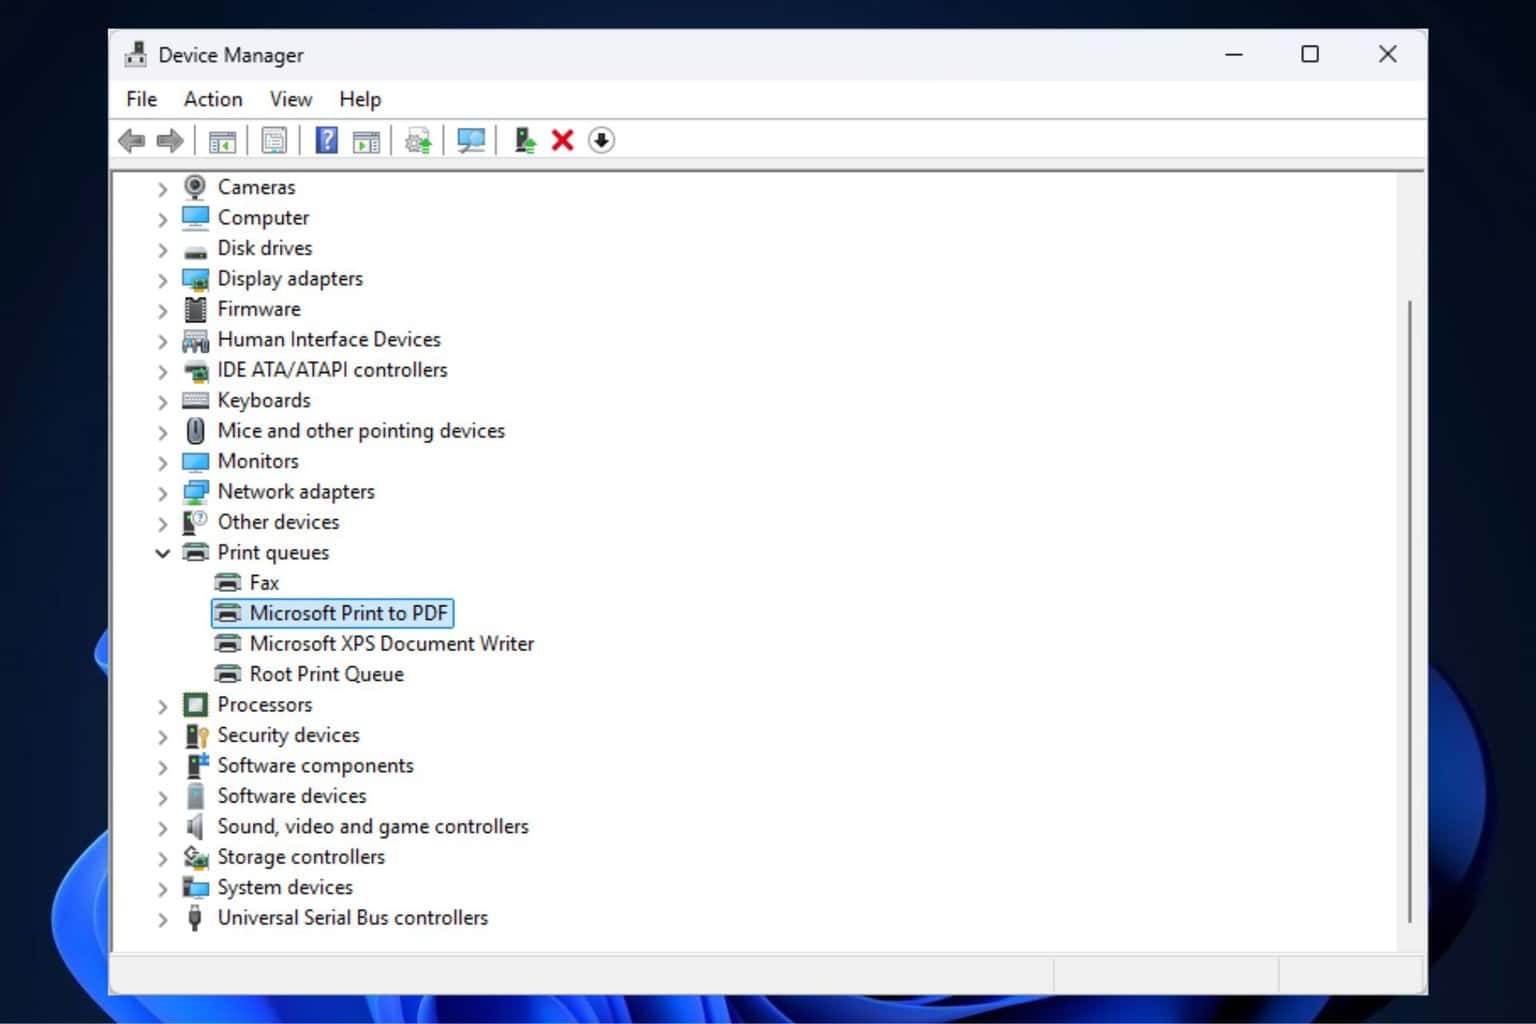
- Hit the Windows key, type Device Manager in the search bar, and click Open.

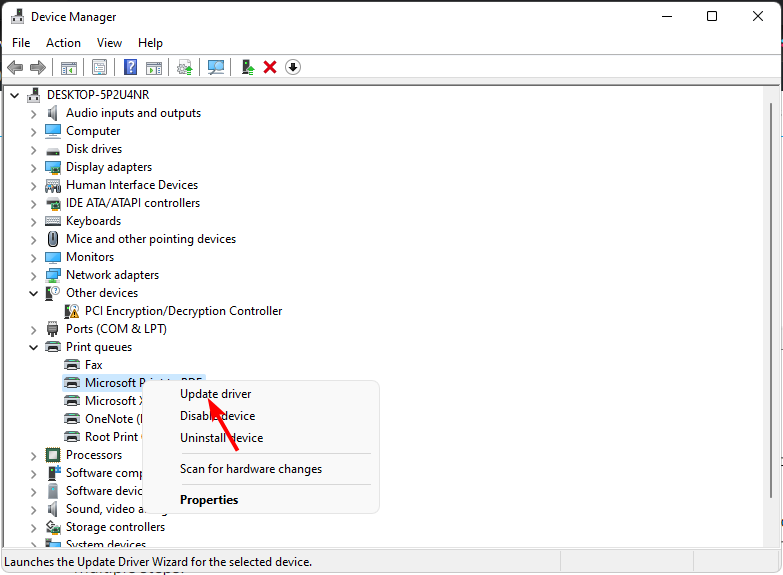
- Navigate to Printers and locate your printer.
- Right-click on it and select Update driver.

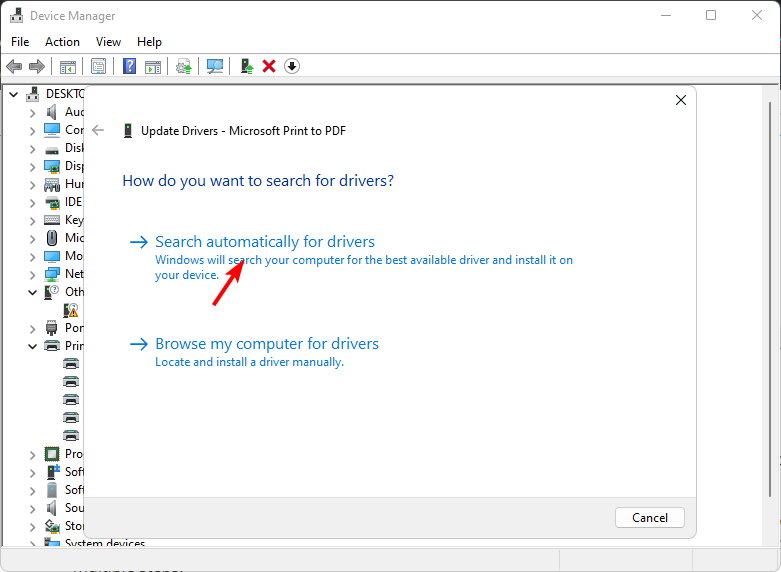
- Select Search automatically for updated drivers.

- Windows will find the most suitable driver and recommend you install it.
5. Calibrate your display
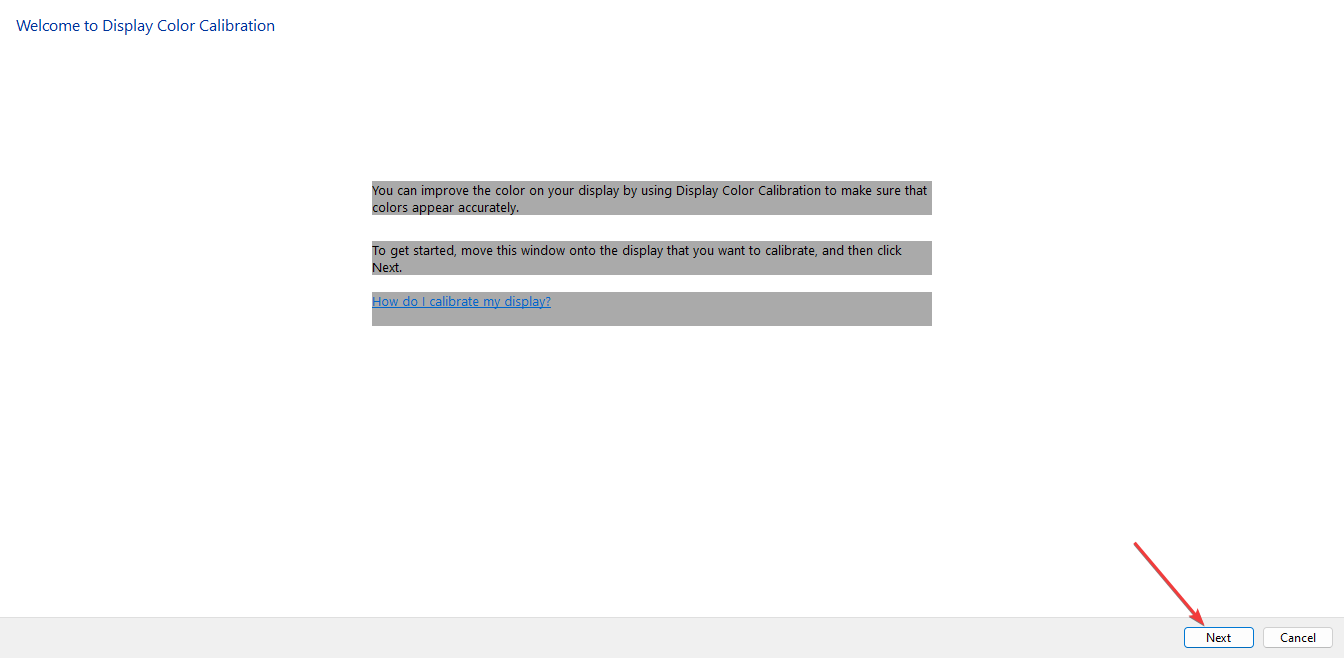
- Open Settings by pressing the Windows key + I. Type Calibrate in the Search Box and click on Calibrate display color.

- Click on Next and follow the displayed instructions on the screen.

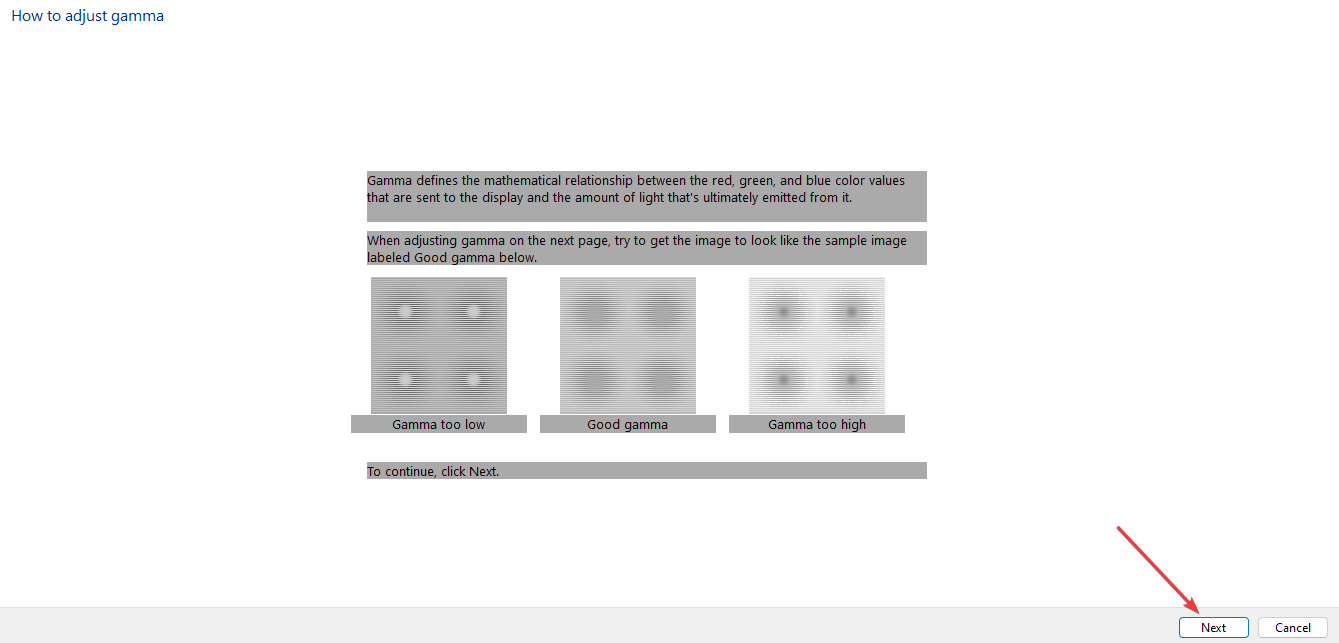
- After reading the instructions and consecutively clicking Next. You will see notes on how to adjust Gamma.

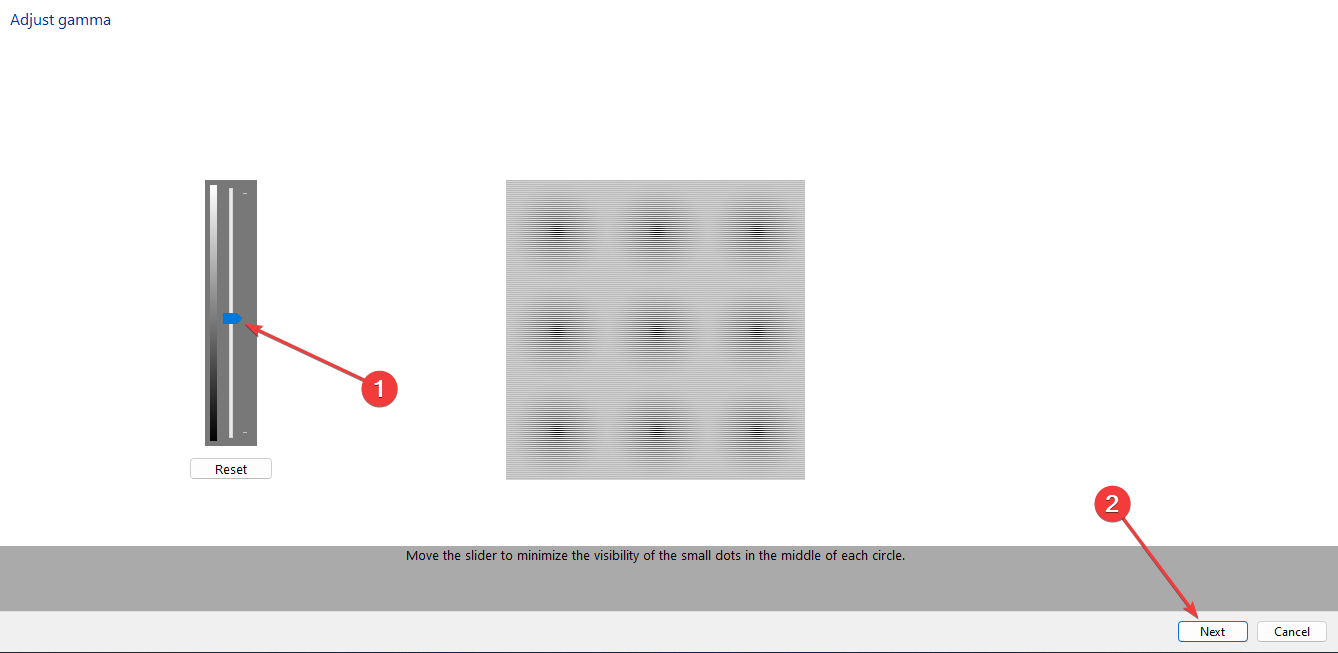
- Adjust the Gamma the way you like. Then, select Next.

- Click on Next to complete the set-up.
- You can decide to Skip brightness and contrast adjustment. If you don’t want to skip it, just select Next.

- The screen information is well detailed to enlighten the steps to take. Proceed from each step by selecting Next. Adjust the brightness and contrast to a level you are satisfied with.
- You will also be prompted to adjust the color balance. The information on how to do this will be displayed on your screen.
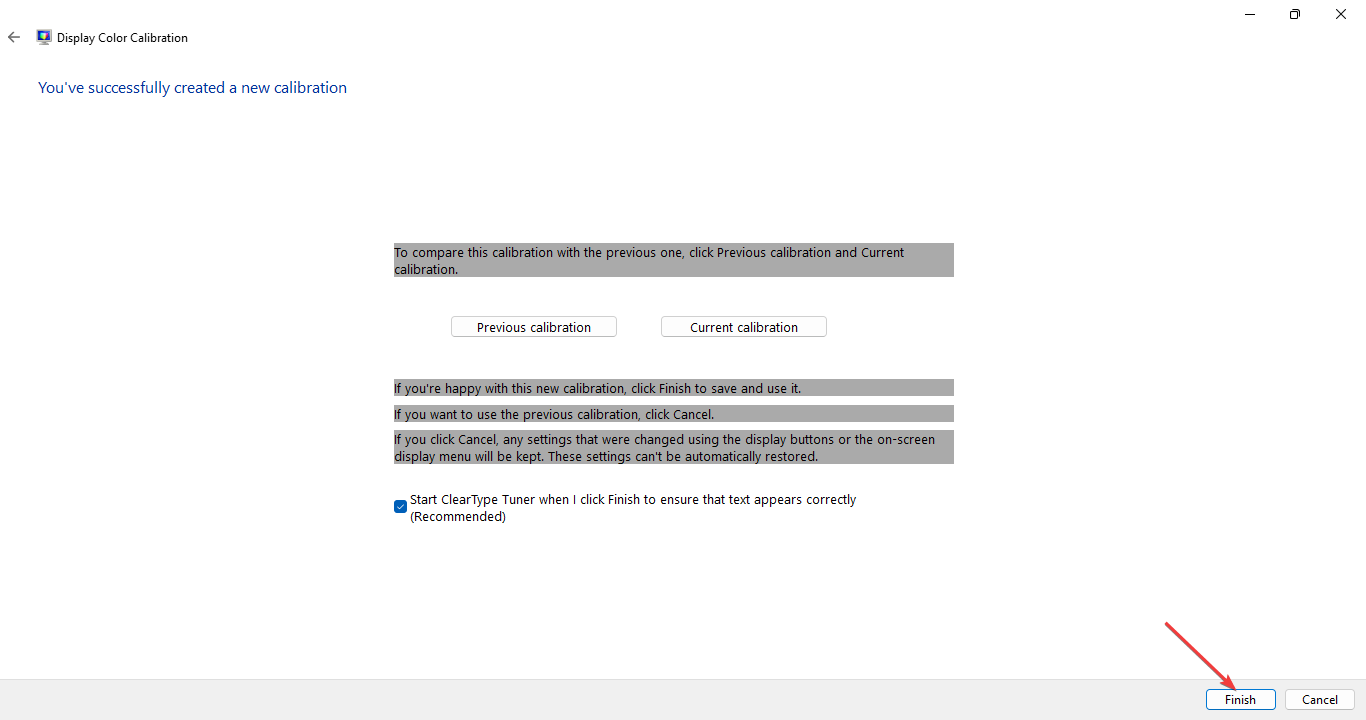
- At the end of this setting, You’ve successfully created a new calibration will be displayed. Select Finish to complete the set-up.

- Check if you are satisfied with the new color settings with a new print test.


Creating a color profile on your display ensures that the colors are consistent and match so what you see is what will be replicated when you print. Also ensure your printer’s ink levels are not low as this could interfere with the final outcome.
6. Reset your printer
- Switch on the printer if it’s off, then remove the power cord from the back of the printer.
- After that, unplug the power cord from the wall.

- Check the cartridge and ensure it is properly seated. Also check the ink levels.
- Reconnect the power cable, and turn on the printer while pressing the Resume button for 10-20 seconds.
- Once the Attention light turns on, release the Resume button.
- Now, wait a few moments while the Attention and Ready lights blink, indicating that the reset is in process.

Your cartridge may be full of ink but your printer is still not printing or printing incorrect colors.
Remember that most printer manufacturers are against using third-party cartridges so if this is the case, switch to a HP-verified or your manufacturer’s cartridge and see if this resolves the printer printing colors wrong.
Issues with your printer printing color inaccurately are not new. Sometimes, the printer won’t print in color at all and other times, your printer is only printing in greyscale. All these are issues we’ve addressed in our fix guides so feel free to check them out.
If none of the above solutions have addressed the issue of printing wrong colors, try reaching out to your manufacturer’s support contact. They may have additional troubleshooting steps unique to your specific model.
That’s a wrap from us but do share with us any other tips or solutions you m ay have in the comment section below.
User forum
0 messages