Fix Brightness Slider Not Working in Windows 10 or 11
Brighness adjustment may be blocked by automatic sensors
If your Windows 10, Windows 11 brightness slider isn’t working, it’s probably due to display driver or power setting issues.
So, if changing brightness doesn’t do anything, follow the steps below to fix it.
Fix Brightness slider not working
What brightness issues are encountered in Windows 10?
What can I do if Windows brightness is not working?
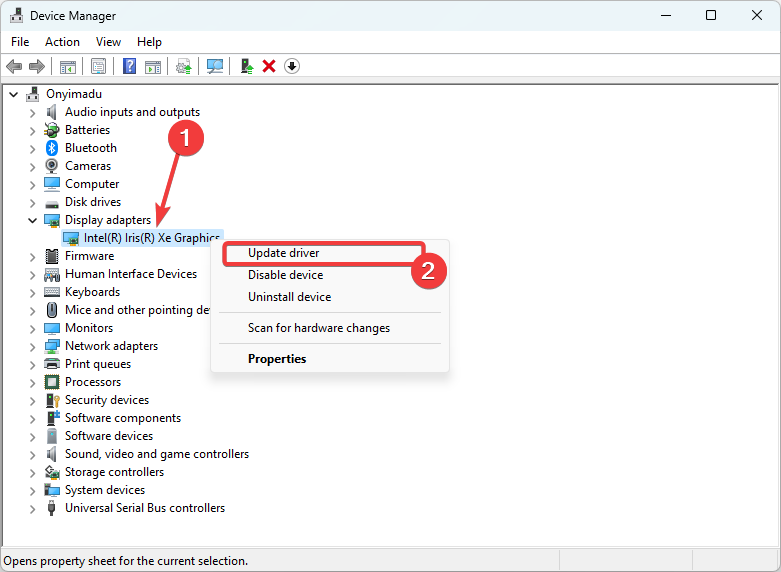
1. Update the display adapter drivers using Device Manager
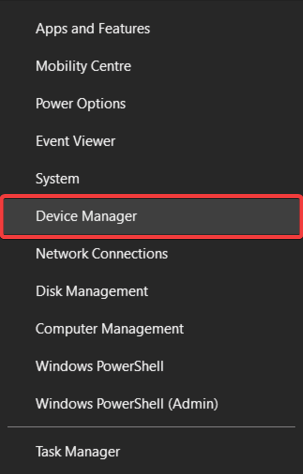
- Press the Windows key and select Device Manager.
- Expand Display Adapters.

- Right-click on your Display Adapter listed and click on Update Driver.
- Select the option to Search automatically for drivers.
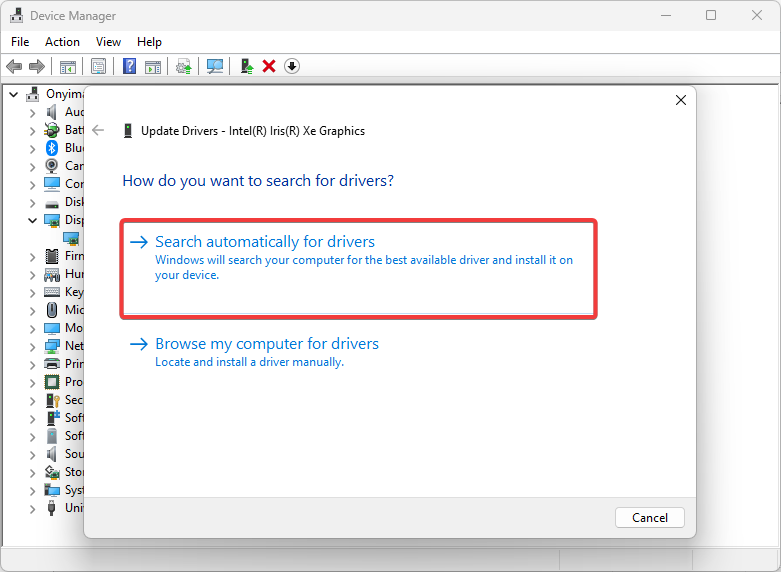
- Restart the computer after it’s updated and verified.
You can also try and get the latest drivers from your computer’s manufacturer’s website and download and install the latest display and chipset drivers.
Another way to solve this is by going to your manufacturer’s website and finding Windows 10 driver download links/files that are compatible with your PC.
Installing the appropriate drivers should fix the issue.
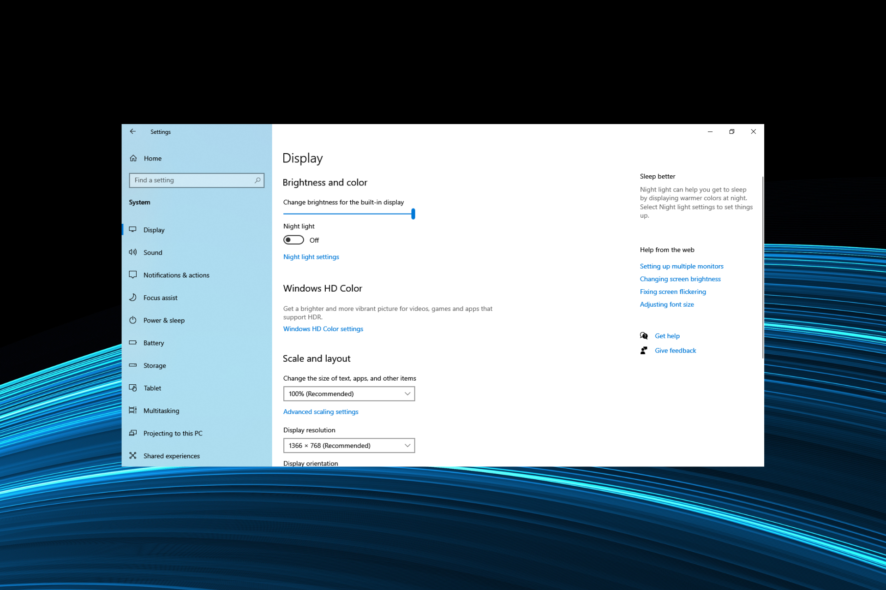
2. Disable the automatic brightness level
 NOTE
NOTE
- Click the Start button and select Settings.
- Now, click on System.
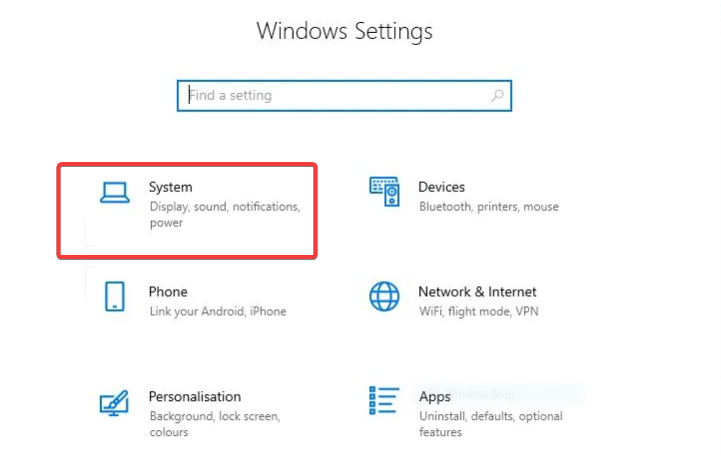
- Select Display from the left pane, then uncheck the box for Change brightness automatically when lighting changes.
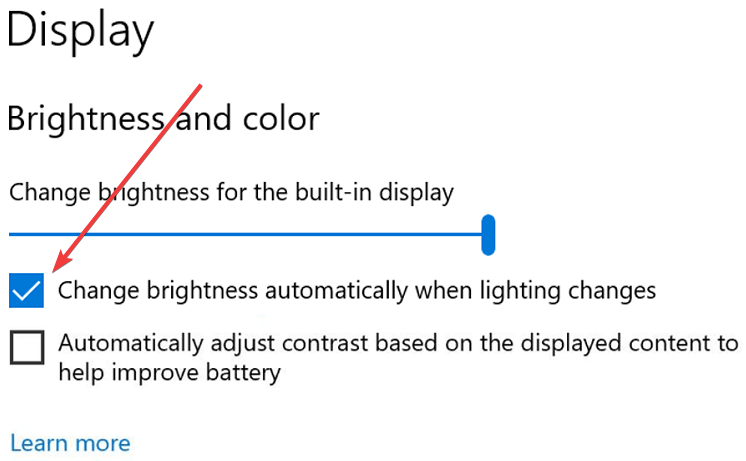
Check if your Windows 10 brightness slider not working issue is now resolved.
3. Enable the PnP Monitor driver
- Press the Windows key and select Device Manager.
- Double-click Monitors.

- Right-click on Generic PnP monitor to see if it is enabled.

- If not enabled, click Enable device. If enabled, disable it.
- Next, click on the Action tab at the top menu of Device Manager.

- Select Scan for hardware changes.

PnP stands for plug-and-play hardware devices that work without installing a driver. Instead, you consider it the generic driver for the display that will automatically get installed by Windows.
5. Update the registry to fix the brightness not working issue
- Press Windows + R to open Run, type regedit, and hit Enter.
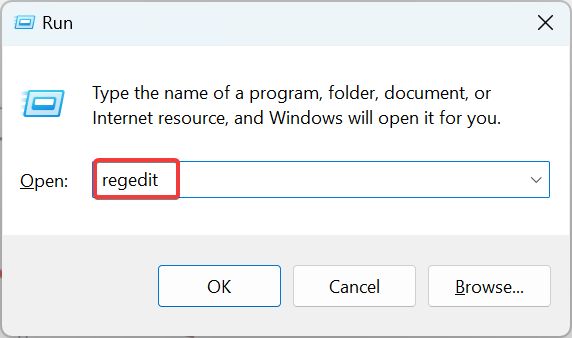
- Click Yes in the UAC prompt.
- Paste the following path in the address bar and hit Enter:
Computer\HKEY_LOCAL_MACHINE\SYSTEM\ControlSet001\Control\Class{4d36e968-e325-11ce-bfc1-08002be10318}\0001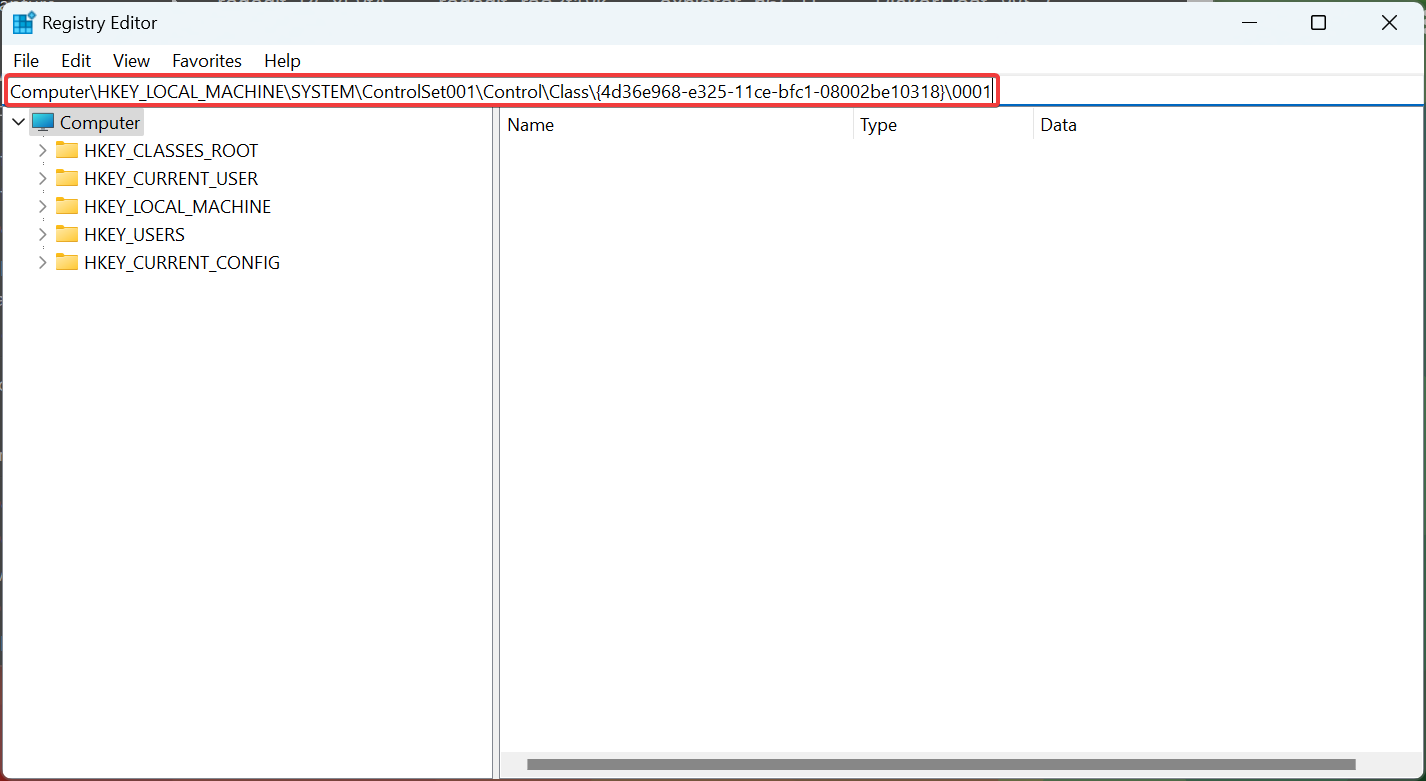
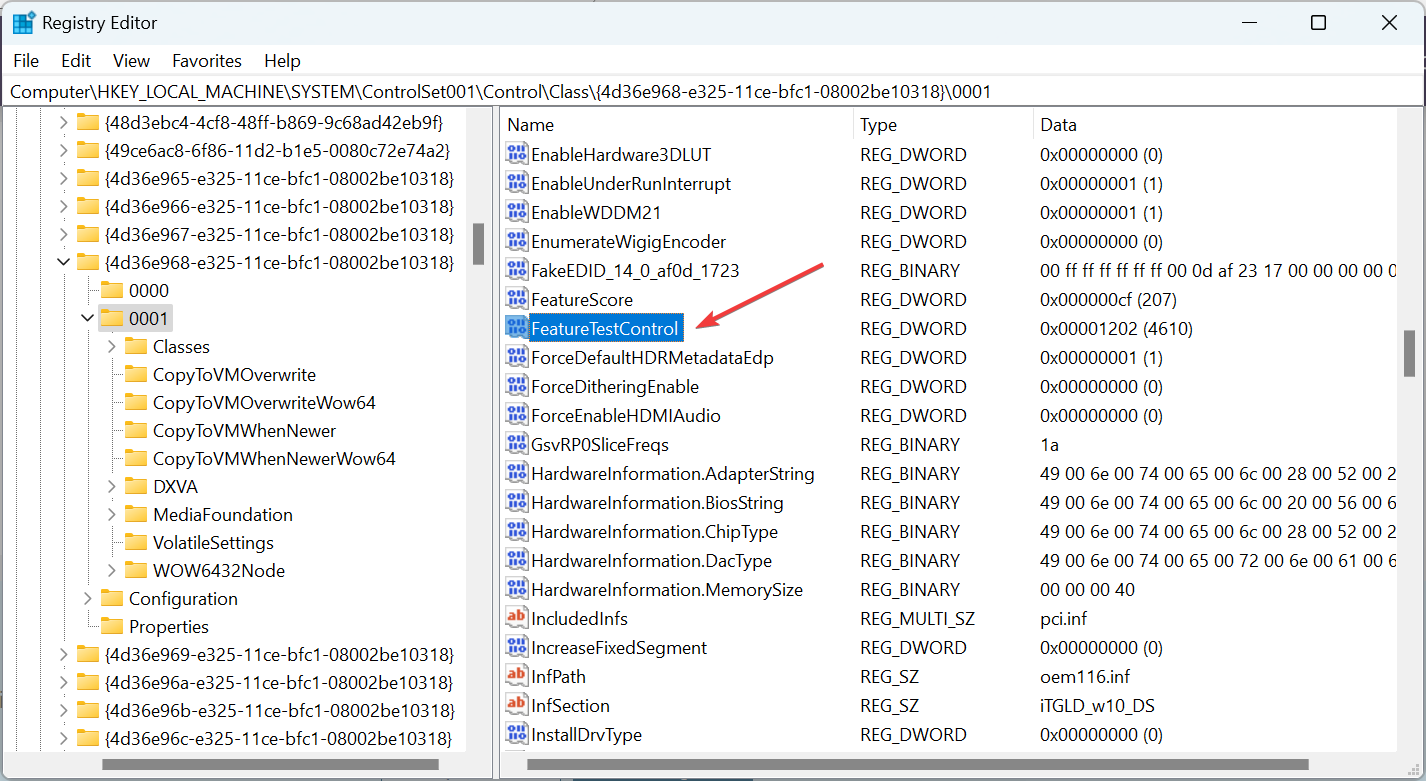
- Now, double-click on the FeatureTestControl entry here.
- Enter f008 under Value data, and click OK to save the changes.
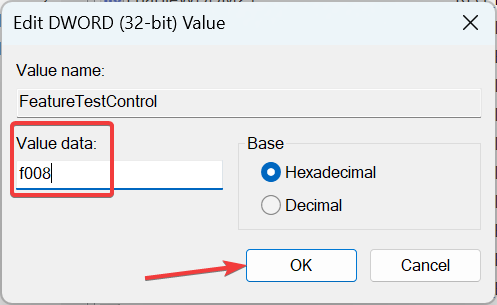
If you’re still unable to adjust the brightness on your laptop, because the brightness button is not working, try updating the registry. Back up the registry before you modify it, then restore it if a problem occurs.
On the contrary, if this option is already enabled and you wish to get rid of it, we have a few tricks when the Adaptive brightness doesn’t turn off. Another common thing you may want to fix is monitor brightness changing by itself.
Also, you could use reliable screen brightness software and exercise higher control over it on the PC. These solutions should help you if your Windows 10 brightness slider is not working.
Try our tips, and let us know if your screen is ready to shine again.
Read our disclosure page to find out how can you help Windows Report sustain the editorial team. Read more


Improve this guide


User forum
6 messages