5 Ways to Fix Run as Administrator Not Showing in Windows
Remove problematic applications to fix this issue
5 min. read
Updated on
Read our disclosure page to find out how can you help Windows Report sustain the editorial team. Read more
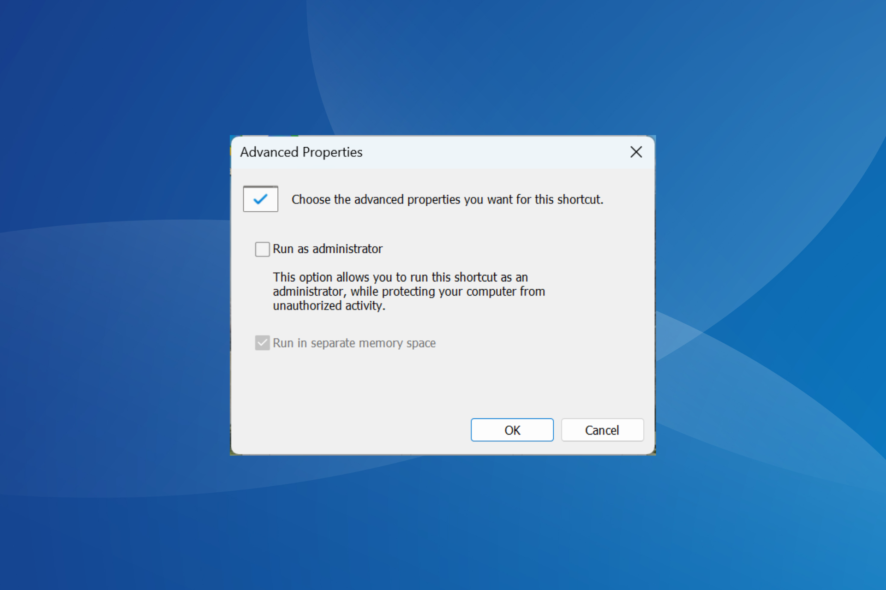
Some users are complaining that Run as administrator is not working. The option is either not showing or the app launches without administrative privileges.
The reason why you can’t run a program as an administrator could be due to corrupt system files or third-party software interference. Here’s how to fix it:
How can I fix Run as administrator if it’s not working?
1. Remove the problematic applications
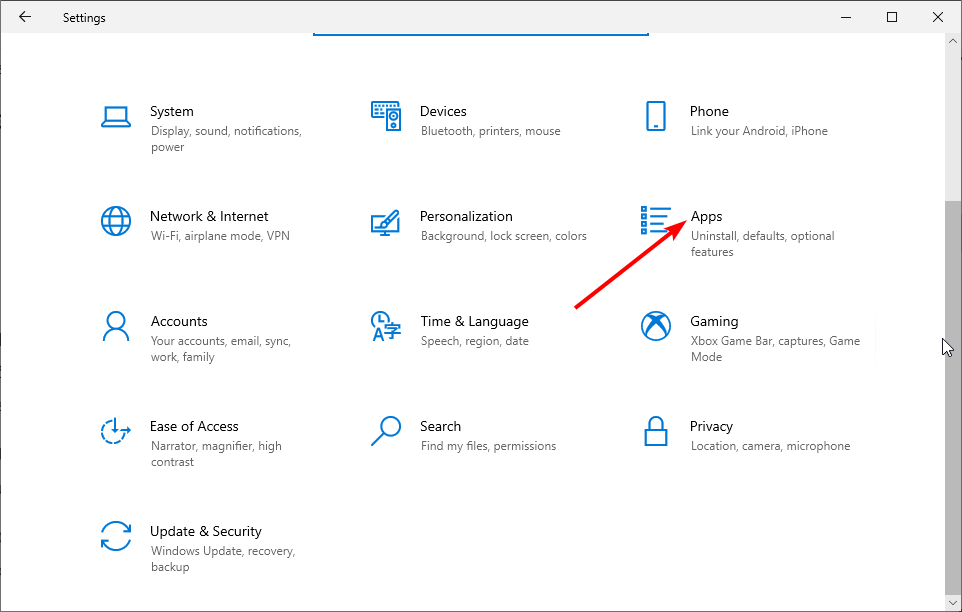
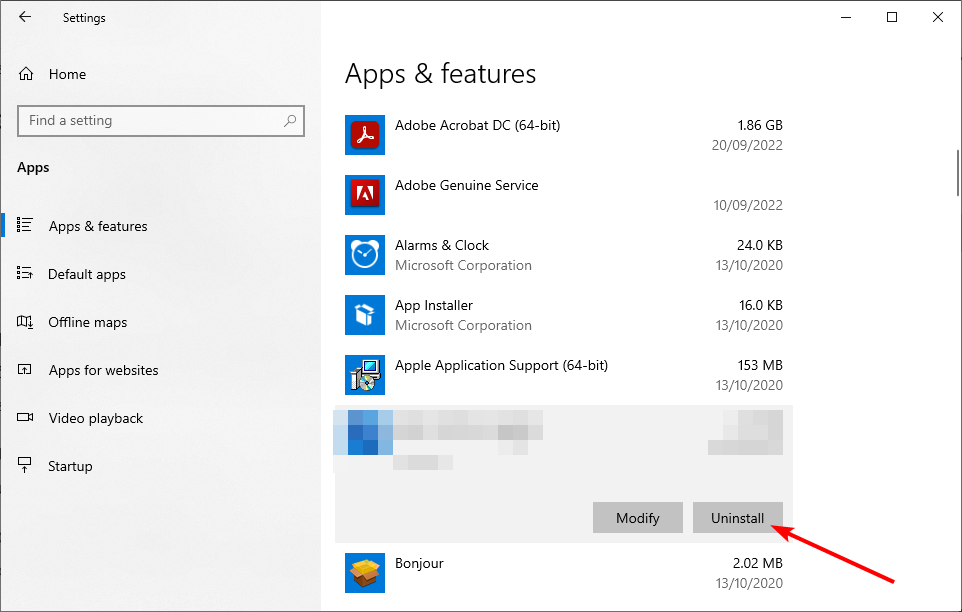
- Press Windows + I to launch Settings, and select the Apps option.
- Select the problematic app and click the Uninstall button.
Apps like QuickSFV or Express Zip replace the Run as administrator option with their own context menu items. Uninstalling them should fix the problem.
To make sure there’s no trace of those apps left, you can use a dedicated uninstaller tool such as IObit Uninstaller:
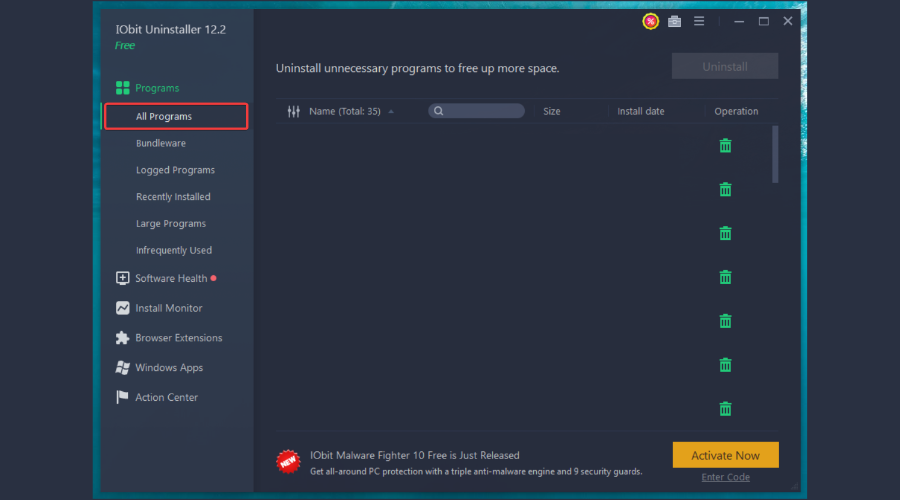
- Open IObit Uninstaller and select the All Programs tab.
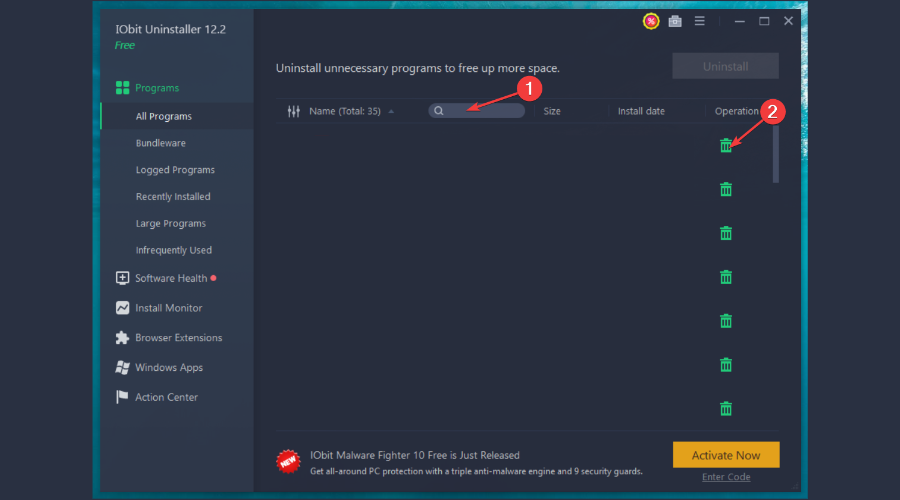
- Then, type the name of the app in the search bar and click on the Trash icon to uninstall it.
It’s quick to act and simple to install. Once you get on your PC, you can use the uninstall feature to remove undesirable, obsolete, or problematic programs and delete leftover files with this powerful program.

IObit Uninstaller
Remove unwanted and stubborn programs in no time with the IObit Uninstaller tool.2. Perform a Clean boot
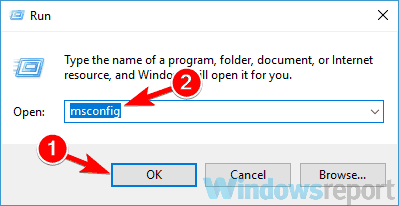
- Use Windows + R to open the Run dialog, type msconfig, and click OK.
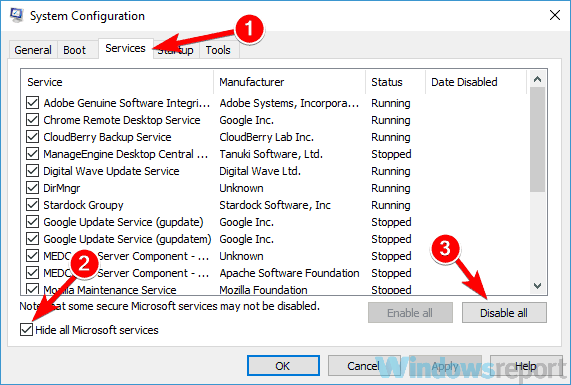
- Navigate to the Services tab at the top, check the Hide all Microsoft services box, and click the Disable all button.
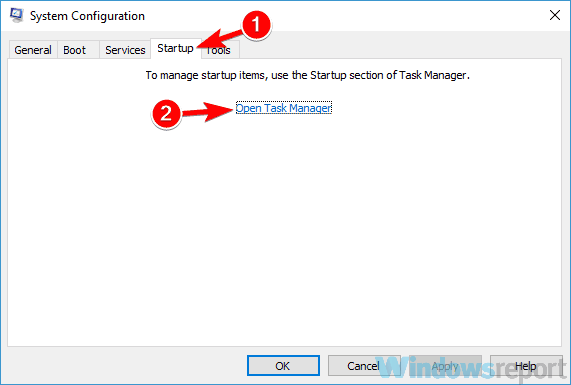
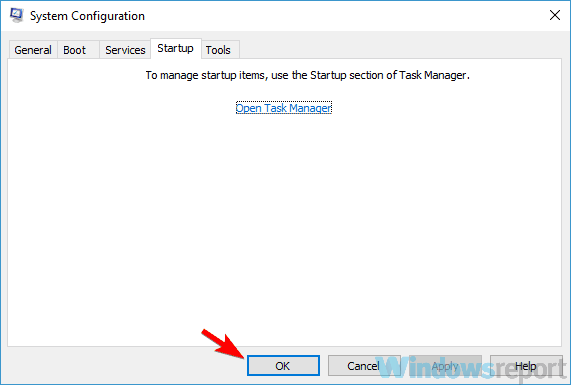
- From here, click the Startup tab at the top, and then choose Open Task Manager.
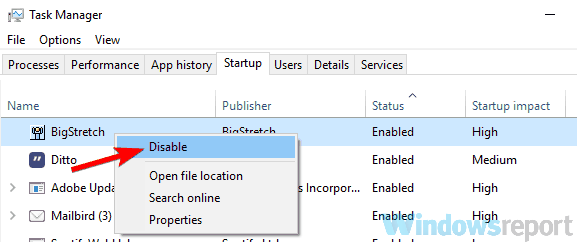
- Right-click each of the applications there and select Disable.
- Now, head back to the System Configuration window, click Apply and OK to save changes, and restart your PC.
Now your PC will start only with essential apps. If Run as admin is now working, you can re-enable apps one by one. This way, you can identify which one is causing the conflict.
3. Boot into Safe Mode
- Press Windows + I to open the Settings app, and select the Update & Security option.
- Click Recovery in the left pane, and then click the Restart now button under the Advanced startup section.
- Choose Troubleshoot and then select Advanced options.
- Next, click on Startup Settings and then on the Restart button.
- After your PC reboots, you should see a list of options.
- To boot into Safe Mode with Networking, press 5 or F5.
4. Create a new user account
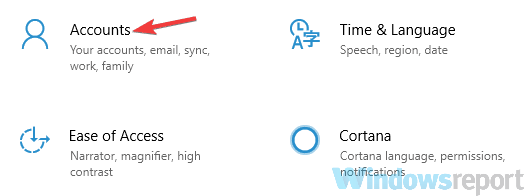
- Open the Settings app and head over to the Accounts section.
- Select Family & other people in the left pane.
- Choose Add someone else to this PC.
- Please select I don’t have this person’s sign-in information.
- Now, click on Add a user without a Microsoft account.
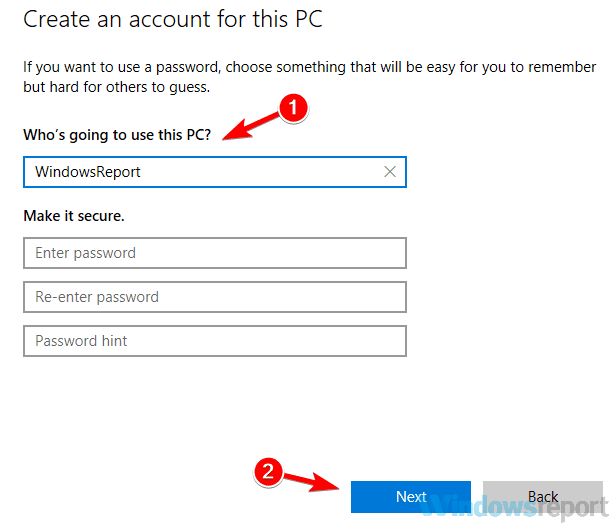
- Enter the username you want to use for the new account and click Next.
After creating a new user account, it’s a good idea to upgrade your new account to an administrative account. To do that, follow these steps:
- First, open the Settings app, choose Accounts, and then navigate to Family & other people.
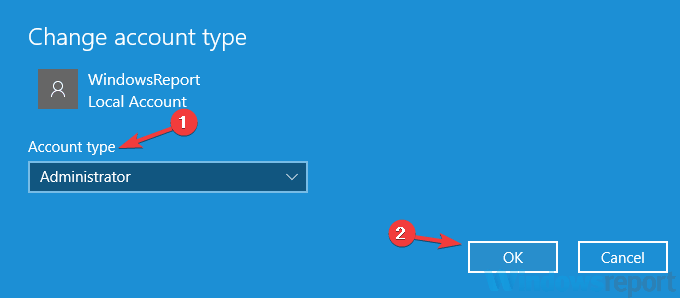
- Next, select the newly created account and choose Change account type.
- Set the Account type to Administrator and click OK.
Once done, Run as administrator should now start working in Windows. Remember, you will need to move all your files to the new account and start using it instead of your old one.
5. Check Registry settings
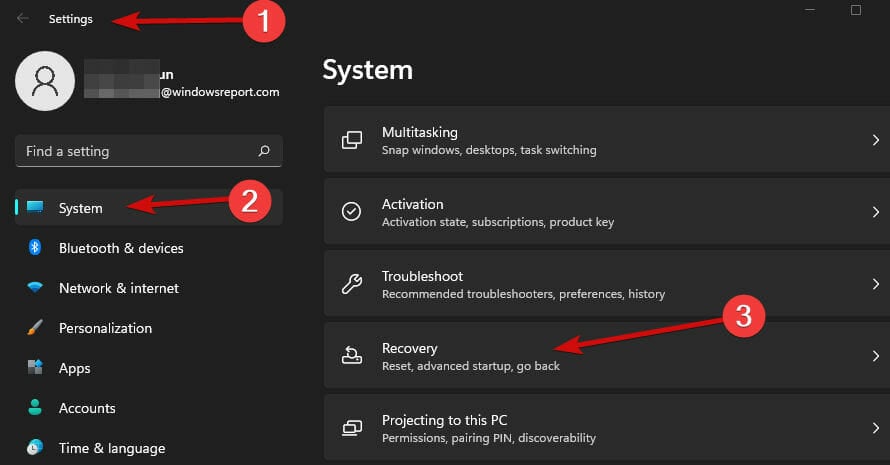
- Open Settings, remain on the System tab, and select Recovery.
- Click the Restart now button under Advanced startup.
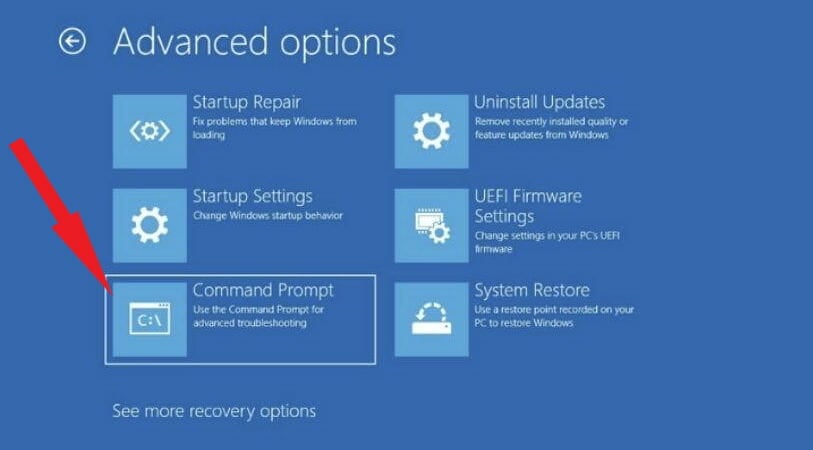
- Select Troubleshoot and click Advanced options.
- Next, select Command Prompt.
- Once the CMD opens, type the following command and hit Enter:
net user administrator /active:yes - If Run as administrator is still not working, reaccess the CMD (using the same steps).
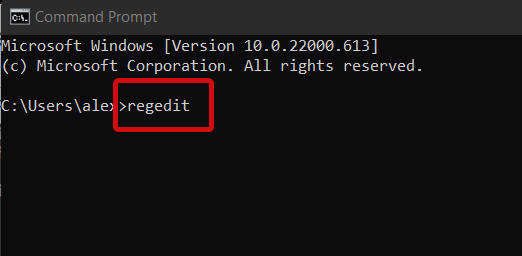
- Paste the following command and hit Enter to open the Registry Editor:
regedit - Locate and select the HKEY_LOCAL_MACHINE key from the navigation pane.
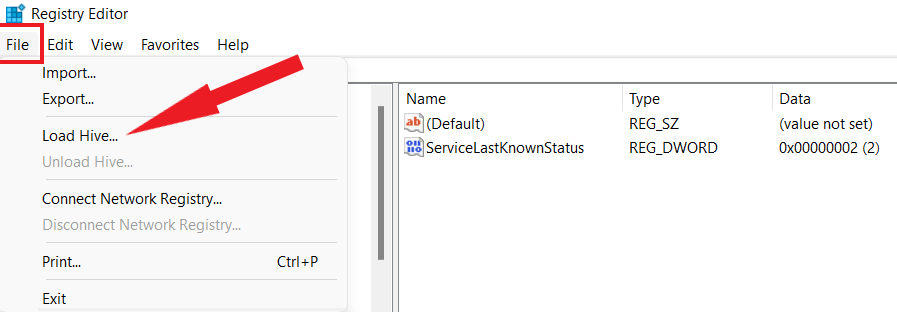
- Select File from the upper menu bar and click on Load Hive.
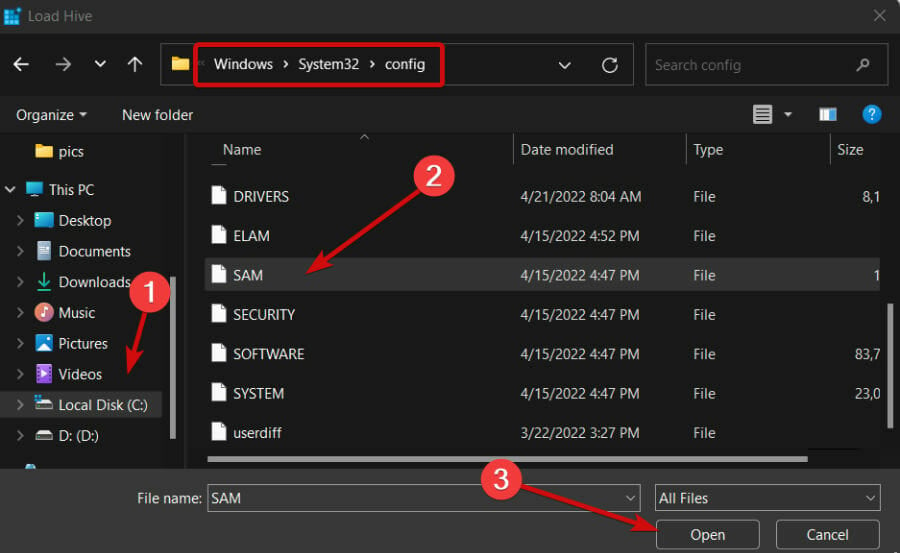
- Go to the following path:
C:Windows\System32\config - C: is usually the drive containing the Windows installation, but it can be a different letter there.
- Select the SAM file and click Open.
- Use the Load Hive dialog box to type REM_SAM as the name of the key and click OK. (This will load the hive into the HKEY_LOCAL_MACHINE branch).
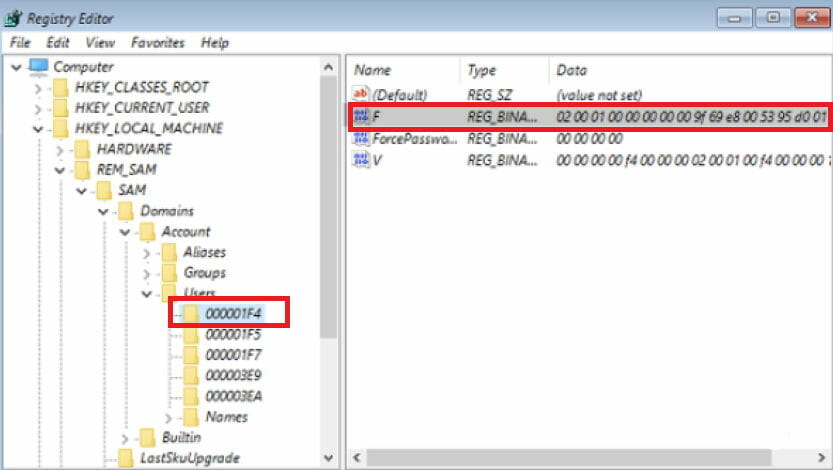
- Now, look in the left pane of the registry one more time and locate this key:
HKEY_LOCAL_MACHINE\REM_SAM\SAM\Domains\Accounts\Users\000001F4 - In the right pane corresponding to the 000001F4 key, double-click the F Dword (REG_BINARY) to modify it.
- Place your cursor on line 0038 (1st column), replace the value 11 with 10, and click OK.
- Close everything and reboot your Windows 11 PC.
This should help you recover your administrative privileges if somehow the admin account became disabled along the way.
How do I force an app to run as administrator?
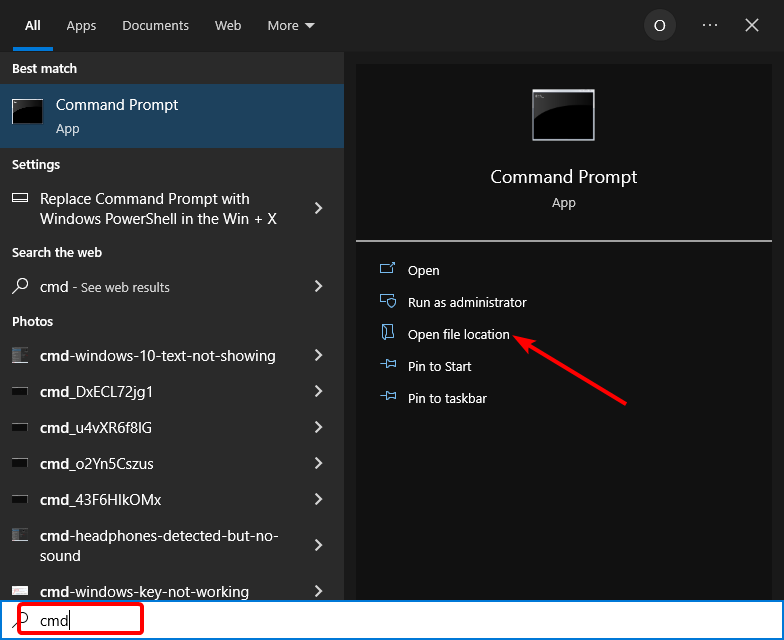
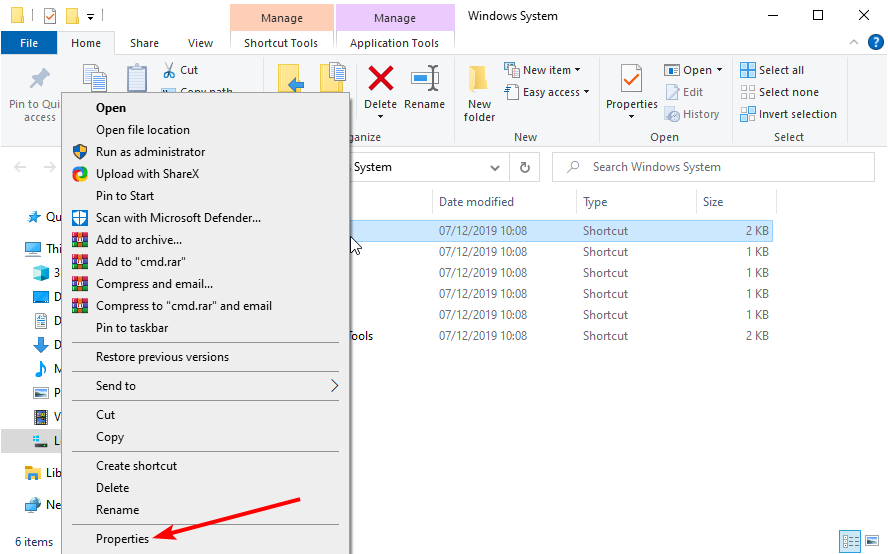
- Press the Windows key, type cmd, and select the Open file location option.
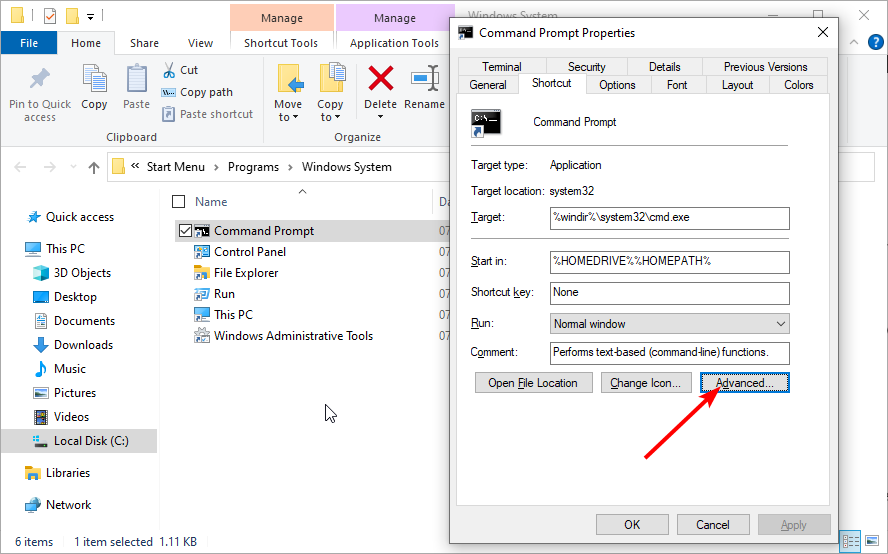
- Right-click on Command Prompt and select Properties.
- Click the Advanced button in the Shortcut tab.
- Check the box for Run as administrator box, and click OK to save the change.
With this, you can always open Command Prompt as an administrator without needing any pop-up or UAC prompt.
If nothing happens when you click Run as administrator in Windows 10 or if Windows 11 Run as administrator is not working, it’s usually a third-party application to blame.
Before you leave, don’t miss our latest guide on error code 20 on Steam.
Feel free to let us know in the comments below if any of our solutions helped solve the problem.









User forum
2 messages