Can't Map A Network Drive in Windows 10: 5 Ways to Fix It
Surefire fixes to get back to mapping your network drive easily
![]() 4 min. read
4 min. read
![]() Updated on
Updated on
Share this article
Improve this guide
Read our disclosure page to find out how can you help Windows Report sustain the editorial team. Read more
Key notes
- If Windows 10 can't map the network drive, this could negatively impact your locally stored data.
- Chances are you’ve encountered the issue after updating your Windows from v1909 to v2004.
- An efficient solution to this annoying problem is running the latest Windows version.
Network drive mapping is one of the Windows 10 features that ensure ease of access, consistency, and network setup efficiency.
However, most users reported that, after updating from v1909 to v2004, Windows 10 couldn’t map the network drive. So, this article will show you a series of solutions to help you fix this issue.
Why can’t I see my mapped network drives?
Below are some of the factors that can cause the can’t map network drive error on Windows 10:
- Outdated PC: The first thing to check when facing this error is if you are using the latest version of Windows 10. If you are still using the 2004 version, you must update your PC to the 22H2 update.
- Missing registry value: Another cause of this issue is a missing ProviderFlags registry value. You need to tweak your registry and add the value accordingly.
Now, let’s see the correct procedure to map a network drive in Windows 10.
How do I manually map a drive in Windows 10?
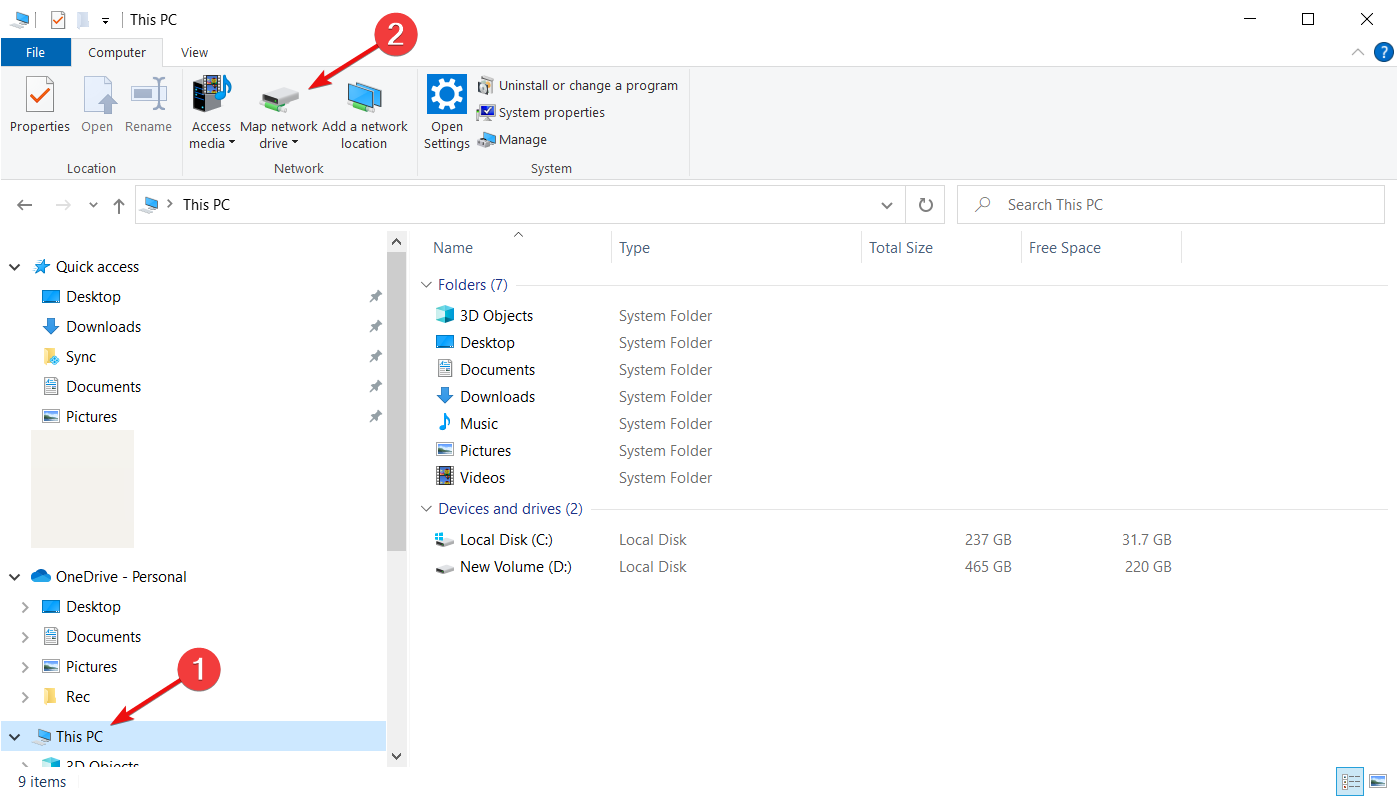
- Press the Windows key + E to start File Explorer.
- Select This PC from the left pane, then go to the Computer tab and select Map network drive.

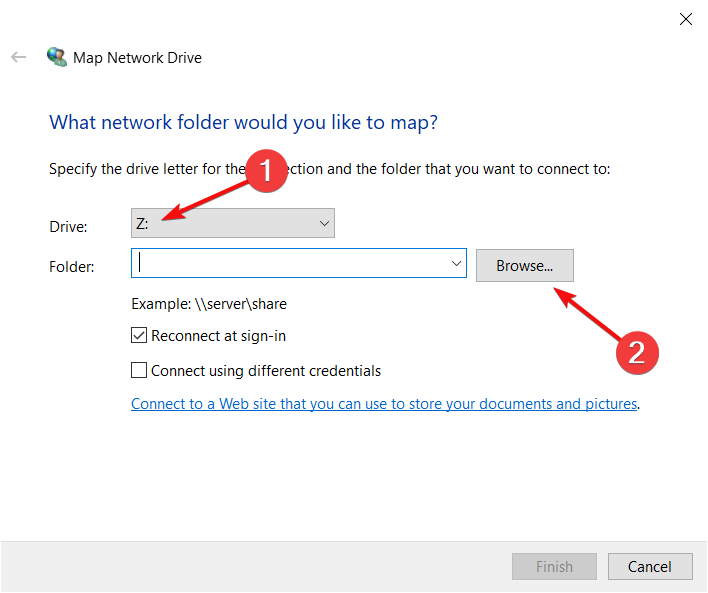
- Select the drive letter, then, in the Folder box, type the path of the folder or computer, or select Browse to find the folder or computer.

- Select Reconnect at sign-in if you want to map that drive every time you sign in, then click Finish.
If the issue still persists, perform the solutions below to fix the drive mapping problem in Windows 10.
What can I do if Windows 10 can’t map the network drive?
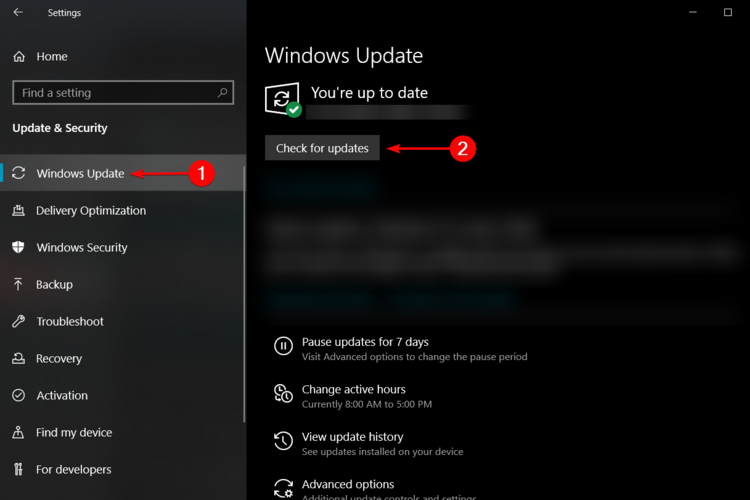
1. Update to the 22H2 version
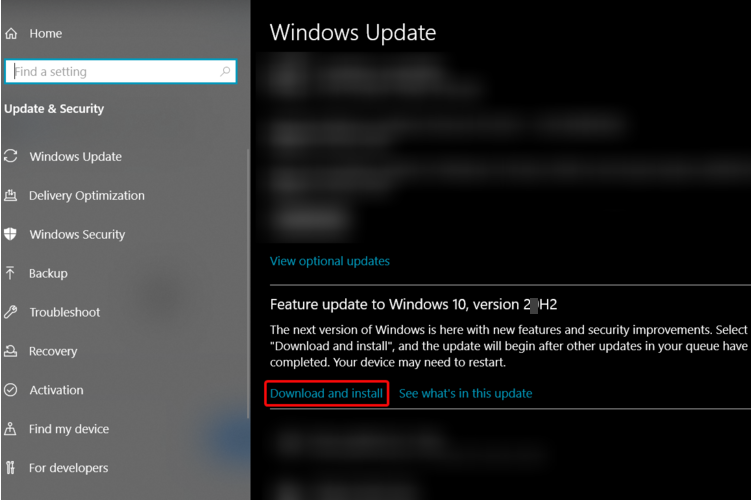
- Press the Windows key + I to open the Settings app and select Update & Security.
- On the left side, select Windows Update, then click the Check for updates button.

- Look under View optional updates and click on Download and Install.

- Click on the Restart now button.
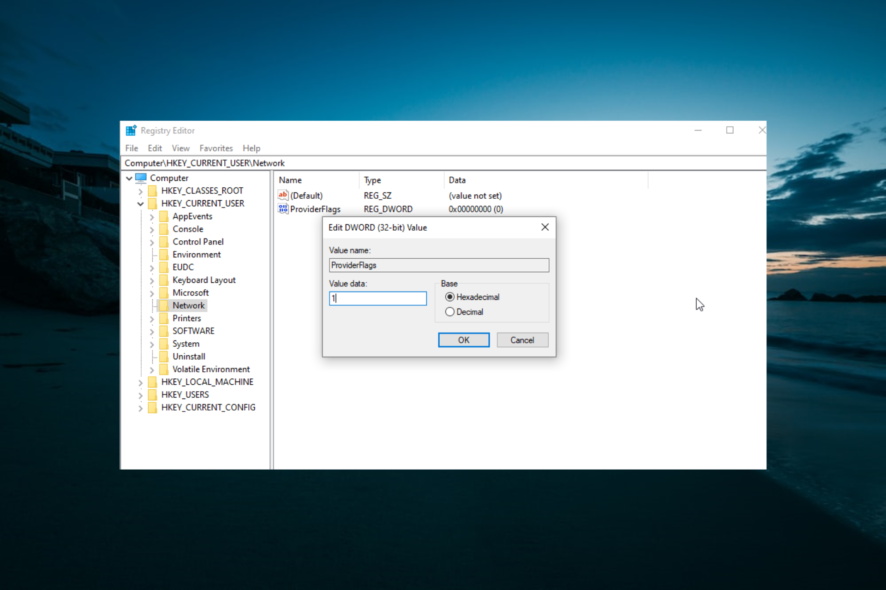
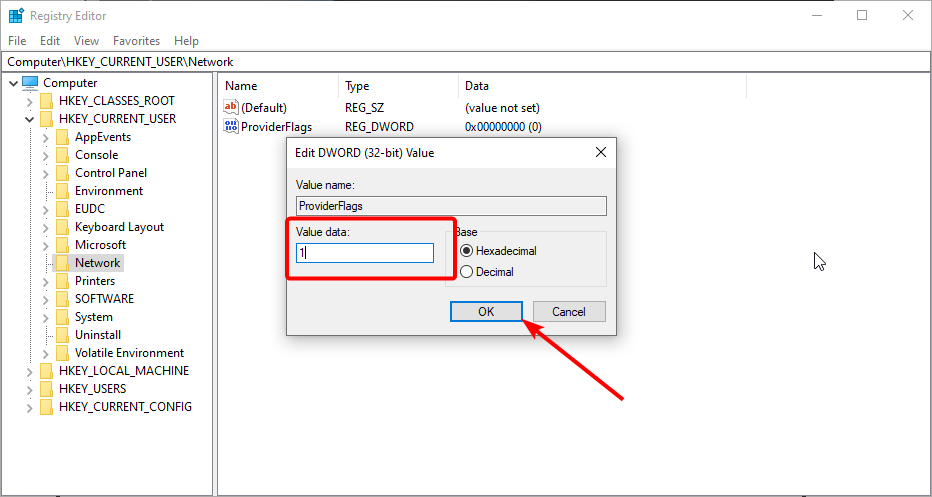
2. Add the ProviderFlags registry value
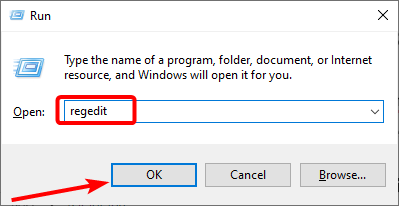
- Press the Windows key + R, type regedit and click OK.

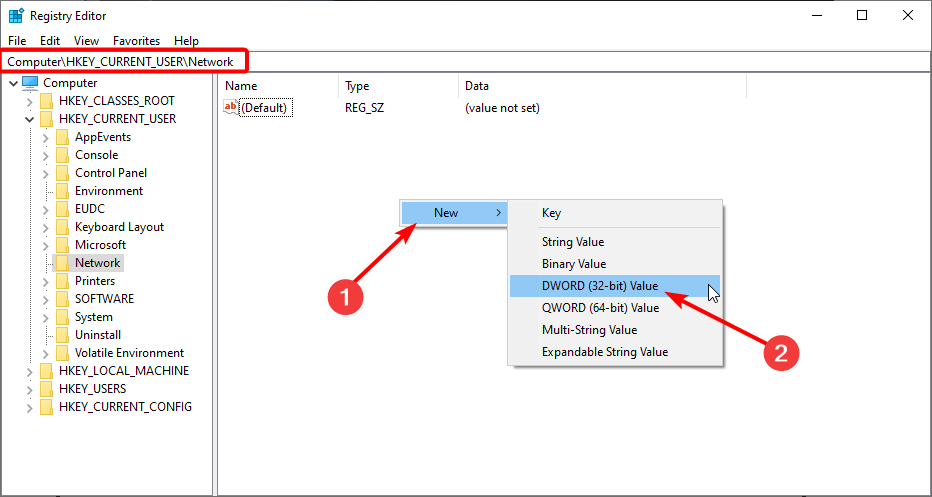
- Locate the following in the left pane:
HKEY_CURRENT_USER\Network\ - Now, right-click the space in the left pane and choose New > DWORD (32-bit).

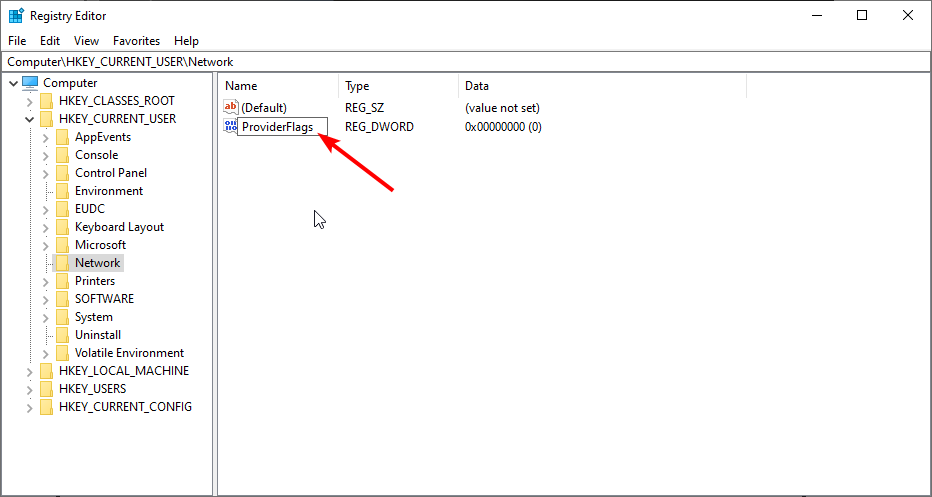
- Type ProviderFlags as the name and double-click it.
- Next, set its Value data to 1 and click OK.
- Finally, close the Registry Editor and restart your PC.
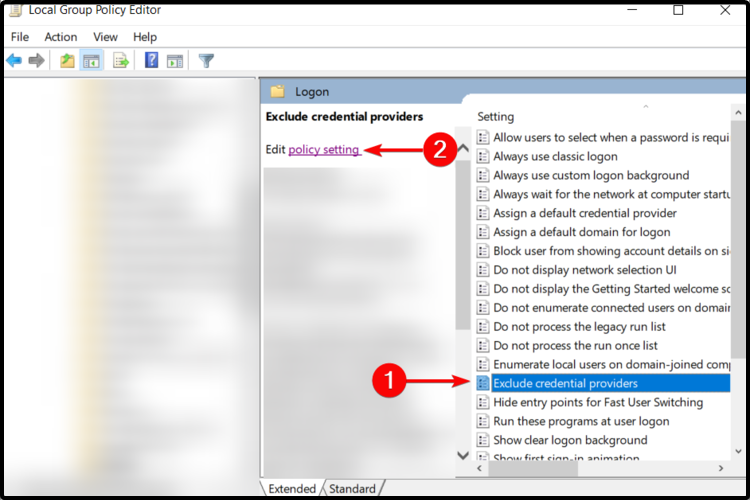
3. Use Local Group Policy Editor
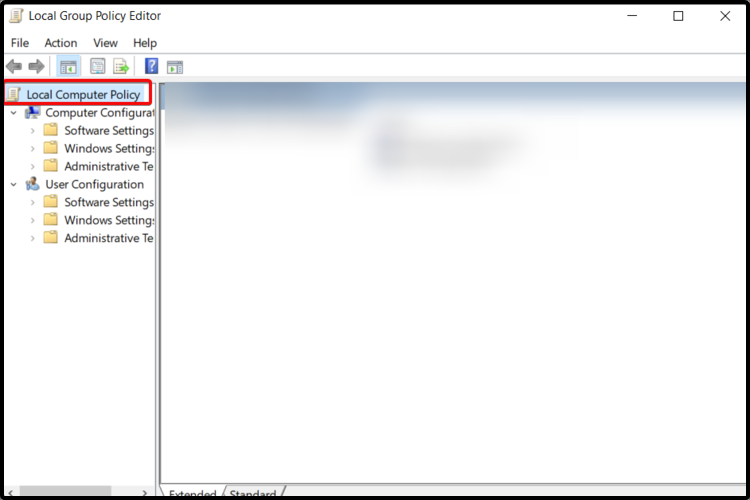
- Press the Windows key + R, type gpedit.msc and press Enter.
- Once you’re inside the Local Group Policy Editor, select Local Computer Policy.
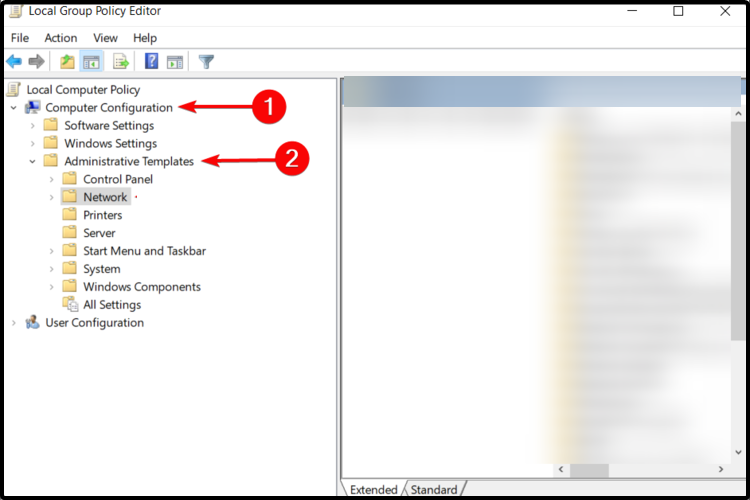
- Extend Computer Configuration, then click on Administrative Templates.
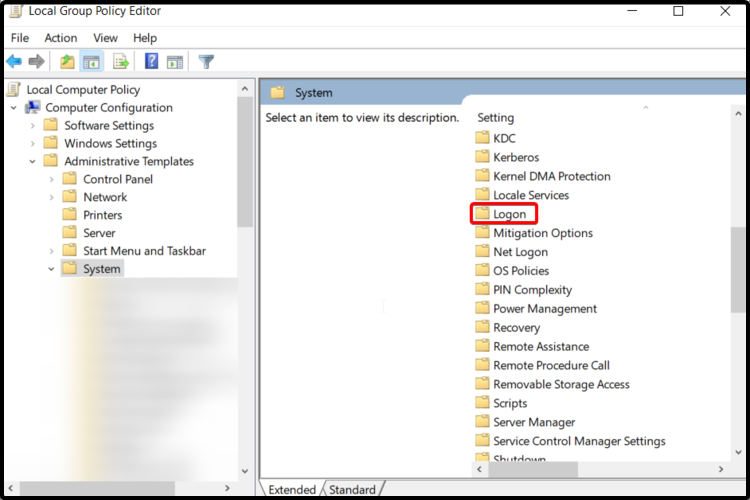
- Look at the right side and double-click on the System section from the shown list.
- Scroll down to Logon and double-click on it.
- Click on Exclude credential providers, then, on the left side, on policy settings.
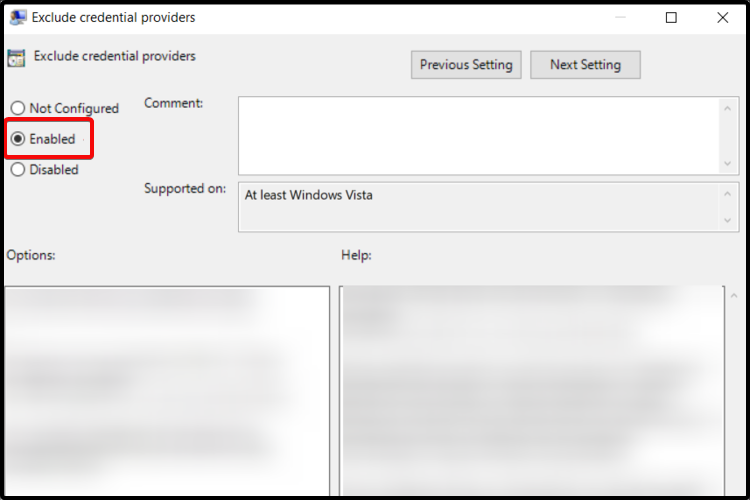
- Checkmark the Enabled option.
- Click on Apply and then on Ok.
- Restart your computer, wait for the next startup to complete, and try to access it again.

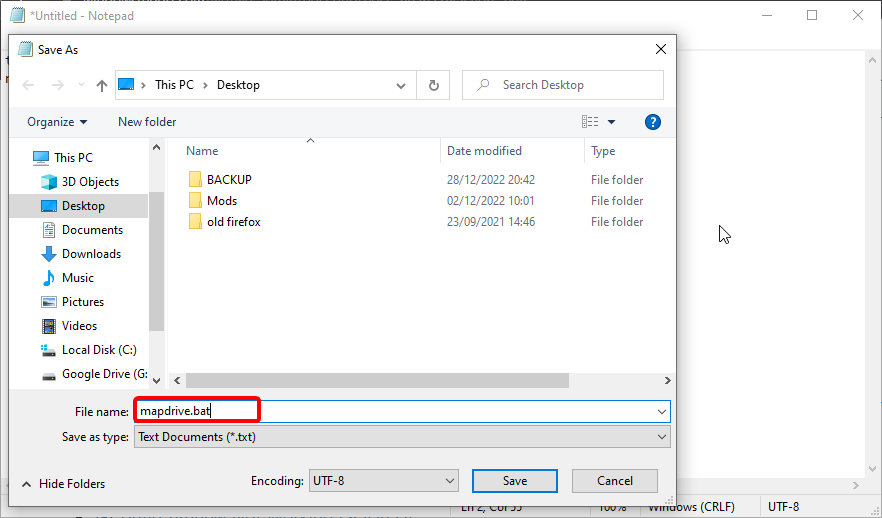
4. Use a Batch file
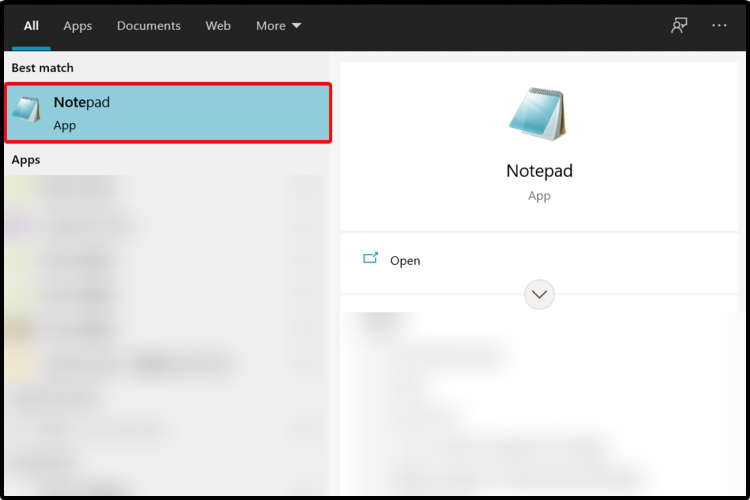
- Press the Windows key, type note, and select Notepad.
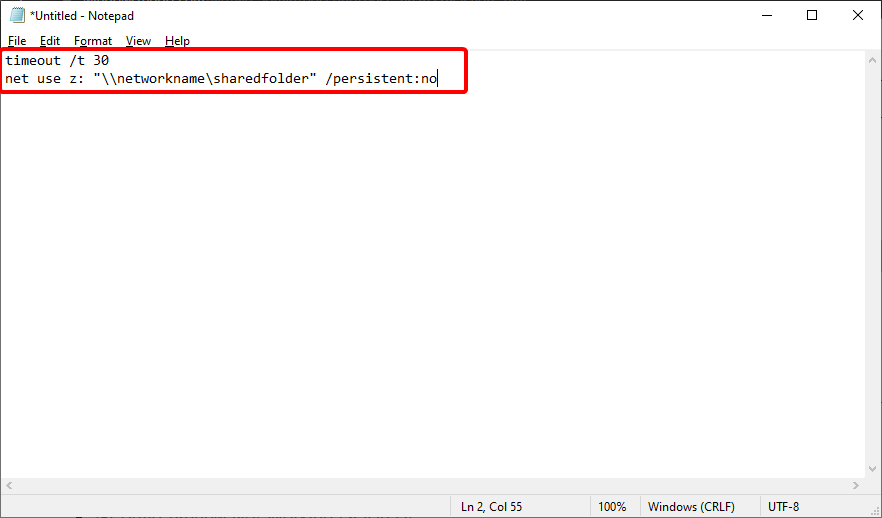
- Copy the following lines and paste them into the opened Notepad window:
timeout /t 30andnet use z: "\\networkname\sharedfolder" /persistent:no
- Save the file as mapdrive.bat.
- Press Windows + R keys, type shell:startup in the Run dialog box, and press Enter.
- Once you open the Startup folder, place the batch file mapdrive.bat or its shortcut in it.
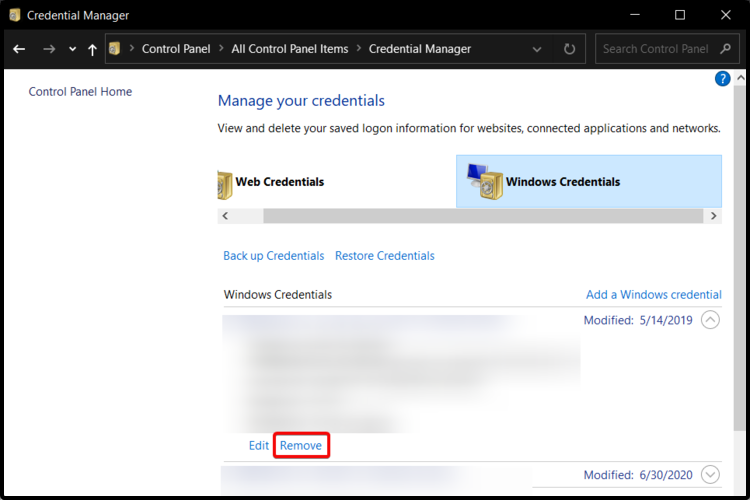
5. Use Credential Manager
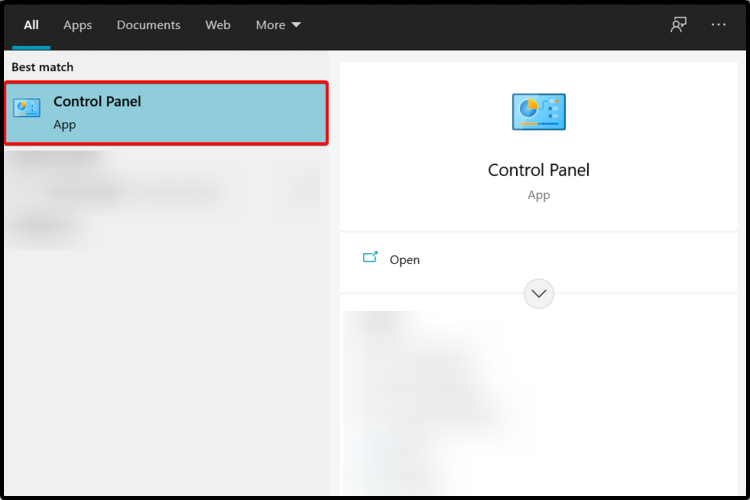
- Press the Windows key, type control, and click Control Panel.
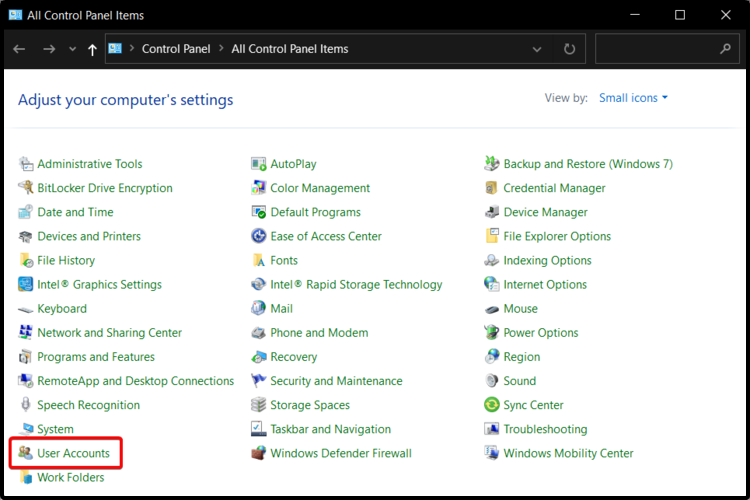
- Click on User Accounts.
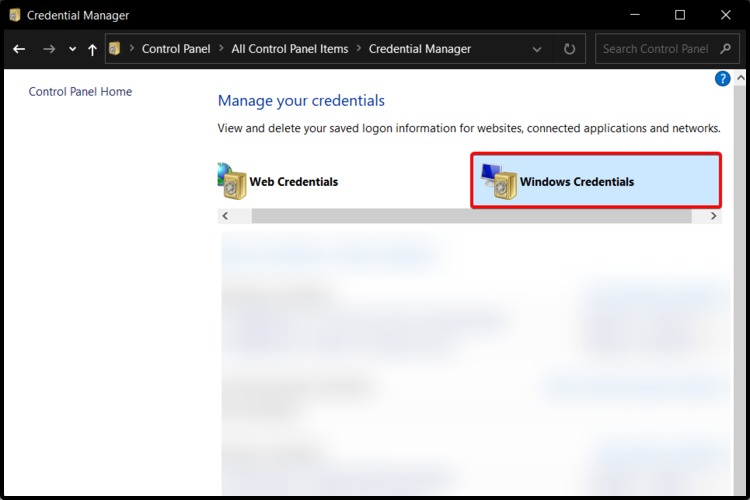
- Select Manage your credentials.
- Click on Windows Credentials.
- Extend your Windows Credentials option next to the name of the network computer.
- Click on Remove to delete the stored credentials from the particular computer or share.
- Click Yes when you’re asked if you want to delete this Windows credential permanently.
- Exit the Credential window, open This PC, right-click on the mapped drive, and then on Disconnect.
- Restart Windows and map the network drive again.

At the end of this article, we hope that at least one of our listed solutions will work for you to solve the Windows 10 map network drive issue.
Also, if you want to know how to unmap a network drive on Windows 10, check our detailed guide quickly.
If any of these options were useful, please don’t hesitate to let us know which one and comment in the section below.

User forum
0 messages