What Are L1 and R1 Xbox Controler Buttons: All to Know
3 min. read
Updated on
Read our disclosure page to find out how can you help Windows Report sustain the editorial team. Read more
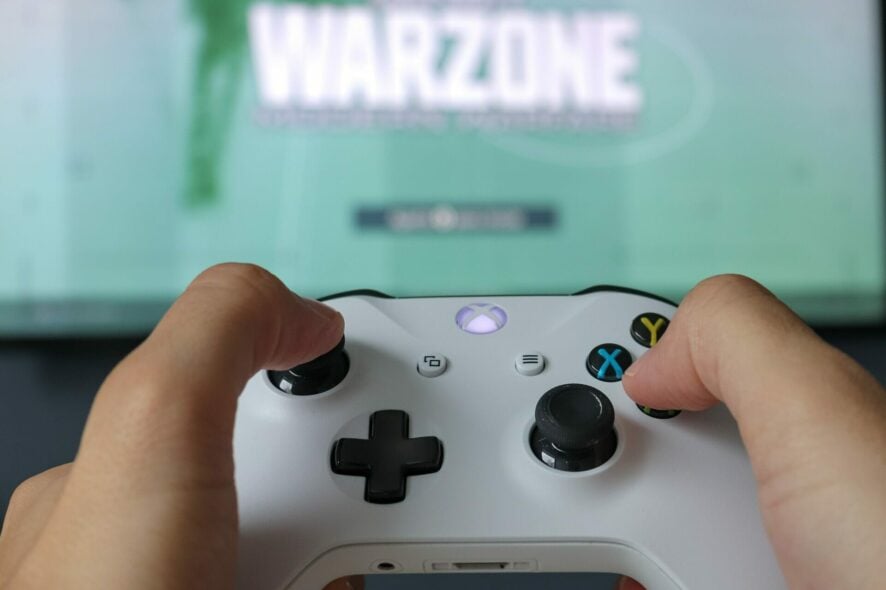
In this post, we will talk about all the buttons of your Xbox controller, including R1 and l1.
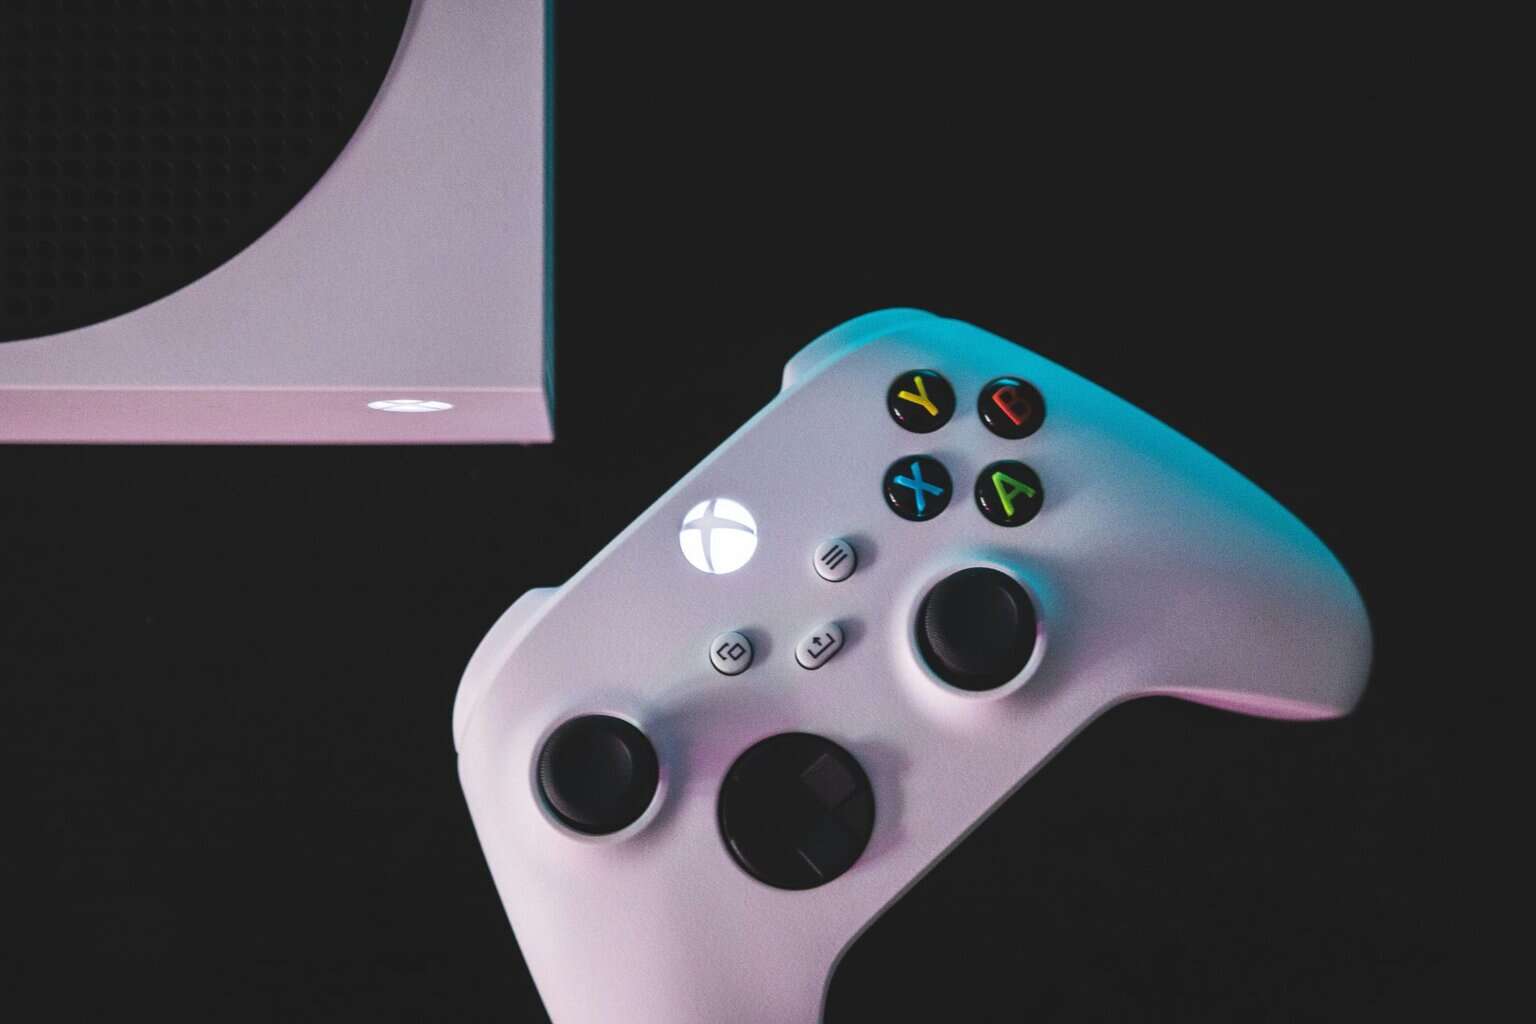
As you probably know, the controller layout has 4 primary face buttons. It It starts with two shoulder bumpers, two analog triggers, two analog sticks, and an automated D-pad.
Here’s a quick breakdown of the L1 and R2 buttons:
What is R1 on my Xbox controller?
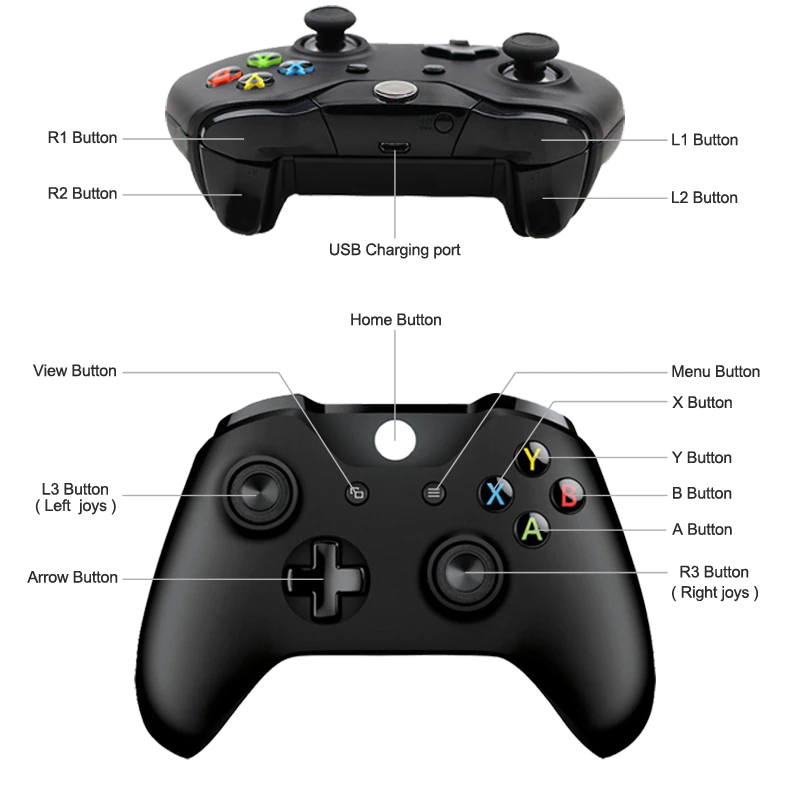
R1 on Xbox is the right bumper that is located on the right side of the controller’s shoulder. It helps you execute an action or make a selection.
At the same time, R2 is the second bumper or the trigger (RT), located at the back right of the Xbox controller.
What is L1 on my Xbox controller?
The L1 button on your Xbox controller is the left bumper that’s located on the left side of the controller’s shoulder. Next, the L2 button is the left trigger (LT) located at the back left of the Xbox controller.
However, some controllers have an L3 button, and to learn how it works, head to our Explore the L3 Button on your Xbox Controller guide.
Nevertheless, there are different buttons on the Xbox One controller. Below we explain the Xbox One controller buttons.
How do you use the buttons on the Xbox One controller?
Here’s a quick overview of the Xbox controller buttons.
| 1 | Left stick | A mini-joystick, that helps you navigate games, apps, and the Xbox console. |
| 2 | Left bumper | It’s an oblong-shaped button located on the top left of the controller. It is used to interact with games, apps, and the Xbox console. |
| 3 | View button | Placed at the lower left of the Xbox button, its functioning depends on the app or game. |
| 4 | USB charge port | Located on the top edge of the controller above the Xbox button, it allows you to connect your wireless controller to the console using a mini-USB cable. |
| 5 | Xbox button | It’s a round-shaped button placed at the top front end of the controller. It supports multiple actions. |
| 6 | Menu button | Placed on the lower right of the Xbox button, it allows you to access the game and app menu, etc. |
| 7 | Right bumper | It’s an oblong-shaped button located on the top right of the controller. It is used to interact with games, apps, and the Xbox console. |
| 8 | Directional pad | This is a plus sign-shaped button that helps you navigate directions. |
| 9 | Expansion port | An open port on the bottom-side edge of the controller, it’s used to connect different accessories. |
| 10 | Right stick | A mini-joystick, that helps you to navigate games, apps, and the Xbox console. |
| 16 | 3.5mm port | Located next to the expansion port on the bottom side of the controller, it supports 3.5mm audio devices. |
| A, B X, Y | A, B, X, and Y buttons | Positioned on the right side of the controller, these buttons allow you to interact with games, apps, and the console interface. |
Summary
This is our take on the Xbox controller buttons R1 and L1. We hope this guide helped you figure out how to use it.
Having said that, if you have any more questions related to the Xbox controllers or the gaming console, do leave a message in the comments box below.


User forum
0 messages