FIX: ATTEMPTED_WRITE_TO_READONLY_MEMORY error in Windows 10/11
8 min. read
Updated on
Read our disclosure page to find out how can you help Windows Report sustain the editorial team. Read more
Key notes
- The ATTEMPTED_WRITE_TO_READONLY_MEMORY error in Windows 10 is causing frequent PC restarts.
- You can fix the Blue Screen ATTEMPTED_WRITE_TO_READONLY_MEMORY by updating drivers.
- Another simple way of clearing this issue is to run the dedicated troubleshooter in Windows 10.
- This BSoD error can be fixed by running some command-line tools from Windows.
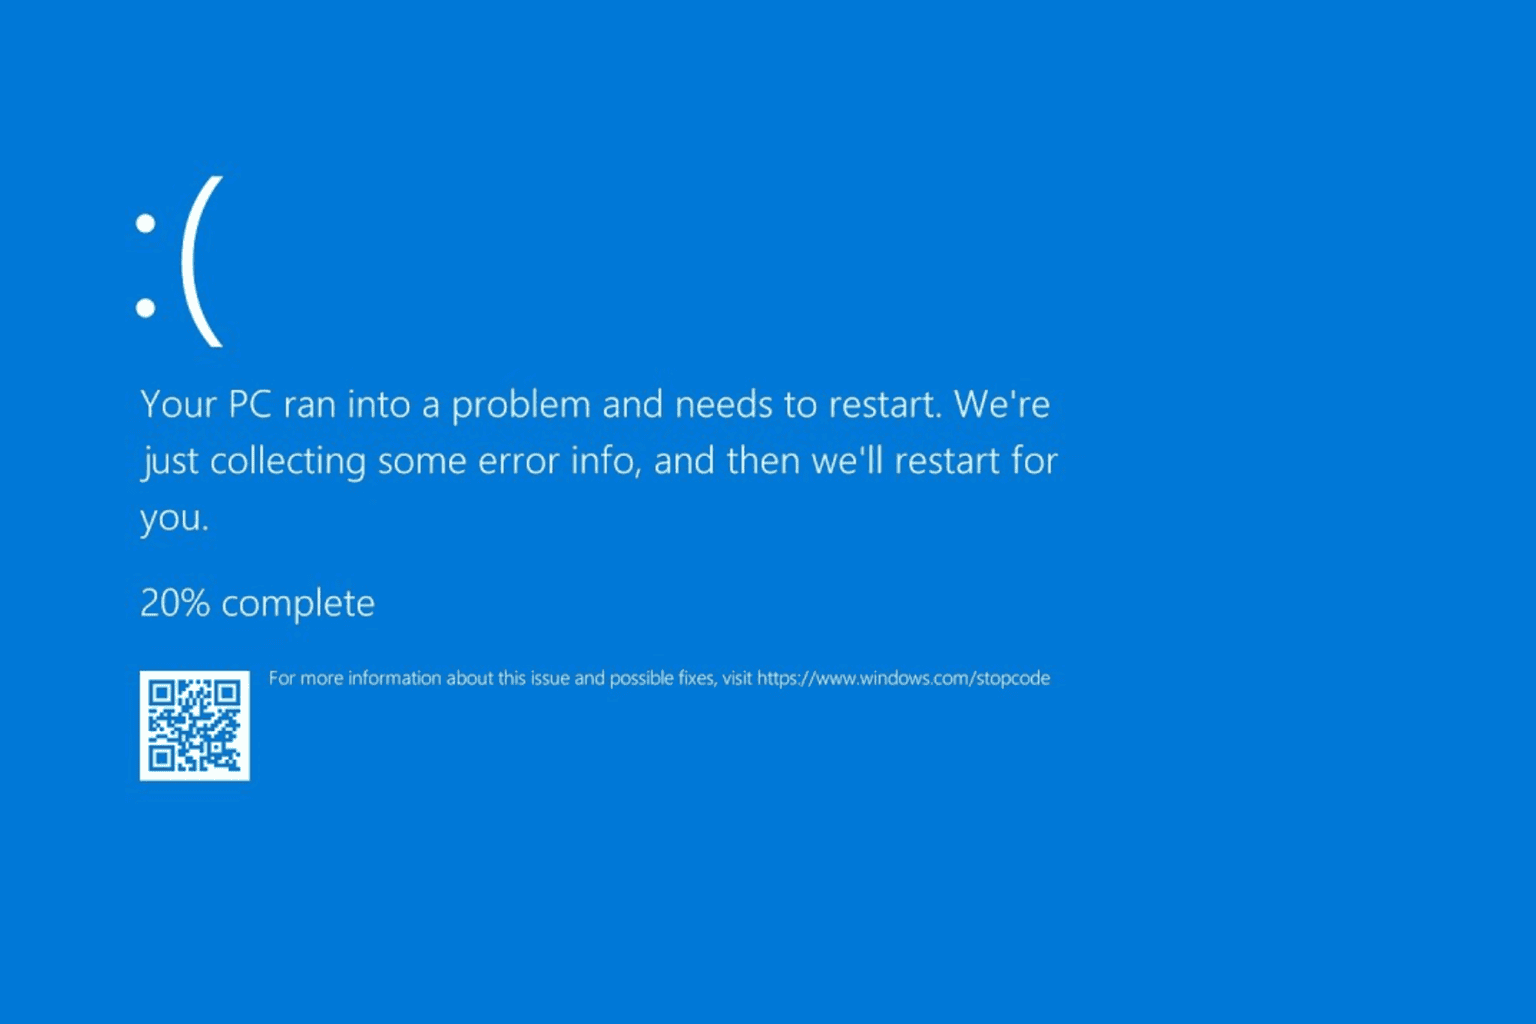
Blue Screen of Death errors such as ATTEMPTED_WRITE_TO_READONLY_MEMORY can cause you a lot of problems on Windows 10 since they will frequently restart your PC in order to prevent damage.
These errors can cause system instability and data loss, therefore today we’re going to show you how to fix this error.
How can I fix ATTEMPTED_WRITE_TO_READONLY_MEMORY?
- Update your drivers and Windows 10
- Run the dedicated troubleshooter
- Run the SFC scan
- Run DISM
- Remove problematic applications
- Reset BIOS to default
- Use System Restore or Windows 10 reset
- Check your hardware
1. Update your drivers and Windows 10
1.1 Manually update the drivers
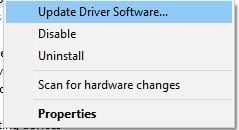
- Press Windows Key + X to open the Power User Menu and select Device Manager.
- Once Device Manager opens, locate the device you want to update, right-click it and select Update Driver Software from the menu.
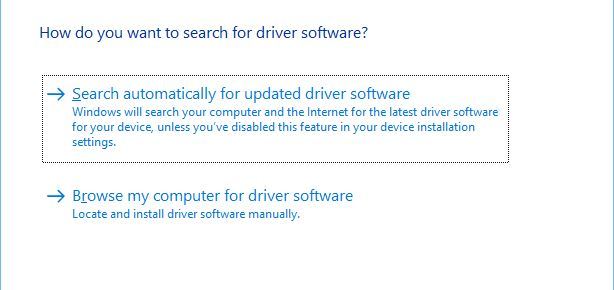
- Select Search automatically for updated driver software and wait for Windows 10 to install the appropriate driver for your device.
- Repeat the steps for all devices that you want to update.
Blue Screen of Death errors are often caused by outdated or incompatible drivers, therefore it’s important that you update them as often as you can.
Windows 10 relies heavily on drivers in order to recognize and use certain hardware, and if your drivers are corrupted, or simply not compatible with Windows 10, that will cause an ATTEMPTED_WRITE_TO_READONLY_MEMORY or any other BSoD error to appear.
In order to fix this error, it’s highly recommended that you update your drivers. Updating drivers in Windows 10 is fairly simple, and you can do that right from the Device Manager by following the steps above.
Using Device Manager to update your drivers is pretty straightforward, but some users claim that Device Manager doesn’t always download the latest drivers for your device.
To download the latest drivers, it’s always better to visit your hardware manufacturer’s website and download the necessary drivers manually.
Bear in mind that you’ll have to update as many drivers as you can in order to fix this issue.
1.2 Update drivers automatically
Searching for drivers on your own can be time-consuming. So, we advise you to use a tool that will do this for you automatically.
Using an automatic driver updater will certainly save you from the hassle of searching for drivers manually, and it will always keep your system up to date with the latest drivers.
The tool recommended below will help you update drivers automatically and prevent PC damage caused by installing the wrong driver versions.
Outbyte Driver Updater is able to update multiple drivers at the same time. Just let it scan your whole PC and then approve all updates necessary and wait for the process to complete.
It can also automatically update your drivers on a regular basis with no effort on your part. You only have to schedule how often you want the app to scan, update and repair your drivers and you are all set.
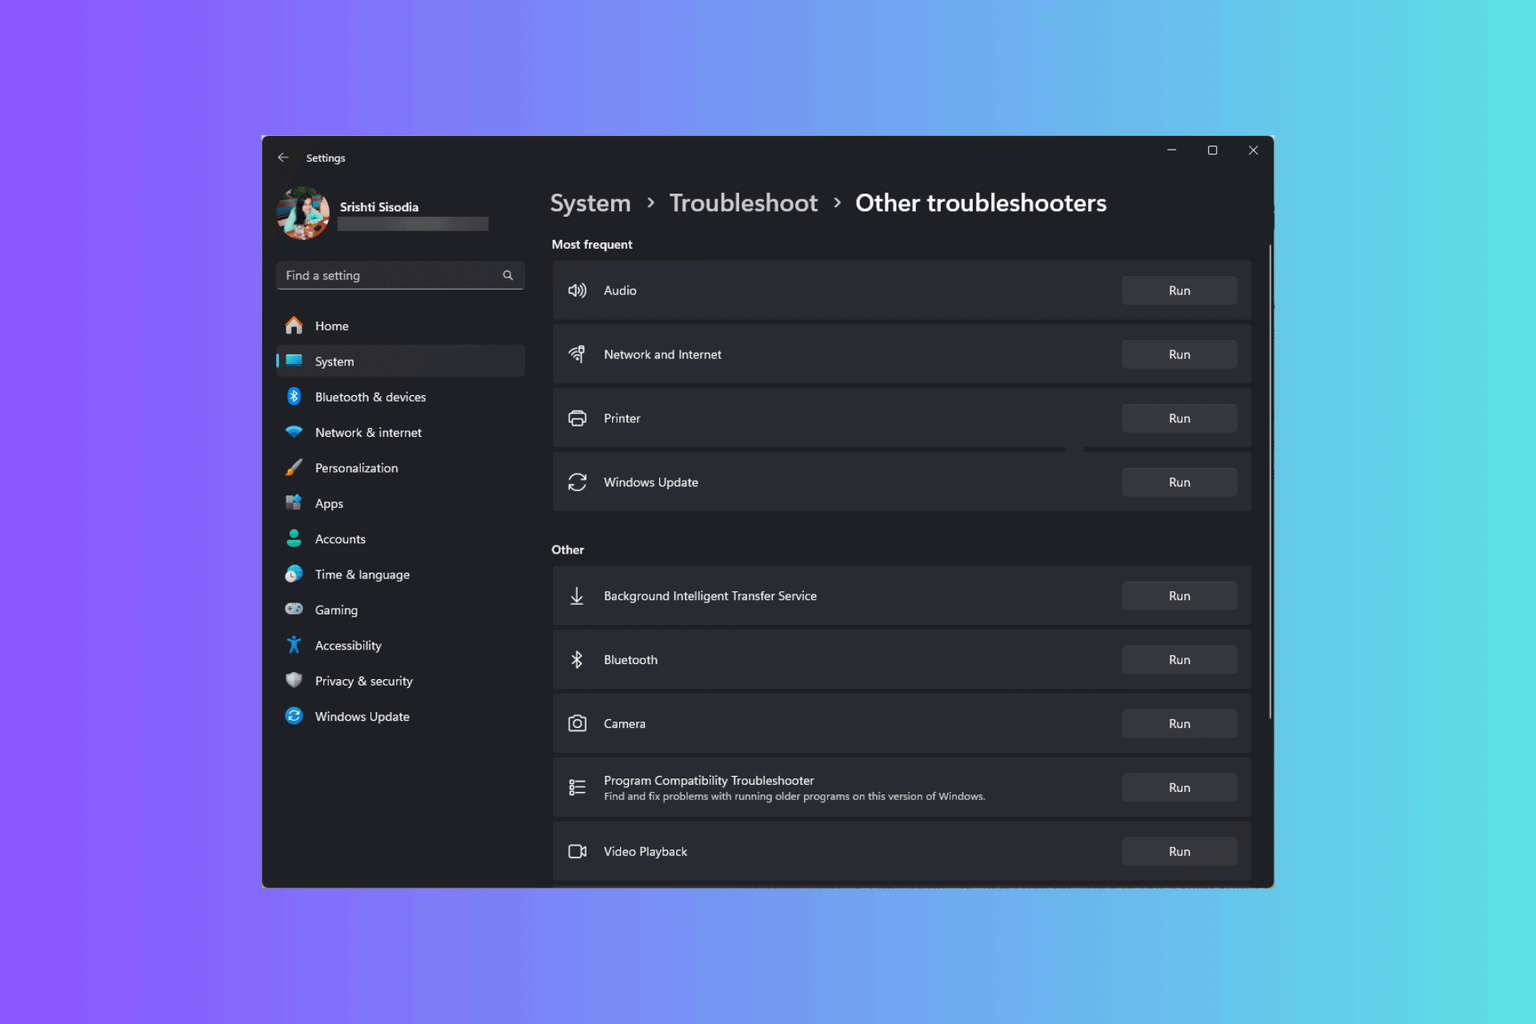
2. Run the dedicated troubleshooter
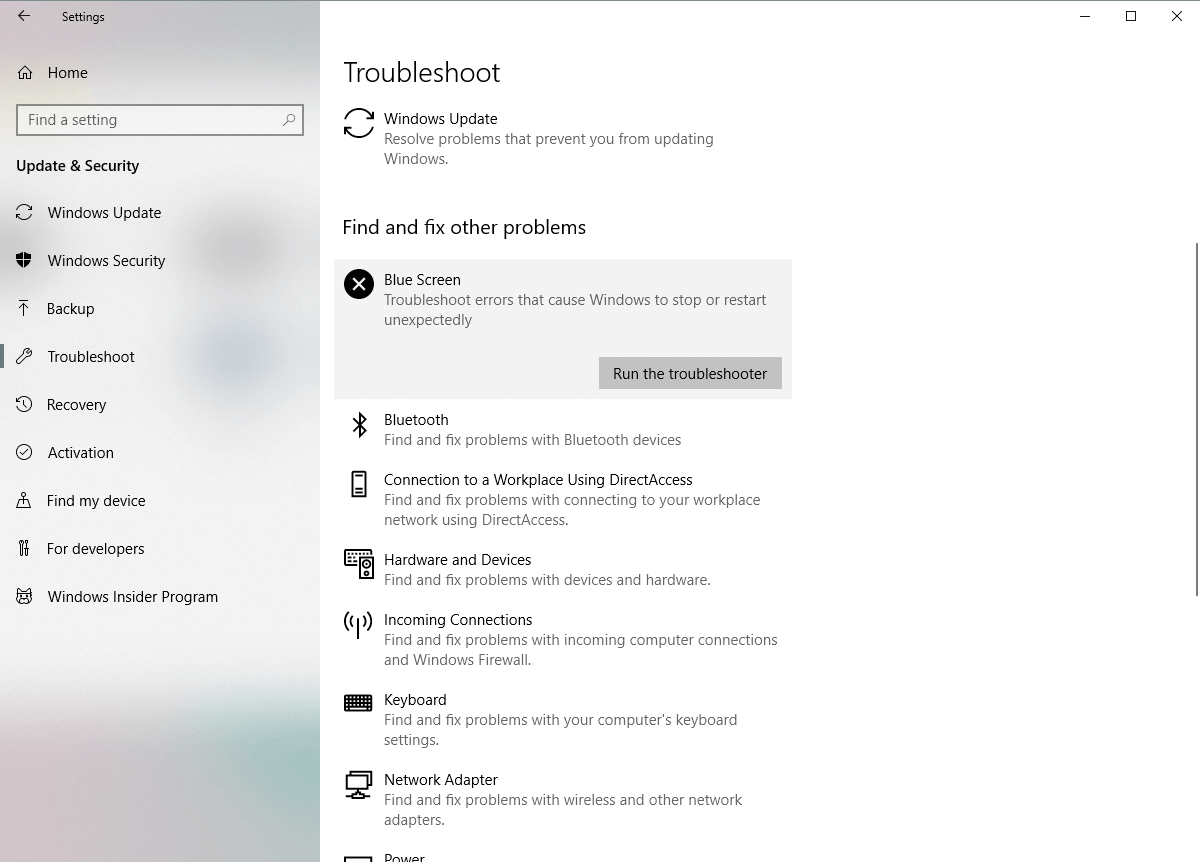
- Open the Settings app and go to the Update & security section.
- Select Troubleshoot from the menu on the left.
- Select BSoD from the right pane and click Run the troubleshooter.
- Follow the instructions on the screen to complete the troubleshooter.
If updating your drivers didn’t get the job done, let’s try Windows 10’s troubleshooting tool.
This is a universal tool that basically deals with all sorts of issues within Windows 10. And it might also be helpful with the BSOD issues.
3. Run the SFC scan
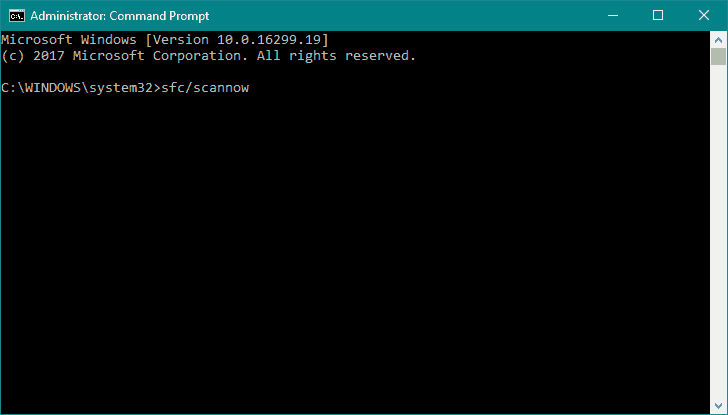
- Type cmd in Windows search and click on Run as administrator to start Command Prompt as administrator.
- Enter the following line and press Enter: sfc/scannow
- Wait until the process is done (it may take a while).
- If the solution is found, it will automatically be applied.
- Now, close the Command Prompt and restart your computer.
The next troubleshooting tool we’re going to run is the SFC scan. This is a command-line troubleshooter that scans your system for potential issues and resolves them (if the solution is possible, of course).
4. Run DISM
4.1 Standard way
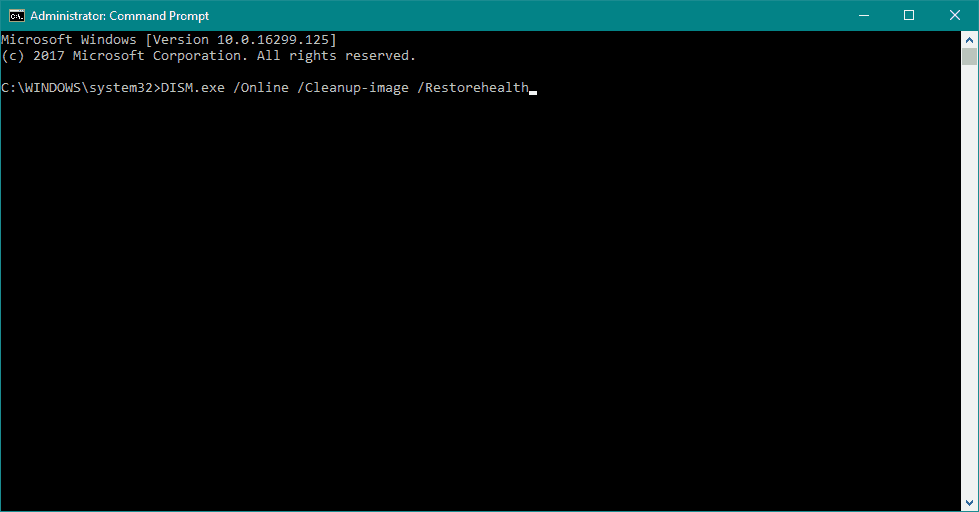
- Right-click Start and open Command Prompt (Admin).
- Paste the following command and press Enter:
- Wait until the scan is finished.
- Restart your computer and try updating again.
4.2 With the Windows installation media
- Insert your Windows installation media.
- Start Command Prompt as administrator as indicated in the previous solution.
- In the command line, type the following commands and press Enter after each:
dism /online /cleanup-image /scanhealthdism /online /cleanup-image /restorehealth
- Now, type the following command and press Enter:
DISM /Online /Cleanup-Image /RestoreHealth /source:WIM:X:SourcesInstall.wim:1 /LimitAccess
- Make sure to change an X value with the letter of the mounted drive with Windows 10 installation.
- After the procedure is finished, restart your computer.
DISM is the third troubleshooter we’re going to try, in case the previous two failed to resolve the problem.
DISM stands for Deployment Image Servicing and Management, and as its name says, it reloads the system image. So, maybe this process will resolve the BSOD issue.
5. Remove problematic applications
Errors such as ATTEMPTED_WRITE_TO_READONLY_MEMORY can be caused by certain applications, therefore it’s necessary that you find and remove them.
Users reported that Gigabyte On/Off software is the common cause for this error, so if you have this software installed, be sure that you remove it.
Another common cause for BSoD errors can be your antivirus software. Users reported that tools such as NoVirusThanks can cause these types of errors, and according to them, the issue was fixed after removing this tool.
We have to mention that almost any antivirus program can cause this error, and if you want to fix this problem, you’ll have to remove all third-party antivirus programs from your PC.
To completely remove an antivirus program, we strongly suggest that you use a dedicated removal tool.
Many antivirus companies have dedicated removal tools available for their software, so be sure to download one for your antivirus program.
If uninstalling the antivirus fixes the issue, you might want to download the latest version of the same antivirus program that you were using before, or you can switch to any another antivirus software.
6. Reset BIOS to default
Few users reported that they managed to fix this error by resetting BIOS to default, and you can do that easily. To see how to access and reset BIOS, be sure to check your motherboard manual for detailed instructions.
Before you reset BIOS, we advise you to check your SATA Controller and see what mode you are currently using.
Controller mode will be set to IDE, AHCI, or RAID, so be sure to set the SATA controller mode to the same value after you reset BIOS.
7. Use System Restore or Windows 10 reset
7.1 Perform a System Restore
- Hold the Shift key on your keyboard and click the Restart button. Alternatively, you can restart your computer a few times during the boot sequence to start Automatic Repair.
- Select Troubleshoot, select Advanced options, and click on System Restore.
- Select your username and enter your password if you have one.
- Select Choose a different restore point and click Next.
- Choose the restore point you wish to return to and click Next. Wait for the process to finish.
If the ATTEMPTED_WRITE_TO_READONLY_MEMORY error is caused by a software problem, you should be able to fix it by performing System Restore.
If System Restore didn’t fix the issue, you’ll have to perform a Windows 10 reset. To complete Windows 10 reset you might need Windows 10 installation media.
You can easily create an installation media by using Media Creation Tool and an empty USB flash drive.
7.2 Perform a Windows 10 reset
- Start the Automatic Repair process and choose Troubleshoot, then click on Reset this PC, and then on Remove everything. Be prepared to insert Windows 10 installation media if you’re asked to.
- Select Only the drive where Windows is installed, select Just remove my files and click the Reset button.
- Follow the instructions to complete the reset process.
We have to warn you that the reset process is similar to a clean install, so make sure that you back up important files from your C partition before you start this procedure.
If the BSoD error appears even after Windows 10 reset, the error is most likely caused by faulty hardware.
8. Check your hardware
ATTEMPTED_WRITE_TO_READONLY_MEMORY error can be caused by your hardware, so we urge you to check if your RAM is working properly.
The easiest way to do that is to test your RAM modules one by one, but you can also use tools such as MemTest86+ to perform a detailed scan of your RAM.
If your RAM is not the problem, you should check all other major hardware components.
The BSoD such as the Windows error ATTEMPTED_WRITE_TO_READONLY_MEMORY can be sometimes hard to fix, but we hope that you managed to fix this error by using one of our solutions.
If you have any other suggestions or solutions, don’t hesitate to leave them in a comment below.



User forum
0 messages