Bad Sectors Were Encountered During the Format [Windows 11 Fix]
If it's a physical damage to the HDD/SSD, replace the drive
Key notes
- Do you see a message saying, bad sectors were encountered during the format when trying to format your hard drive? Well, that's common, and fortunately, it can be fixed.
- A sector is a part of the disk track on your hard drive that stores a certain amount of data, which can be defective sometimes. This is when it prevents the read/write functions.
- In this post, we will help you to fix the issues related tp logical bad sectors that are software related. However, contact the HDD manufacturer for physical bad sectors (physical damage).
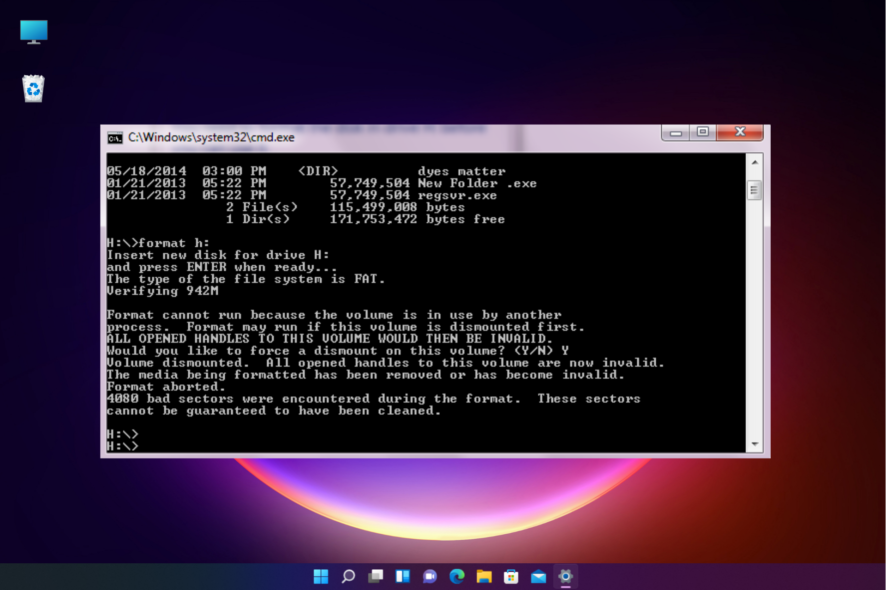
While trying to format your hard drive through Command Prompt, you may often come across the result as, bad sectors were encountered during the format.
You may notice other symptoms of bad sectors in an HDD, SD card, or USB driver such as A disk read error has occurred, You are unable to read or write an SD card, etc.
What causes bad sectors were encountered during the format?
Some of the reasons why your hard drive may develop bad sectors during the format are:
- Virus or malware infection – Sometimes, the bad sectors may show up due to a virus or malware attack on the drive or the computer itself.
- Outdated hard drive – The bad sectors were encountered during the format error may also show up if the drive is old and worn out,
- Multiple device usage – Have you used the same drive on multiple devices? That could be one of the reasons behind the bad sectors on hard drive.
- Mishandling of the drive – If you have been inserting and ejecting the drive incorrectly, or turning off the smartphone or camera, it can lead to bad sectors.
- Sudden power failure or system shutdown– It could be possible that during the format, the system shut down all of a sudden, or there was a power outage.
- Low-quality SD card – Check if you are using a poor-quality SD card causing the bad sectors encountered during the format error.
- Damaged drive – If the drive or the SD card is damaged, or has accumulated dust, or moisture, it could give arise to bad sectors.
How do I fix bad sectors on my hard drive on Windows 11?
You should try a few preliminary checks to rule out any major issues:
- Restart your PC and check again.
- Run an virus scan to quarantine your PC.
- Make sure you are not using the drive on multiple devices.
- Check for any power outage and wait till it’s back.
If none of the above methods help you to fix the bad sectors were encountered during the format issue, you can jump onto the below methods to repair the drive.
1. Run the CHKDSK utility
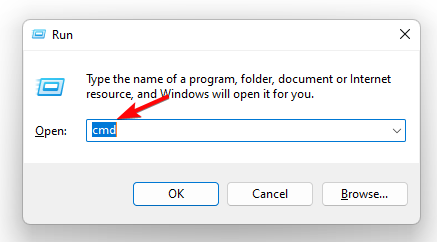
- Press the Win + R keys simultaneously to launch the Run console. Type in cmd and press the Ctrl + Shift + Enter keys to open the elevated Command prompt.
- Now, run the below command in the Command Prompt (Admin) window and hit Enter:
chkdsk /r /f c: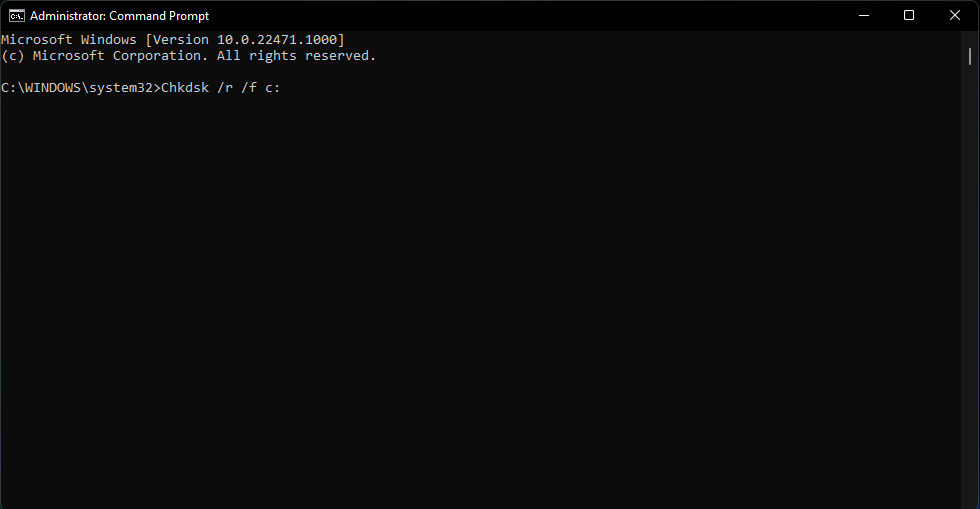
- Here, replace c: with the drive you want to check for errors.
- You should now see the success message as:
CHKDSK cannot run because the volume is in use by another process. Would you like to schedule this volume to be checked the next time the system restarts? (Y/N) - Type Y to confirm.
Once done, restart your PC and Windows will allow the CHKDSK utility to fix any errors related to the hard drive.
2. Format the drive on a different PC
- Press the Win + E shortcut keys to open File Explorer.
- Select This PC shortcut on the left, and on the right, right-click on the drive that you want to format and select Format.
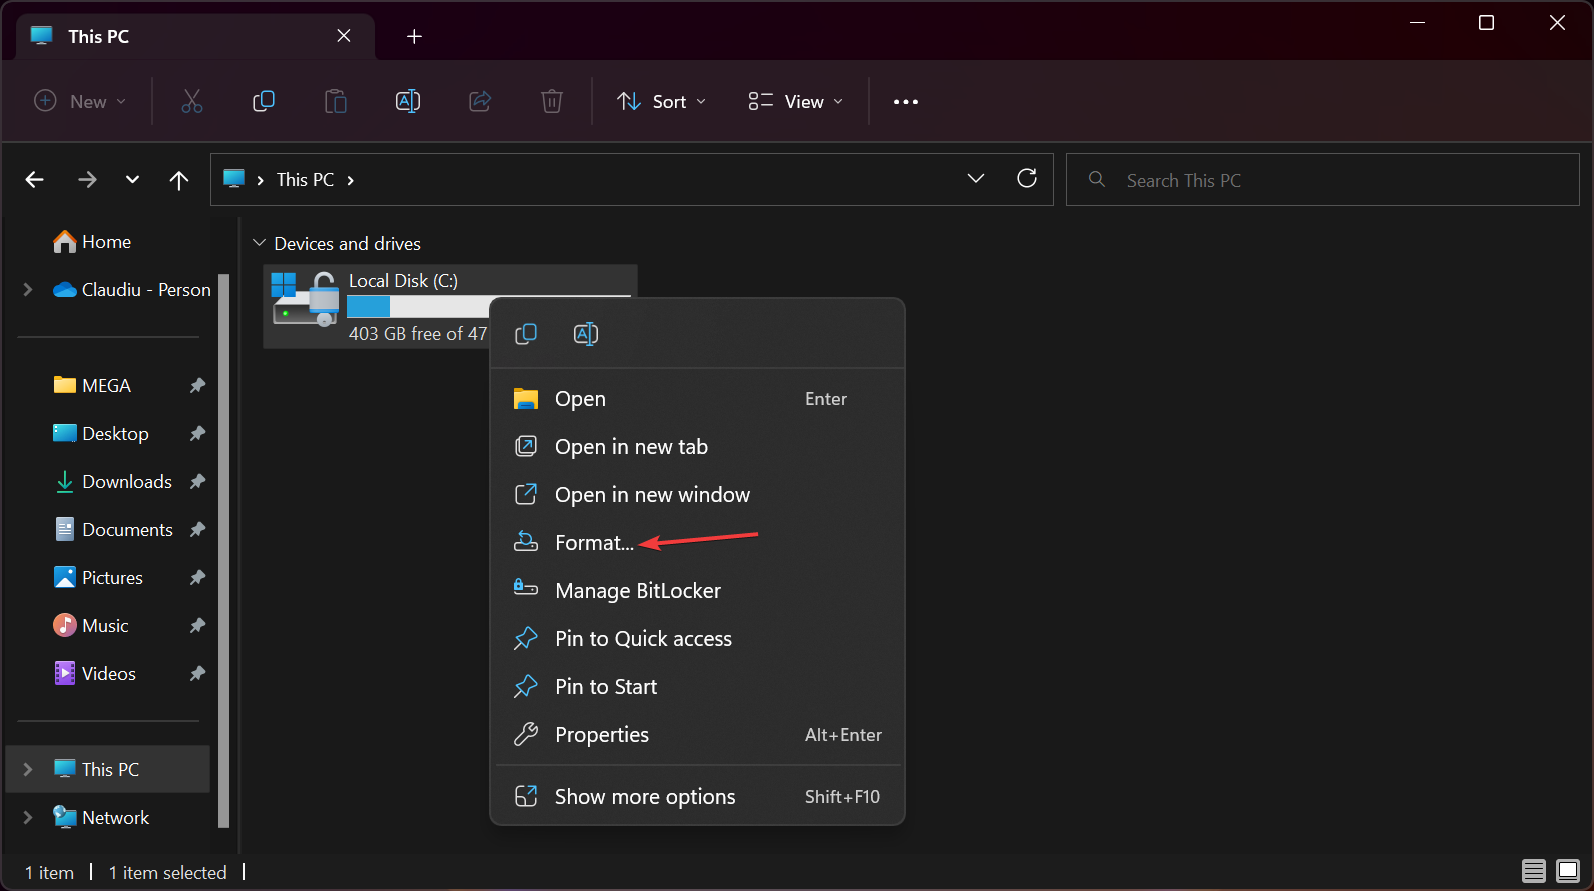
- In the Format dialog, go to the File system field, and select NTFS. Click on Start.
Now, wait while the process is completed, and once done, the drive should be formatted to NTFS and ready to use.
3. Use the Windows built-in troubleshooter
3.1 Use System Maintenance troubleshooter
- Go to Start and type Perform recommended maintenance tasks automatically in the Windows search bar. Select the result under Best match.

- In the System Maintenance window that opens, click on Advanced.
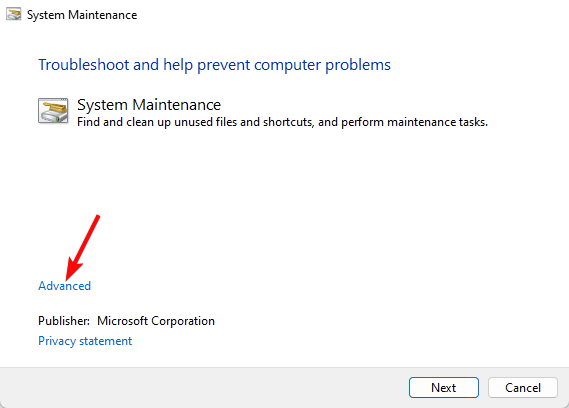
- Now, select Apply repairs automatically, and press Next.

- The troubleshooter will now start looking for any errors. If any errors are found, it will apply the repair automatically.
Now, close the troubleshooter, reboot your device and check if you still come across the bad sectors were encountered during the format error.
3.2 Run the Hardware and Devices troubleshooter
- Press the Win + R keys to open the Run console. Type cmd in the search bar and press the Ctrl + Shift + Enter keys simultaneously to launch Command Prompt with admin rights.
- Now, in the elevated Command Prompt, execute the below command and hit Enter:
msdt.exe -id DeviceDiagnostic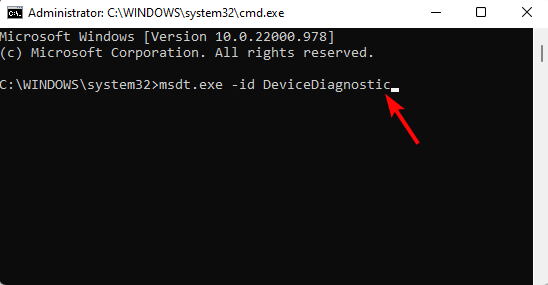
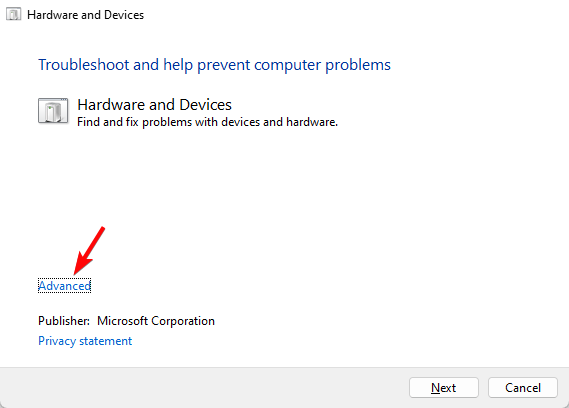
- This will open the Hardware and Devices troubleshooter. Here, click on Advanced.
- Now, select Apply repairs automatically and press Next.
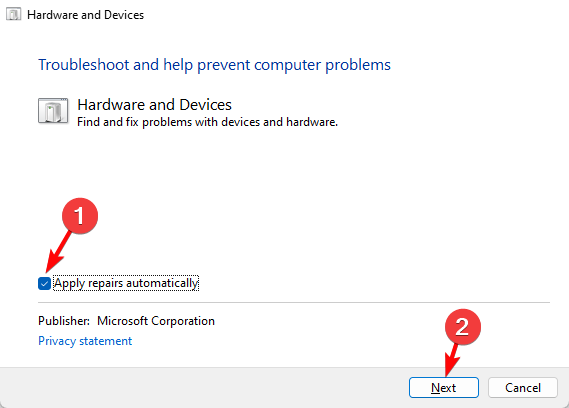
- The troubleshooter will now start checking for errors and if any detected, it will apply the repair automatically.
You can now close the troubleshooter, restart your PC and check if the bad sectors on hard drive are fixed.
4. Run the DISM command
- To open the Run console, press the Win + E keys together. Now, type cmd in the search bar, and press the Ctrl + Shift + Enter keys simultaneously to open the elevated Command Prompt.
- Next, run the below command in the Command Prompt (Admin) window and hit Enter:
DISM /Online /Cleanup-Image /ScanHealth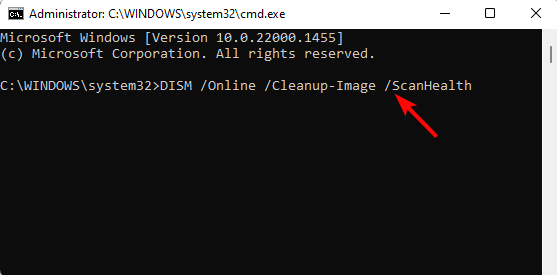
- Now, the DISM utility will start looking for any corrupted or missing files and repair or replace them accordingly. The process takes a while, so wait till it’s over.
Once done, restart your PC, and now, you should not see the bad sectors were encountered during the format error anymore.
5.Use the built-in properties tool
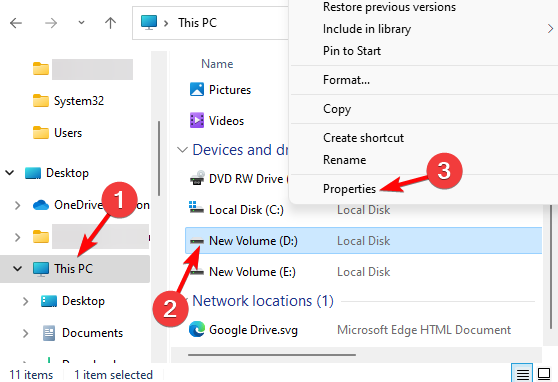
- Open the File Explorer by pressing the Win + E shortcut keys. Now, click on This PC on the left, and then, right-click on the problem drive, and click on Properties.
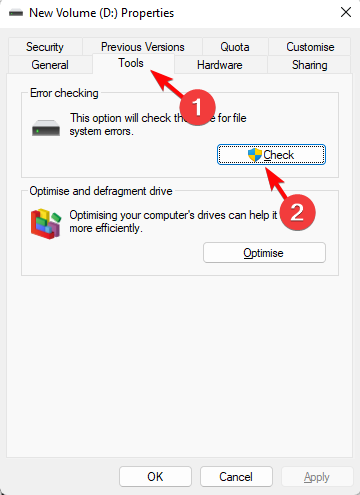
- In the drive Properties dialog, select the Tools tab, and click on Check under Error checking.
- Now, in the Error Checking prompt, click on Scan drive.
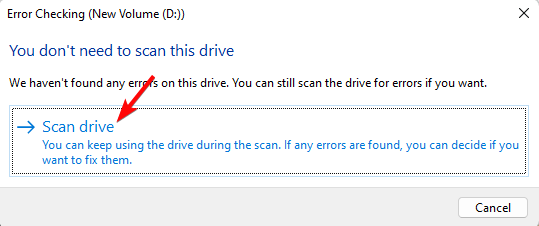
- The scan will now begin, and it will analyze the drive for any errors. If any errors are detected, it will display the fix that you can apply to resolve the error.
Now, reboot your PC and try formatting the drive to check if any bad sectors are still present or if the issue is resolved.
But if the drive is completely damaged and unrepairable, it’s recommended to replace it with a healthy one.
Alternatively, you can reset your Windows device to its factory settings while keeping your data intact. This will help you to get rid of the error, bad sectors were encountered during the format.
However, if all of the above methods fail to fix the issue, you can perform a system restore to revert your PC to a previously working state.
For any other queries related to hard drives, do leave a message in the comments section below.
Read our disclosure page to find out how can you help Windows Report sustain the editorial team. Read more


Improve this guide


User forum
0 messages