BitLocker Could Not Be Enabled: 5 Ways to Fix This Error
Try reinstalling your TPM drivers to resolve compatibility issues
Key notes
- BitLocker is an excellent utility to add an extra layer of security for your Windows device.
- However, some users are having issues as BitLocker cannot be enabled on their devices.
- It could be a hardware issue, so read on to find out how to bypass it.

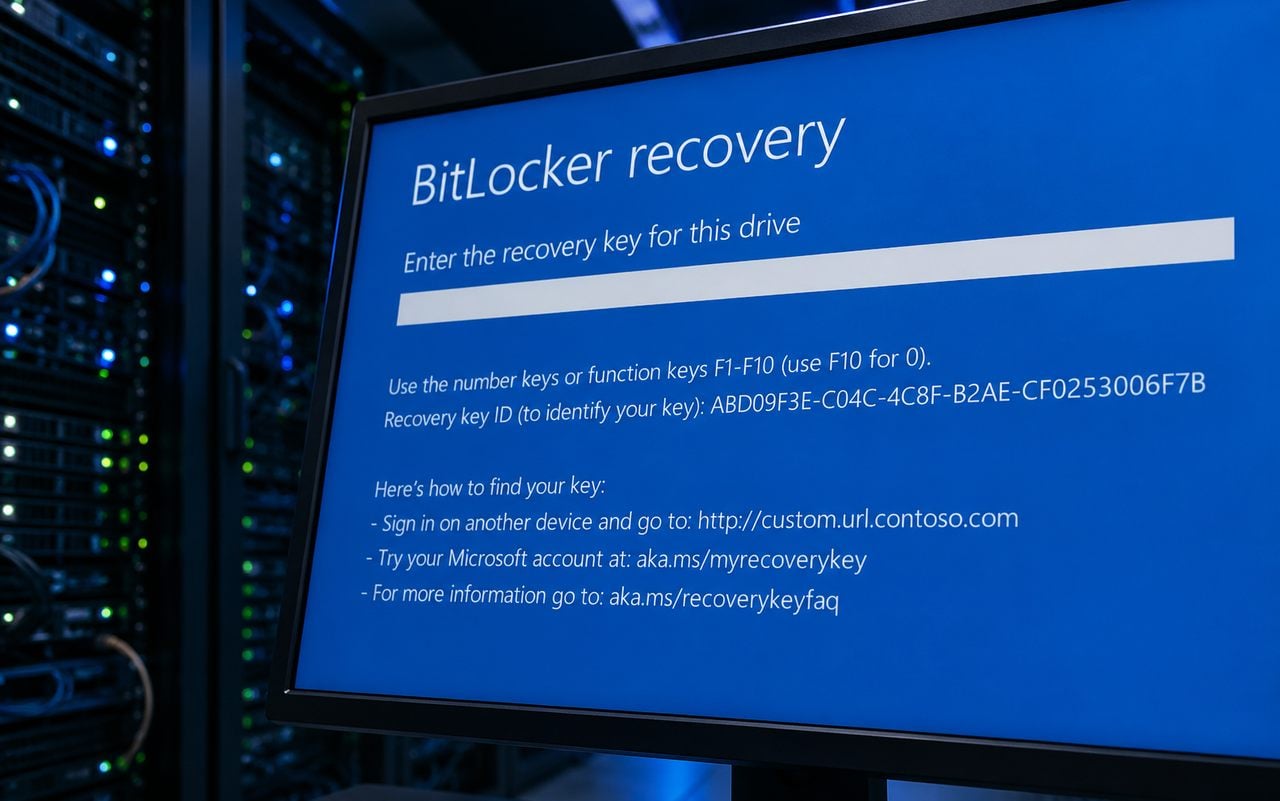
BitLocker is a Microsoft encryption utility which encrypts a hard disk drive’s data. Recently, users have complained that they are getting an error message that reads BitLocker could not be enabled the data drive specified is not set to automatically unlock.
It is enabled by default on computers that are running newer versions of Windows, but you can install Windows without BitLocker. If you’ve come across this error, let’s look at why it occurs and how to fix it.
Why is my BitLocker not working?
If you’re having trouble enabling BitLocker on your Windows device, below are some possible reasons:
- Hardware issues – If you try to enable BitLocker using a computer that does not recognize it, it’s possible that the computer does not have the requisite storage capacity or drivers present on its system.
- Bad BIOS settings – If your BIOS settings are not correct, it could prevent BitLocker from working properly.
- Unsupported TPM – If your computer is running an earlier version of Windows and you want to use BitLocker, you need to upgrade to TPM 2.0 motherboards.
- Incompatible partition style – Between the two partitions, MBR and GPT, MBR has less support for features and may not work well with newer versions of Windows.
- Outdated BIOS – If your BIOS has not been updated in a long time, it may not support newer versions of BitLocker. You need to update your BIOS.
- Disabled TPM and secure boot – If the TPM is disabled or if the secure boot feature is disabled, BitLocker will be unable to protect your operating system volume.
How can I fix the BitLocker could not be enabled error?
Before you try any of the below troubleshooting options, check off the following:
- Ensure you check for any Windows updates.
- Check whether your PC meets the Windows 11 system requirements.
- Disable BitLocker and enable it again.
1. Enable the BitLocker services
- Hit the Windows + R keys to open the Run command.
- Type services.msc in the dialog box and hit Enter.
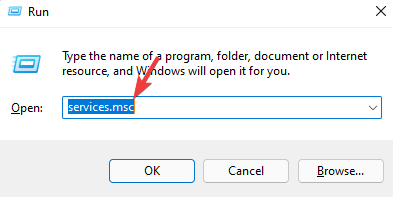
- Locate BitLocker Drive Encryption Service, right-click on it and select Properties.

- Set the Startup type to Automatic, click Start then Apply and OK to save changes.

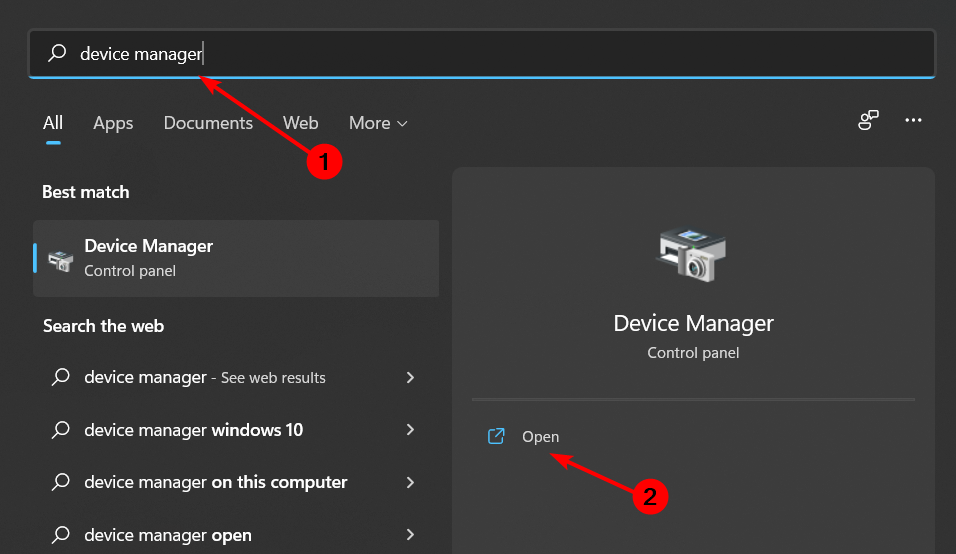
2. Reinstall TPM drivers
- Hit the Windows key, type Device Manager in the search bar, and click Open.
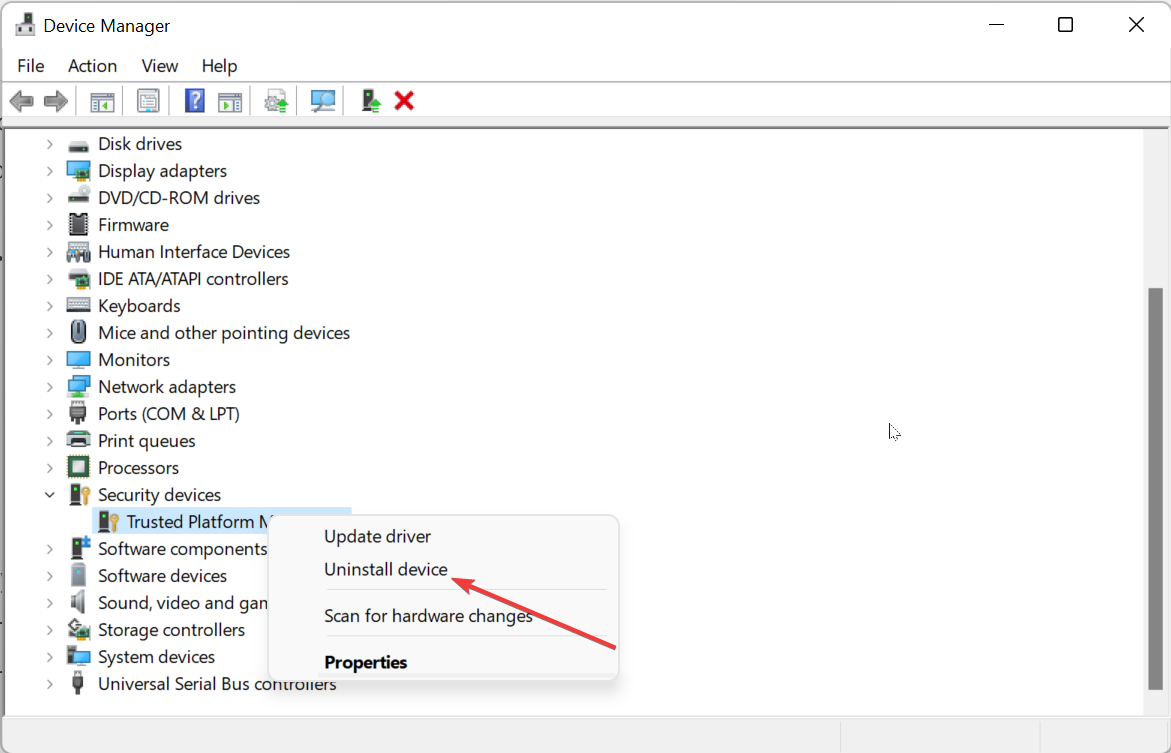
- Navigate to the Security devices option, expand and right-click your TPM device.
- Now, click the Uninstall device option.
- Finally, click the Uninstall button to confirm the action and restart your PC.
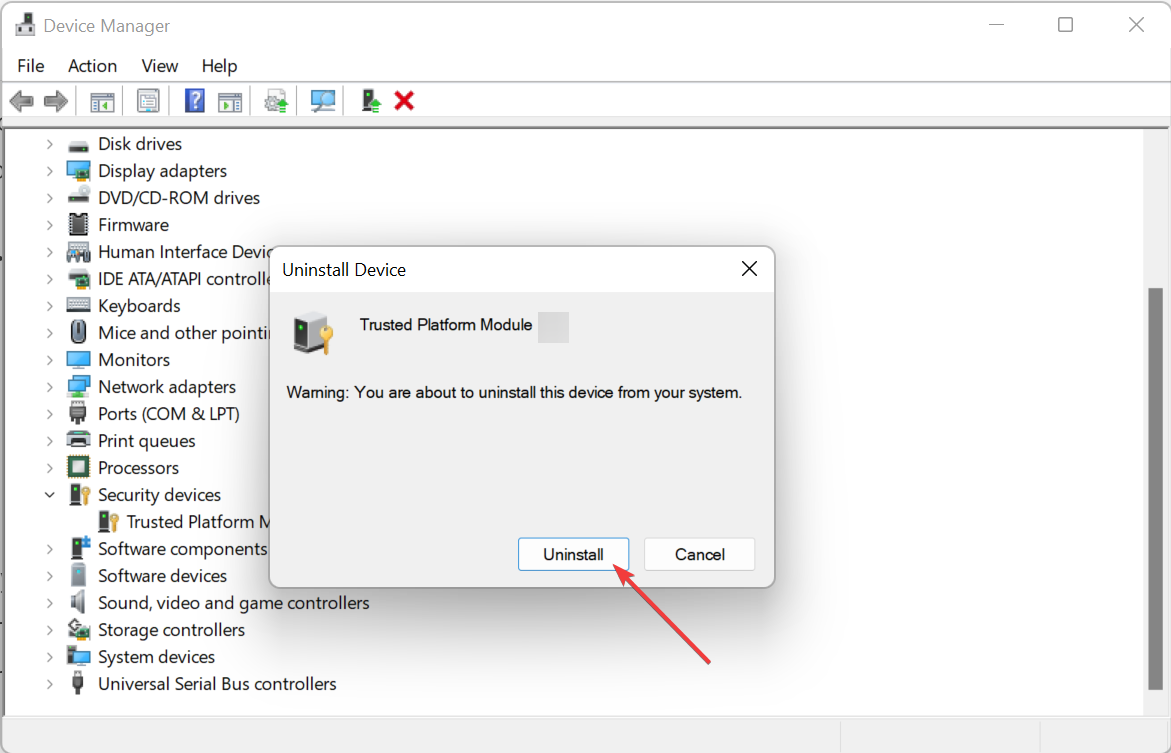
This method will only work if your PC already meets the system requirements for running Windows 11. TPM 2.0 is one of the prerequisites so if the drivers are outdated, reinstalling them might solve the issue of unsupported TPM.
3. Update BIOS
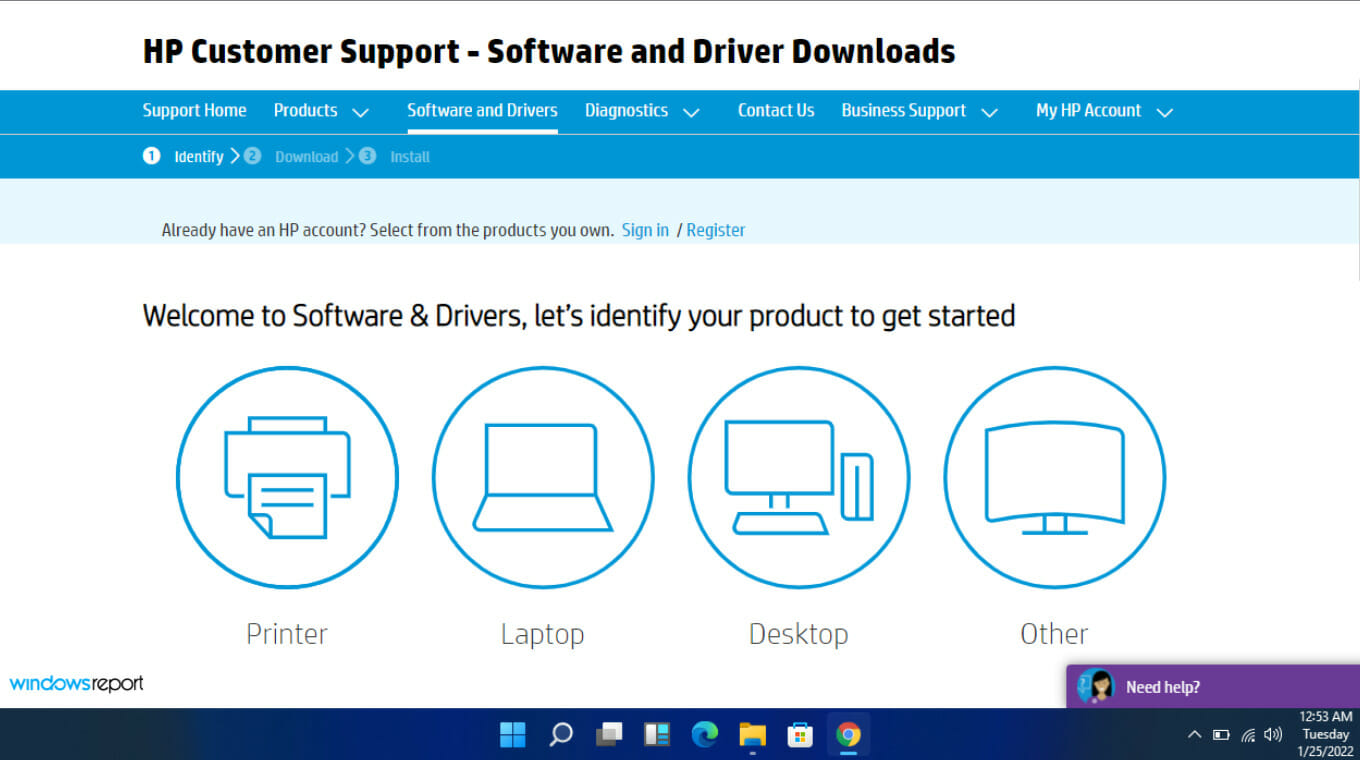
- Navigate to your PC’s manufacturer’s site. In this case HP driver and software download website.
- Select a laptop or desktop, depending on the type of computer you’re using.
- Enter your exact serial number or your exact computer model.
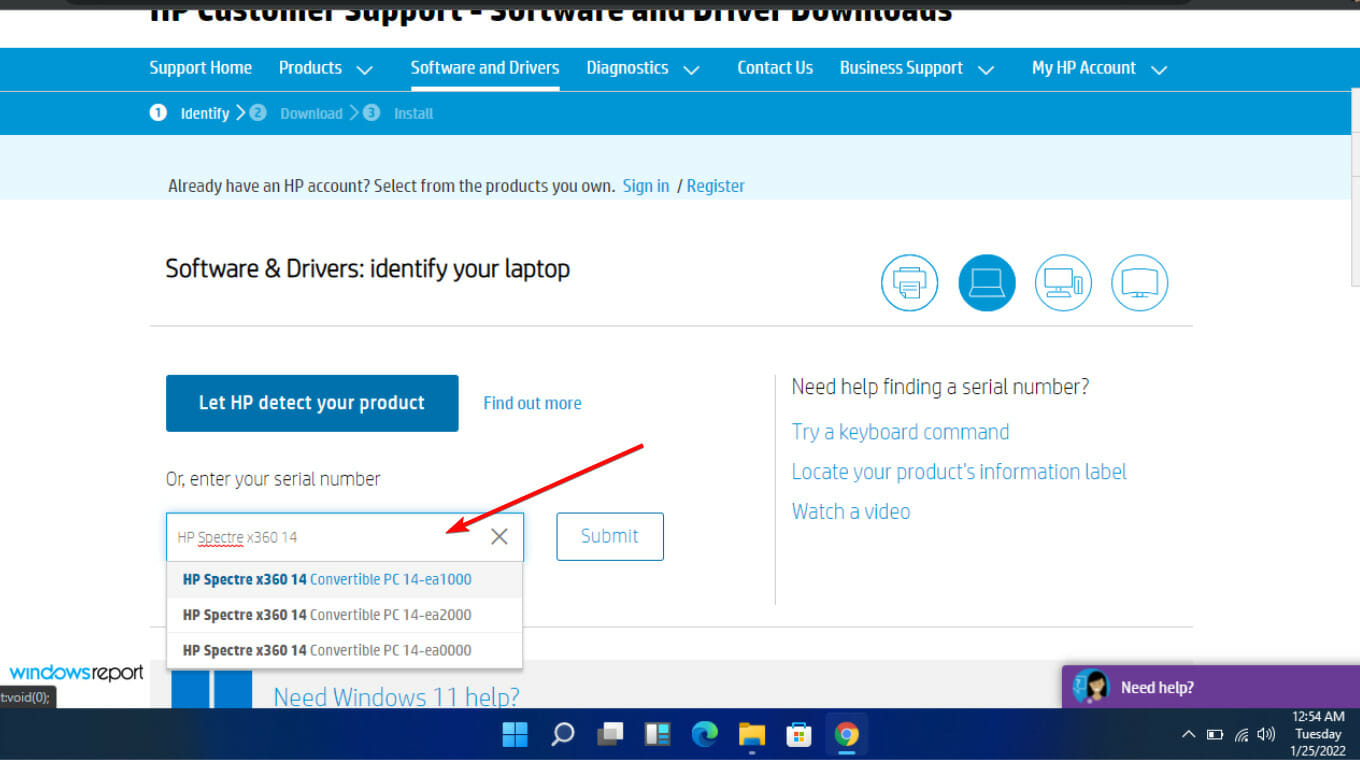
- Select your OS and OS version, then click Submit.

- Click on All drivers and then expand BIOS to see available updates.
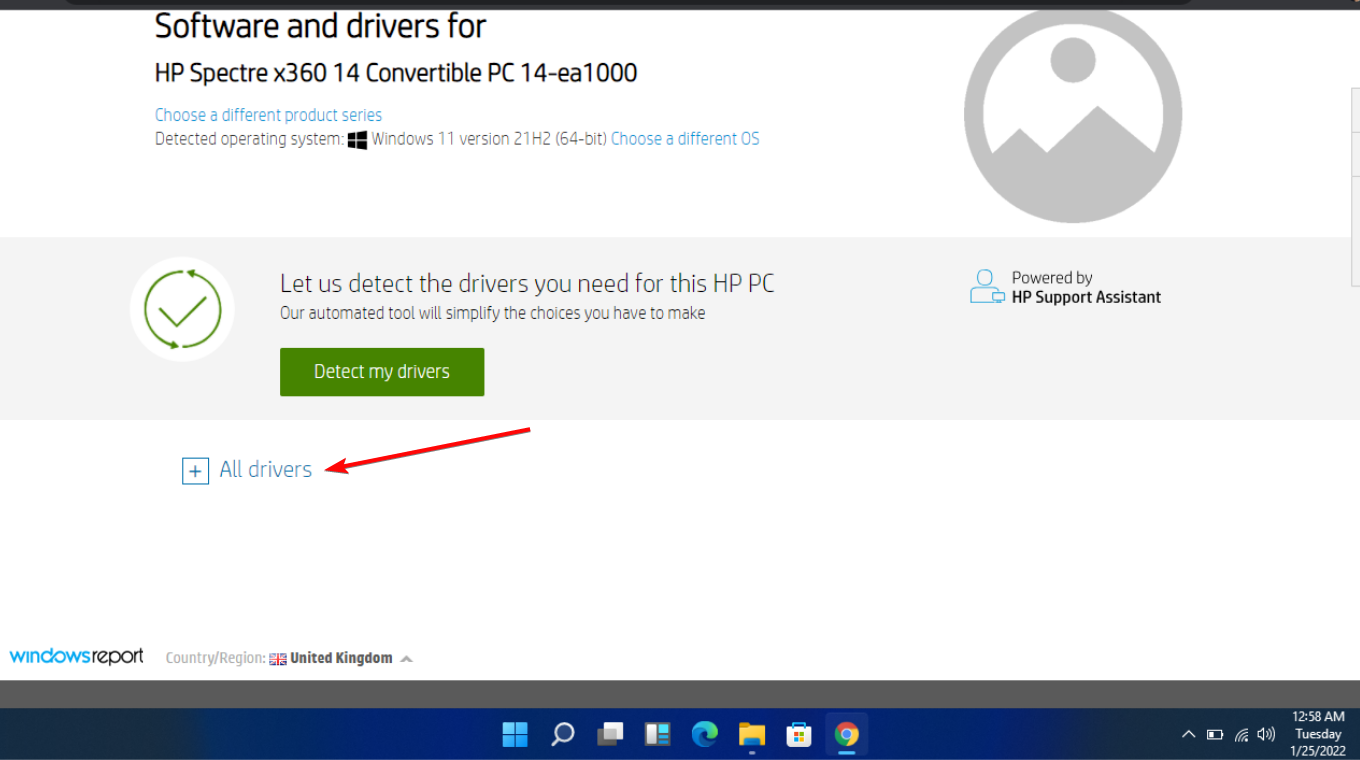
- Hit the download icon.
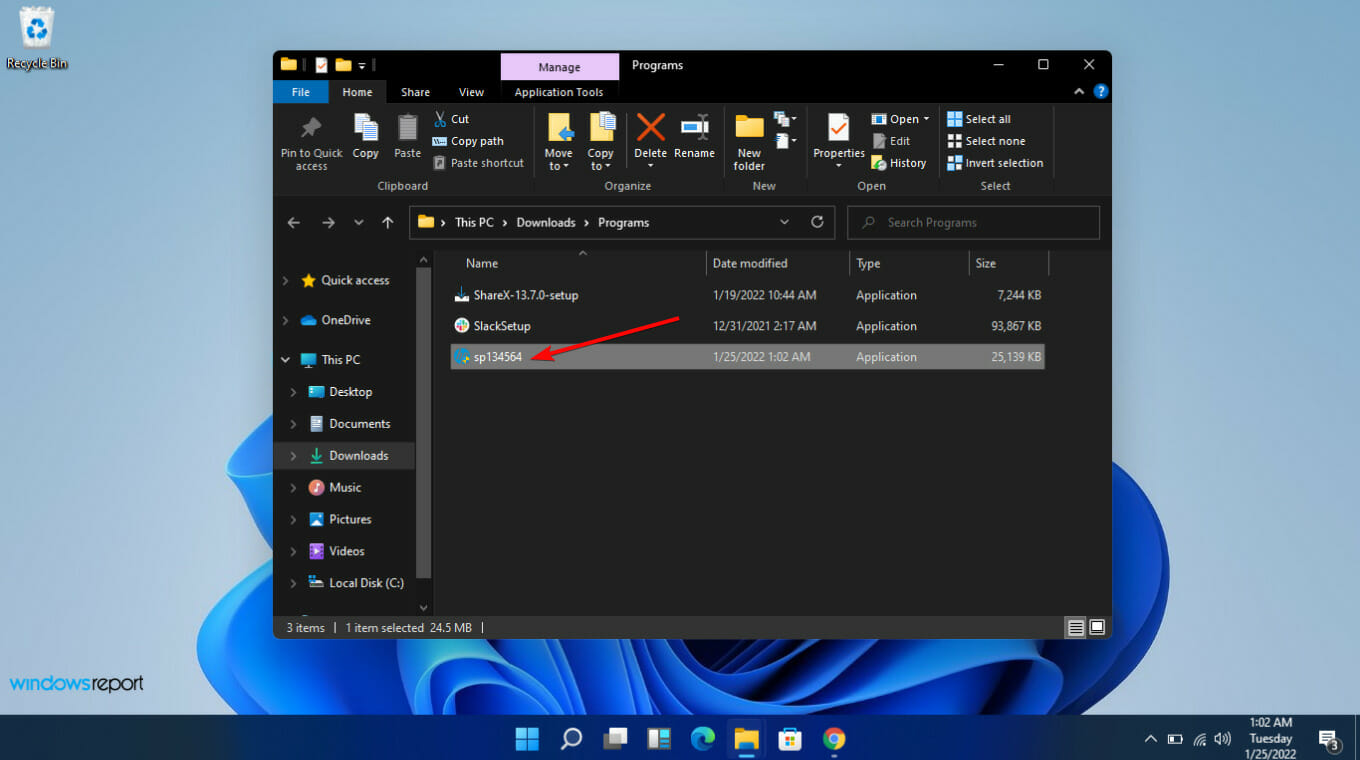
- Install the .exe file, following the on-screen instructions.
- Restart your PC.
- During the startup, you can select Apply Update Now.
4. Disable TPM temporarily
- First, check the status of your TPM by pressing the Windows + R keys to open the Run dialog.
- Type tpm.msc in the dialog box and press Enter.
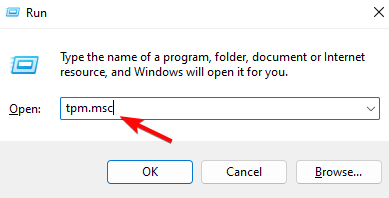
- Now you should see the status of the TPM.

- Next, enter your PC’s BIOS settings.
- Navigate to TPM and disable it.

- Go back and try to enable BitLocker now.
Remember that you can also enable BitLocker without TPM especially if you’re operating an older system that doesn’t meet modern PC system requirements. This can also help avoid issues preventing you from encrypting a folder.
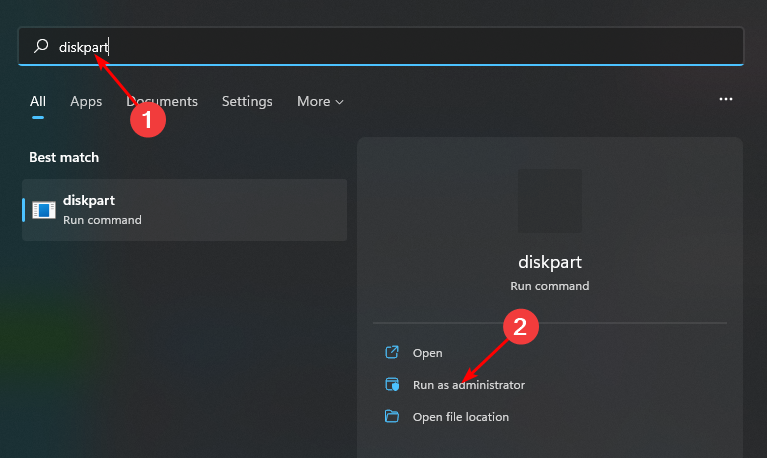
5. Convert your partition style
- Hit the Windows key, type diskpart in the search bar then click Run as administrator.
- Type in the following commands to establish the MBR and GPT disks and press Enter after each one:
diskpartlist disk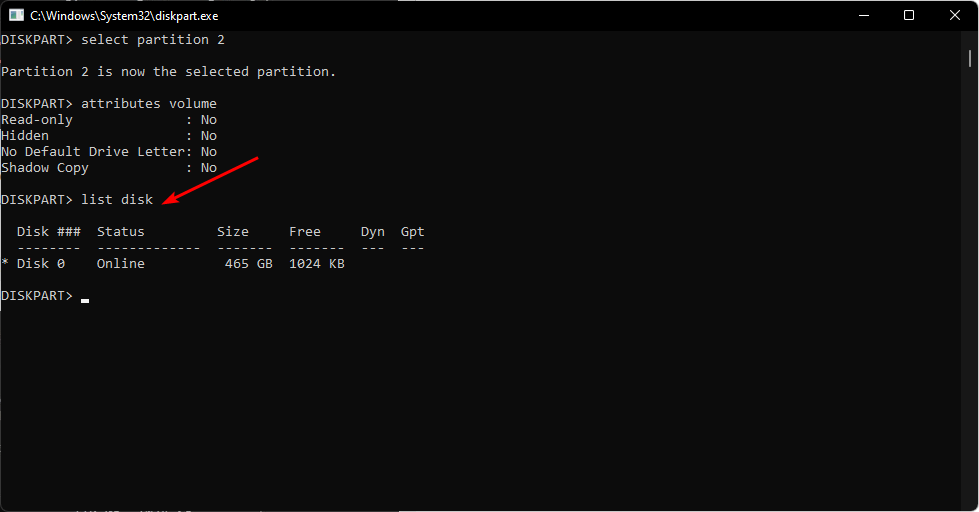
- Next, note down the disk you wish to convert to GPT and type the following commands replacing # with the corresponding disk number to be converted:
select disk #cleanconvert gpt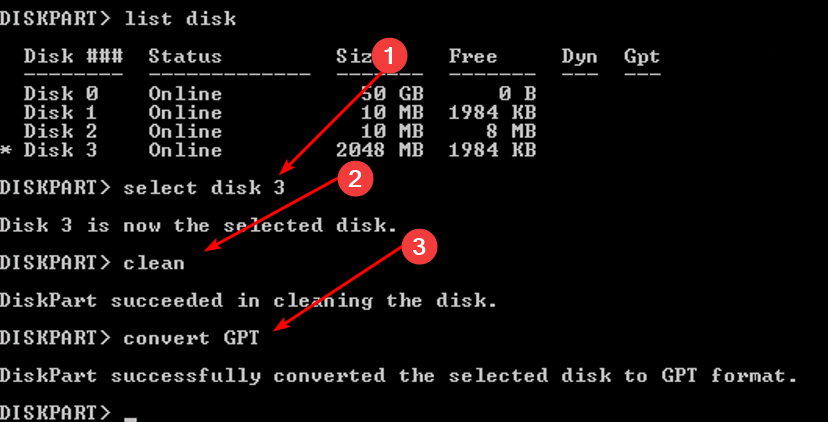
When you do the conversion, any data on that drive will disappear, so ensure that you back up all your files before performing this step.
Also, if you’re successful and can now enable BitLocker, BitLocker may fail to encrypt your hard drive. If you are in such a situation, feel free to check out our expert article on how to get encryption working again.
Aside from the BitLocker not being enabled, you may also come across the BitLocker prompt screen error, but worry not, as our detailed article has steps to fix this issue.
That’s all we had for this article, but be sure to leave us a comment below with any additional thoughts you may have on this issue.
Read our disclosure page to find out how can you help Windows Report sustain the editorial team. Read more


Improve this guide

User forum
0 messages