How to Make BlueStacks Faster with Settings for Low End PCs
Here are a few ways to make Bluestacks run faster than ever
5 min. read
Updated on
Read our disclosure page to find out how can you help Windows Report sustain the editorial team Read more
Key notes
- When BlueStacks Android emulator is slow on Windows 10, your gameplay isn't the best.
- Speeding up the emulator is quite easy, though, and we're showing you all the solutions.

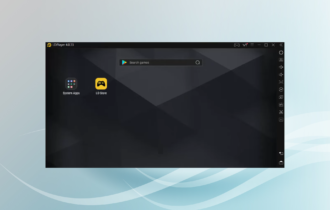
BlueStacks is an emulator that enables its users to play Android games within Windows.
The software’s publisher boasts on its website that the emulator is the fastest mobile gaming platform on Earth. BlueStacks 4 is eight times faster than the previous version and runs games six times faster than a Samsung Galaxy S9.
Yet, some users have still stated on forums that BlueStacks is laggy and runs slow on their desktops or laptops.
One user stated:
When I tried to run a game such as Candy Crush Saga (in BlueStacks) it’s almost unplayable due to the lags (after pressing Start reaction is after 2-3 sec).
This is how users can speed up the BlueStacks emulator in Windows 10.
How can I fix BlueStacks slowdown issues on PC?
1. Adjust BlueStacks’ display settings
- Click the Settings button in BlueStacks to open a menu.
- Select Settings on the menu to open a Settings window.
- Then click the Display tab if it’s not already selected.
- Select a lower resolution setting. For example, users could select to reduce the software’s resolution from 1,920 x 1,080 to 1,600 x 900.
- In addition, select the Low (1600DPI) option on the Display tab.
Display settings usually have a big impact on gameplay speed for Windows games.
Adjusting the graphical settings to lower the resolution and DPI often speeds up games as that frees up system resources.
As such, adjusting the resolution and DPI, in the same way, might also speed up Android games played with the BlueStacks emulator.
2. Update BlueStacks
BlueStacks 4 is the fastest version of the emulator. As such, games will probably be somewhat faster and more responsive in the latest BlueStacks than previous versions.
So updating to the latest BS 4 is the first thing users utilizing older versions of the software should do.
Those users with BlueStacks version 3.52.66.1905 or higher can update the emulator without losing game data and in-app purchases by clicking the Download BlueStacks button on the software’s webpage.
However, those users utilizing an older BS version less than 3.7.44.1625 cannot directly update the software.
Thus, some users might need to uninstall BlueStacks and then download and install the latest BS 4 from the emulator’s website.
3. Update the graphics card driver
The latest graphics card drivers can notably enhance Windows gaming. Of course, that is primarily in respect of visual quality; but new graphics card drivers can also optimize gaming in other ways.
Windows Update will automatically update graphics card drivers if configured to do so. However, Windows Update doesn’t always keep up with the very latest graphics card driver updates.
So it might be worth checking if there’s a more updated driver for your video card.
Driver updater software provides the best way to quickly check for and update graphics card drivers.
After installation, this kind of tool will immediately scan to check if any drivers need updating. Then you can update the drivers directly with the software.
4. Allocate more RAM to BlueStacks
- Open the BlueStacks emulator.
- Click the Settings button at the top right of BlueStacks to open a menu.
- Select Settings to open a window that includes further options for the software.
- Click the Engine tab on the left of the Settings window.
- Then, drag the Memory bar to the right to increase the amount of RAM allocated to BlueStacks.
- You can also select more CPU cores for BlueStacks. (Select the highest number from the CPU Cores drop-down menu.)
Note that BlueStacks needs at least two gigabytes of RAM.
More recent BS versions include game engine settings with which users can maximize the amount of RAM, and other system resources, for the Android emulator.
5. Close Third-Party Software
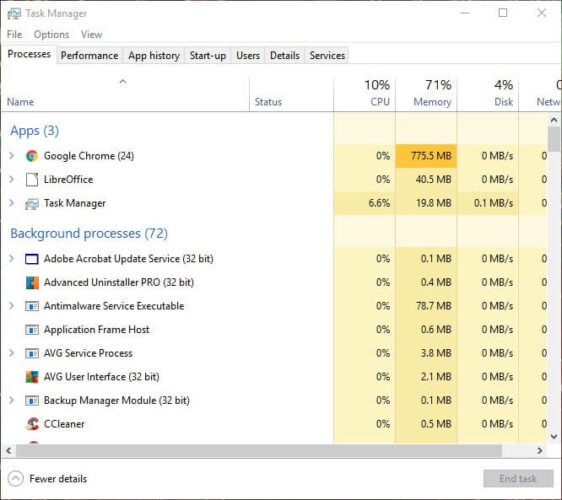
- Right-click the taskbar to open its context menu, and select the Task Manager option.
- Then click the Processes tab.
- Select software (except BlueStacks) listed under apps, and press the End task button.
- Background processes also include some background software. So have a look for and close any non-essential third-party software listed there.
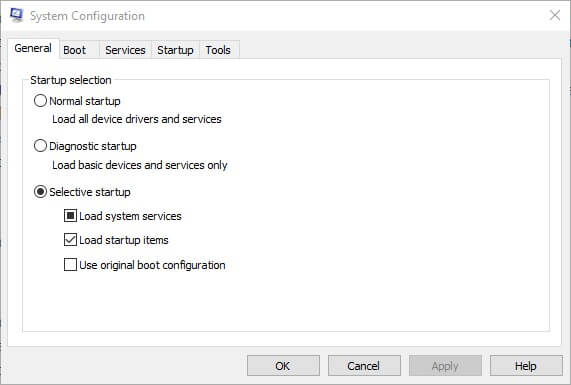
Note that third-party software services can also hog system resources. You can disable third-party services with the System Configuration utility. This is how users can stop software services.
- Press the Windows key + R keyboard shortcut.
- Enter msconfig in Run, and click the OK button.
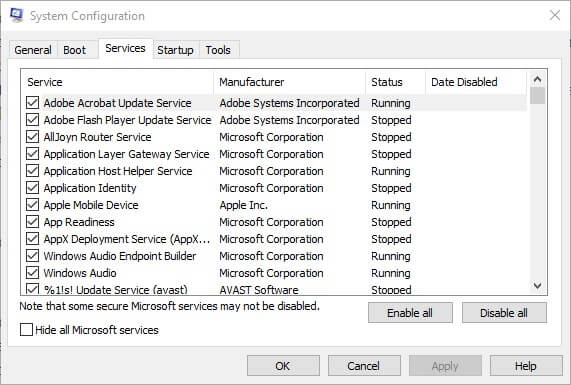
- Select the Services tab on the System Configuration window.
- Select the Hide all Microsoft services option.
- Then deselect some of the third-party services listed.
- Click the Apply and OK buttons.
- Select the Restart option to restart Windows.
Closing programs will have a similar effect to increasing RAM allocation as that will also make more system resources available for BlueStacks.
Remember that there might be some background software running in Windows even when there aren’t any program windows open on the taskbar.
6. Turn off antivirus utilities
Third-party antivirus software features can also have a notable impact on the performance, or speed, of BlueStacks’ Android games.
So temporarily turning those features off, by disabling the antivirus packages, might speed up BlueStacks.
You can temporarily turn off some antivirus software by right-clicking their system tray icons and selecting a disable or turn-off option. Alternatively, select a disable option on the settings tab in the antivirus utility’s primary window.
Some antivirus software incorporates hardware-assisted virtualization, which can have a notable impact on the BlueStacks emulator.
Proceed to deselect the Enable hardware-assisted virtualization option if there is one within your antivirus software.
These are a few resolutions that might reduce gameplay lag for games played in BlueStacks. Hopefully, Android games will feel somewhat faster in Windows 10 after applying them.
If you have further suggestions on this topic, share them with us using the comments section below.
Note that some of the above resolutions might also fix missing DLL error messages for other files.
[wl_navigator]

