10 Easy Fixes to Apply if You Cannot Start BlueStacks (5)
If Bluestacks 5 is stuck on starting, you need to perform a Bluestacks repair ?
Key notes
- If you cannot start Bluestacks, then try running it in compatibility mode, close background apps, and pause your antivirus.
- Is Bluestacks5 stuck on the loading screen? You cannot wait for an invite loading to conclude, so act promptly.
- Repair Bluestacks by reinstalling the software if necessary and make sure virtualization is enabled on your device.

BlueStacks is a fast Android emulator for PC, allowing users to enjoy thousands of apps on their computers. Whilst the platform is fairly solid, sometimes users cannot start Bluestacks.
For instance, the BlueStacks engine won’t start on certain systems.
If you have encountered errors with starting BlueStacks on your Windows PC, then the fixes below will help you get it up and running in no time. But first, let’s see what triggers the issues, to begin with.
Why BlueStacks cannot start?
This issue can occur if BlueStacks failed to install properly on your PC. A damaged installation can’t run properly, so you might have to reinstall the software.
In case the installation is damaged, BlueStacks won’t open on your PC, so it’s recommended to repair the Bluestacks installation.
If there’s a driver problem, you might even get Blue Screen of Death errors in BlueStacks, but there are ways to fix that.
Speaking of problems, here are some similar issues that users reported:
- Bluestacks stuck on initializing screen Windows 10 – This problem can appear on almost any OS, see BlueStacks not starting Windows 10, cannot start BlueStacks Windows 11, Mac
- Cannot start bluestacks unable to initialize graphics
- Bluestacks stuck on starting engine – BlueStacks stuck on starting, also BlueStacks infinite loading, or loading forever. To fix the problem, simply end those processes and check if that helps.
- Bluestacks 5 stuck on loading screen/ welcome screen – cannot start Bluestacks 5, cannot start Bluestacks X – To fix the problem, make sure that your antivirus isn’t interfering with Bluestacks.
- Cannot start BlueStacks error code 1, needs minor repair
- Bluestacks stuck on just a sec –To fix it, disable all startup applications and run Bluestacks again.
- Cannot start BlueStacks Hyper-V
How to fix Cannot start BlueStacks please send a problem report?
Before we dig in, here are a few quick prerequisites for you to verify:
- Ensure that your PC fulfills the minimum system requirements
- Change Graphics Mode to DirectX
- Consider upgrading to an SSD and adding more memory
1. Close any additional applications
- Press Windows Key + R and enter msconfig. Now press Enter or click OK.
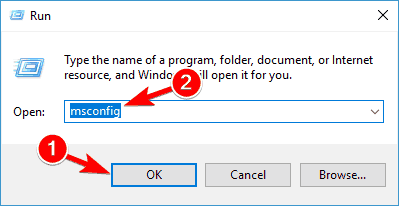
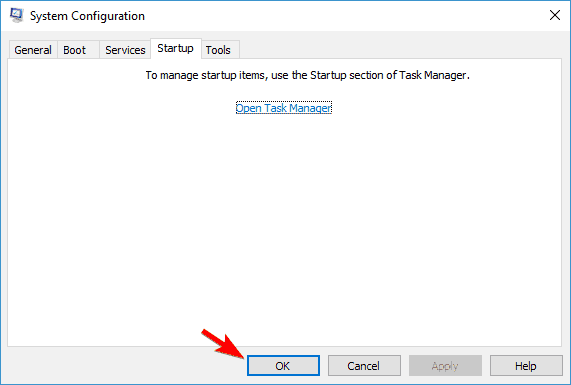
- The System Configuration window will now open.
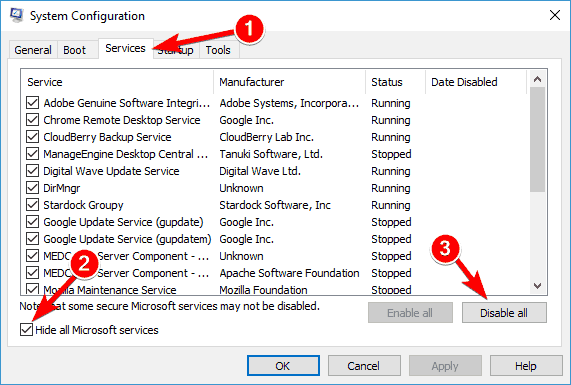
- Navigate to the Services tab and check Hide all Microsoft services. Now click Disable all button.
- Proceed to the Startup tab and click Open Task Manager.
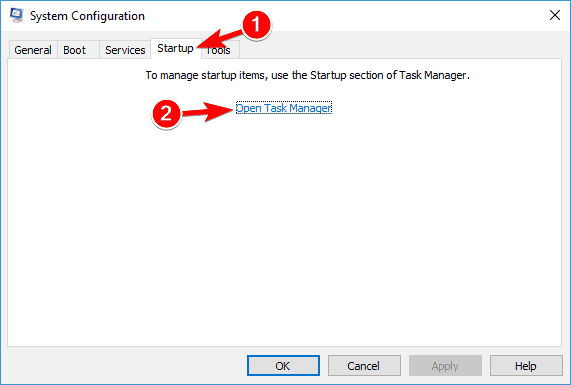
- A list of startup applications will now appear in Task Manager.
- Right-click the first entry on the list and choose Disable from the menu. Repeat this step for all startup applications on the list.
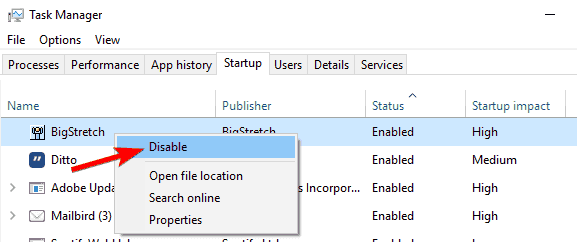
- Close Task Manager. Now go back to the System Configuration window.
- Click Apply and OK to save changes. Restart your PC to apply the changes.
Third-party applications can sometimes interfere with Bluestacks and cause Bluestacks to get stuck on initializing.
Since many of these applications start automatically with Windows, it’s advised that you perform a Clean boot and disable all startup applications and services.
Once your PC restarts, check if the problem with Bluestacks still appears. If not, it means that one of the startup applications was causing it.
To find the cause, you need to enable startup applications and services until you find the problematic application. Once you find it, remove it from your PC and check if that helps.
2. Install the latest version of Bluestacks
- Uninstall Bluestacks. You can do that by going to Settings app > System > Apps & features. Locate Bluestacks and click the Uninstall button.
- Locate and remove the following folders:
C:\Program\Files(x86)\BlueStacksorC:\Program\Files\BlueStacksC:\Program\Data\BlueStacksC:\Program\Data\BlueStacks\Setup
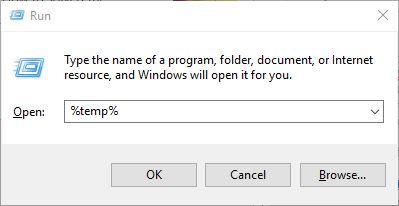
- Press Windows Key + R, enter %temp% and press Enter or click OK.
- Delete all BST files and folders. You can search for BST files using the search bar at the top right corner.
- Download the removal tool and use it to remove Bluestacks.
Sometimes older and outdated versions of Bluestacks engine won’t start, and to fix this problem, we advise you to reinstall the Bluestacks application.
In addition to downloading the latest version, be sure that you have the necessary .NET framework installed. You can download all the necessary components from Microsoft’s download page.
Note that you’ll need to completely remove all files, folders, and registry keys associated with Bluestacks.
If this process seems a bit complicated, you can also remove Bluestacks using an uninstaller tool.
By using a professional uninstaller tool you’ll ensure that the software is completely removed from your system along with all of its files and registry entries.
Once you remove it using this kind of tool, download BlueStacks and check if the issue is resolved.
3. Use a different software
Although BlueStacks is a great Android emulator, it’s not the only one on the market, and there are many others that can do the same job, and one of them is LDPlayer.
This software delivers great performance, so you’ll experience maximum framerate when playing games. Custom keyboard and mouse controls are supported, allowing you to play Android games the same way as PC games.
Lastly, the software supports multiple instances, synchronization, and macros, allowing you to automate tedious tasks with ease.
4. Change the security properties
Users reported that Bluestacks initialization problems can occur due to your security settings.
Sometimes you might not have the necessary privileges to run this application, but you can fix that problem by following these steps:
- Go to the Bluestacks installation directory. By default, it should be
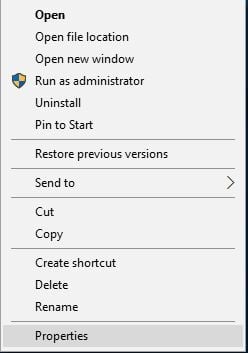
C:\Program Files\BlueStacks - Locate HD-StartLauncher, right-click it, and choose Properties.
- Go to the Security tab and click Edit.
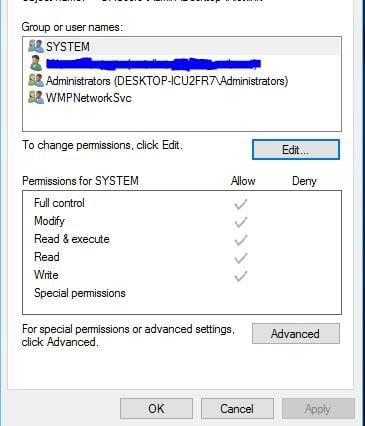
- In the Group or user names section, select your user name, and under the Permissions section, check Full control in Allow column.
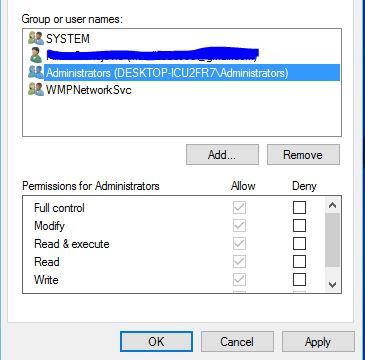
- After you’re done, click Apply and OK to save changes.
5. Run Bluestacks in Compatibility mode
A few users reported that you can fix problems with Bluestacks not starting by running it in Compatibility mode. To do that, follow these steps:
- Right-click the Bluestacks shortcut and choose Properties from the menu.
- Go to the Compatibility tab, check Run this program in compatibility mode for, and select a previous version of Windows from the dropdown menu.
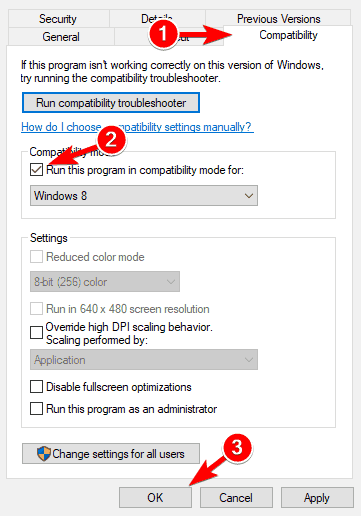
- After you’re done, click Apply and OK to save changes.
6. End all Bluestack processes
If Bluestacks gets stuck on initializing on your PC, you might be able to fix the problem by disabling all running Bluestacks processes. This is quite simple to do, and you can do it by following these steps:
- Turn on Airplane mode. If you don’t have a laptop, you can just disable your Internet connection.
- Press Ctrl + Shift + Esc to open Task Manager.
- Locate all Bluestacks processes and terminate them.
- You can do that by right-clicking the Bluestacks process and choosing End Task from the menu.
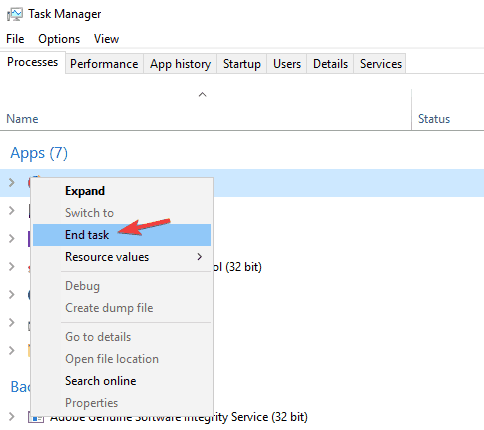
- Once you disabled all Bluestacks processes, close Task Manager.
- Navigate to the Bluestacks installation directory and run HD-Quit, HD-QuitMultiInstance, and HD-Restart.
- After doing that, try to run Bluestacks again.
Bluestacks should now start. Disable Airplane Mode or enable your Internet connection and you’re good to go.
7. Try an older version of Bluestacks
According to users, sometimes Bluestacks won’t start due to issues in the latest version. To fix this problem, users are suggesting switching back to the older version and check if that helps.
To do that, first, you need to completely delete your current installation of Bluestacks. After doing that, install the older version and check if that helps.
8. Check your antivirus
Your antivirus software can cause Bluestacks not to start. However, you can fix this problem simply by disabling certain features in your antivirus.
If that doesn’t work, be sure to add Bluestacks to the list of exceptions in both your antivirus and firewall. If the issue is still there, you need to disable your antivirus altogether.
In the worst-case scenario, your only option might be to completely remove your antivirus.
If uninstalling the antivirus solves the problem, you might want to consider switching to a different antivirus solution.
There are many antivirus applications on the market, and some of them offer great protection without interfering with your system.
9. Install the latest updates
- Press Windows Key + I to open the Settings app.
- When the Settings app opens, go to Update & Security section.
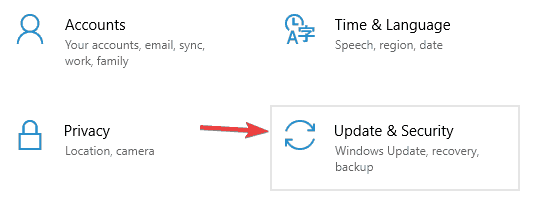
- Now click Check for updates button.
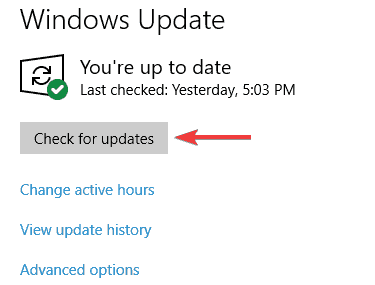
Another cause for problems with Bluestacks can be missing updates.
There may be certain incompatibility issues between Bluestacks and your version of Windows. To ensure that everything is running smoothly, we strongly encourage you to keep your OS up to date.
For the most part, Windows installs the missing updates automatically, but sometimes certain glitches can occur causing you to skip updates.
If any updates are available, they will be downloaded automatically in the background. Once the updates are installed, check if the problem with Bluestacks is resolved.
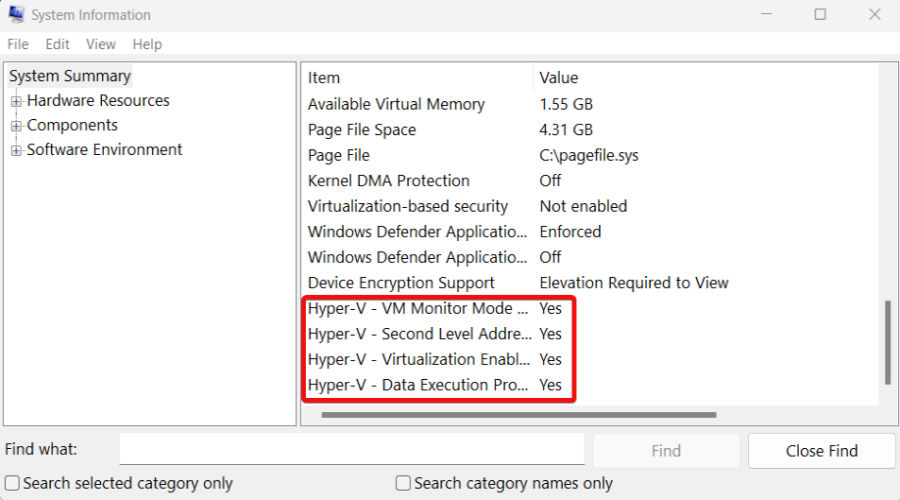
10. Make sure virtualization is enabled on your device
If you cannot start Bluestacks, you may need to take a closer look at your Hyper-V settings (or similar). So, first of all, you need to make sure that your CPU supports virtualization, and then enable it on your PC.
- To do so, you can type Run in the search zone and open the Run menu.
- Next, type in msinfo32. The System Information window should open.
- Under System Summary, your Hyper-V mentions should have the value Yes.
- Alternatively, you can use the shortcut Ctrl + Shift + Esc to open the Task Manager.
- Go to the Performance tab and look for CPU.
- The Virtualization field should say Enabled.
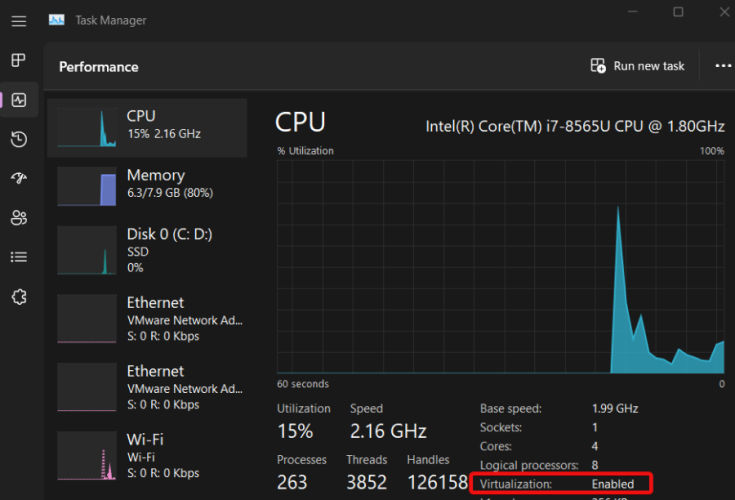
If that’s not the case, but you’re certain that your CPU supports this feature, you’ll need to enable virtualization in BIOS.
Bluestacks is one quite useful tool, and if Bluestacks is stuck on initializing on your Windows 10 PC, be sure to try some of our solutions.
Read our disclosure page to find out how can you help Windows Report sustain the editorial team. Read more


Improve this guide


User forum
2 messages