Fix: CCleaner not Clearing Cache [Android, PC, Browsers]
Key notes
- What is the best cache cleaner app for Android? It can be no other than CCleaner.
- One of the reasons behind its popularity is the cross-platform availability that makes it work on PCs, phones, and Mac devices.
- Sometimes, even the greatest apps face difficulties and such is the case with CCleaner not clearing cache on Android.
- You can force clear cache on Android and delete hidden cache to solve the issue. Here's how to do it.
For many users, CCleaner is a personal favorite when it comes to decluttering and cleaning Windows and other systems. However, quite a few of them complained about CCleaner not clearing the cache on Android.
CCleaner is a cross-platform cleaning tool, and you can use it on Windows, Mac, mobile platforms, or browsers.
Now, some of you might question the utility of such apps in the first place. Instead of constantly wondering, we encourage you to see for yourself how safe and useful CCleaner really is.
There is nothing excessively complicated about clearing the cache on Android.
However, it is time-consuming and tedious. This is where CCleaner, the best app to clean hidden cache on Android, comes into play.
But what do you do when your cache won’t clear even with CCleaner?
What do I do when my cache won’t clear with CCleaner?
1. CCleaner not working on Android, PC, browsers
1.1. Force clear cache on Android
- Launch the CCleaner app on your Android device.
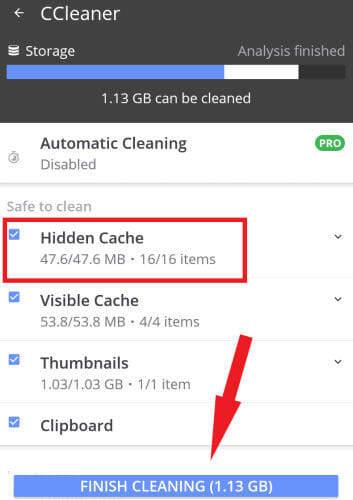
- Tap Analyze disk. Once analysis is completed, tap Show results.
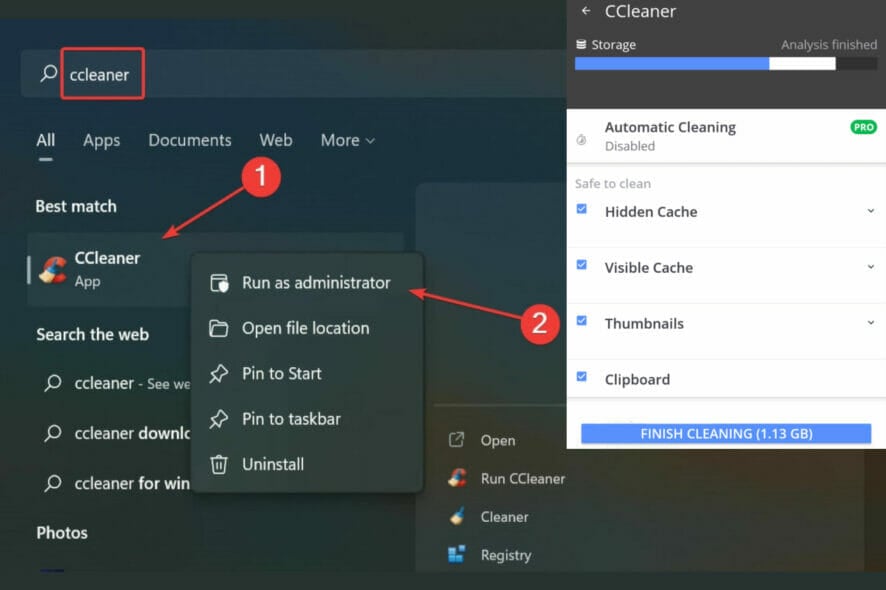
- Make sure you select Hidden Cache from the list of items and tap Finish cleaning.
- Then, check Enable in the new dialog box.
- Slide down to the Services section, select CCleaner, and switch it to On.
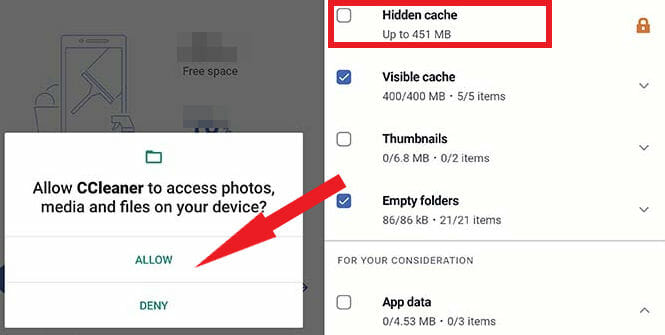
- Alternatively, you can simply tap Allow when CCleaner asks permission to access the files on your device.
- Return to the cache clearing screen to confirm the action was performed properly.
One of the major culprits behind CCleaner not clearing the cache on Android is no other than the hidden cache.
Apps like YouTube or Spotify store data packages such as image thumbnails to retrieve information quicker and load faster, rather than download it repeatedly. However, they are stored in a hidden place.
Why can’t I clear cache on my Android with CCleaner?
Starting from Android 6, apps like CCleaner require permission in order to access specific parts of your internal cache.
Unless you grant these rights, CCleaner won’t be able to fully clean your device, including the hidden cache.
Finally, you can also manually delete the thumbnails on your device.
How do I clear the cache on my Samsung Android?
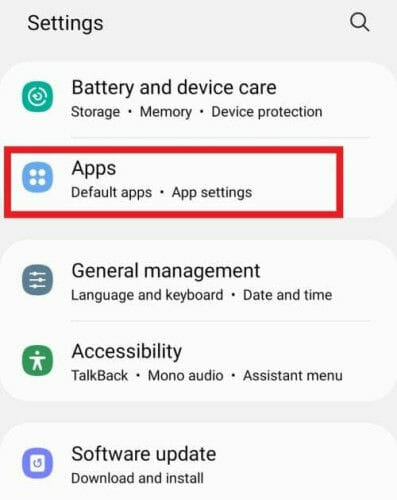
- Open Settings and go to Storage or Internal storage.
- From the list, select Apps and open each item for which you want to clean the cache.
- From the App info screen, select Storage.
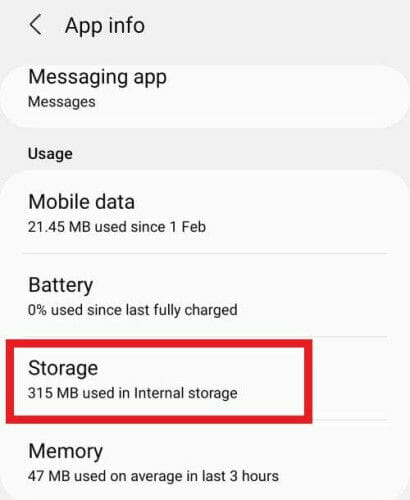
- At the bottom of the screen, you will see 2 options: Clear data and Clear cache.
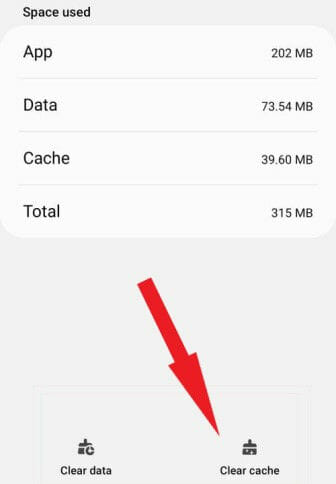
- Tap Clear cache and repeat the process for every other app whose cache you want to remove.
1.2. Fix CCleaner not working on Windows 10/11
- Press Windows + I to launch the Settings app.
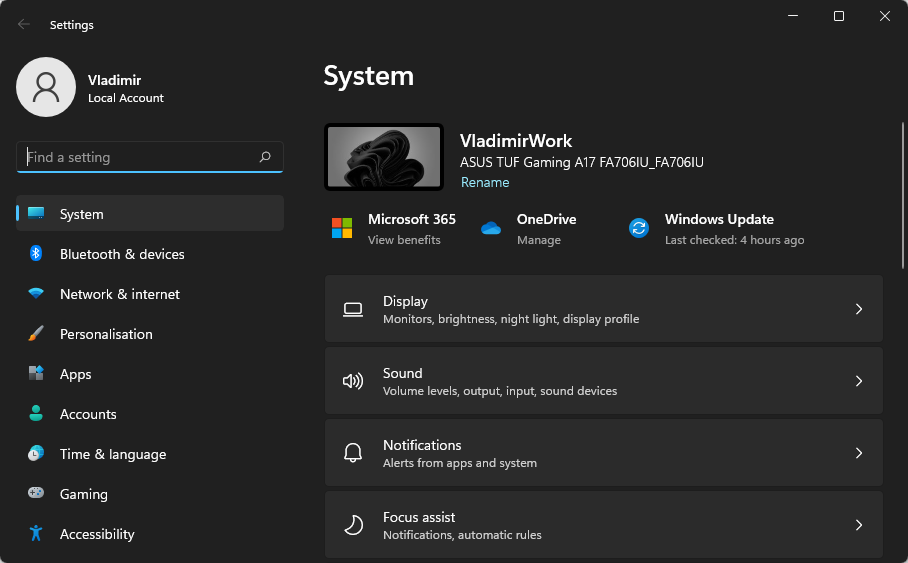
- Select System and navigate to Storage.
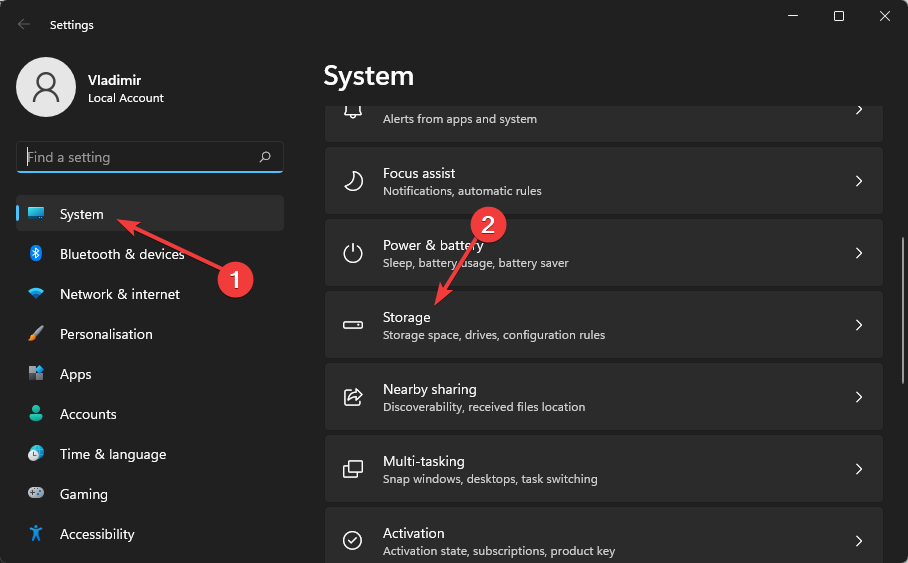
- Click on the Temporary files option, and the various cache files will now be listed.
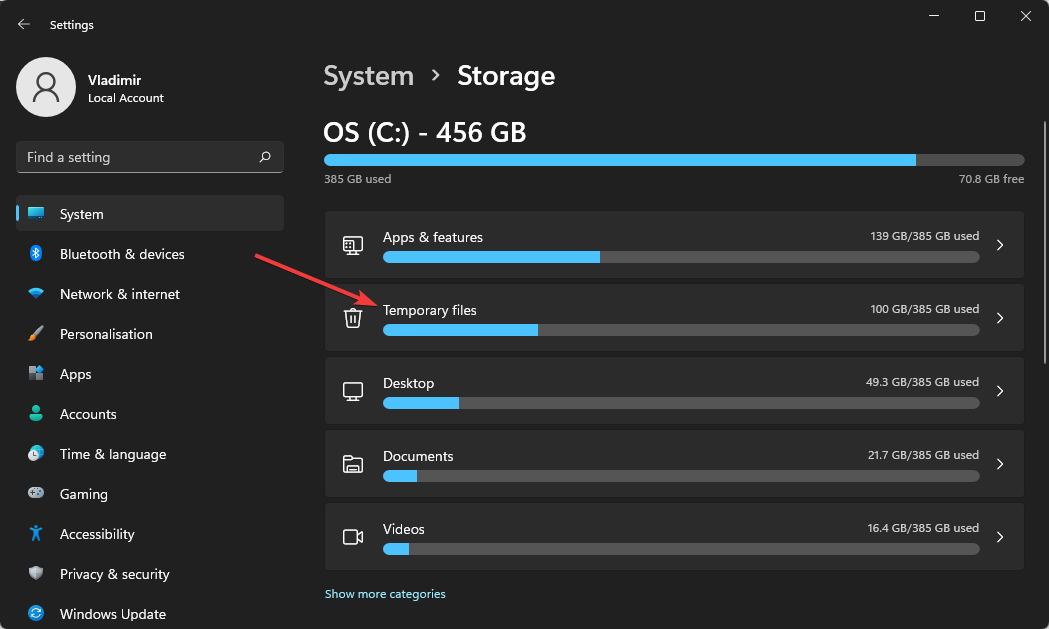
- Select the files that you want to delete, and click on the Remove files button.
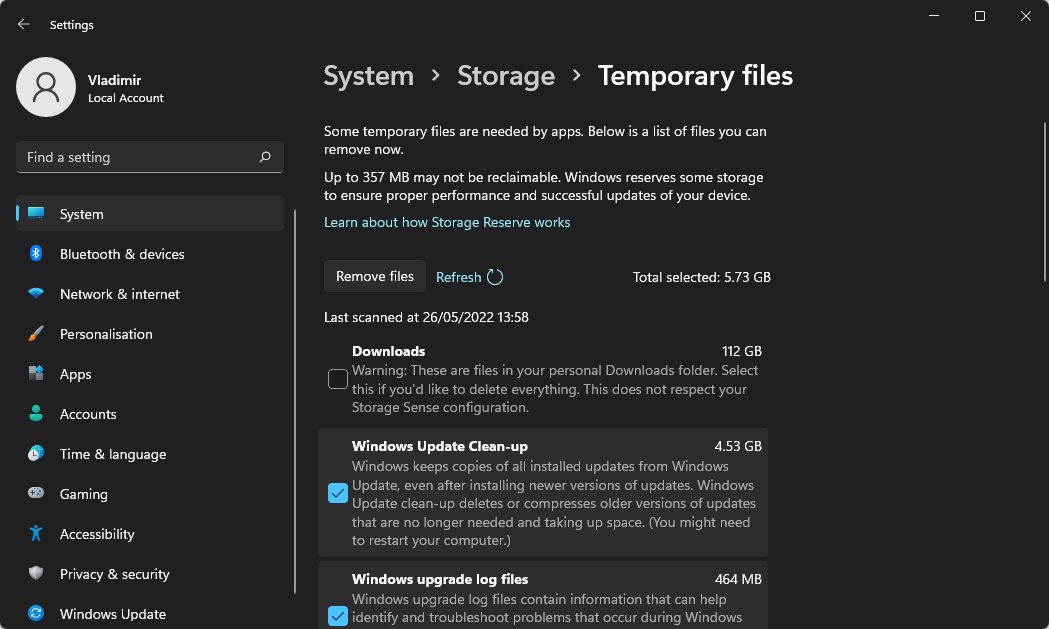
- Click on Continue to complete the process.
Clearing the temp files is important as they can disrupt the performance of CCleaner.
Here are more useful tips to help you deal with CCleaner not working on Windows 10:
- Run CCleaner with admin privileges.

- Make sure you select the precise items you want to remove otherwise the app will skip them.
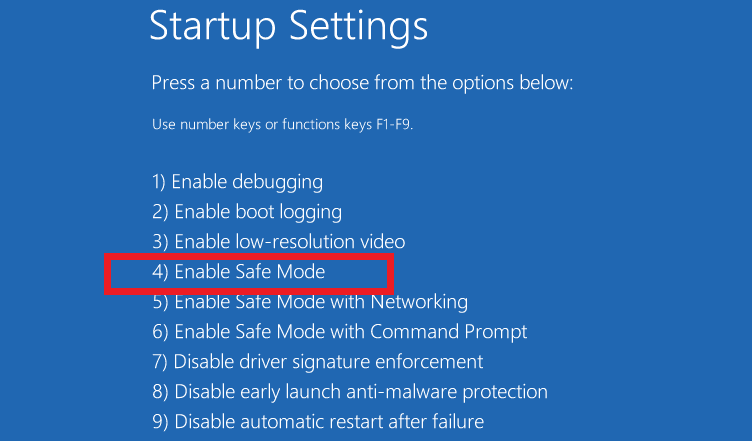
- Run CCleaner in Safe Mode for a couple of minutes, then in regular mode again.
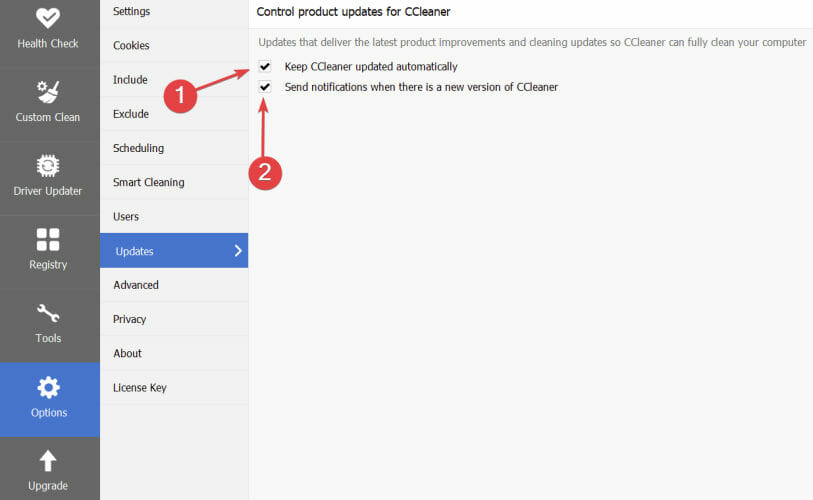
- Update CCleaner to the latest version and update Widows as well.
If you’re struggling with different kinds of issues in connection to this app, check out these useful tips on how to fix common CCleaner bugs on PC.
1.3. CCleaner not removing cache in browsers
CCleaner not cleaning Chrome (cookies, cache)
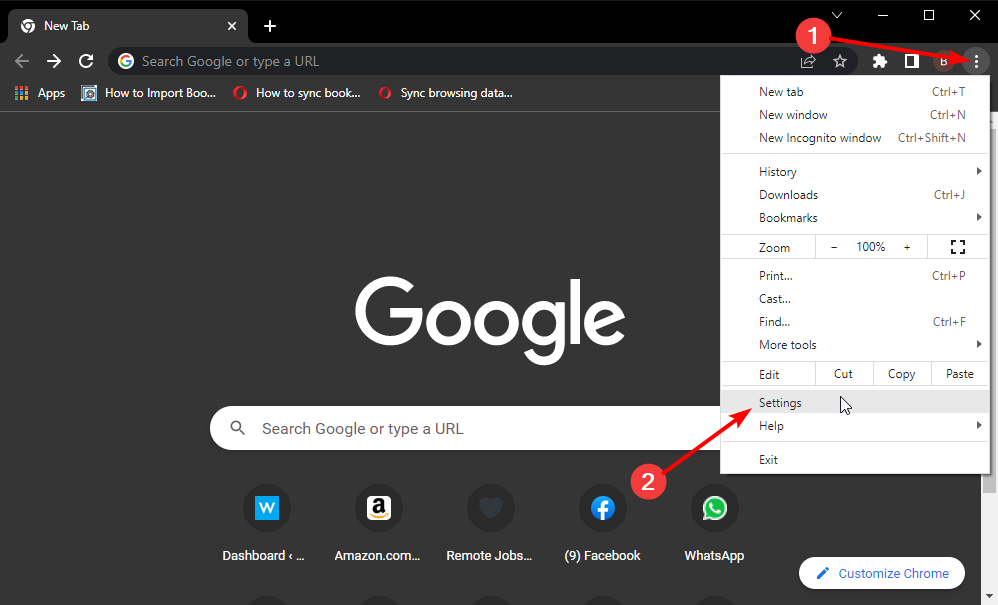
- Launch Chrome.
- Click on the three vertical dots, and select Settings from the options listed.
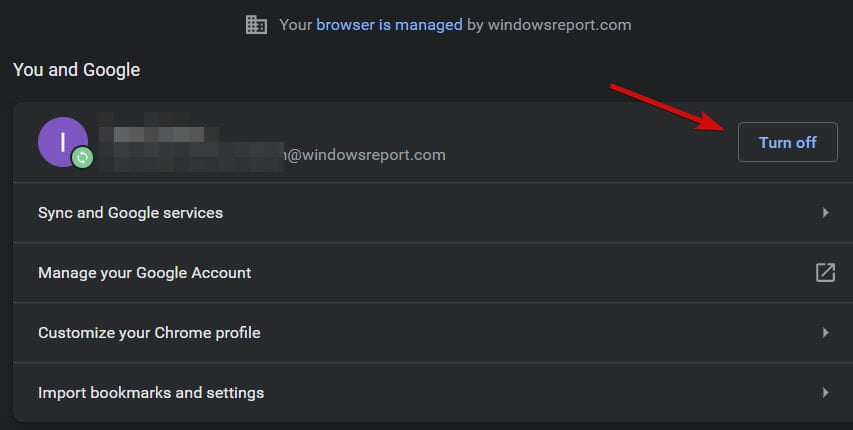
- Click on Sign in to Chrome and fill in your details (email address, respectively password).
- From there, simply press the Turn off button under the You and Google section to disable synchronization.
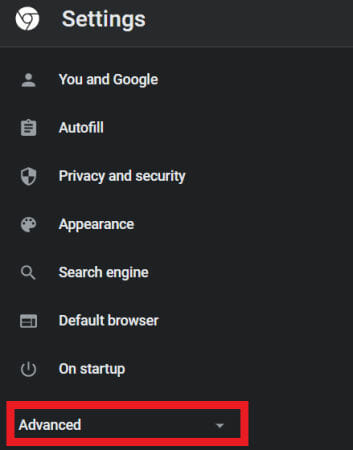
- While you’re at it, go back to the Settings screen and select Advanced from the left pane.
- Scroll down to the System section and uncheck the box Continue running background apps when Google Chrome is closed.

- Run CCleaner again to see if the issue is solved.
Why is CCleaner not cleaning Chrome?
Sometimes, CCleaner is unable to remove the browser cache because it simply cannot access it. Since Chrome is usually synced to your Google account, you need to disable syncing.
Alternatively, you can manually delete the browser cache from Chrome directly.
CCleaner Edge Chromium skipped
- Launch Edge.
- Click on the Settings menu at the top right of the screen and select Safety.
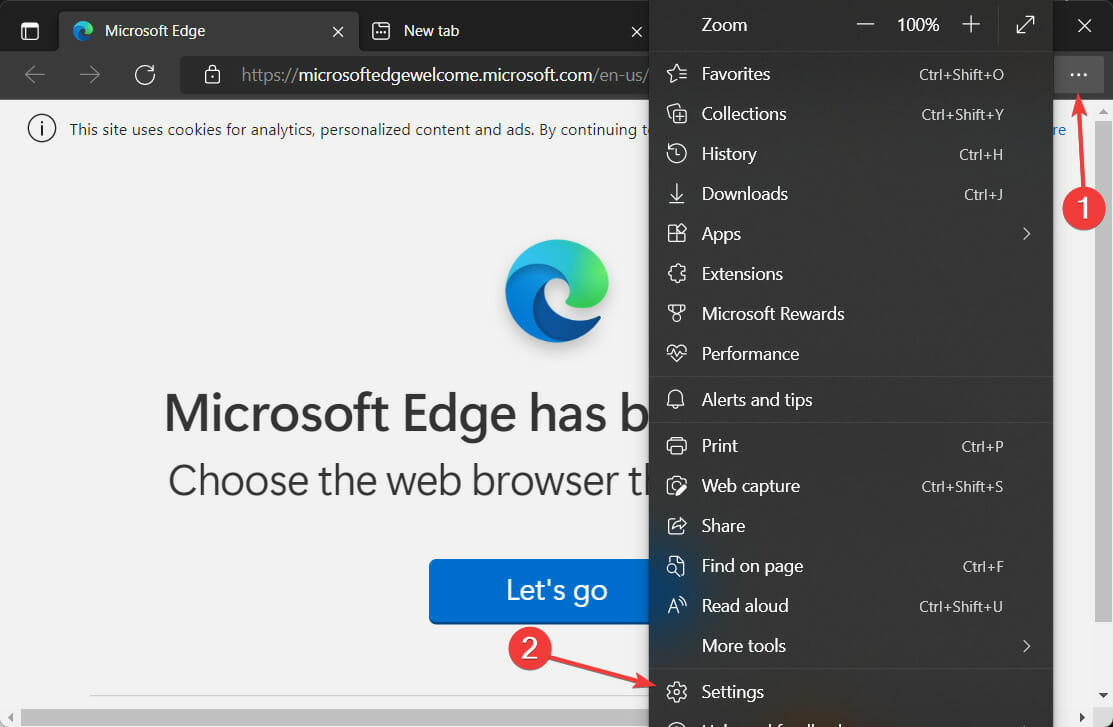
- Select Clear browsing data and check all boxes except for Form data and Passwords.
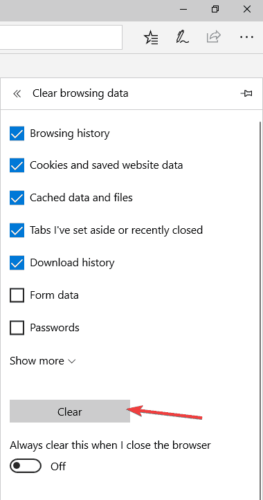
- Click on Delete at the bottom of the dialog box.
In previous versions of CCleaner (such as 5.22, but not only), a recurrent glitch made the app freeze when analyzing Microsoft Edge.
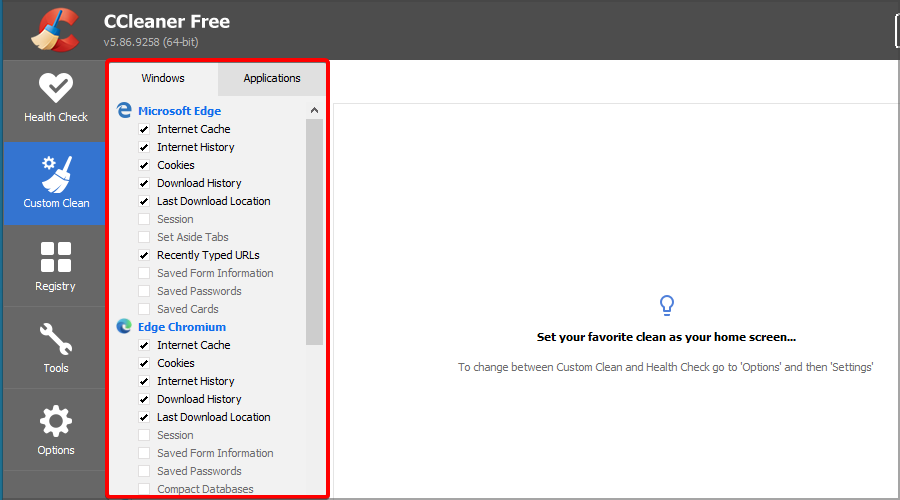
It should no longer be the case. However, if you feel that CCleaner is taking too long to scan, you can either select fewer categories or proceed with the manual removal of the cache, as shown above.
CCleaner not clearing Firefox History
Just like in previous cases, deleting items through the Firefox browser is a helpful way to fix CCleaner not clearing the cache. 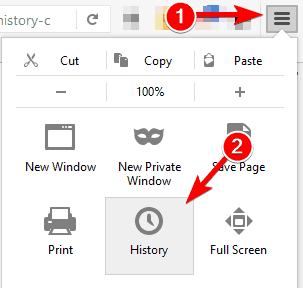
Needless to say, we have prepared more useful troubleshooting steps specifically for situations in which CCleaner isn’t deleting Firefox history.
 Tip
Tip
➡ Switching to Opera makes perfect sense as it not only works seamlessly with CCleaner but boasts tons of space and memory optimization features.
➡ What’s more, you can easily switch between platforms and import your preferences without hassle as Opera works seamlessly across Android, Windows, and Mac devices.
2. Uninstall and reinstall CCleaner
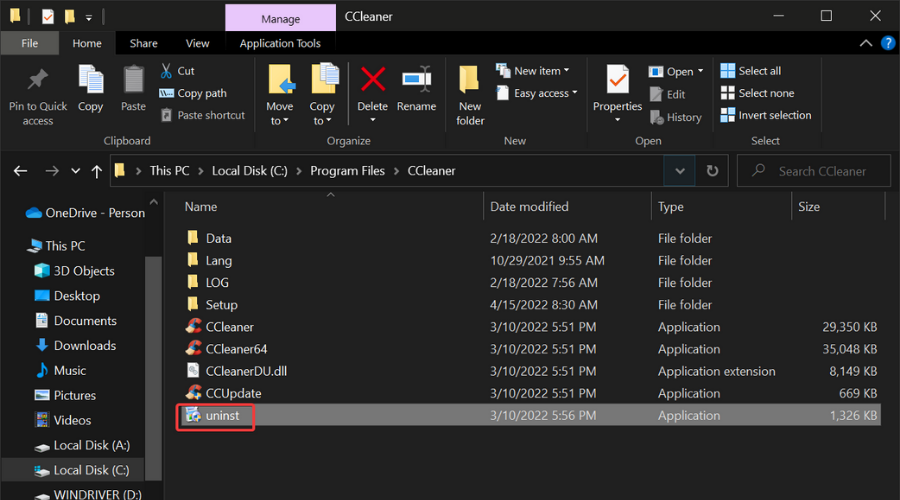
- Press Windows + E to launch the File Explorer.
- Navigate the path using the following:
C:\Program Files\CCleaner - Locate uninstaller, open it and follow the prompts to uninstall the current version of CCleaner.
- Visit the official website to download the latest CCleaner version.
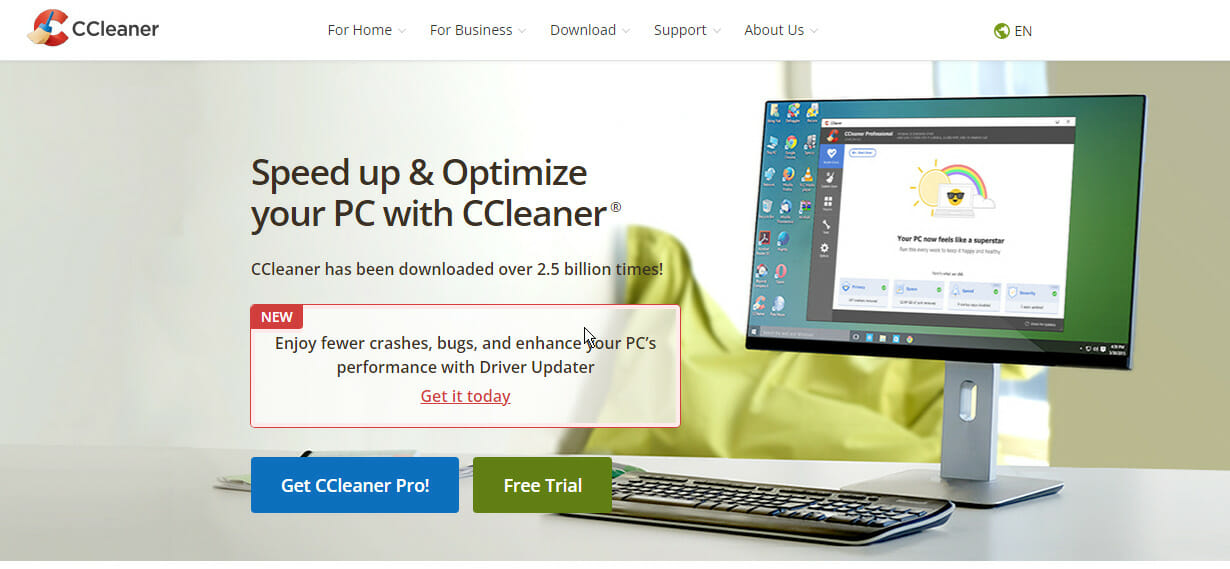
- Follow the on-screen prompts to complete the installation.
Having reinstalled the CCleaner application, all the functionalities should be restored. Hence, issues like CCleaner not clearing cache should be sorted. On Android, it’s even simpler.
Uninstall the app and then, download and install it again from the Google Play store.
Read our disclosure page to find out how can you help Windows Report sustain the editorial team. Read more


Improve this guide


User forum
0 messages