7 Ways to Fix Check your Network Settings Skype Error
Take action if Skype is unable to connect to the server
Key notes
- Skype users have been encountering an error that states Please check your network settings and try again.
- It is a common issue that can be easily fixed and we will show you how to do this.
- The solutions include checking your firewall and proxy settings, running the Troubleshooter, resetting configuration files for Skype, and many more.

Please check your network settings and try again is a pretty common Skype error. This annoying error message prevents users from connecting to the instant messaging app.
First of all, if you’re getting this error message, you should follow the suggestions available on the screen and check your network settings.
Why is Skype asking to check my Internet connection?
The Check your Internet connection and try again later error in Skype occurs because the app has a problem connecting to the server.
In other words, there is either a problem with your local connection, the Skype server is down or the Windows Firewall might be blocking the app.
Another common issue is that the software is outdated and you need to get it to the latest version before trying to connect again.
But the good news is that you can quickly fix this problem by following the troubleshooting steps listed in this article.
How to fix the Check your network settings Skype error?
1. Check your firewall settings
- Quit Skype.
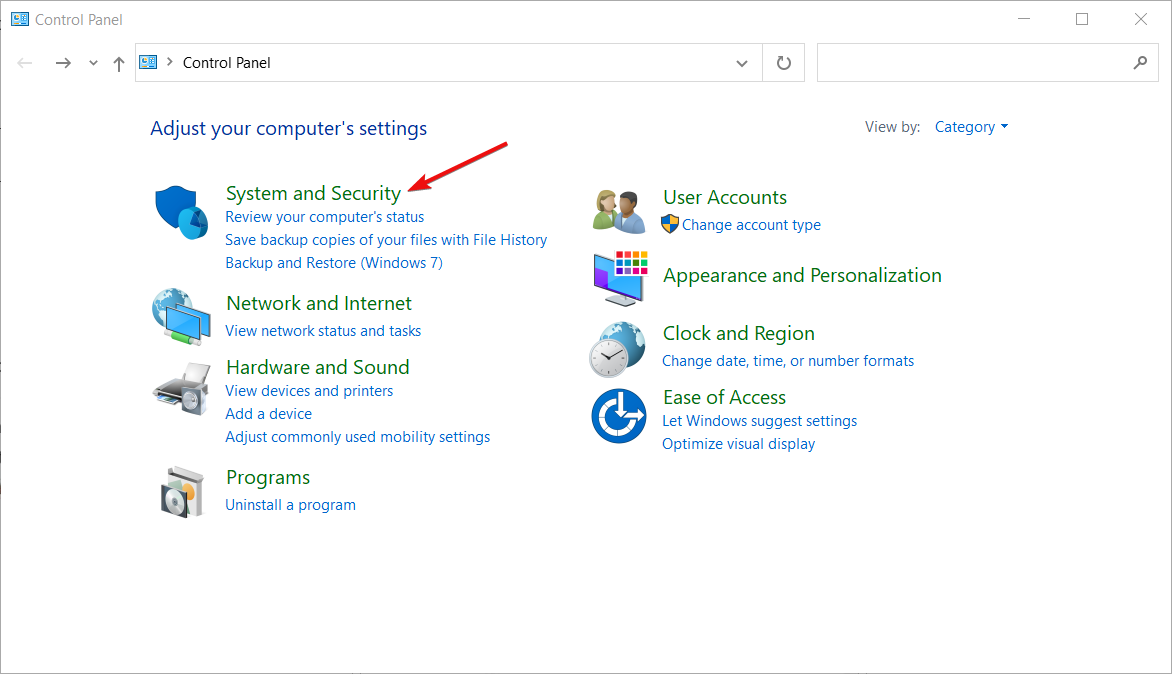
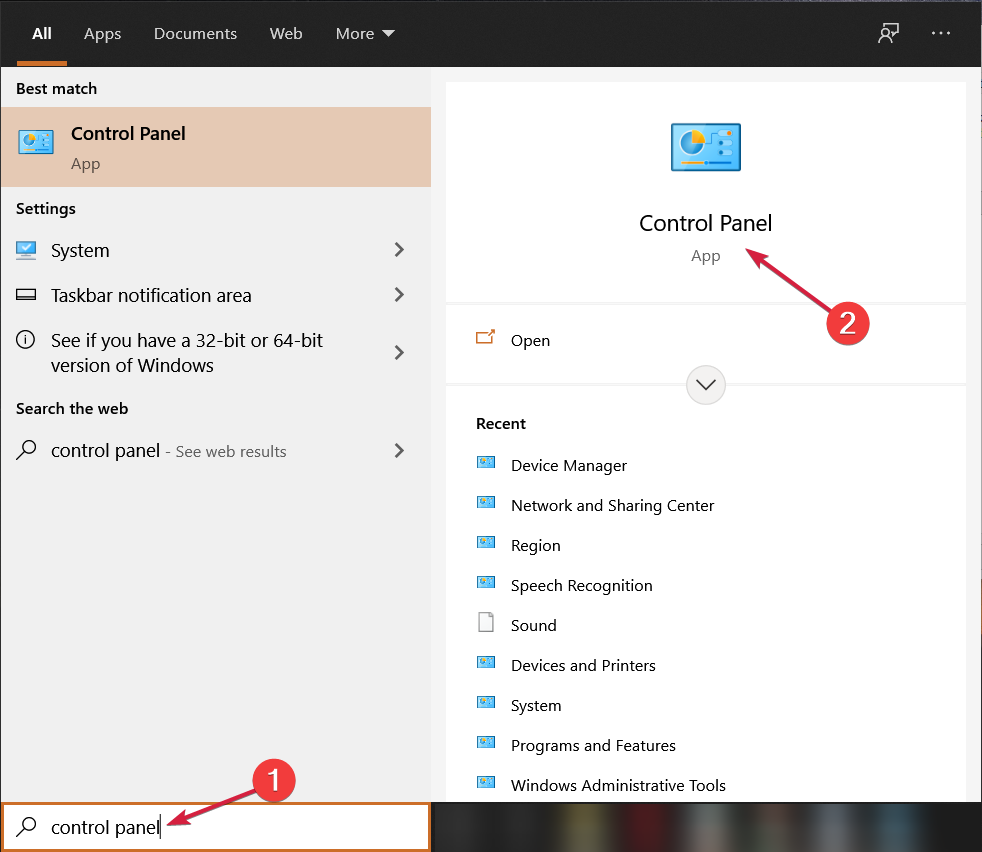
- Click the Start button, type control panel, and click on the app from the results.

- Now, click on System and Security.
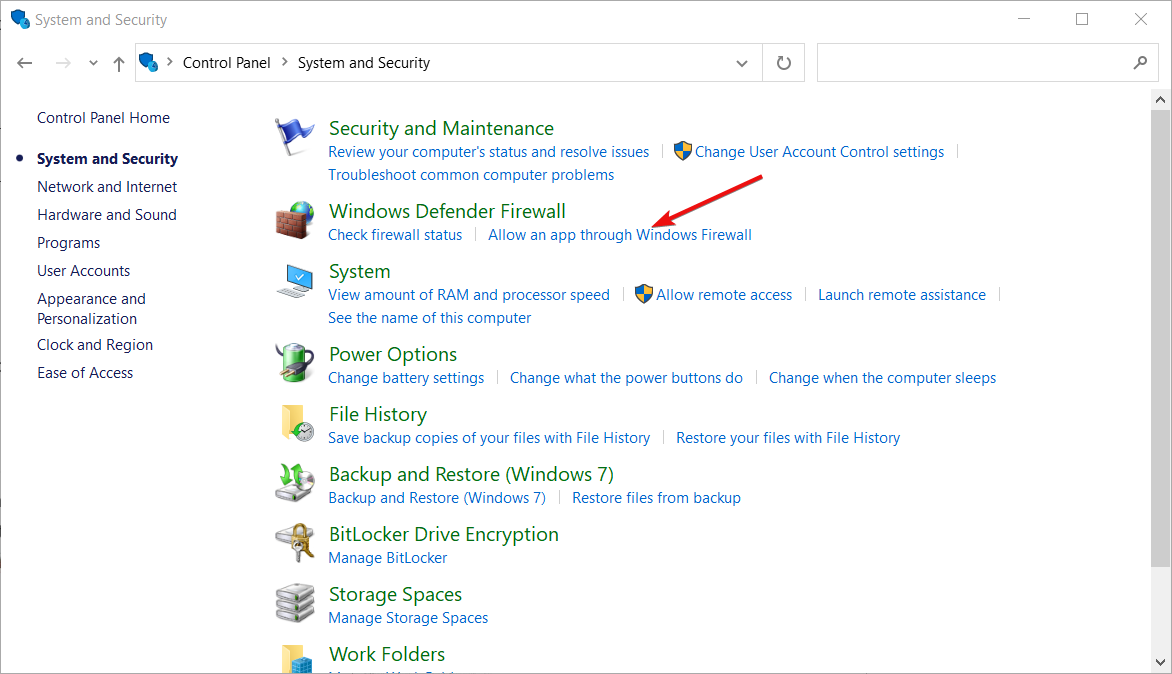
- Select Allow an app through Windows Firewall.
- Make sure that the Skype entry is configured to allow it to connect to the internet. Make sure that both Skype Private and Public columns are checked.
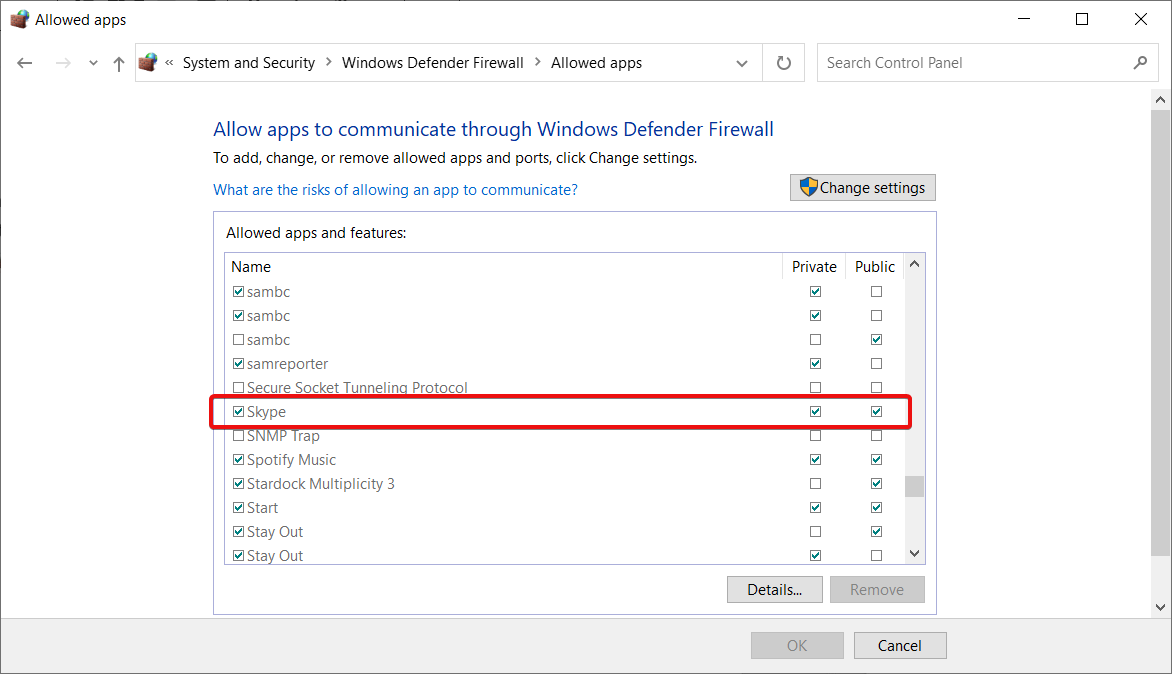
- Save your changes, then restart Skype and sign in.
Your firewall may be blocking your access to Skype. Configure your firewall settings so as to allow Skype to run on your device.
2. Check your proxy settings
1. Open Skype, click Tools > Options.
2. Go to Advanced > select Connection > Skype automatically detects your proxy settings.
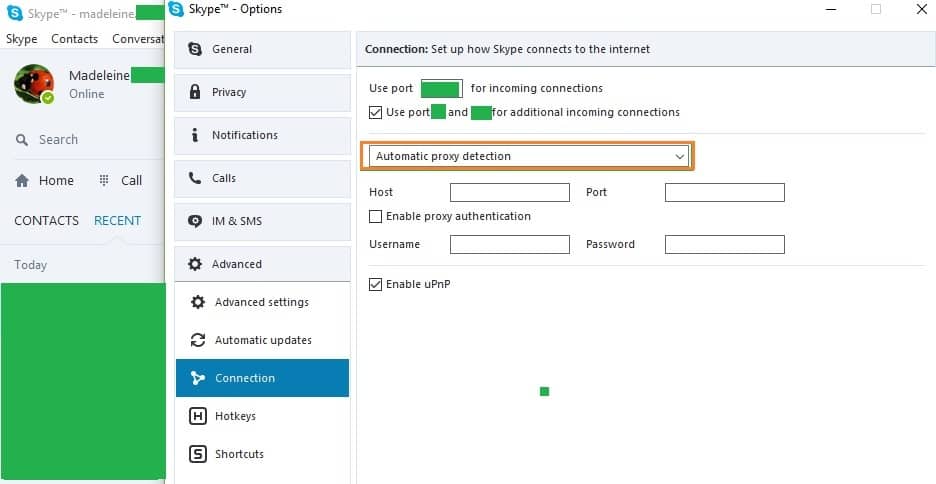
3. Enter the Host and Port details of the new proxy server.
4. Tick Enable proxy authentication in case your proxy requires authentication.
5. Type the Username and Password required by the proxy server > click Save. Keep in mind that this is not your Skype name and password.
6. Close Skype launch it again > sign in and check if the error persists.
Here’s how to manually configure your proxy settings in order to allow Skype to connect.
3. Install the latest Windows updates
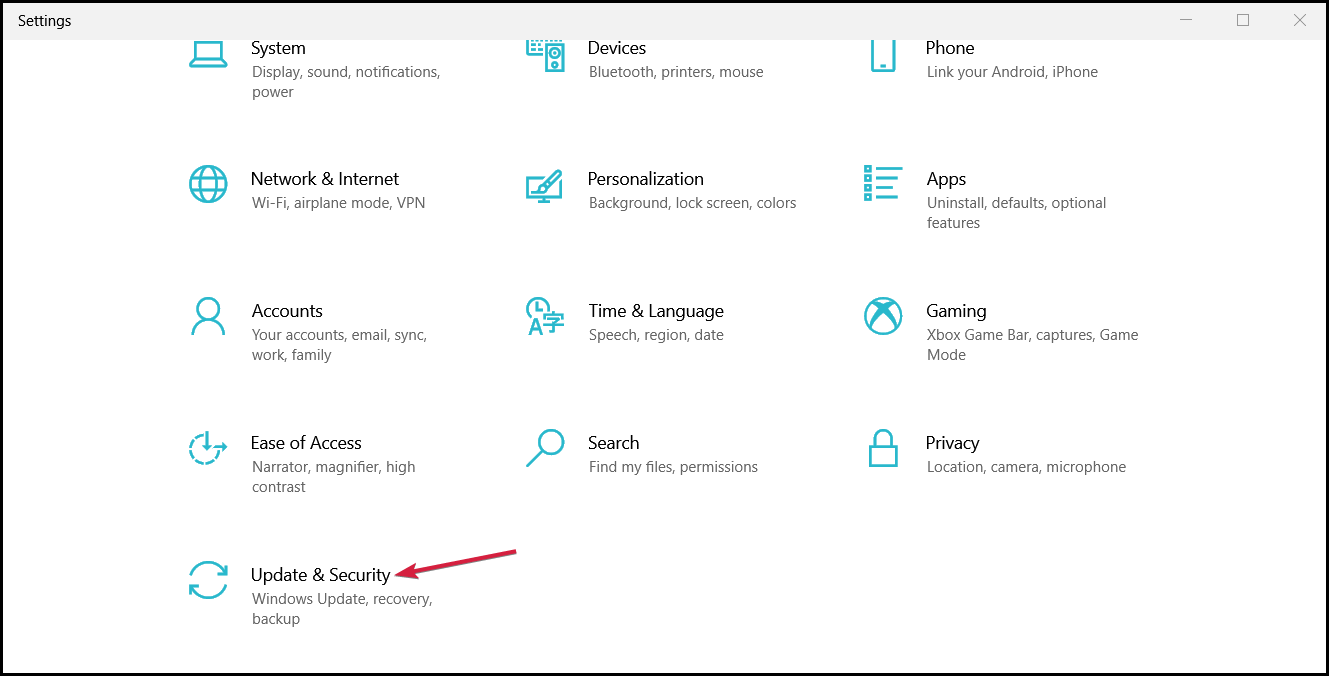
- Press the Windows key + I to enter Settings.
- Click on Update & Security.

- Now hit the Check for updates button and install all the available updates.
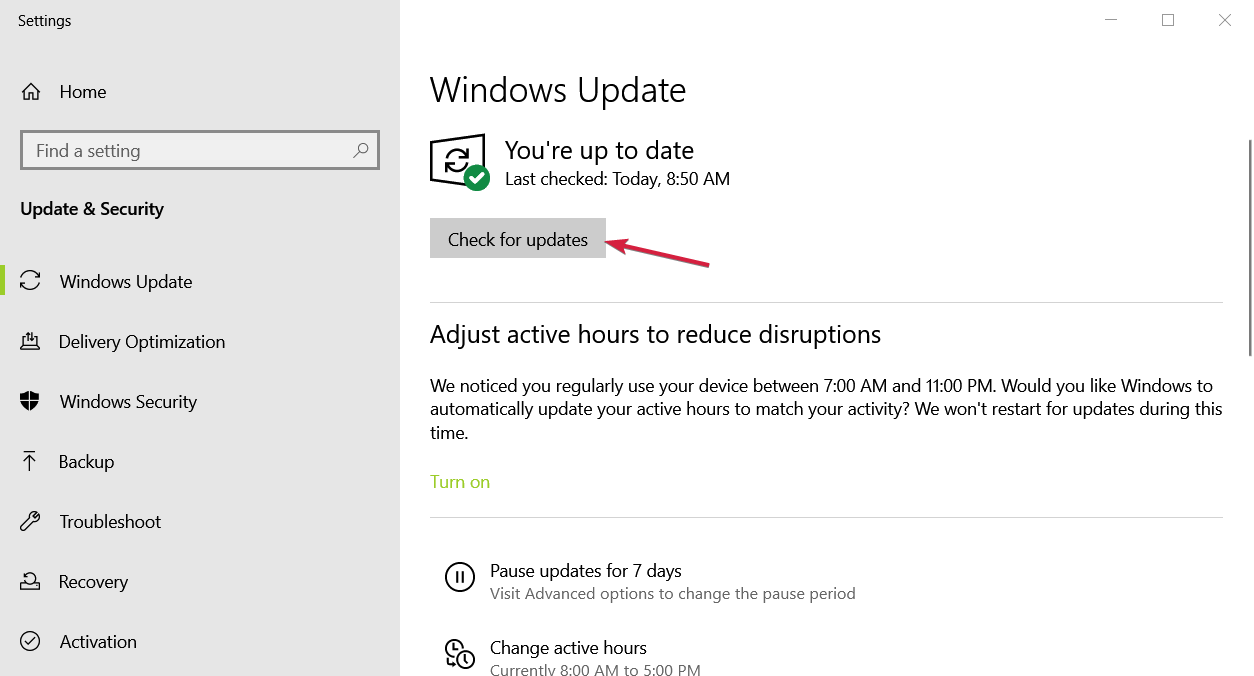
Make sure that you’re running the latest Windows OS updates on your machine.
As a quick reminder, Microsoft constantly rolls out Windows updates in order to improve the system’s stability and fix various issues.
4. Run the Windows Troubleshooter
- Press the Windows key + I to start Settings.
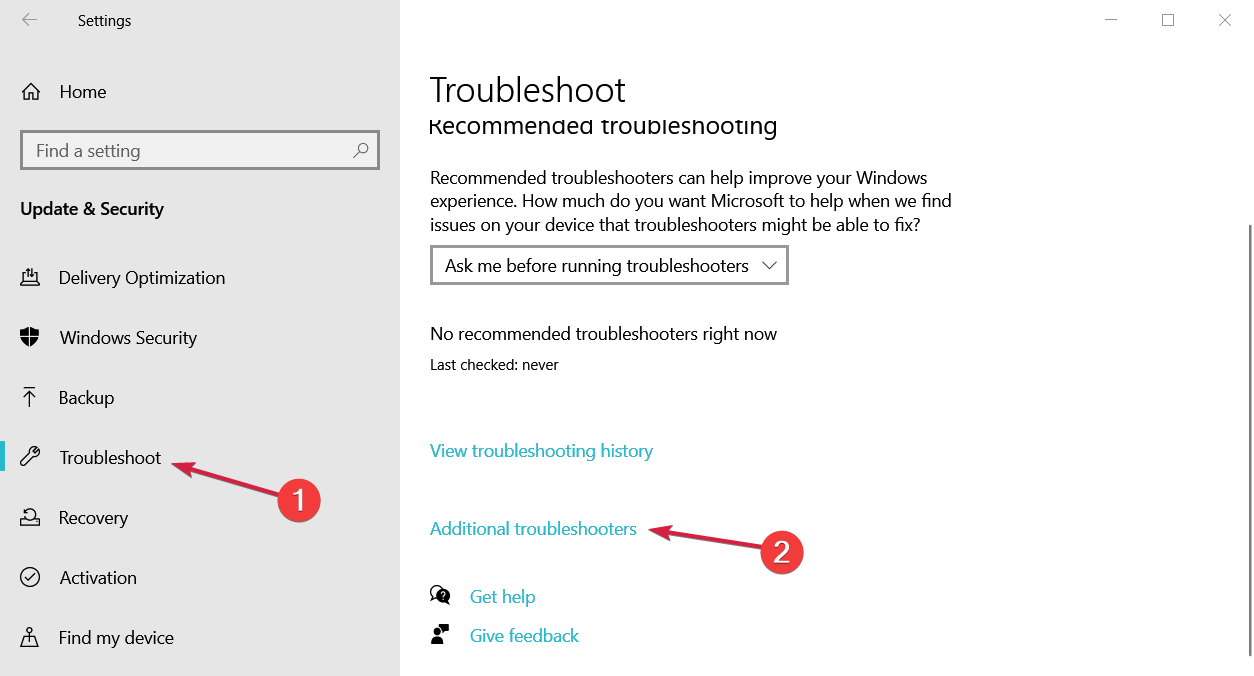
- Go to Update & Security.
- Select Troubleshoot in the left-hand pane and Additional troubleshooters from the right.
- Scroll down, click on Windows Store Apps, and select the Run the troubleshooter button.
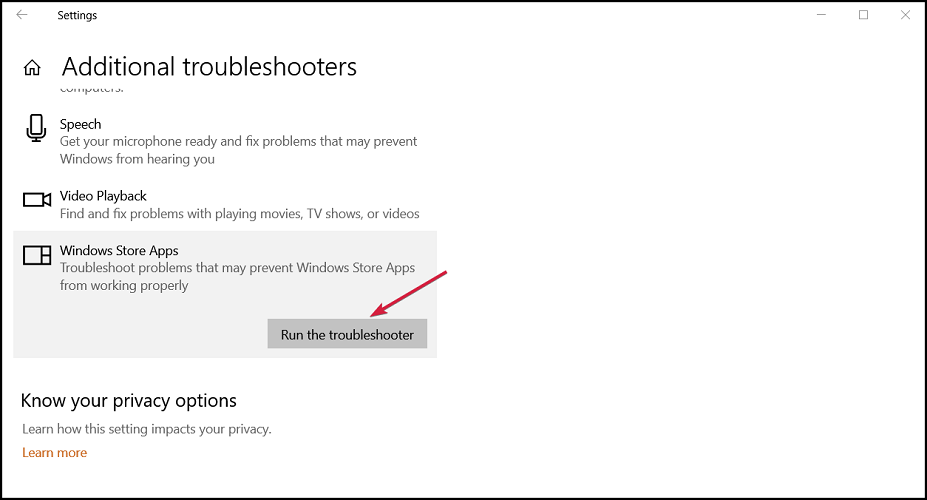
Windows 10 and 11 feature a dedicated built-in troubleshooter that can fix general Windows app issues.
Since Skype is a Windows app, this solution can be very efficient in solving the problem.
5. Reset Skype configuration files
- Close Skype.
- Press the Windows key + R to start Run, type %appdata%, and hit Enter.

- Locate Skype folder and rename it to Skype.old. Keep in mind that by renaming your Skype folder your message history will be removed from Skype, but it will still be available in the Skype.old folder.
- Now launch Skype again and check if the issue has been fixed.
6. Remove recently installed software
- Go to Start, type control panel, and select the app from the results.
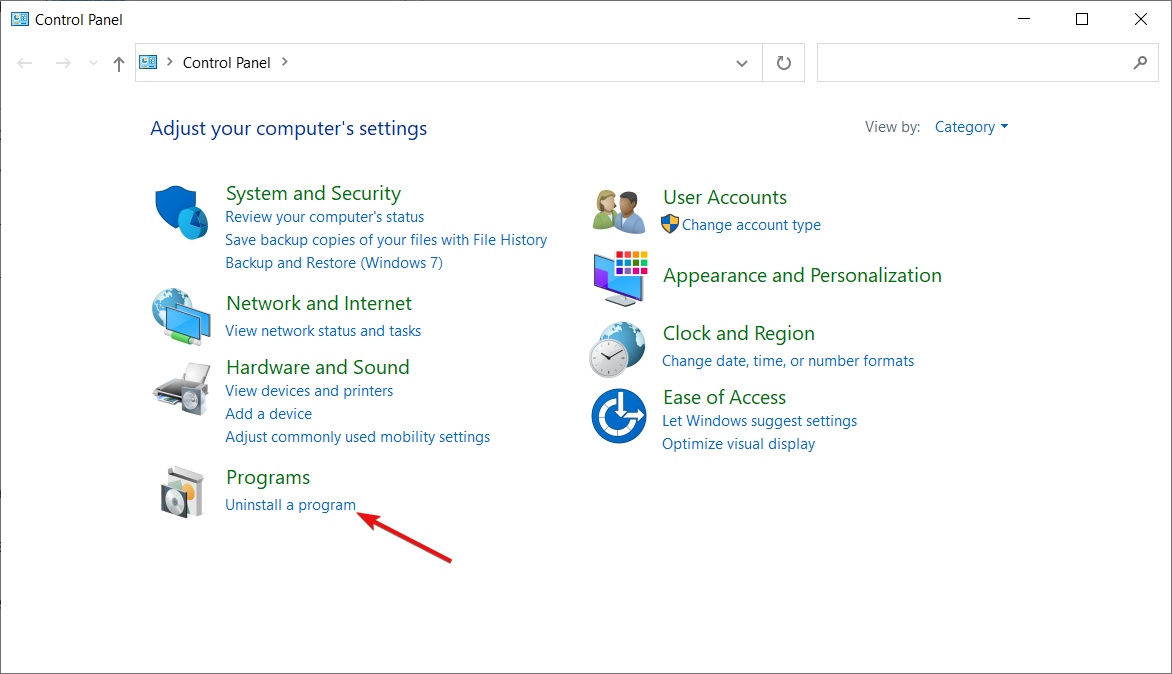
- Click on Uninstall a program.
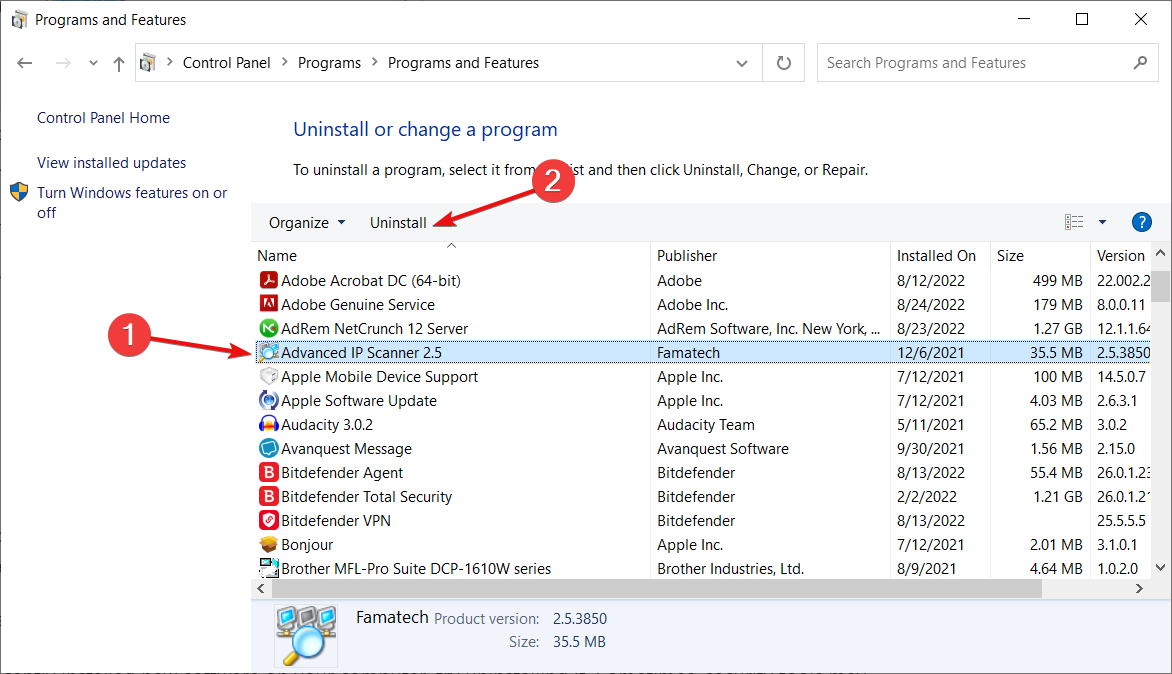
- Select the program(s) recently added and click Uninstall.
Then restart your computer and see if the issue has been solved.
If you recently installed new software on your computer, try uninstalling it. Sometimes, security tools may prevent certain programs from running.
IObit Uninstaller is a special tool that helps you delete software packages from your PC. The built-in uninstaller of your PC tends to keep remnants of uninstalled software, but with IObit Uninstaller you can remove them. It is a handy tool that will help you rid your computer of clutter and keep it in top shape.
7. Reinstall Skype
If the solutions listed above failed to fix the issue, try reinstalling Skype. You may use Step 6 to first uninstall Skype. Then go to Microsoft Store and download the latest Skype version.
We’ll end our list here. We hope that the solutions listed in this article helped you fix the problem and now you can use Skype again.
Next, you might be interested in our guide on what to do if Skype keeps crashing on Windows 11.
As always, if you’ve come across other solutions to fix this error, you can list the troubleshooting steps in the comments section below.
Read our disclosure page to find out how can you help Windows Report sustain the editorial team. Read more


Improve this guide


User forum
1 messages