5 Quick Ways to Fix Dell SupportAssist Not Working
Run app with admin privileges to get it working
5 min. read
Updated on
Read our disclosure page to find out how can you help Windows Report sustain the editorial team. Read more
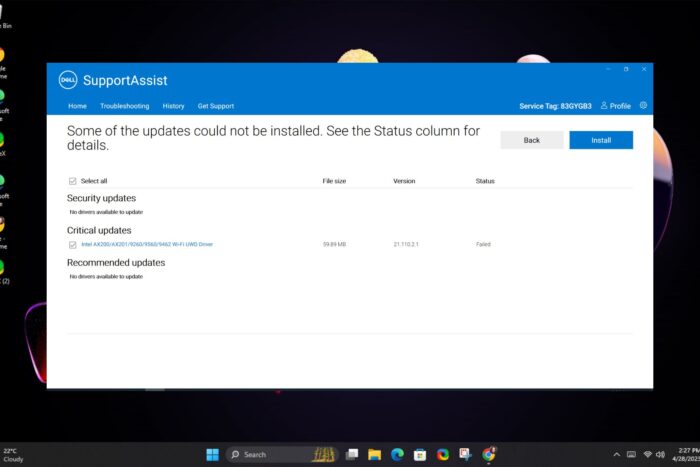
If you own a Dell device you know how the SupportAssist comes in handy when diagnosing and troubleshooting common problems so if it’s not working, you’re now facing twice the hassle.
The Dell SupportAssist tool can freeze, fail to launch or be extremely slow when you try to use it. Common causes include outdated software or drivers. Your internet connection also needs to be fast and stable and no conflicting programs are installed.
What can I do if Dell SupportAssist is not working?
1. Restart Dell services
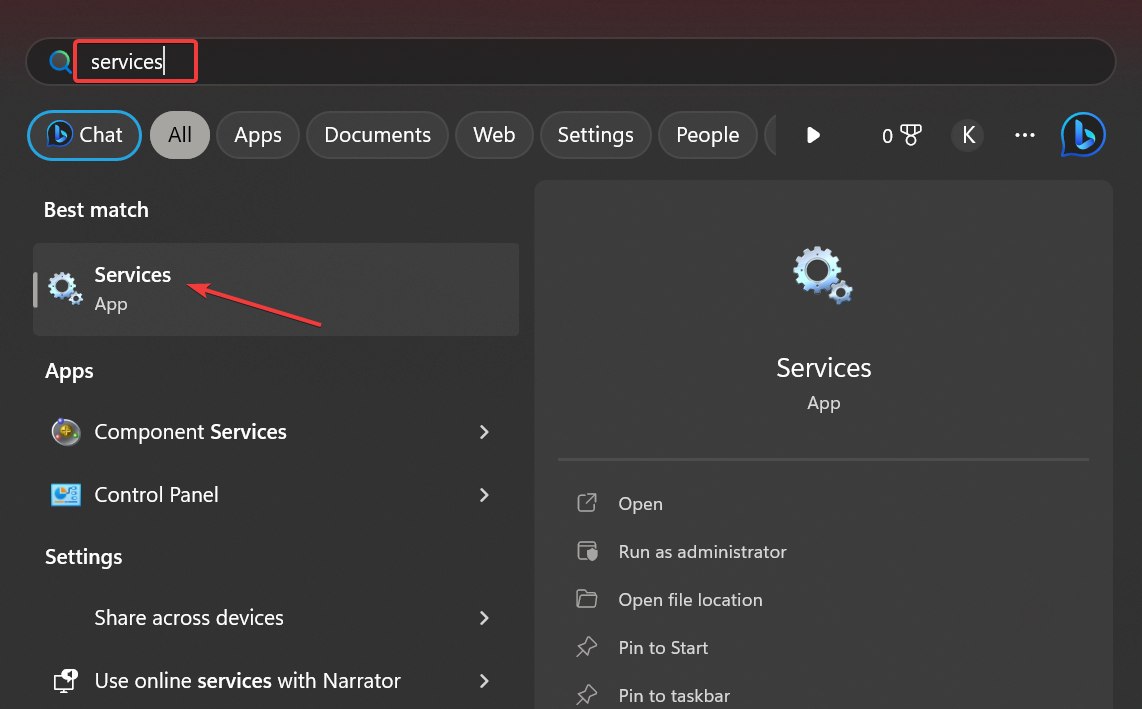
- Press Windows + S to open the Search menu, type Services in the text field, and click on the relevant search result.
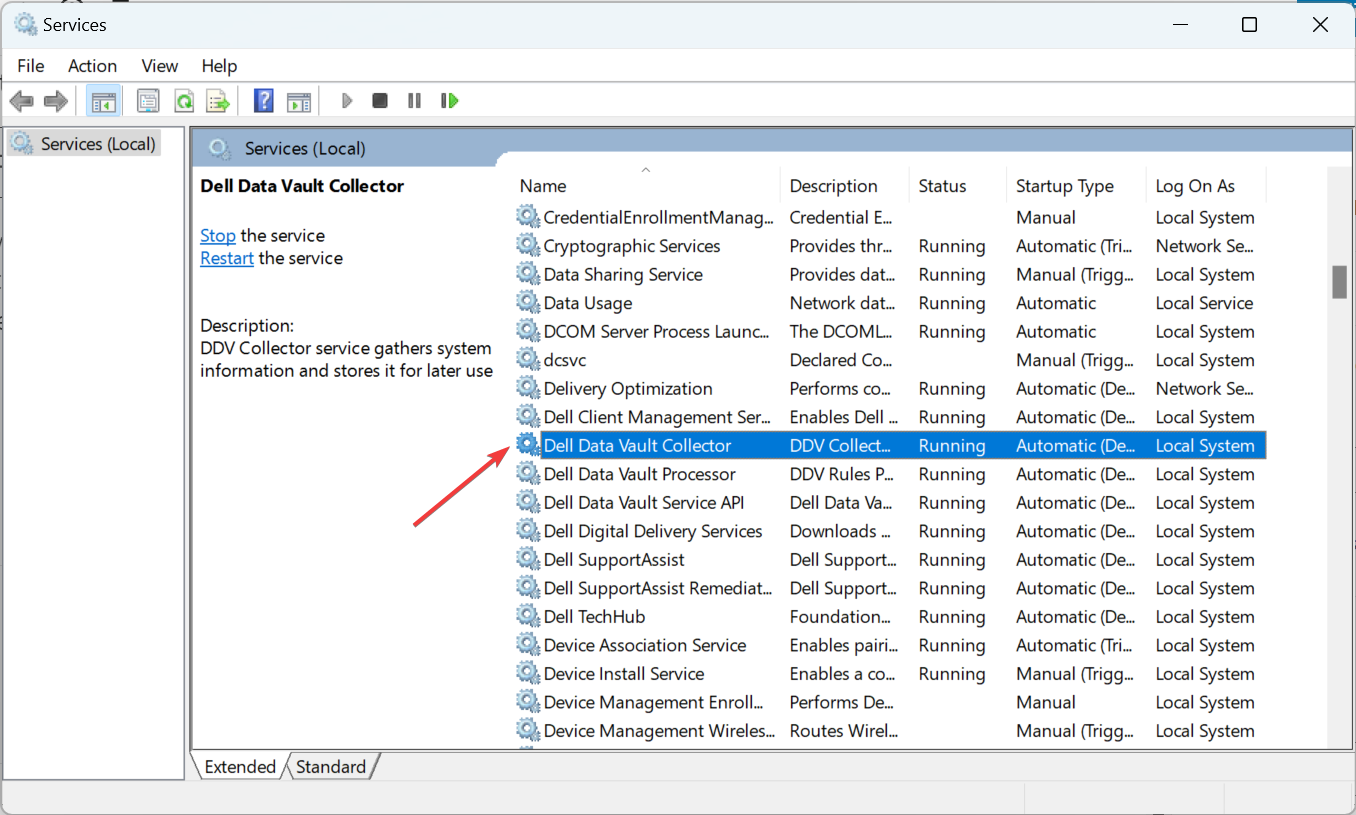
- Locate all the Dell services here (listed together in alphabetical order), and double-click on one.
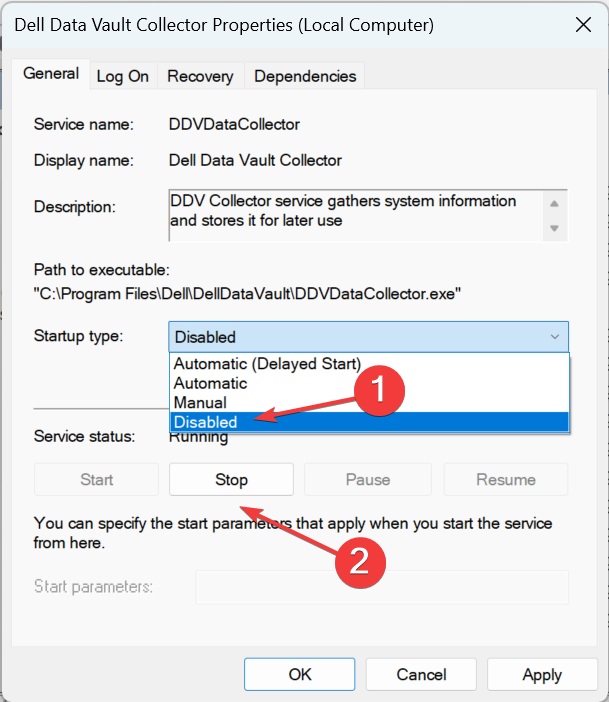
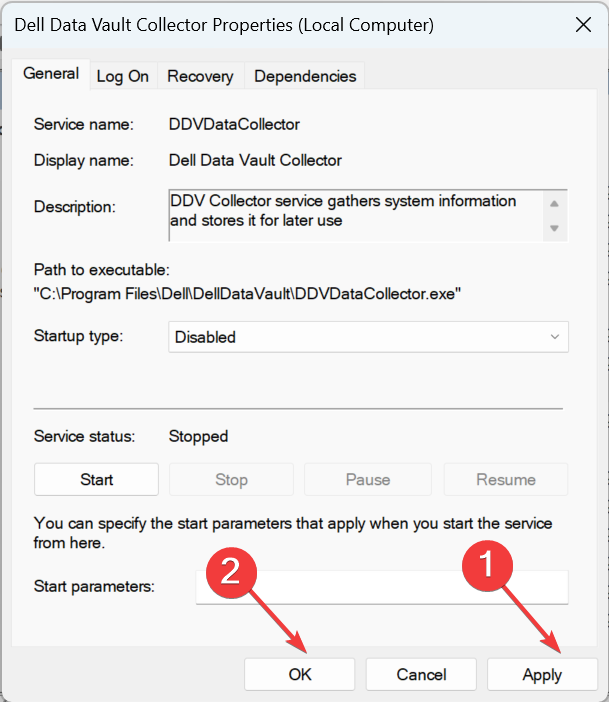
- Select Disabled from the Startup type dropdown menu, and then click on the Stop button.
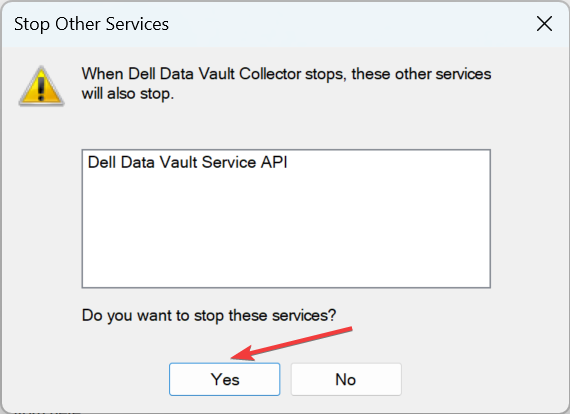
- If a confirmation prompt pops up saying that another linked Dell service(s) will stop, click Yes to proceed since we anyway are disabling these later.
- Finally, click Apply and OK to save the changes.
- Similarly, disable the other Dell services that are currently running.
- Now repeat the same process but this time, click on Automatic as the Startup type.
Restarting critical services can also help re-establish the connection if Dell SupportAssist is not connecting to the internet.
2. Clear corrupt/cached files
- Hit the Windows + E keys to open File Explorer.
- Navigate to the following locations and delete the contents from each folder:
C:/ Program Data/ PCDRC:/ Program Data/SupportassistC:/ Program Data/Dell/Dell data voltC:/ Program Files/ Dell/SupportassistC:/ Program Files/ Dell/ Dell data VoltC:/ windows/Temp - Restart your computer and relaunch SupportAssist to recreate the folders and their contents afresh.
3. Temporarily disable Windows Firewall and run as admin
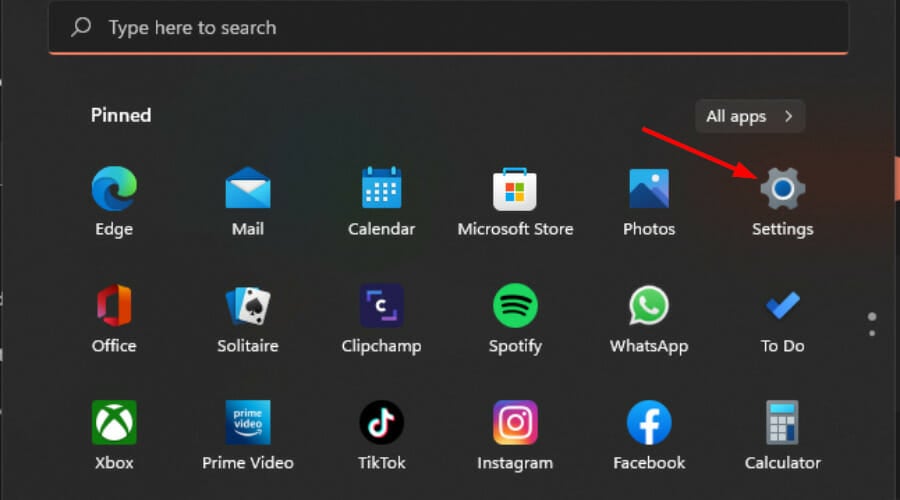
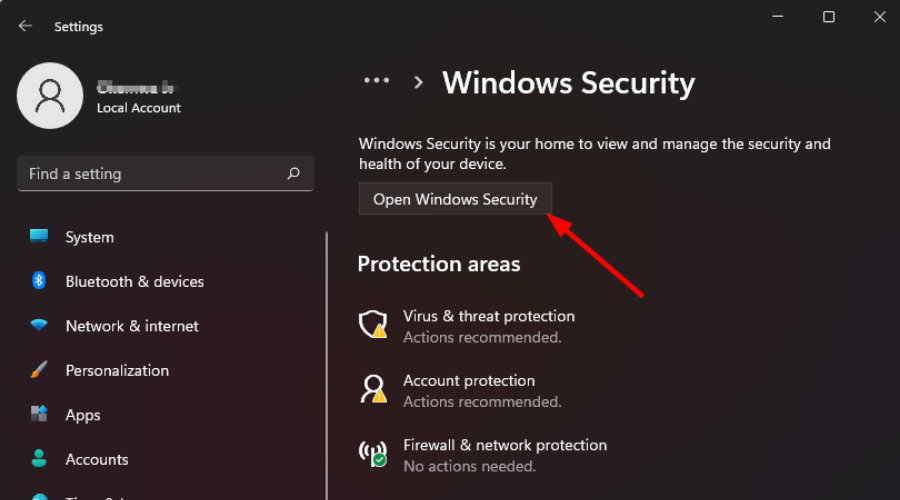
- Hit the Windows key and click on Settings.
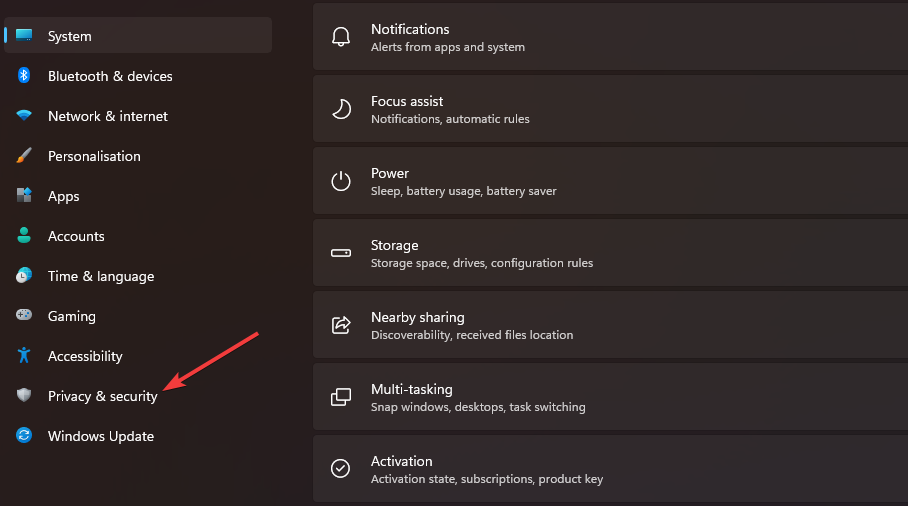
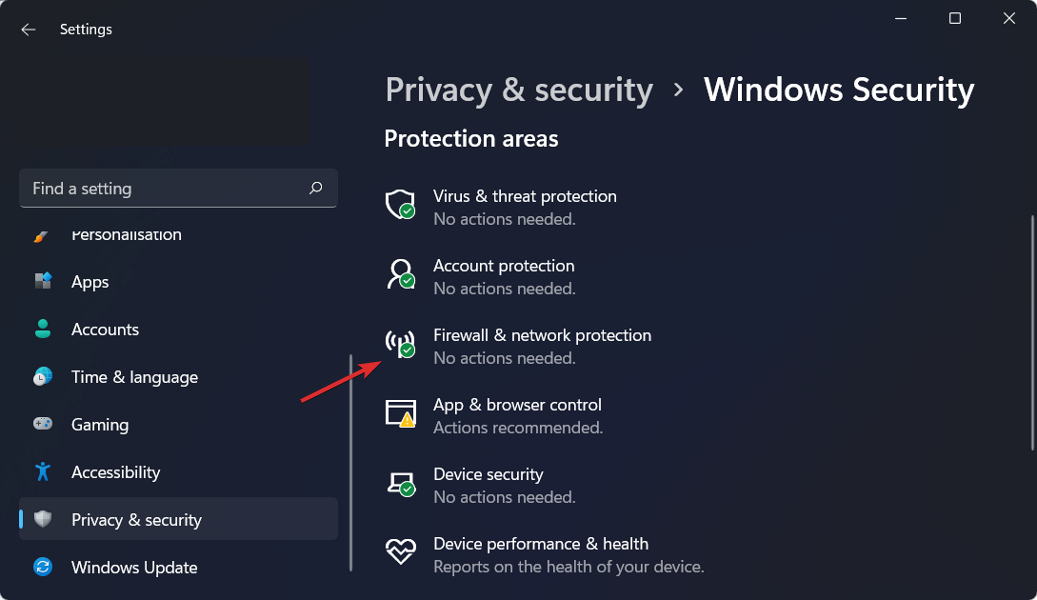
- Select Privacy & security.
- Click on Open Windows Security.
- Select Firewall & network protection.
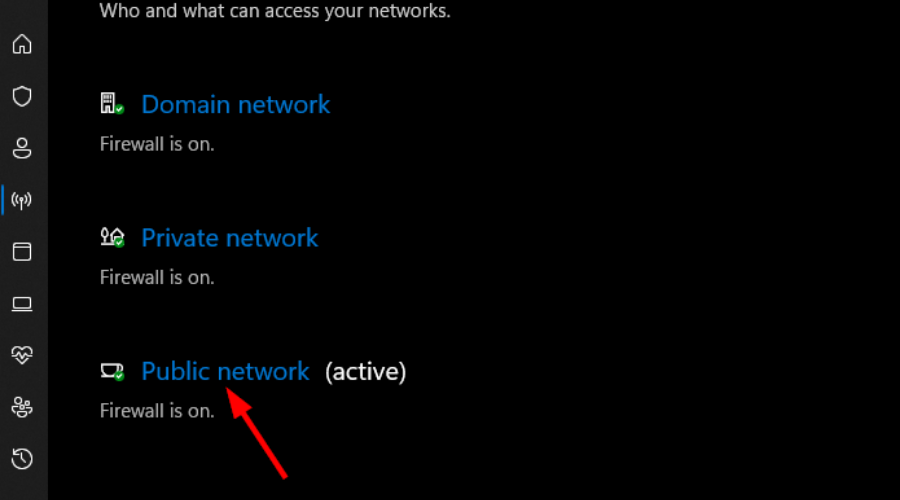
- Click on Public network.
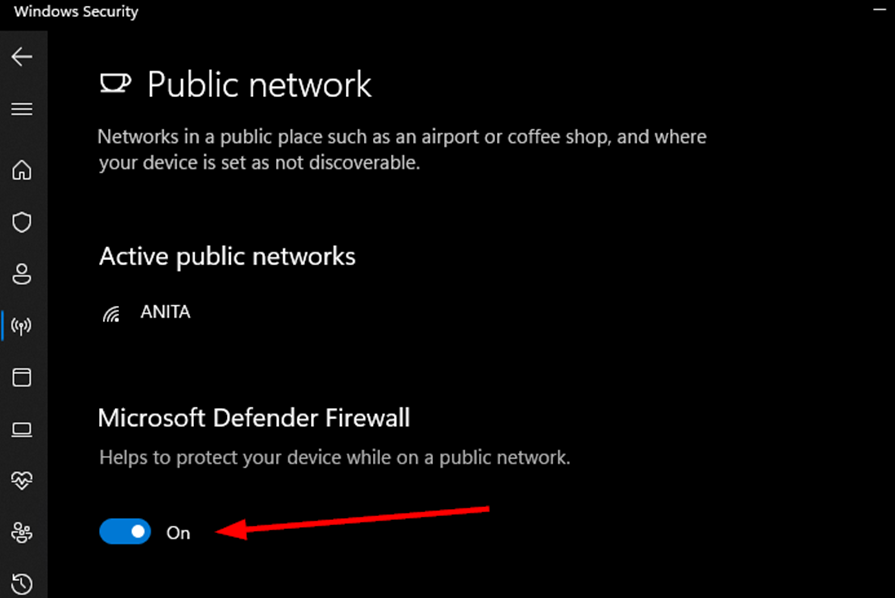
- Next, toggle Microsoft Defender Firewall off.
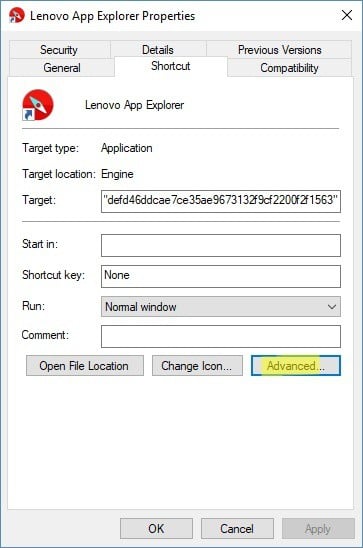
- Navigate to Dell SupportAssist, right-click on the program’s icon, select Properties on the menu and click on Shortcut.
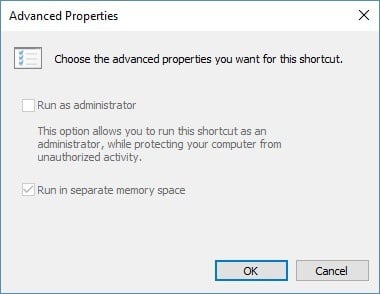
- Next, click on Advanced.
- Select the box that says Run As Administrator and click on Apply.
- Try launching Dell SupportAssist and see if it is working.
4. Delete Registry keys
- Before you edit the registry, ensure you have a backup or create a restore point to cushion your device from any catastrophic failures.
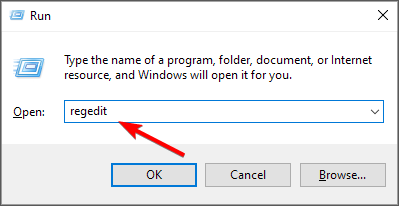
- Hit the Windows + R keys to open the Run command.
- Type regedit in the dialog box and hit Enter to open the Registry Editor.
- Navigate to the following location depending on your Office version:
HKEY_LOCAL_MACHINE\SYSTEM\CurrentControlSet\Services - Find the following keys and delete them:
Dell hardware serviceDell client management serviceDell updates - Close the Registry Editor and restart your PC. When you open SupportAssist, it should be working.
5. Reinstall the Dell SupportAssist app
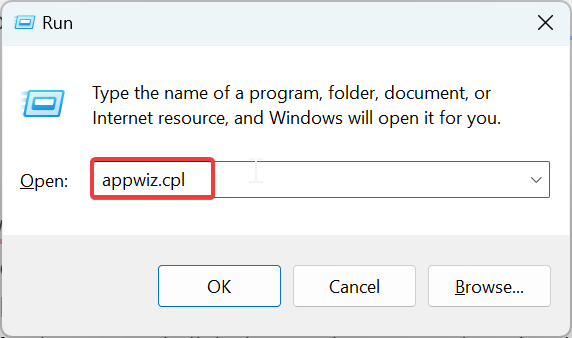
- Press Windows + R to open Run, type appwiz.cpl in the text field, and hit Enter.
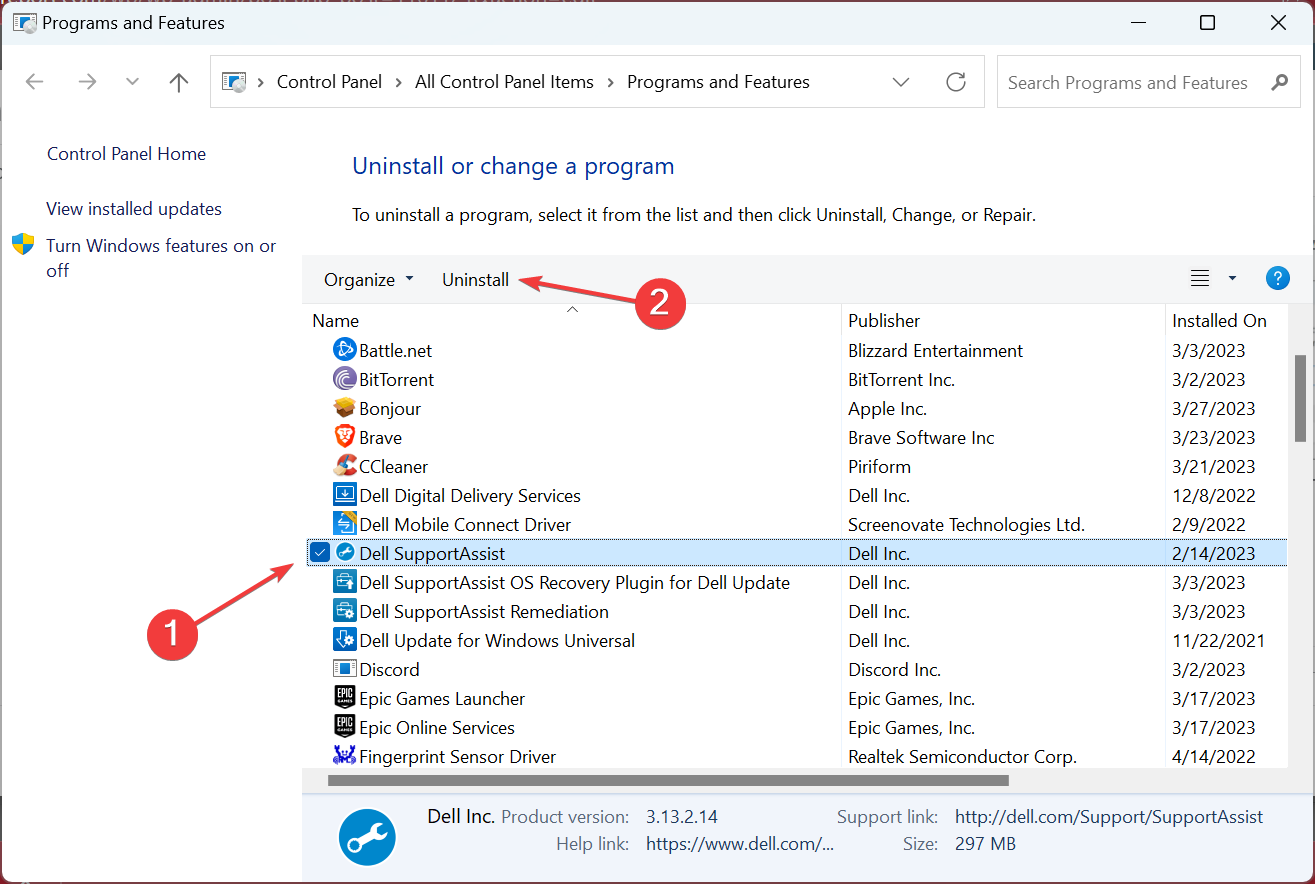
- Select Dell SupportAssist from the list of apps, and then click Uninstall.
- Click Yes in the confirmation prompt and follow the on-screen instructions to complete the uninstall process.
- Similarly, uninstall the Dell SupportAssist Remediation and Dell Power Manager Service apps as well.
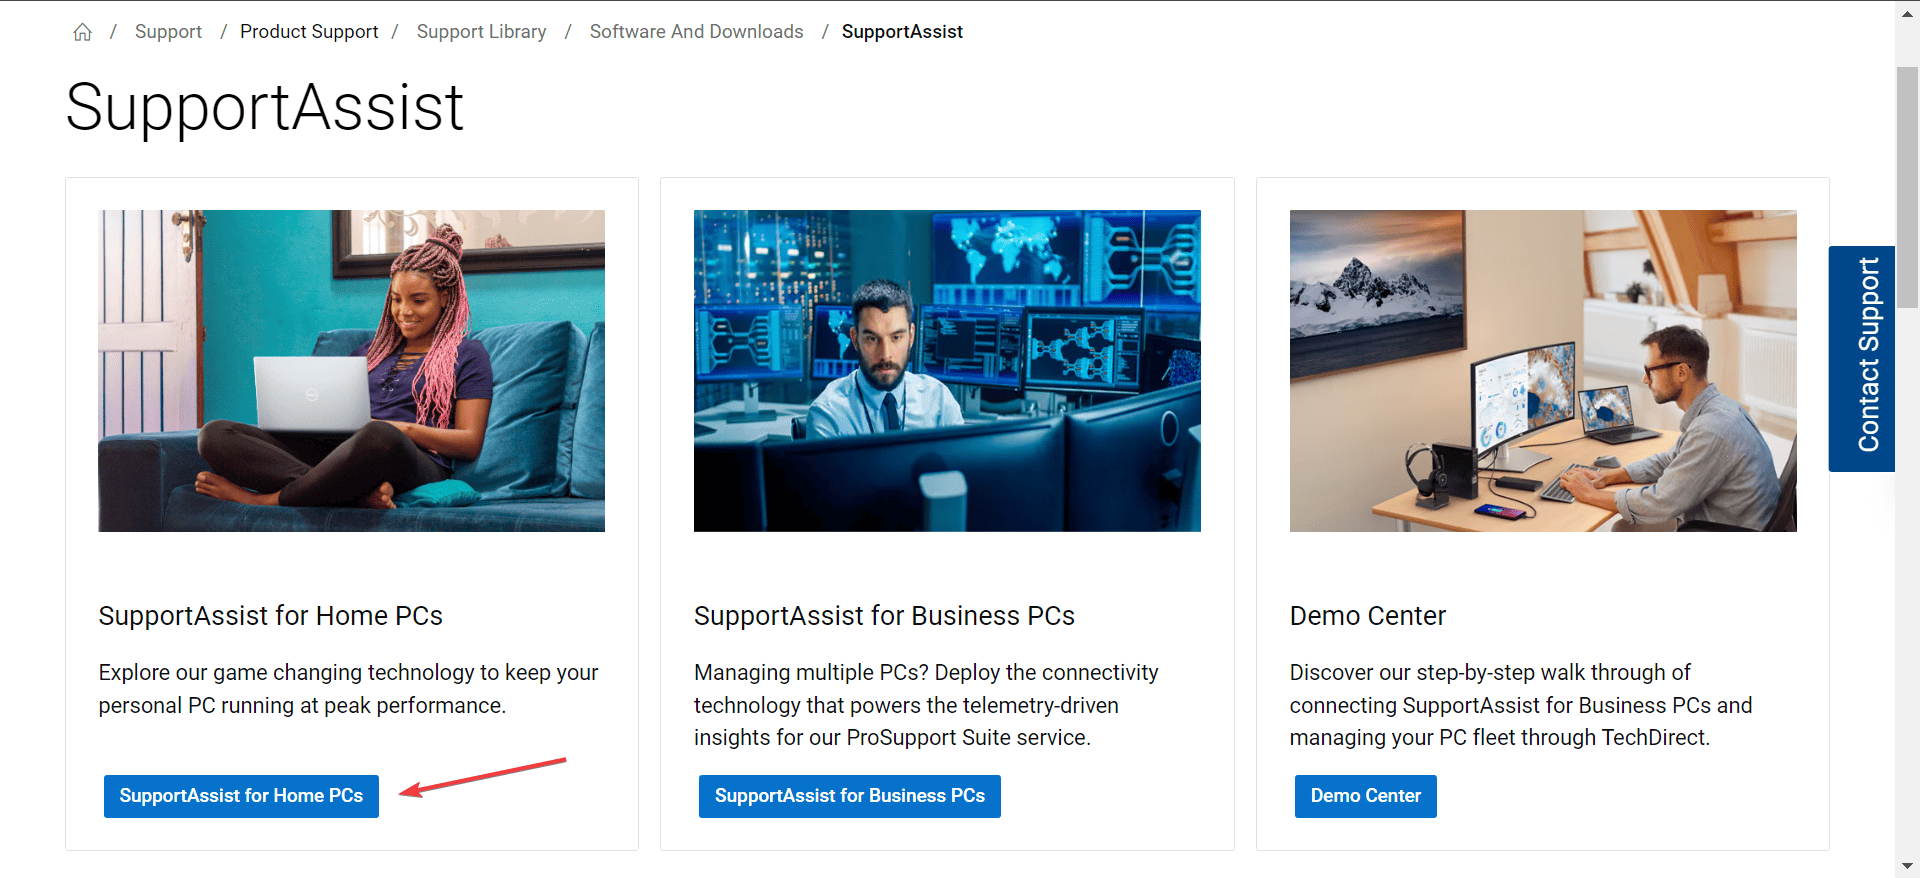
- Go to Dell’s official website, and click on SupportAssist for Home PCs if your computer is not a part of any organization.
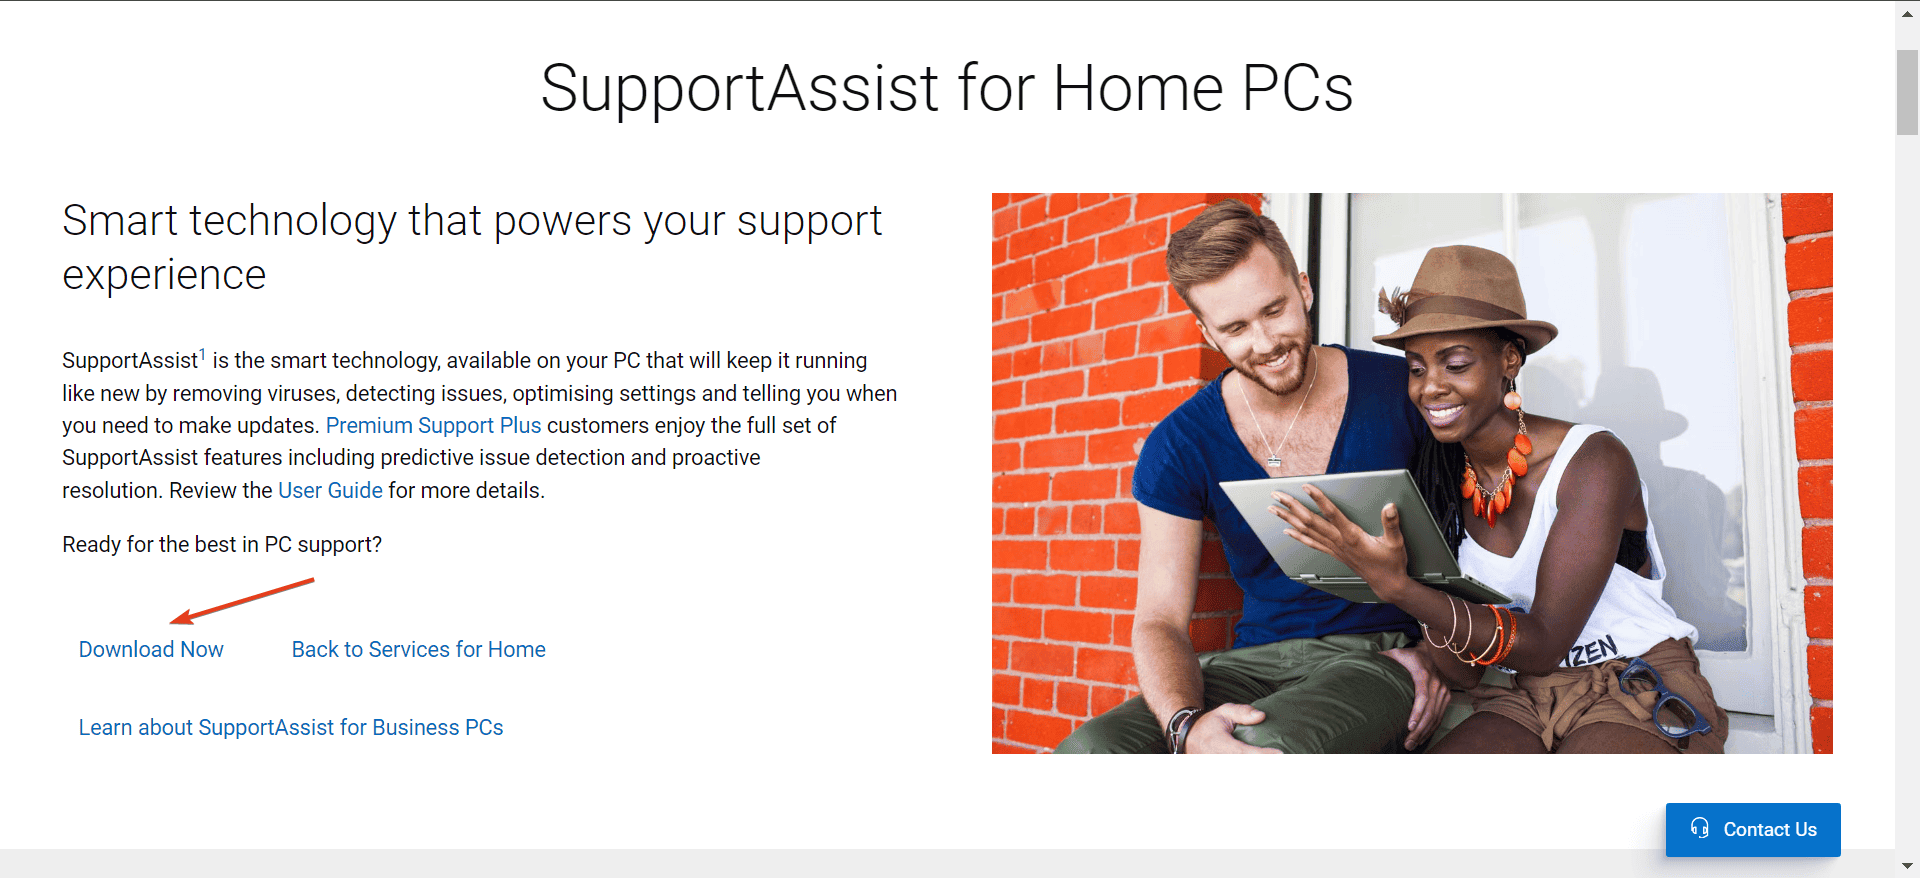
- Click on the Download Now button to get Dell SupportAssist 64-bit for Windows 11.
- Head to the Downloads folder and run the SupportAssistInstaller.exe file then click Yes in the UAC prompt.
- Follow the on-screen instructions to complete the process.
In case you experience other issues like Dell SupportAssist blank screen and don’t want to deal with this software anymore, we have a great guide on how to uninstall Dell SupportAssist.
Similarly, Dell is not the only manufacturer whose diagnostics tool has mishaps from time to time. HP also has its own share of these issues when the HP Support Assistant fails to open but this is a problem we’ve already tackled in our guide.
You can also try other PC hardware diagnostic tools that do the same job as Dell SupportAssist or find other ways to optimize your Windows PC and make it faster.
That’s it from us but do let us know if you’ve managed to get your diagnostic tool working again. To learn more about this tool, don’t miss our latest article on Dell SupportAssist OS Recovery.




User forum
0 messages