Dism Host Servicing Process: 7 Ways to Reduce High CPU Usage
Disabling BITS and SysMain services is the quickest fix
![]() 5 min. read
5 min. read
![]() Published on
Published on
Share this article
Improve this guide
Read our disclosure page to find out how can you help Windows Report sustain the editorial team. Read more
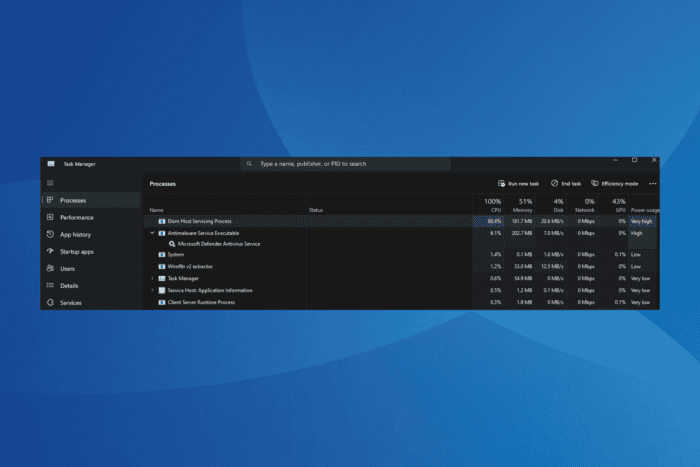
High resource consumption causes the PC to slow down, and one such task that often causes this situation is the Dism Host Servicing Process (DismHost.exe).
While DiskHost.exe is a built-in process related to DISM (Deployment Image Servicing and Management), there’s a lot of confusion about its origin. To clear that, DismHost.exe is completely safe as long as your PC is not infected by a malware disguising the process, which can be verified through a quick scan.
Before we start fixing 100% CPU usage by Dism Host Servicing Process in Task Manager, make sure to install all pending Windows updates. Because high CPU usage by DiskHost.exe commonly arises when there’s a pending OS update.
How can I fix high CPU usage by Dism Host Servicing Process?
1. Disable the BITS and SysMain services
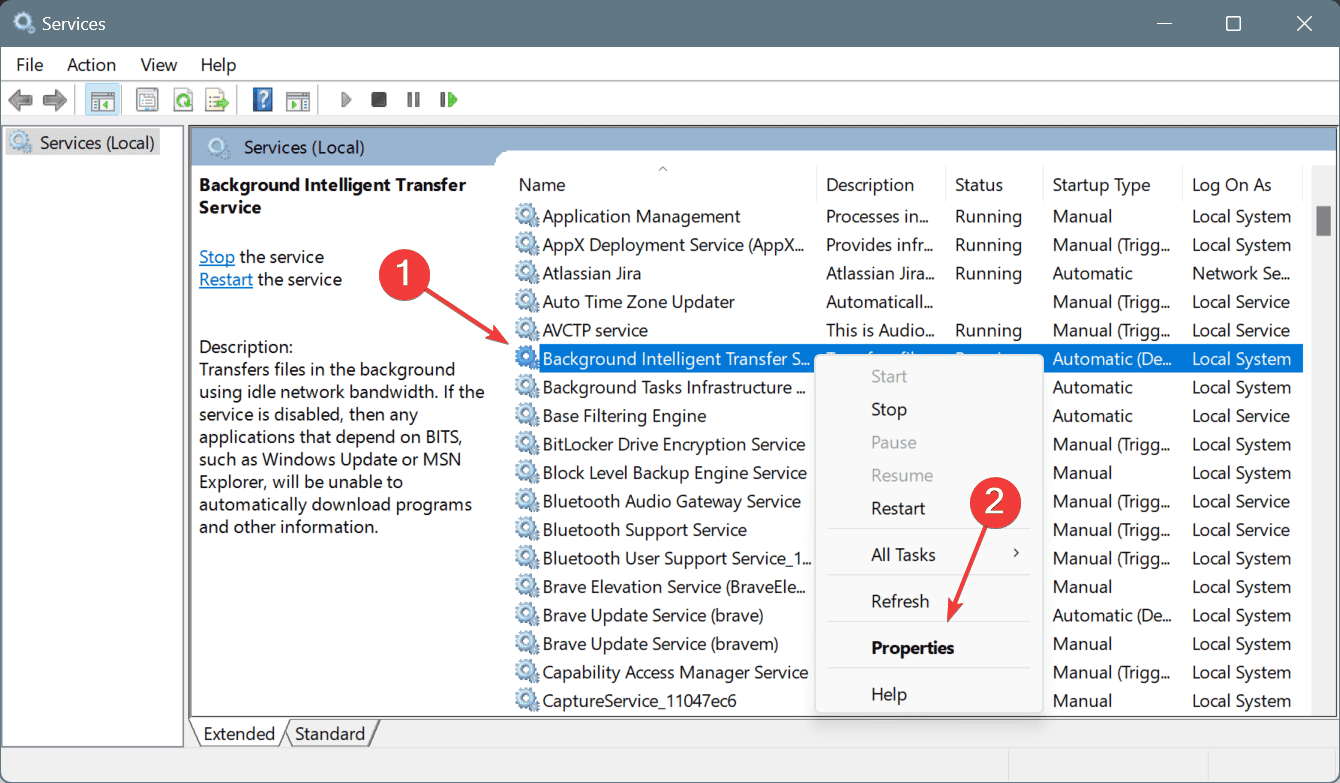
- Press Windows + R to open Run, type services.msc in the text field, and hit Enter.
- Scroll down, right-click on the Background Intelligent Transfer Service, and select Properties.

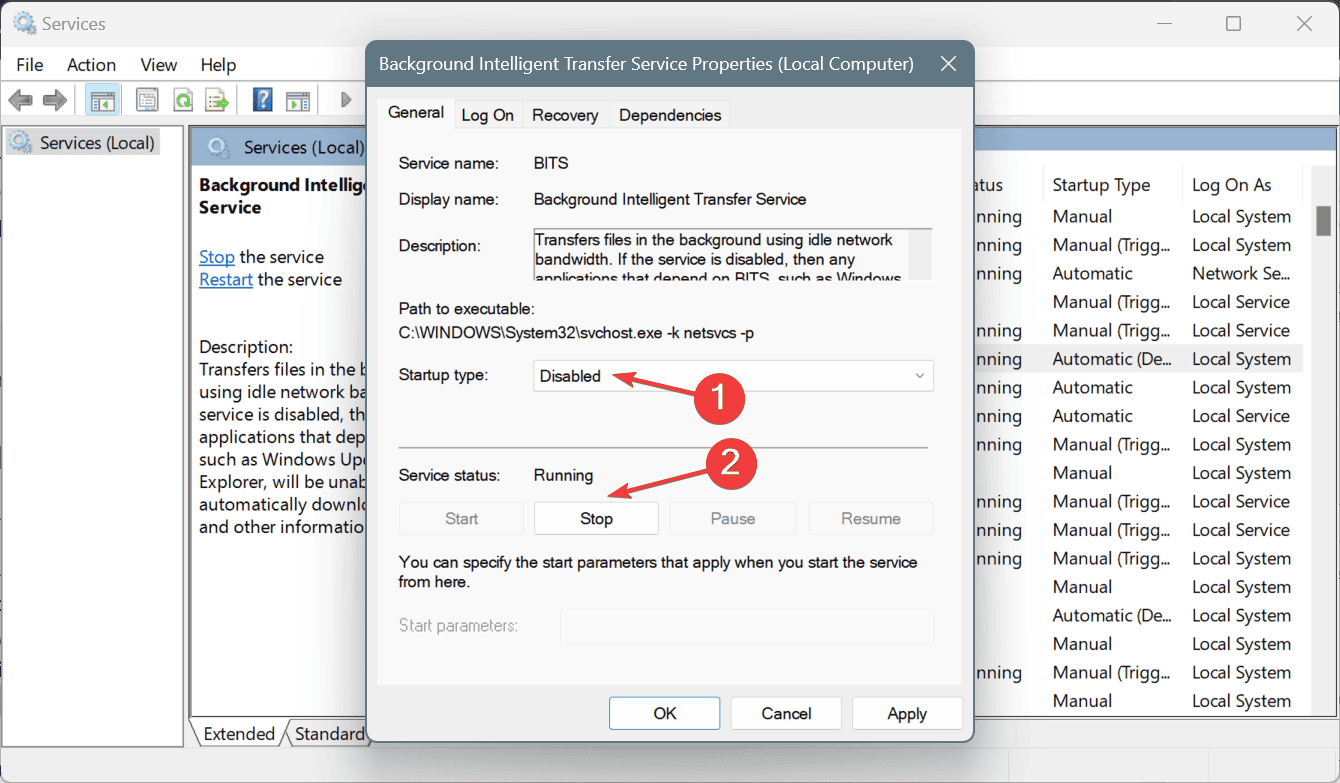
- Choose Disabled from the Startup type dropdown menu, and click on Stop under Service status.
- Click on Apply and OK to save changes.
- Similarly, disable the SysMain (previously SuperFetch) service.
- Finally, reboot the PC and verify whether high CPU or RAM usage by the Dism Host Servicing Process is fixed.
2. Run the DISM and SFC scans
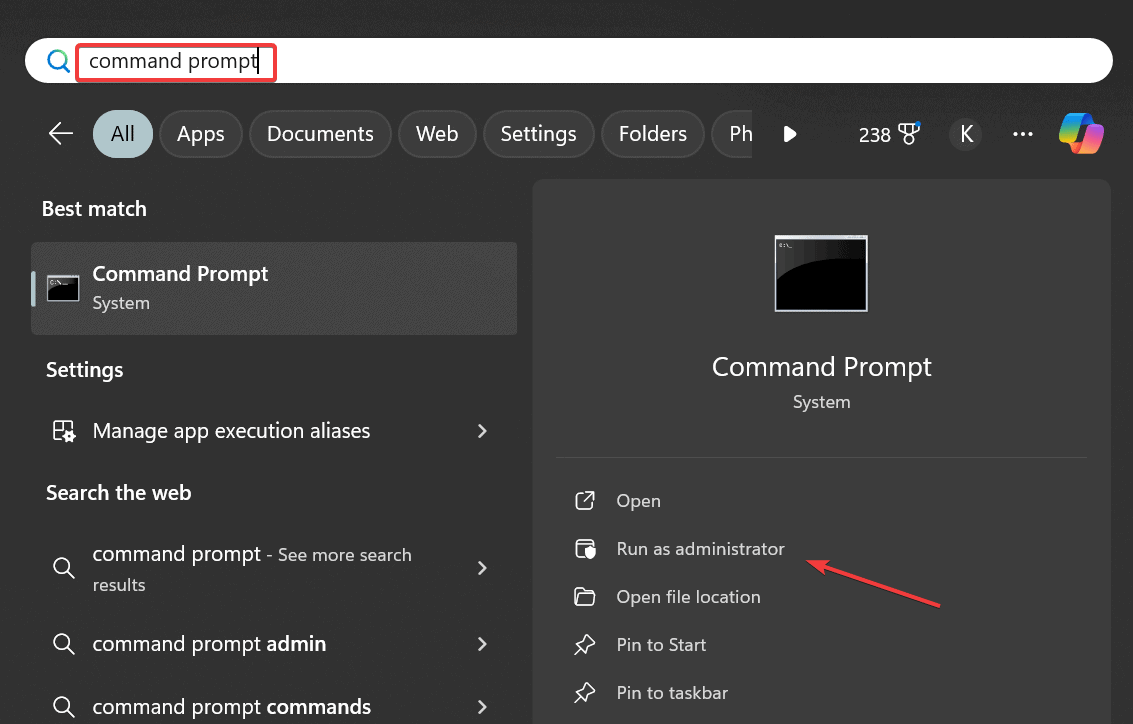
- Press Windows + S to open Search, type Command Prompt in the text field, and click on Run as administrator.

- Click Yes in the UAC prompt.
- Paste the following DISM commands individually and hit Enter after each:
DISM /Online /Cleanup-Image /CheckHealthDISM /Online /Cleanup-Image /ScanHealthDISM /Online /Cleanup-Image /RestoreHealth - Now, execute this command to run the SFC scan:
sfc /scannow
- Once done, restart the computer to apply the changes.
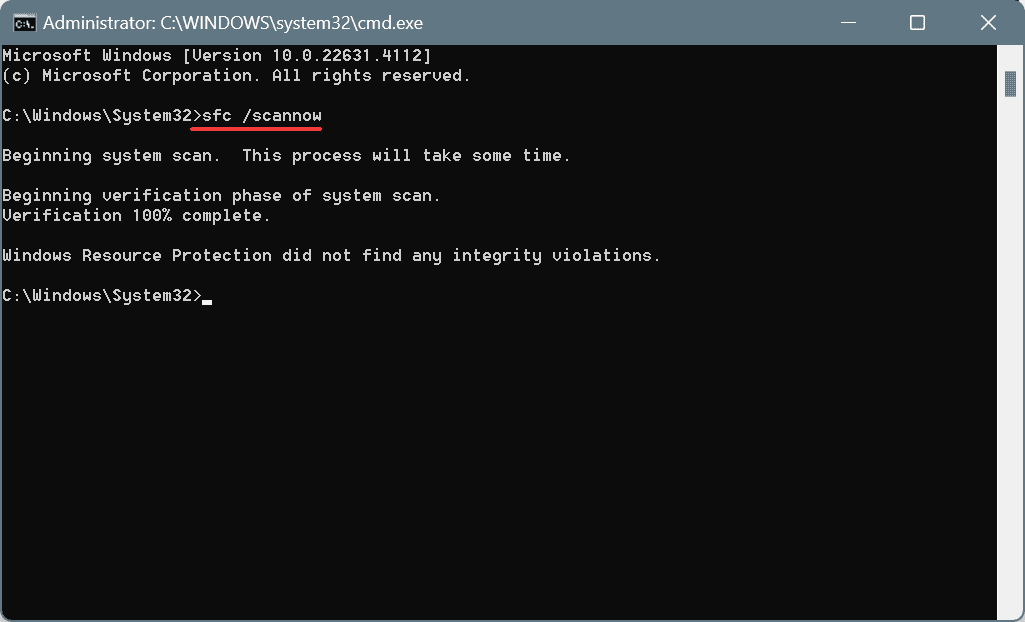
When your PC has corrupted system files, certain functions will fail to work properly. In this case, running the DISM (Deployment Imag Servicing and Management) and SFC (System File Checker) scans will replace all such corrupted files with their cached copy, fixing things when the Dism Host Servicing Process has stopped working!
3. Update all the drivers
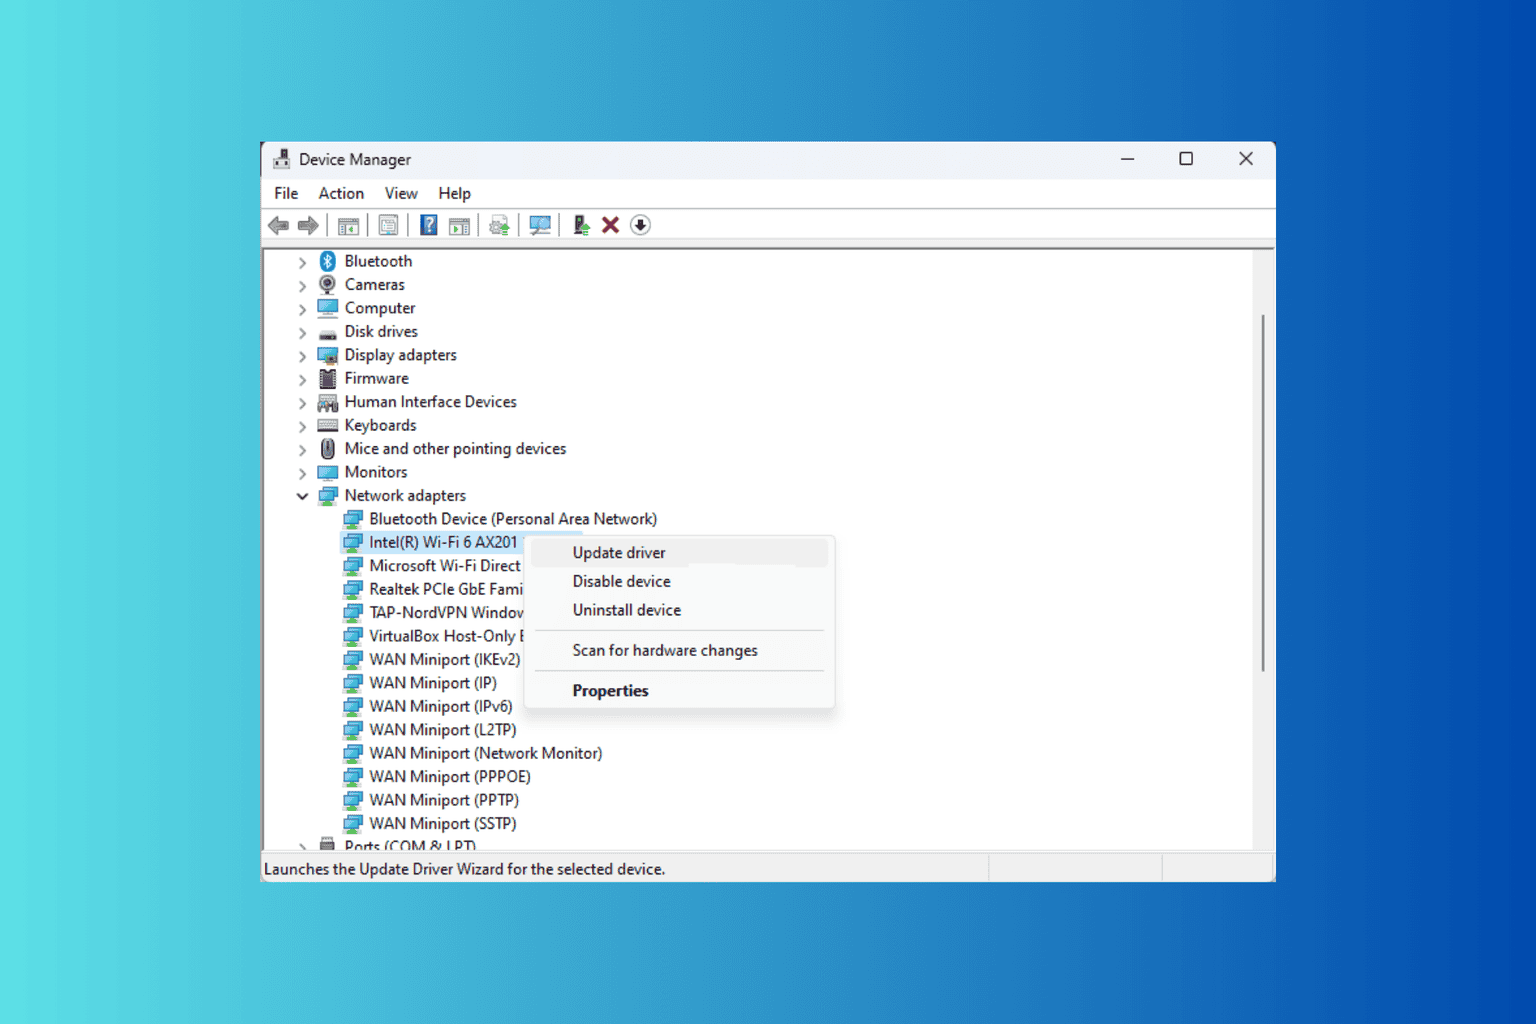
- Press Windows + X to open the Power User menu, and select Device Manager from the list.
- Expand the individual entries listed here, then right-click on the device(s) underneath, and select Update driver.

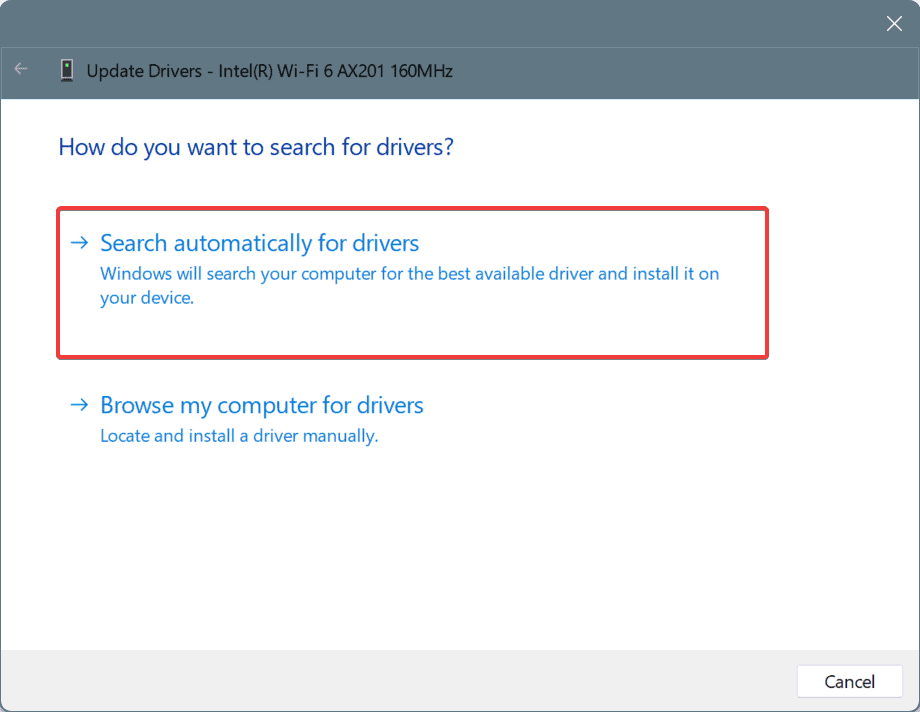
- Click on Search automatically for drivers and wait for Windows to install the best available version.

- Similarly, update all the device drivers and then restart the PC.
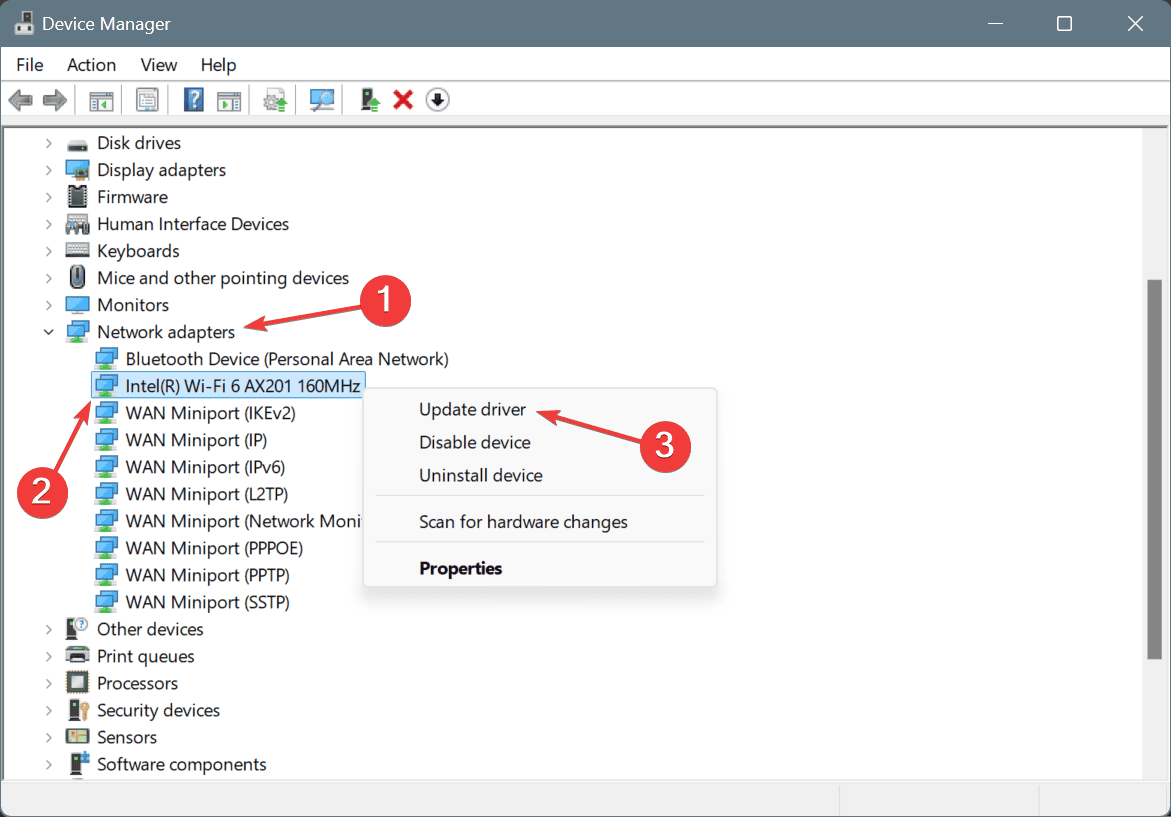
In a few cases of high disk usage by the Dism Host Servicing Process, it was the outdated or corrupt drivers to blame. For one user, a Realtek LAN card turned out to be at fault. So, it’s recommended that you update all the drivers.
If Windows can’t find a better version, head to the manufacturer’s website, locate the latest release, and then manually install the driver!
4. Run a malware scan
- Press Windows + S to open Search, type Windows Security in the text field, and click on the relevant result.
- Click on Virus & threat protection.

- Click on Scan options.
- Now, select the Full scan entry and then click on Scan now.
- Wait for the scan to complete. It usually takes 10-30 minutes.

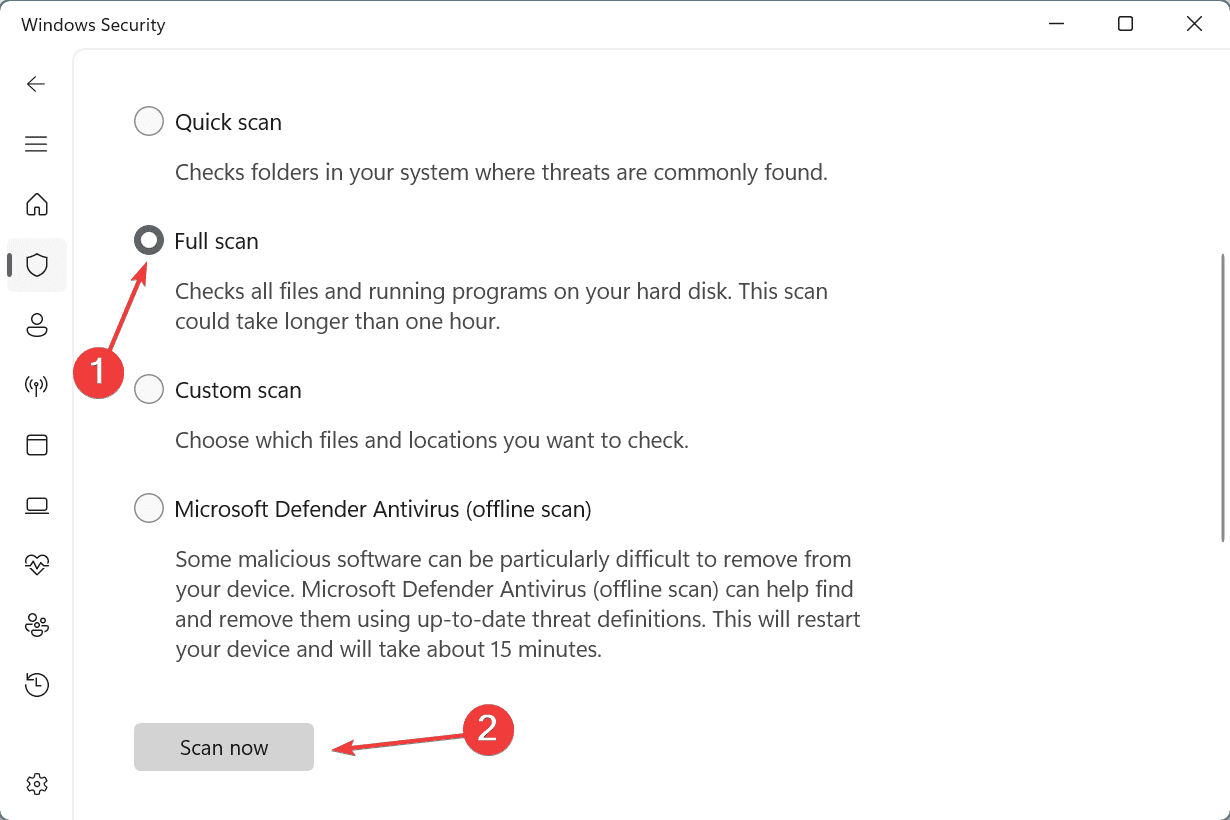
If the Dism Host Servicing Process is malware or virus, a full system scan should make that evidently clear. In case Windows Security can’t detect threats, I recommend you use a top-rated antivirus solution for Windows to run advanced scans!
5. Rename the DismHost file
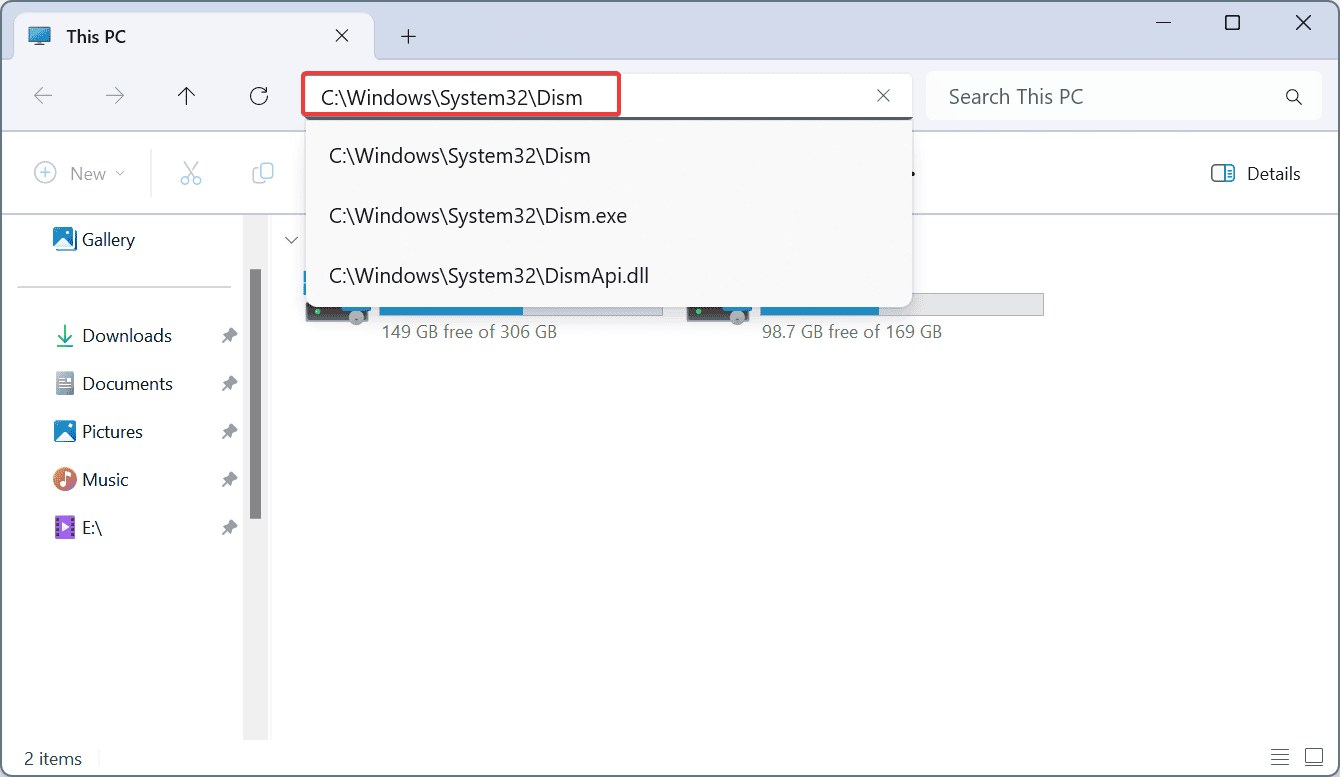
- Press Windows + E to open File Explorer, paste the following path in the address bar, and hit Enter:
C:\Windows\System32\Dism
- Right-click on the DismHost.exe file, select Rename, and then name it DismHost1.exe.
- Once done, reboot the PC, and the high CPU, disk, or memory usage shouldn’t come up again.

6. Restore the PC
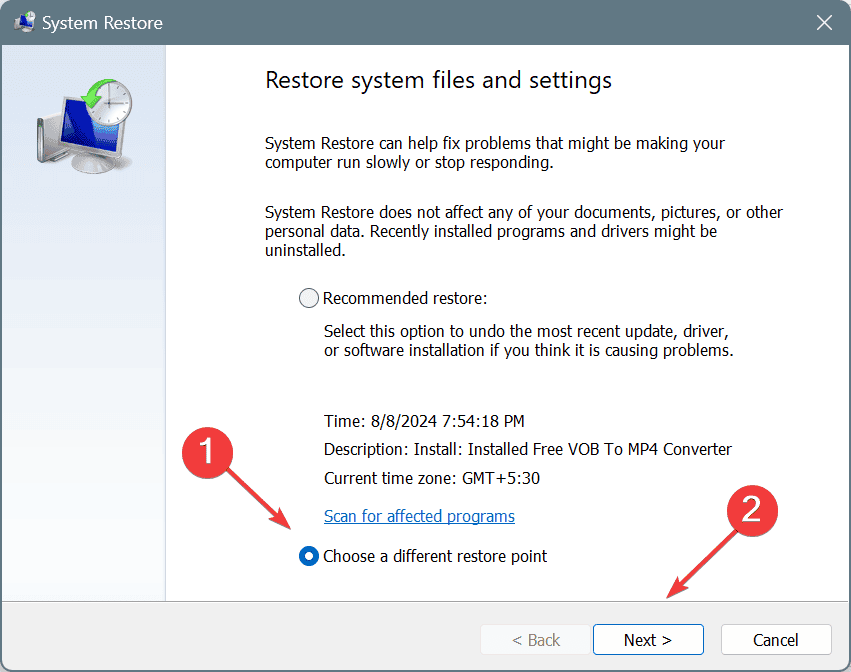
- Press Windows + R to open Run, type rstrui.exe in the text field, and hit Enter.
- Select the Choose a different restore point option and click on Next.

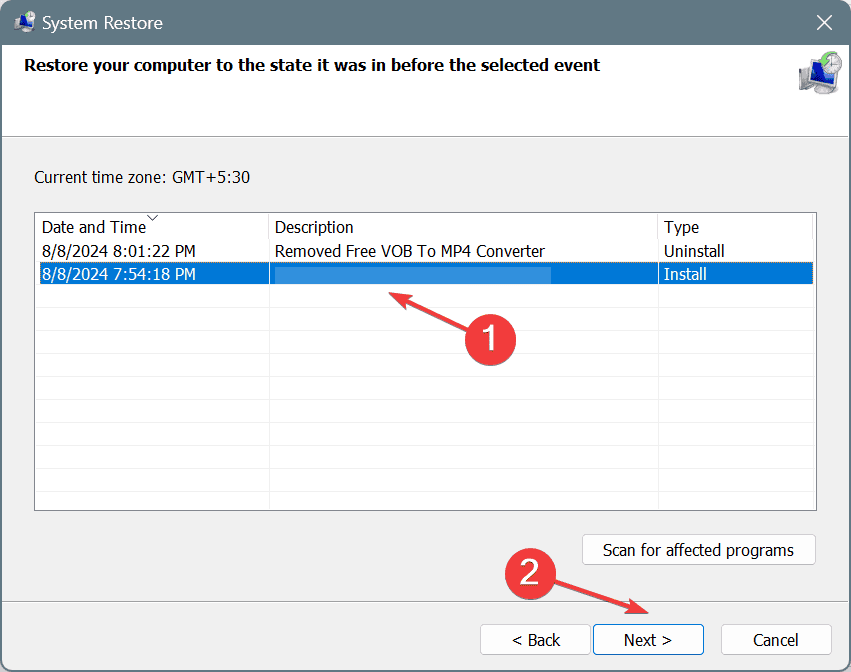
- Pick the oldest restore point from the list, and click on Next.
- Verify the restore details, click on Finish, and then confirm the change.
- Wait for the restore to complete. It may take 15-20 minutes.
7. Perform an in-place upgrade
- Go to Microsoft’s official website, select product language and OS edition, and then click on Download Now to get the Windows 11 ISO.
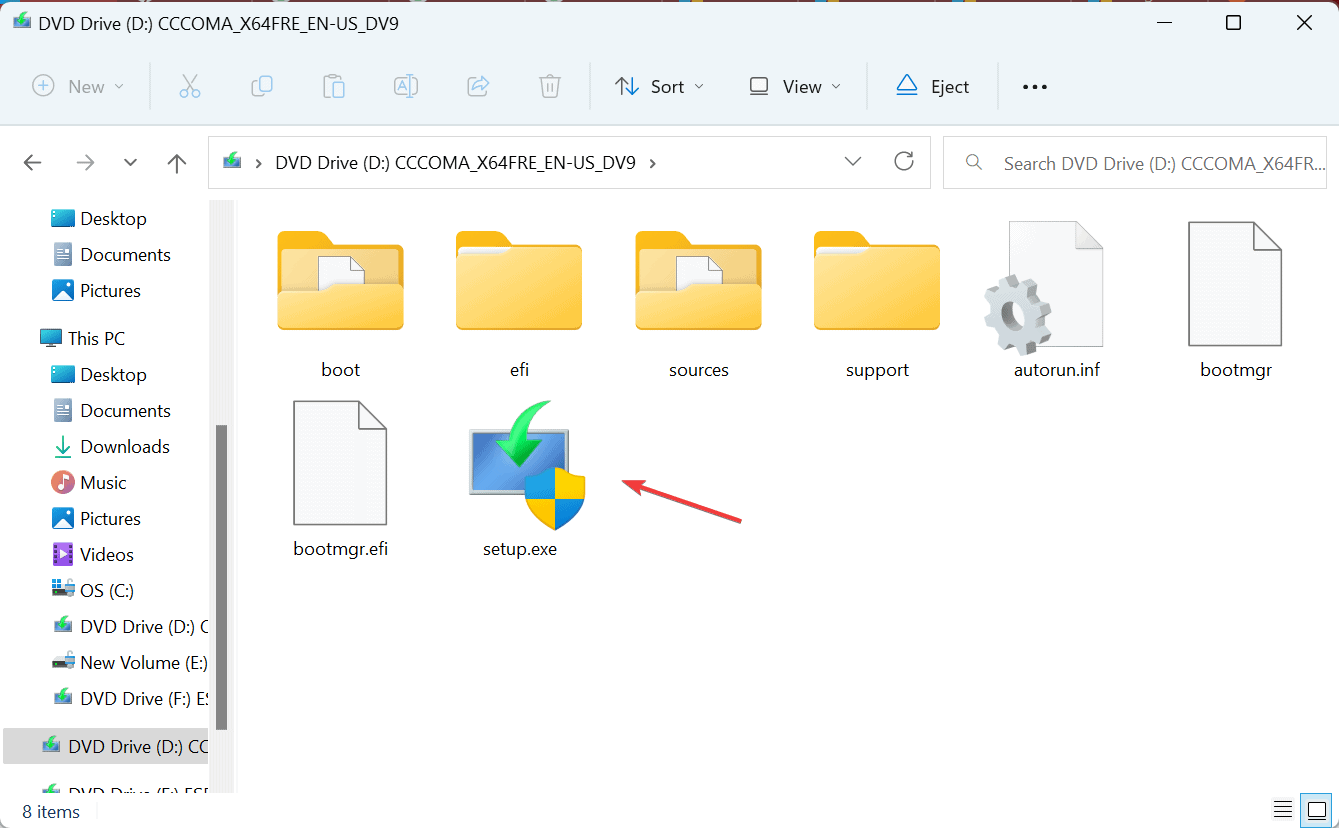
- After it’s downloaded, right-click on the ISO file, select Mount, and then click Open in the confirmation prompt.
- Run the setup.exe file.

- Click Yes in the UAC prompt.
- Click Next to proceed.

- Read Microsoft’s license terms and click on Accept.
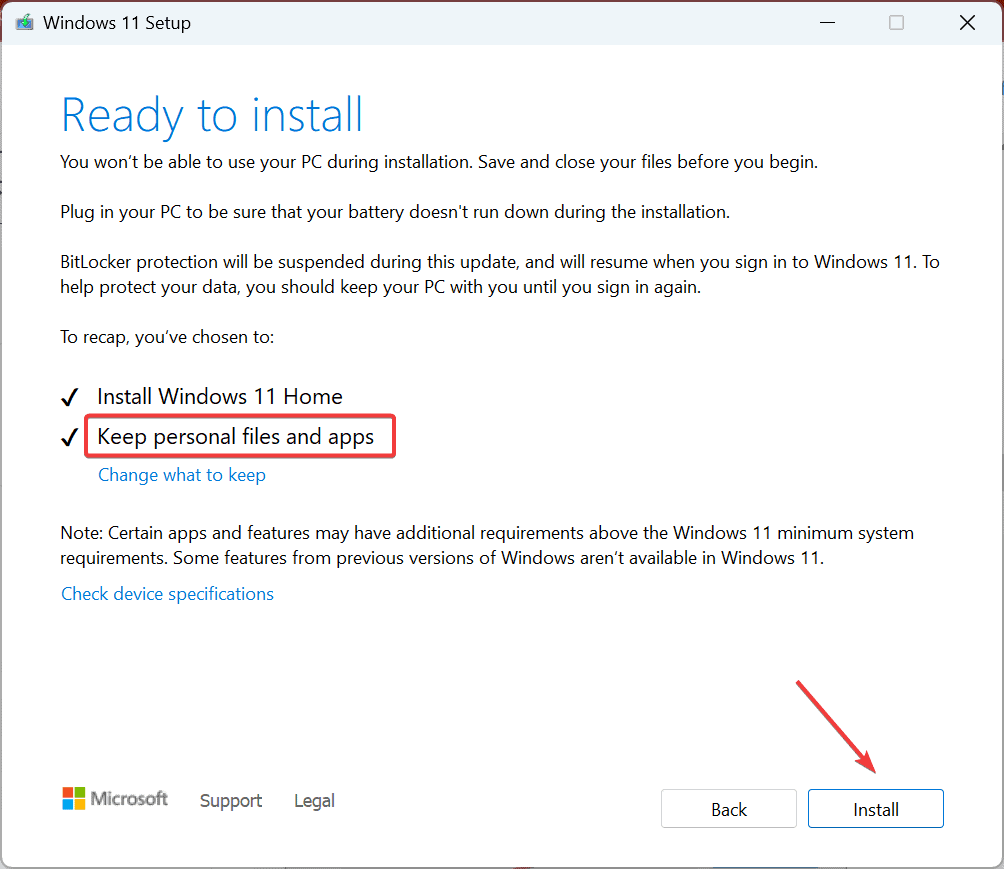
- Make sure the setup says, Keep personal files and apps, and then click on Install.
- The in-place upgrade will take 30-90 minutes to complete.
In case an in-place upgrade also fails to resolve the Dism Host Servicing Process high CPU usage, you will have to reinstall Windows. Remember, since it’s an OS-based conflict, a reinstall is guaranteed to fix things!
Besides, if you repeatedly run into performance-related issues, discover expert tips to make your PC faster than ever.
If you know of more fixes for the issue, share them with our readers in the comments section.


User forum
0 messages