How to Enable or Disable eSIM on Windows 11
First, check if your laptop has an eSIM built-in
4 min. read
Updated on
Read our disclosure page to find out how can you help Windows Report sustain the editorial team. Read more
Key notes
- To enable eSIM in Windows 11, go to Settings > Network & internet > Cellular > eSIM profiles and create a profile.
- Make sure that you validate the eSIM profile using the code received from your mobile operator.
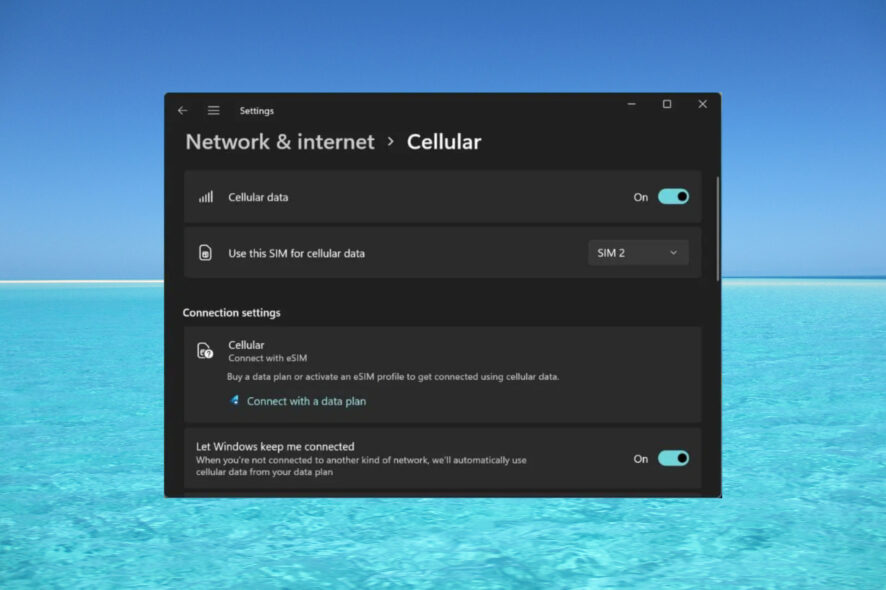
If you bought your laptop from a mobile operator, it’s likely to have the option of activating the eSIM and connecting your machine to the internet using a cellular network.
With an eSIM on board, you don’t need to insert another physical SIM card into your laptop because it’s already built-in. It’s beneficial when your device can’t connect to a network.
How do I check if my Windows 11 device is eSIM compatible? Click the Start button, then go to Settings > Network & internet > Cellular.
If you don’t see the Cellular option, your device doesn’t have eSIM capability, and you should check other options, such as connecting your laptop to a hotspot using your mobile device.
In order to activate and use the eSIM, you need to meet the following requirements:
- A PC Running Windows 11 or Windows 10 version 1703 or later.
- Built-in eSIM functionality (follow the instructions above to see if your device comes prepared with cellular data connectivity).
- A data plan with your mobile operator.
How do I activate eSIM on Windows 11?
1. Add an eSIM profile
- Click the Start button, then go to Settings.
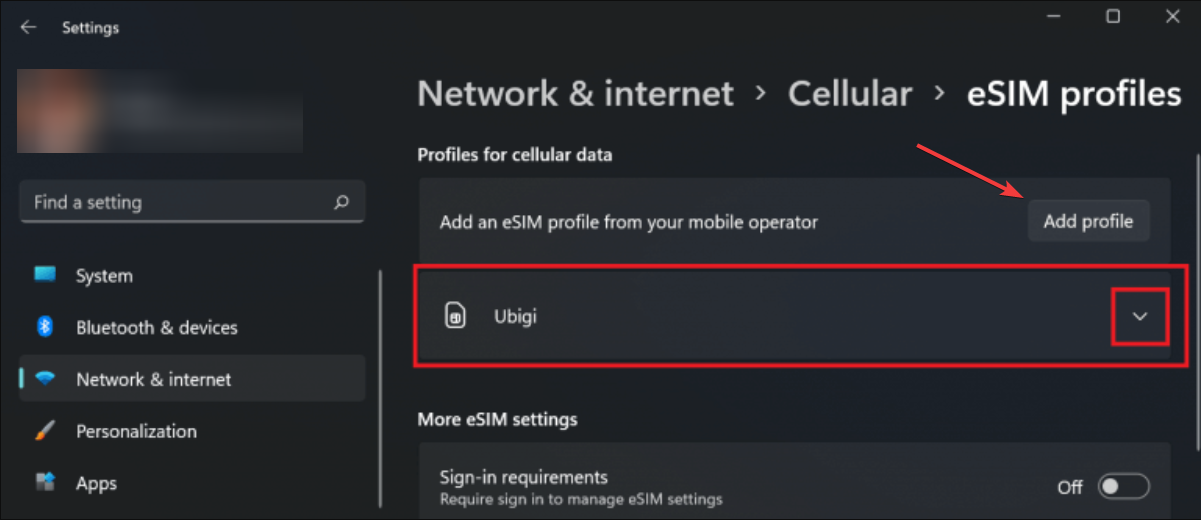
- Now, select Network & internet, go to Cellular, and access eSIM profiles.
- You will probably already have a profile created by your mobile operator but if you don’t have any, select Add profile.
- Now, click on Search for available profiles and hit Next.
- When you see the correct profile on the screen, click on Download. Sometimes, you will also need a confirmation code from your mobile operator.
- You might also get a QR code to scan to get the activation code, and then the code will appear in the corresponding Activation code box. Click Next after completion.
You can use the cellular data network and mobile connection if you have set up the profile correctly. There is no need for an eSIM software download for Windows 11.
In case your phone doesn’t work without Wi-Fi, check the highlighted guide on how to fix the issue.
2. Use the profile and turn on the Cellular data function
- After you have created and validated the eSIM profile, you can just select it from Network & internet > Cellular > eSIM profiles.
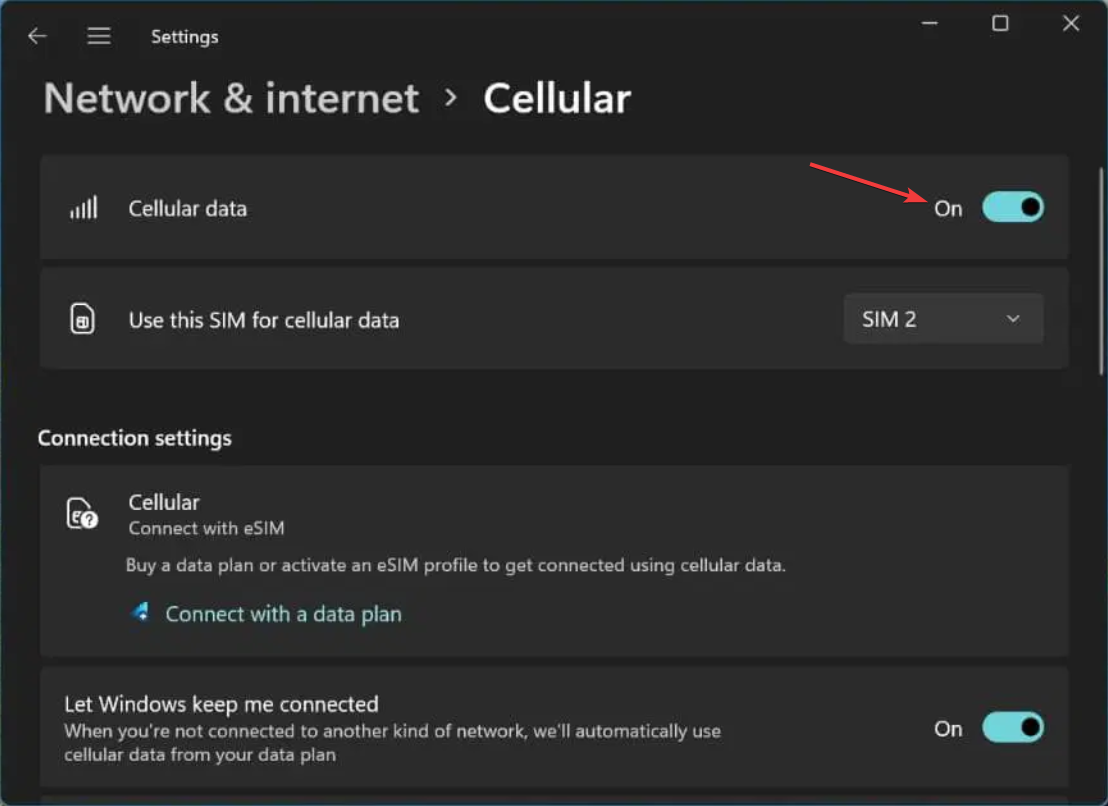
- Now, all you need to do is to turn on Cellular data from Network & internet > Cellular.
How do I remove eSIM on Windows 11?
To disable eSIM on Windows 11, you just need to delete the profiles you’re using for the cellular data connection. Here’s how you do that:
- Click the Start button and go to Settings.
- Select Network & internet, go to Cellular, and access eSIM profiles just like you did when you added the profile.
- Finally, select the profile to delete, and choose Delete, then select Yes when you are prompted to confirm your choice.
Without a profile, the cellular data won’t function anymore, so if you need it afterward, you have to create the profile once again, as shown in solution 1 above. However, we suggest turning off the cellular data when you don’t need it without deleting the profile.
What can I do if the eSIM option is missing from Windows 11?
If you have checked that your Windows 11 device has an eSIM or you have used it before and now the option has disappeared, reinstalling the cellular adapter driver is the best option.
We have a great step-by-step guide on what to do if the eSIM option is missing on Windows 11.
That’s it! Now you know how to activate or deactivate eSIM on Windows 11, and hopefully, you can connect to the internet from a remote place where you don’t have Wi-Fi or cable connections.
We also have a guide that will provide the necessary information if you can’t set up a mobile hotspot on Windows.
The Wi-Fi disappeared? If the Wi-Fi option is not showing up on Windows 11, the highlighted guide will provide the solutions to fix it.
Facing issues while sending messages with error code 38, while using a Giffgaff mobile operator; check out the guide to find the solutions.
If you have any other questions or suggestions, feel free to add them in the comments section.


User forum
0 messages