How to Fix Excel's Sharing Violation Error in 6 Easy Ways
Learn how to fix your Excel file for good
3 min. read
Updated on
Read our disclosure page to find out how can you help Windows Report sustain the editorial team Read more
Key notes
- Since MS Office 2007, users have sometimes been encountering an Excel error message that states: Your changes could not be saved to ‘ FileName’ because of a sharing violation.
- Excel's sharing violation error can make it impossible for users to save changes on their Excel files.
- However, it can be fixed in a few quick moves.
Excel’s sharing violation error dates back to MS Office 2007. That error message states: Your changes could not be saved to ‘ FileName’ because of a sharing violation.
Consequently, users can’t save changes to some of their Excel spreadsheet files when that issue arises. It’s not something new, and Microsoft once had a hotfix package for the error that has now been discontinued.
Nevertheless, you can still fix the sharing violation with the resolutions below.
How can I fix Excel’s sharing violation error?
1. Turn on the Sharing Wizard
- Check that the Sharing Wizard is enabled. To do so, open File Explorer.
- Click the View tab.
- Press the Options button.
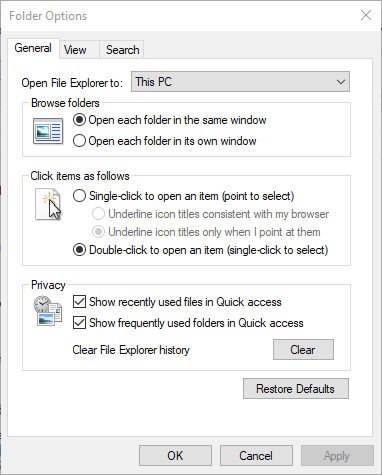
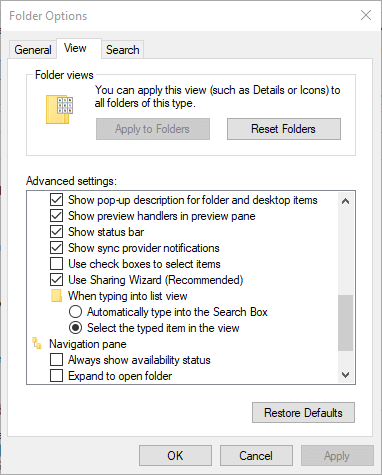
- Select Change folder and search options to open the window shown directly below.
- Select the View tab.
- Select the Use Sharing Wizard checkbox.
- Click Apply to save the new settings.
- Click OK to exit the window.
2. Save the corrupted Excel file with an alternative title
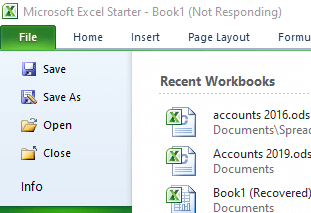
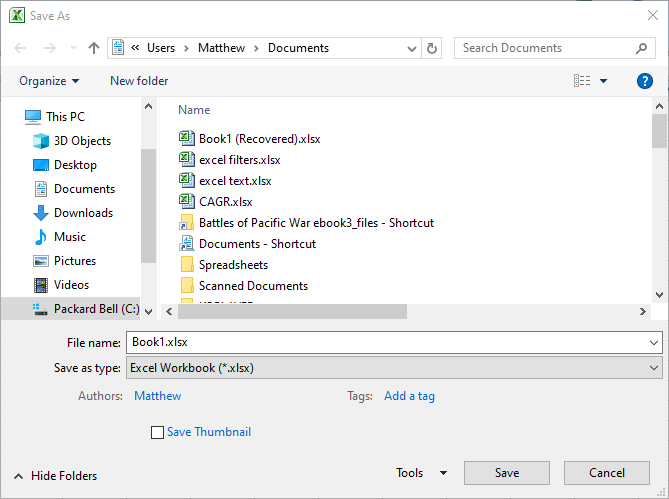
Try saving the file with an alternative file title. To do that in Excel, click File and Save as. Then enter an alternative title for the file in the text box, and press the Save button.
3. Save the file to an alternative folder
Alternatively, try saving the file to a different folder. Select the Save as option. Then select an alternative folder to save it to. Click the Save button.
4. Delete files with CCleaner
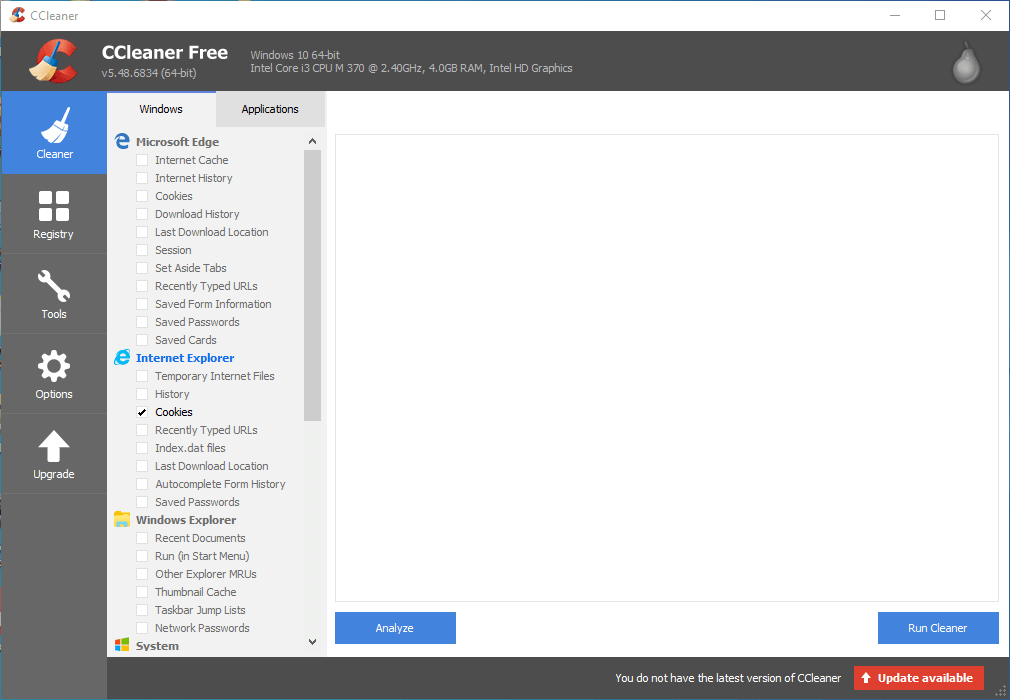
- Some users have said they’ve fixed Excel’s sharing violation error by erasing files with CCleaner.
- Click the green Download button on CCleaner’s webpage to get the installer for it.
- Open CCleaner’s setup wizard to install the utility.
- Open the CCleaner window.
- Select all the checkboxes on the Windows tab.
- Click the Analyze button.
- Click Run Cleaner and Continue to erase the files.
Need more info on how to clean your PC with CCleaner? Take a look at this useful article.
5. Uninstall third-party antivirus utilities
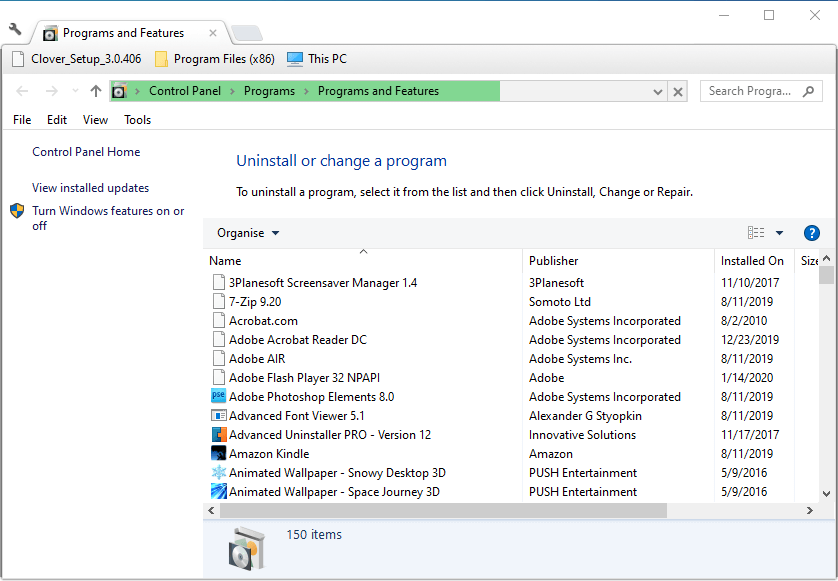
The sharing violation error can also be due to some third-party antivirus utilities. So, uninstalling third-party utilities might resolve the issue.
You can do that with the standard Windows uninstaller, but that will also leave behind residual files.
Press the Windows key + R hotkey and enter ‘appwiz.cpl’ in Run to open the Windows uninstaller. Then you can uninstall the antivirus software from there.
Most of the bigger antivirus utilities have their own exclusive uninstaller tools, listed within a Microsoft forum post, with which you can more thoroughly remove them.
Download the uninstaller tool for the antivirus software. Then open that utility to uninstall the antivirus software with it.
6. Enable indexing
1. Open File Explorer with the Windows key + E keyboard shortcut.
2. Right-click the folder that includes the Excel file the sharing violation arises for and select Properties.
3. Press the Advanced button.
4. Select the Allow files in this folder to have contents indexed in addition to file properties checkbox.
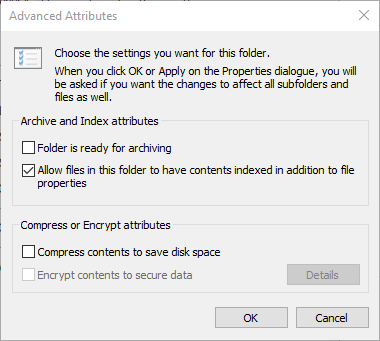
5. Click OK on the Advanced Attributes window.
6. Select the Apply option .
7. Click the OK button to save the changes.
Some users have confirmed they‘ve fixed the issue by enabling file indexing for the folder that includes the Excel spreadsheet the error arises for. This can be done with the help of the built-in File Explorer on your Windows PC.
If you need additional info on how to enable or disable indexing in Windows 10, check out our handy guide and learn how you can do it.
Those resolutions will probably fix Excel’s sharing violation for most users.
If you have any other questions or suggestions, don’t hesitate to leave them in the comments section below and we’ll be sure to check them out.


