How to Fix Sleep Mode Problems in Windows 8.1, Windows 10
So, basically if you are at work, holiday or at home using the sleep mode feature in Windows 10, Windows 8.1 can be very useful. Using this feature will allow you to save a significant percentage of battery power. Therefore you can leave it on when you take a break from working on your Windows 10 orWindows 8.1 PC or laptop. You can simply disable the sleep mode feature when you come back in order to resume work. You will see that all the apps you had opened are still there and you did not lose anything.

You will get this issue with sleep mode not working in most of the cases after you upgrade from Windows 7 or Windows 8 to Windows 8.1 or Windows 10. Before you go and reinstall your Windows 8.1 or Windows 10 operating system, follow the steps listed in this tutorial and you’ll how easy it is to fix PC sleep mode issues.
SOLVED: Sleep mode not working on PC
- Now after you opened your Windows 10, Windows 8.1 PC or laptop, you need to press and hold the buttons “Windows” and the button “W”. A window should pop up, you need to enter “troubleshooting” in the search box.
- Click (left click) on the icon “Troubleshooting” that appeared after the search.
- In the “Troubleshooting” window you opened look on the left side of the window for “View all” and after that click (left click) on it.

- After you clicked (left click) on “View all” a list should be presented to you, you need to look in that list for “Power” icon and click (left click) on it.
- After clicking on “Power” it will automatically launch the troubleshooting feature for power issues in Windows 10, Windows 8.1.

- In the “Power” troubleshooting window you need to click (left click) on “Next”.
- After you click on Next, the Windows 10,Windows 8.1 system will start the automatic fixing of any errors that might occur with you power options.
- When the troubleshooting loading screen is completed you only need to click (left click) on “Close”.
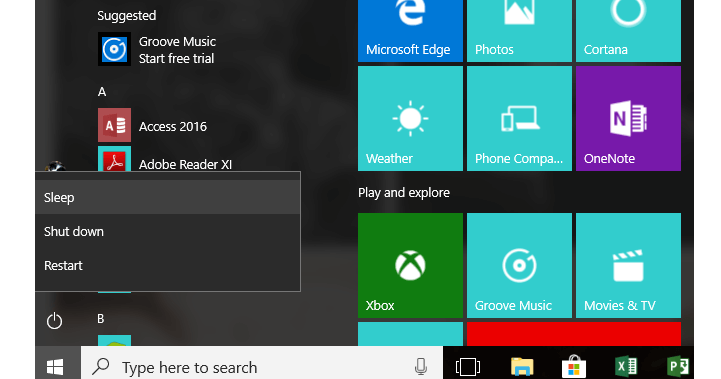
- Restart your Windows 10, Windows 8.1 PC or Laptop and try you sleep feature now to see if it works.
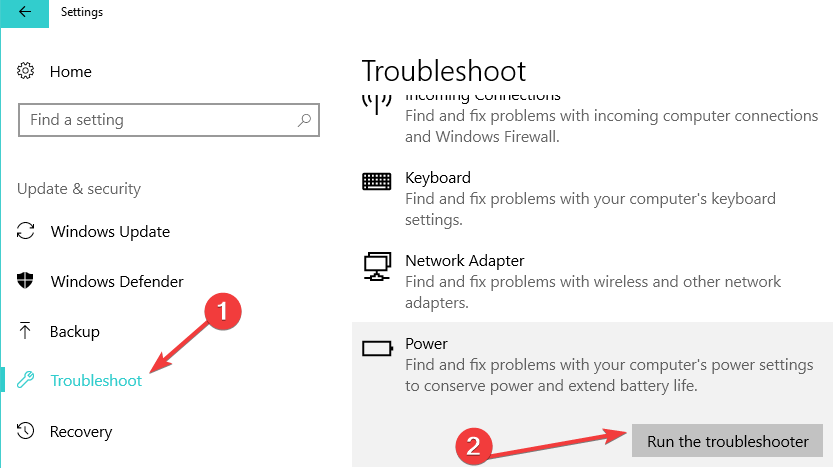
If you’re running Windows 10, you can quickly find and run the power troubleshooter from the Settings page. Go to Settings > Update & Security > Troubleshoot and launch the troubleshooter.
— RELATED: How to block Windows 10, 8, 8.1 from going to Sleep Mode
Additional solutions to solve computer sleep issues
If the Power troubleshooter didn’t solve the problem and you still can’t use Power Mode on your computer, here are some additional workarounds that you can use:
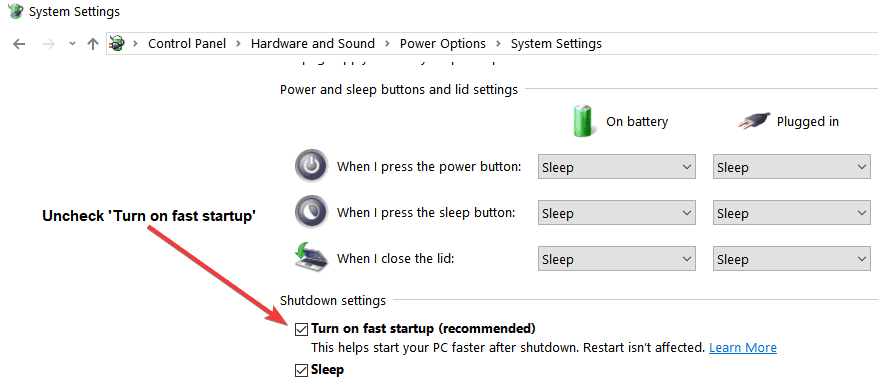
- Disable Fast Startup: Launch Control Panel > go to Power options > Choose what the power buttons do > Change settings that are currently unavailable > uncheck ‘Turn on fast startup (recommended)‘ box. Restart your computer and check if the problem persists.
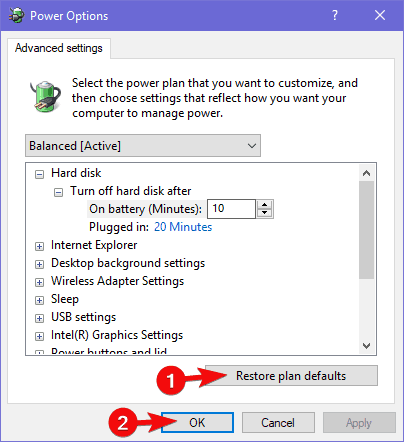
- Change your power settings: Go to Power options > Change plan settings > Change advanced power settings > select Restore plan defaults.
For detailed information, you can check out the troubleshooting guides below:
This is how you can easily fix your sleep issues in Windows 10, Windows 8.1. If you have any questions or suggestions, let us know in the comments below and we’ll see what we can do to improve this article.
RELATED STORIES TO CHECK OUT:
- Full Fix: Surface Pro 4 doesn’t wake up from sleep
- Fix: PC won’t stay in the Sleep mode on Windows 10
- SOLVED: Hibernate and Sleep Issues in Windows 10, 8, 8.1
Read our disclosure page to find out how can you help Windows Report sustain the editorial team. Read more


Improve this guide


User forum
0 messages