Windows 10 won't turn on? Fix it in a few easy steps
6 min. read
Updated on
Read our disclosure page to find out how can you help Windows Report sustain the editorial team. Read more
Key notes
- Is your Windows 10 PC refusing to turn on? You’ll most likely want to take immediate measures.
- Windows 10 errors are more frequent than you might imagine but the good news is that you can easily fix them.

There comes a time when we all have to face reality. There is a chance your Windows 10 won’t start up at all. This is a huge problem indeed, and speaking of problems, users reported all kinds of scenarios.
More precisely, in some cases, the PC won’t be able to boot at all and they simply end up with a black screen. Many Windows 10 users reported this issue after installing a new RAM or a new motherboard.
Moreover, others say that the loading screen in Windows 10 keeps running until it restarts or perhaps it passes the loading screen. However, they only get a black screen with the mouse cursor after it loads.
Users also report that instead of starting Windows normally, they are greeted with a blinking cursor and get a boot failure message on their PC. Another problem that users describe is the inability of Windows to work or load with no apparent trigger.
If you’re currently facing one of these issues too, waste no more time and read the lines below to find out some useful fixes for your Windows 10 unable to start up.
What can I do if Windows 10 won’t turn on?
1. Check your hardware
One or more of your hardware devices might malfunction during a power-up of the Windows 10 computer, thus preventing it to turn on correctly. That’s why we’re recommending to check your hardware by doing the following:
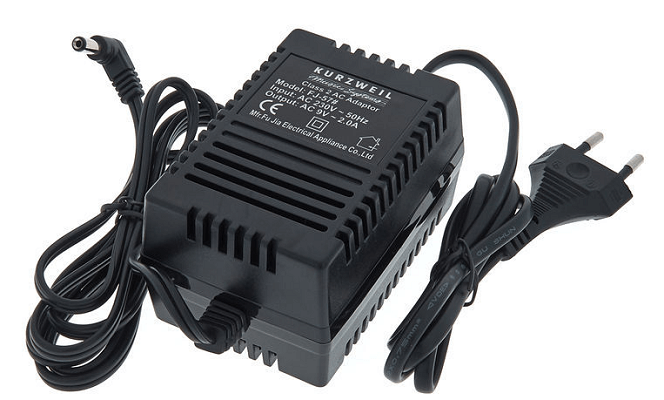
- You’re most likely wondering: Is my power supply dead? If the PC isn’t powering up at all when you press the Power button, the first thing you need to check is the power supply. If it is fried, your PC won’t respond to anything.
- Also, check the power outlet in your house. There are times when you might not have power to the socket where you plugged the device.
- Try removing the power adapter, the battery, and any other peripherals you have plugged in. After you have everything unplugged, hold down the Power button for about 50 seconds, then reconnect everything and try to start it.
If you have power supply issues, check out our dedicated guide and learn how you can deal with them quickly.
2. Start your computer in Safe Mode
- While the Windows 10 device boots up you could try continuously pressing the F8 button or the Shift and F8 combination.
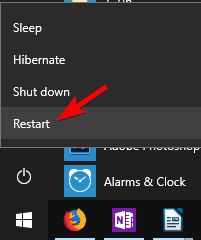
- If that doesn’t work, open the Start Menu, click the Power button, press and hold the Shift key, and choose Restart from the menu.
- Then, choose Troubleshoot > Advanced options > Startup settings. Click on Restart button and choose Safe Mode after your PC restarts.
- If your Windows 10 device booted into Safe mode, then try to remember any software you recently installed before having this issue. Uninstall the software and try again to boot normally to see if it works.
- Undo from Safe mode any recent changes you might have made to Windows 10 system files.
- From Safe mode run a system check with your antivirus and see if it finds anything that might make your Windows 10 malfunction.
- Try doing a System Restore in your Windows 10 system to get your system to a previous state and possibly fix any issues you might have encountered.
If your Windows doesn’t boot, you might be able to fix the problem simply by entering the Safe Mode. If System Restore fails from working, don’t worry. Check this useful guide and set things right once again.
Safe mode is not working? Don’t panic, this guide will help you get past the booting problems.
3. Perform a clean boot of the system
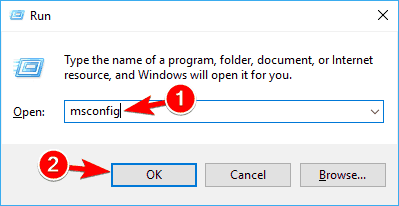
- Press and hold the Windows key + R keyboard shortcut.
- Type in the Run window msconfig. Press Enter or click OK to run it.
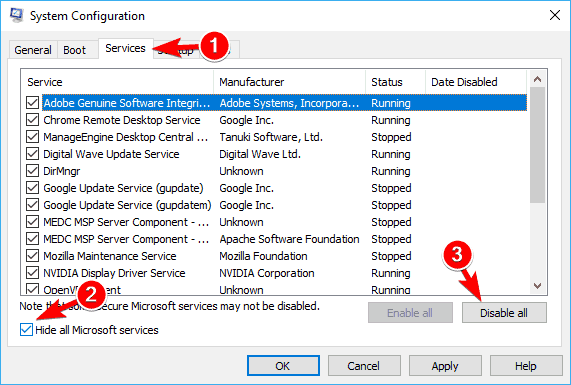
- Left-click on the Services tab now. Check the box next to Hide all Microsoft Services. Left-click on Disable all button.
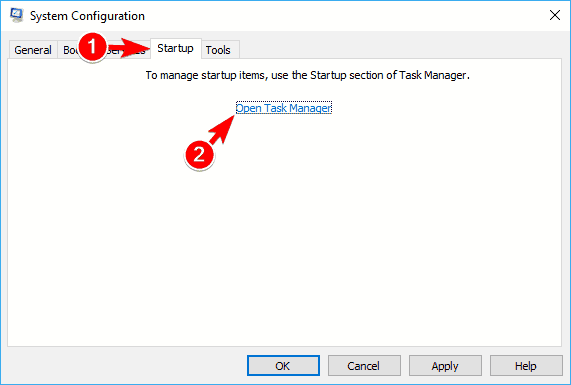
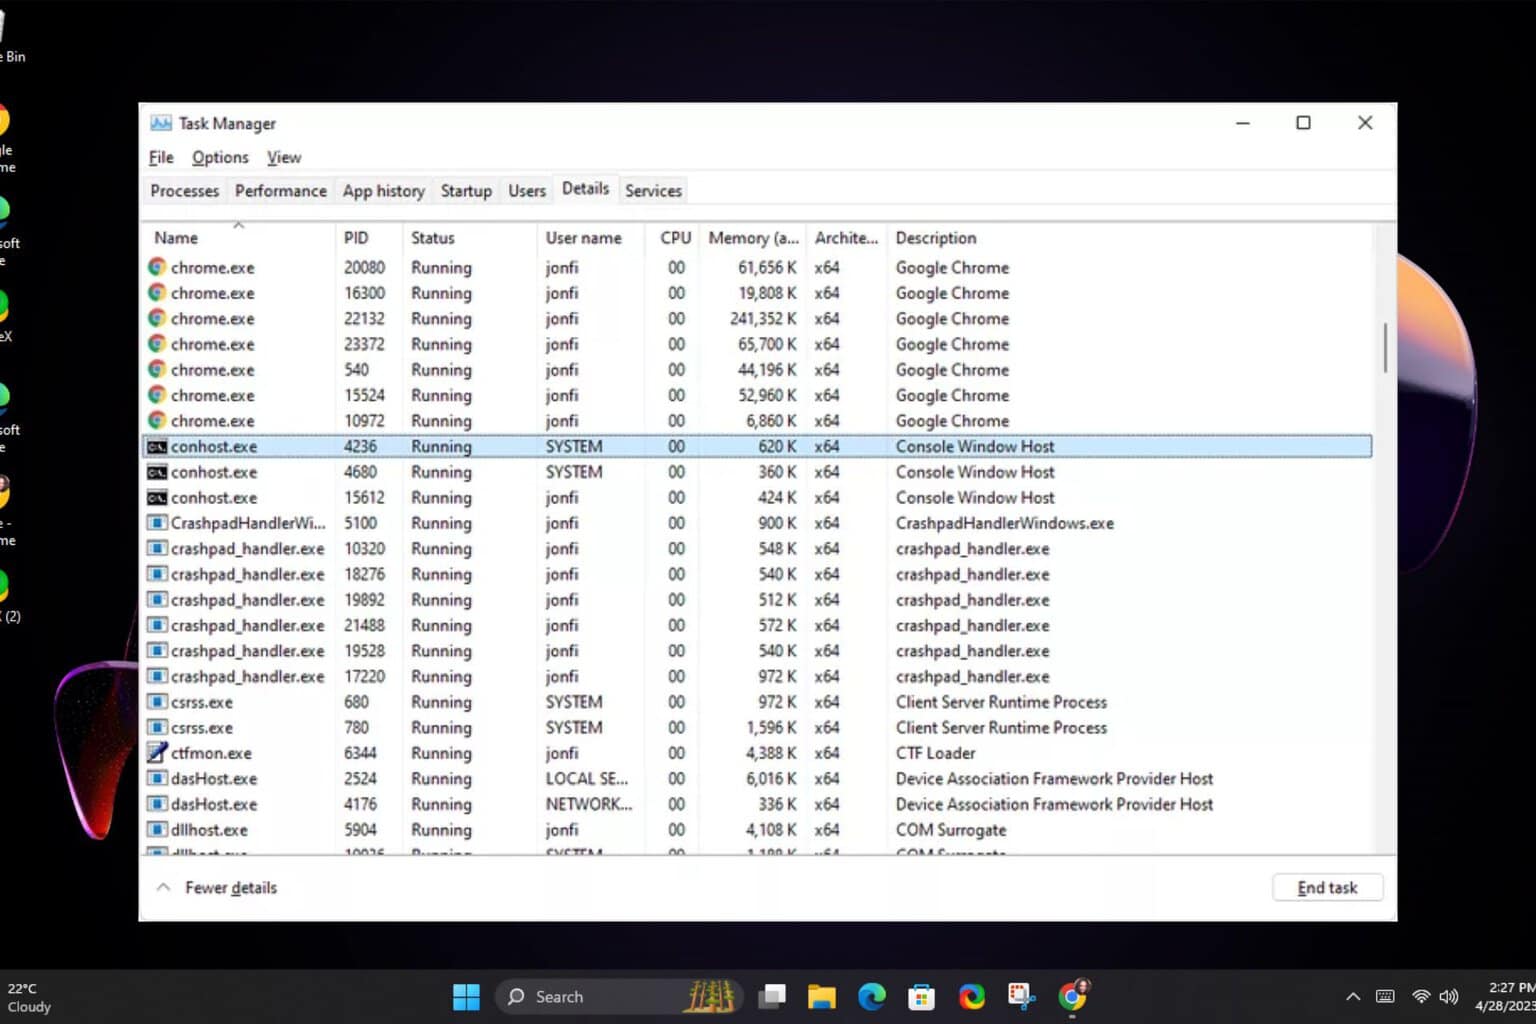
- Go to the Startup tab and click on Open Task Manager.
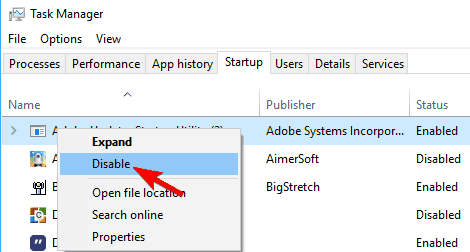
- A list of all startup applications will now appear. Select the first entry on the list, right-click it and choose Disable from the menu. Repeat this step for all entries on the list.
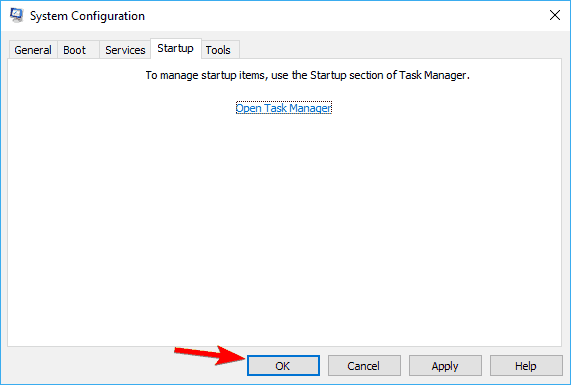
- After you’re done, close Task Manager, go back to System Configuration window and click on Apply and OK to save changes.
- Reboot the Windows 10 device and see if it boots normally.
If the System Restore did not work for you, try doing a clean boot of the system by following the steps above. If your Windows 10 loads up, then one of the apps you disabled is causing your system to crash.
To find the problematic application, you need to enable apps one by one until you find the cause of the problem. After doing that, you just need to remove the problematic application, and the issue should be resolved.
If you want to know how to add or remove startup apps on Windows 10, check out this simple guide.
Can’t open Task Manager? Don’t worry, we’ve got the right solution for you.
4. Disconnect other devices from your PC
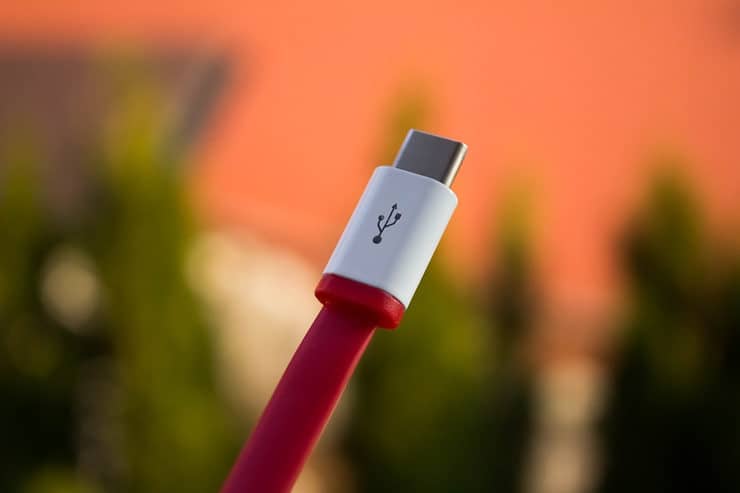
If your Windows still won’t turn on, that can be due to your USB devices. Several users reported this problem, but after disconnecting all their USB devices from the PC, the computer booted without any problems.
In addition to USB devices, the problem can also be your network adapter, so we advise you to disconnect the Ethernet cable from your PC and check if that solves the issue.
5. Check your hard drive configuration in BIOS
If your Windows doesn’t boot, the problem might be related to your hard drive configuration in BIOS. Few users reported that their SATA Controller mode switched from AHCI to IDE causing this problem to occur.
The solution is relatively simple, and you just have to enter BIOS and set your SATA Controller to AHCI or any other value that you were previously using. After doing that, you just need to save changes and your PC should boot without any problems.
Keep in mind that almost every version of BIOS is different, so in order to see how to access BIOS and how to change SATA Controller, we strongly advise you to check your motherboard manual for detailed instructions.
If your hard drive isn’t showing up in Windows 10, check out this amazing guide to solve the problem.
6. Change your BIOS settings
Several users reported that their Windows won’t start up, and according to them, the issue was their BIOS configuration. Apparently, their BIOS was set not to restart after a power failure.
However, for some unknown reason, their BIOS would interpret any restart as a power failure causing this problem to appear.
To fix the issue, enter BIOS and change the setting that prevents it to start after a power failure. Keep in mind that not every BIOS supports this feature, so be sure to check your motherboard manual to see how to find and disable this feature.
Also, you can write us below in the comments section of the page if you have any other questions regarding this article or tell us if the methods above worked for you or not.






User forum
5 messages