How to Improve your USB Data Transfer in Windows 10
4 min. read
Updated on
Read our disclosure page to find out how can you help Windows Report sustain the editorial team. Read more

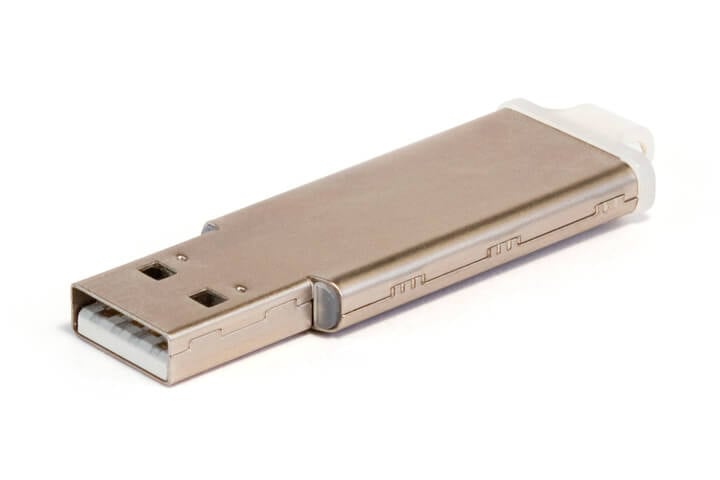
If you carefully read the lines below you will find out how exactly you can improve your data transfer for the USB flash drive using the Windows 10 operating system. Seeing that most of the Windows users have a portable USB drive this tutorial comes in handy when you are a bit out of time and wish to make a quick transfer of your important data.
Also keep in mind that this tutorial is made for the USB 2.0 technology and what specific tweaks you can apply in Windows 10 Technical Preview to speed up the data transfer.
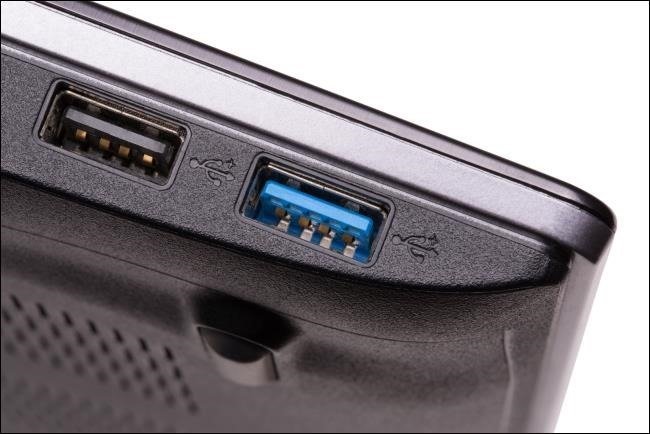
If you wish to have a much better data transfer the USB 3.0 technology will surely be for you but one of the main issues with the USB 3.0 is that not all devices have yet a USB 3.0 port (blue usb connector) therefore they still operate at the USB 2.0 transfer speed.
Check out these best USB-C flash drives for lightning-speed data transmission!
Improving the data transfer for the USB flash drive in Windows 10: what to do?
This is what you have to do in order to improve USB flash drive data transfer:
- Insert your USB 2.0 into the Windows 10 device.
- Open the Windows Explorer window.
Note: Make a backup copy first of all your data you have on the USB flash drive. - Right-click or hold tap on the USB flash partition.
- From the menu that appears left click or tap on the “Format…” feature.
- Now you have the “Format Removable Disk” window in front of you.
- Under the “File System” topic you will have to left click or tap on the drop-down menu and select from there “NTFS”.
- Uncheck the box next to the “Quick Format” feature.
- Left click or tap on the “Start” button to proceed with the formatting.
- After you successfully formatted the USB flash drive right click or hold tap again on the USB flash partition.
- Left click or tap on the “Properties” feature present in the sub-menu you opened.
- Left click or tap on the “Hardware” tab situated in the upper side of the Properties window.
- Now from the Hardware tab left-click or tap on the “Properties” button you have in the lower right side in the window.
- Next, you will have another window that pops up names “Device Properties”
- Left click or tap on the “General” tab situated in the upper side of the window.
- Left click or tap on the “Change Settings” button.
- In the next window left-click or tap on the “Policies” tab situated on the upper side of the window.
- Left click or tap on the “Better Performance” feature to select it.
- Now Left click or tap on the “OK” button to save your changes.
- Close the windows you opened so far and open the “This PC” folder.
- Right-click or hold tap on the USB flash drive partition.
- From the sub-menu select the “Eject” option by left-clicking or tapping on it.
- When the Windows 10 system gives you a pop up that it is safe to remove the USB please remove it from the device.
- Plug the USB flashback into the Windows 10 device.
- Check again the data transfer of your USB flash device to see how much it improved.
USB Enclosures for the fastest data transfer
If you do need fast speed to transfer data, and even after the guide above you are not satisfied, try switch to a USB enclosure. NekTeck is a great enclosure compatible with all major platforms.
Qicent is another great enclosure that you can use in order to transfer data at high speed. For all interested in high transfer speeds, you must know that USB 3.2 was announced and that should improve data transfer speed.
And you are finished; following the steps above will surely improve the data transfer of your USB flash device in Windows 10 but do not expect the USB 2.0 to transform itself into a rocket.
If you want a better data transfer for your USB flash drive you will have to change to the USB 3.0 as stated above.
Looking for the best USB flash drives? Here are the best options.
Also, if you do run into issues along the way in the steps above please do not hesitate to write us in the comments section of the page situated below.
READ ALSO: How to Enable the Legacy Windows 7 Boot Menu Using Windows 10


User forum
0 messages