Fix: Intelligo 100.1.4.1273 Installing Error
Do not hesitate to clear the Windows Update cache
Key notes
- Intelligo 100.1.4.1273 error can occur when the drivers being updated are already installed or are incompatible.
- Clearing the Windows Update cache generally resolves the problem.

Intelligo 100.1.4.1273 installing error is a type of Windows Update error that has the error code 0x80070103. This error code tells the user that the drivers that Windows Update is trying to install are either already installed or incompatible with the system.
The Intelligo 100.1.4.1273 installation issue typically occurs when there’s a problem with the Windows Update cache. In this article, we explain what causes this error and how you can fix it.
What causes Intelligo 100.1.4.1273 error?
Error code 0x80070103 can be caused by:
- Updating a drive alongside a Windows Update: Attempting to perform an existing driver update alongside a Windows update can cause the Intelligo 100.1.4.1273 error.
- Driver update compatibility issues: You might also encounter this error when the driver being installed by Windows Update is incompatible with the existing Windows version installed on your PC.
- The driver is under use: If the system is using the drive while Windows Update tries to update it, you could end up with error code 0x80070103.
- Corrupt system files: Installing updates when system files have become corrupt because of hardware or software failures, viruses, or malware.
How do I fix Intelligo 100.1.4.1273 error?
Before you start working on the fixes explained below:
- Make sure Windows Update isn’t currently running on your computer. If it is, let the update complete.
- Alternatively, you can also stop the update if you want to proceed right away.
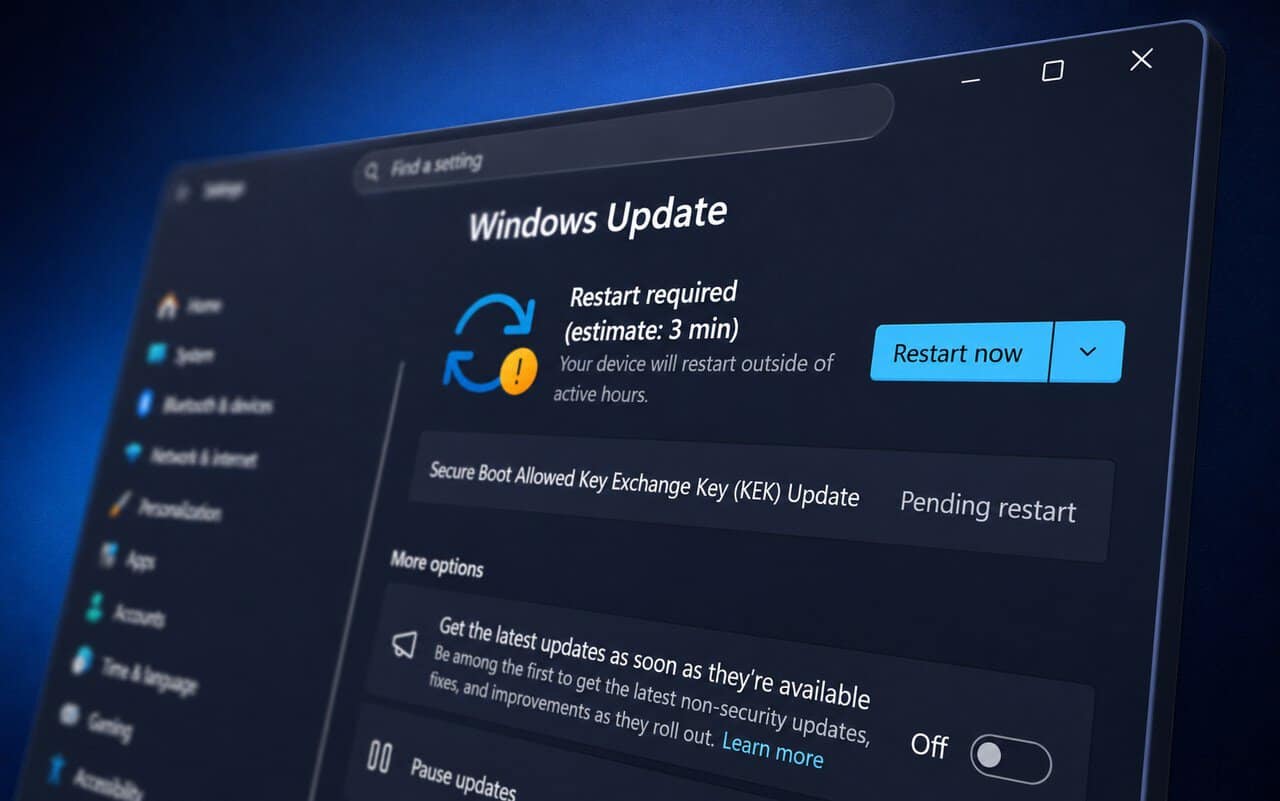
1. Run the Windows Update troubleshooter
- Search for the Settings app from the Start Menu and click Open.

- Click on the System section on the left menu and select the Troubleshoot option.

- Under the Troubleshoot options, click on Other Troubleshooters.

- In the next window, find the Windows Update option and click Run.

Sit back while the troubleshooter scans for issues and resolves them for you. Restart your system once you finish troubleshooting. Now try updating Windows and see if the error is fixed.
In case it didn’t work for you, there is another way to detect Windows update errors using specialized support from a PC repair and optimizer solution.
2. Clear Windows Update cache
2.1 Using Command Prompt
- Run the command prompt as an admin. You can do this by pressing Win + R, typing cmd, and pressing Ctrl + Shift + Enter.
- Execute the following commands (i.e., type them and press Enter) one by one:
net stop wuauserv
net stop cryptSvc
net stop bits
ren C:\Windows\SoftwareDistribution SoftwareDistribution.old
ren C:\Windows\System32\catroot2 Catroot2.old
net start wuauserv
net start cryptSvc
net start bits
netsh winsock reset

- Restart your computer once you’re done.
2.2 Do it manually
- Search for services in the Start Menu and press Enter.

- Manually search for the following services in the list, right-click on them, and select Stop:
- Windows Update
- Cryptographic Services
- Background Intelligent Transfer Service

- Navigate to the following path (assuming Windows is installed on drive C) and rename the folder called SoftwareDistribution to SoftwareDistribution.old:
C:\Windows
- Navigate to the following path and rename the folder called catroot2 to catroot2.old:
C:\Windows\System32
- Restart the services you disabled in step 2 by right-clicking on them and selecting Start.
- Launch an elevated Command Prompt by pressing Win + R, typing cmd, and pressing Ctrl + Shift + Enter.
- Execute the following command:
netsh winsock reset - Reboot your PC.
Performing either of these methods will clear the Windows Update cache and get things up and running.
3. Perform a Clean Boot
- Press Win + R.
- Type in msconfig and press Enter.

- Go to the General tab and click on the Selective Startup option. Make sure to check the Load system services checkbox and uncheck the Load startup items entry.

- Next, go to the Services tab and check the box on the bottom left that says Hide all Microsoft services. Click on the Disable all button.

- Go to the Startup tab and click on Open Task Manager.

- In the Task Manager, select each enabled startup app and click Disable on the top right.

- Close the Task Manager window and click Apply > OK.
- Restart your system.
Clean boot is where you start your computer with the minimum required drivers. All the startup programs are disabled to determine if any of those are causing issues with your installation process.
After performing a clean boot, if the Intelligo 100.1.4.1273 installing error is resolved, re-enable the Microsoft services and the start-up apps from System Configuration.
When you’re done, see if your error has been resolved. In most cases, the Intelligo 100.1.4.1273 installation error is easy to resolve. In fact, most common Windows Update errors are easy to fix.
Were you able to solve the error as well? Let us know in the comments below.
Read our disclosure page to find out how can you help Windows Report sustain the editorial team. Read more


Improve this guide


User forum
0 messages