How to Manage Optional Features on Windows 11
Mastering optional features to work for you
![]() 6 min. read
6 min. read
![]() Published on
Published on
Share this article
Improve this guide
Read our disclosure page to find out how can you help Windows Report sustain the editorial team. Read more

Windows 11 comes with features that everyone else uses then there are optional features for those looking for a little more thrill and want to go the extra mile in customization.
When it comes to managing optional features on your Windows 11, this means you can turn them on, tailor them to your preferences and remove them when you no longer need them.
Windows 11 is already a resource hog so the ability to choose which features you can turn on or off makes sense to avoid clutter.
How do I manage optional features on Windows 11?
1. Access optional features
1.1 By using the Settings app
- Press the Windows key and click on Settings.
- Type optional features in the search bar and click on the matching result.

- Alternatively, once you open Settings, click on System then select Optional features on the right.


1.2 By using the Run command
- Press the Windows + R keys to open the Run command.
- In the Run dialog box that opened, type optionalfeatures, then click OK.


1.3 By using the Control Panel
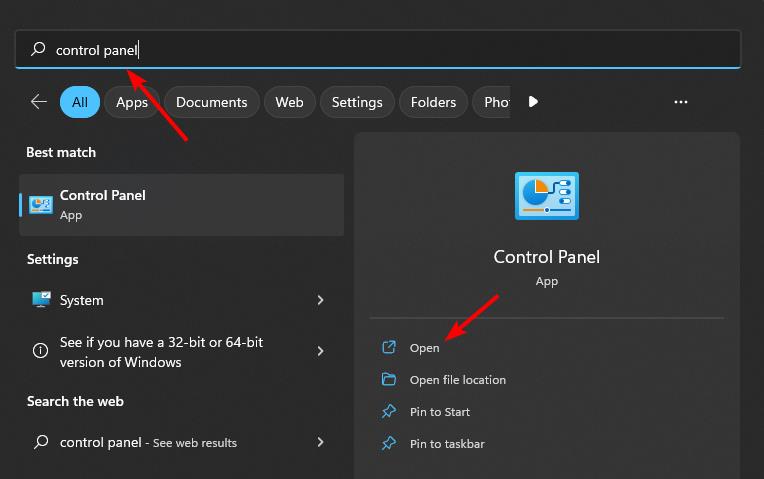
- Press the Windows key, type Control Panel in the search bar and click Open.

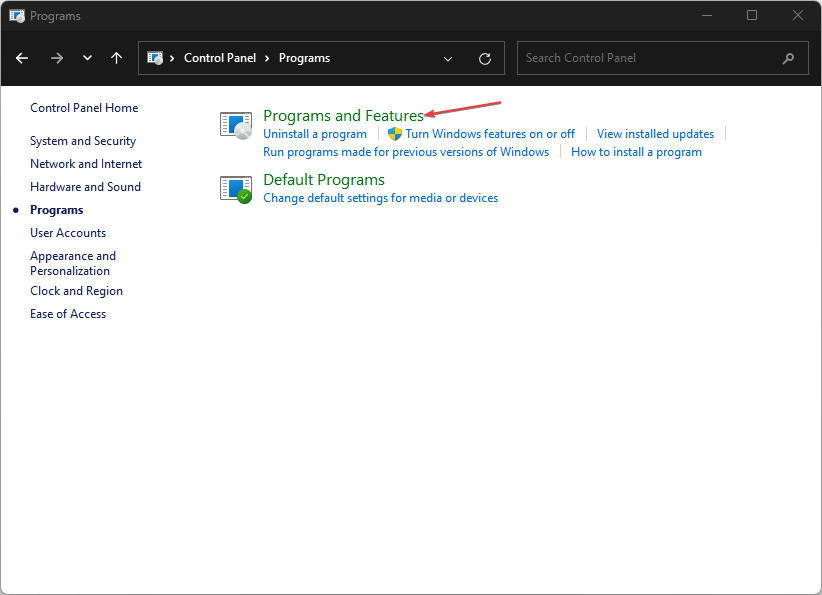
- Click on Programs > Programs and Features.

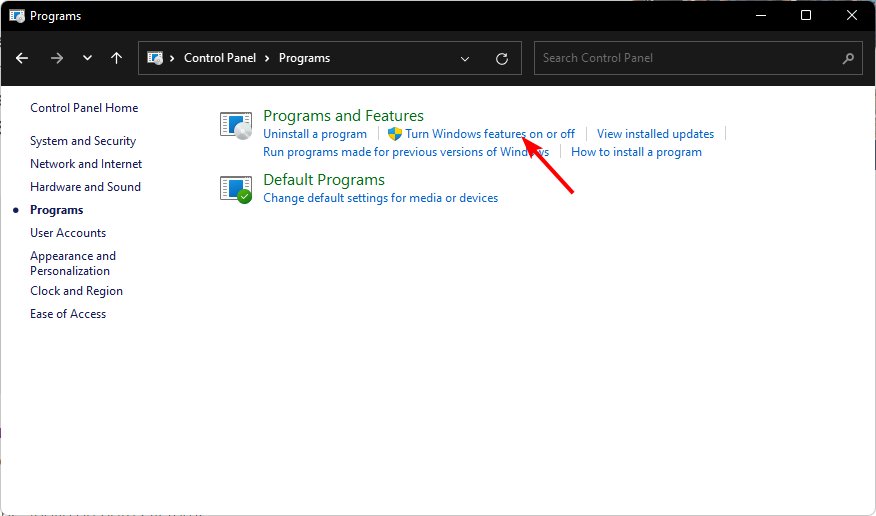
- Select Turn Windows features on or off.

2. Add optional features
2.1 By using the Settings app
- Press the Windows key and click on Settings.
- Type optional features in the search bar and click on the matching result.
- Alternatively, once you open Settings, click on System then select Optional features on the right.
- Click on View features.
- Next, place a checkmark on the box to your right next to the feature you’d like to add and hit Next.
- Now click on Add.
- Wait for the feature to complete installation. This may take some time depending on the size of the feature. Once it’s done, check whether it’s working. If not, restart your PC.


2.2 By using the Control Panel
- Press the Windows key, type Control Panel in the search bar and click Open.
- Click on Programs > Programs and Features.
- Select Turn Windows features on or off.
- The Turn Windows features on or off window will open and you can place a checkmark on the box next to the feature you wish to add then hit OK.


2.3 By using Windows Powershell
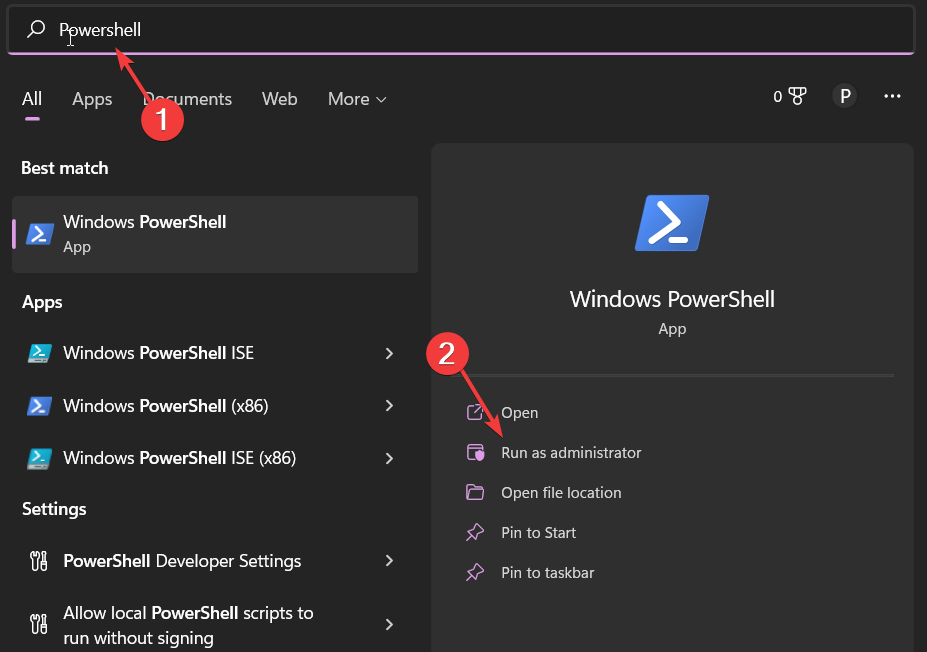
- Press the Windows key, type Windows Powershell in the search bar and click Run as administrator.

- Type and Enter the following command. Remember to replace FeatureName with the exact name of the optional feature you wish to add:
Enable-WindowsOptionalFeature -FeatureName "FeatureName"
In all these adding optional features on your Windows 11, sometimes, the optional features may be empty. If so, we know how to get them back.
Keep in mind that some optional features may also be missing because of the Windows version you are on. Windows 1 Pro tends to have more than Windows 11 Home so if RSAT is missing in optional features, this might be the reason.
3. Remove optional features
3.1 By using Settings
- Press the Windows key and click on Settings.
- Type optional features in the search bar and click on the matching result.
- Alternatively, once you open Settings, click on System then select Optional features on the right.
- Click on View features.
- Scroll down and locate the feature you wish to remove.
- Click on the downward arrow and hit Remove.
- If it’s not in the list, scroll down and select More Windows features.

- The Turn Windows features on or off window will open and you can remove the checkmark on the box next to the feature you wish to remove then hit OK.


3.2 By using the Control Panel
- Press the Windows key, type Control Panel in the search bar and click Open.
- Click on Programs > Programs and Features.
- Select Turn Windows features on or off.
- The Turn Windows features on or off window will open and you can remove the checkmark on the box next to the feature you wish to remove then hit OK.
Unfortunately, Windows PowerShell doesn’t have a command that disables specific optional features.
4. Hide and unhide optional features
4.1 Hide optional features
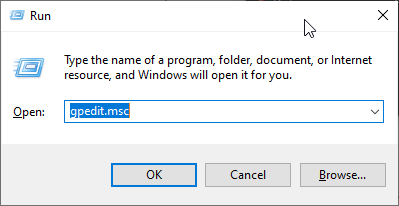
- Launch the Run utility, type gpedit.msc in the Run box, and press Enter.
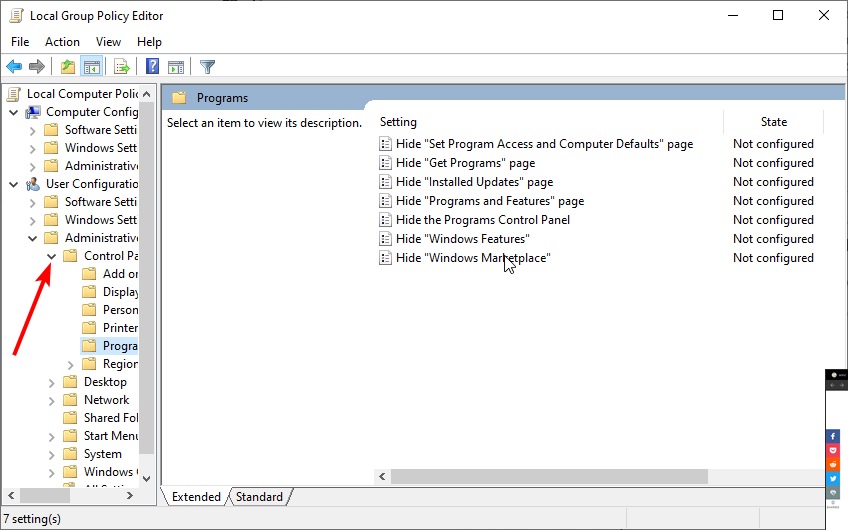
- Select User configuration on the left pane, followed by Administrative Template.

- Choose the Control Panel option.

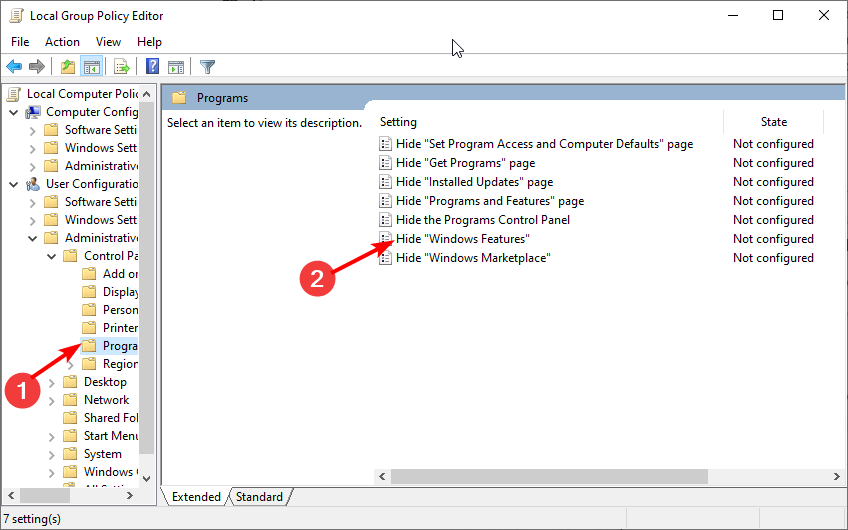
- Now, select Programs.
- Double-click on the Hide “Windows Features” option.
- Tick the radio button for Enabled.
- Finally, click Apply followed by OK. Now when you go to Settings or the Control Panel, the optional features will be missing.

You can also hide the Apps feature in your Settings app and the Program and Features option in Control Panel by:
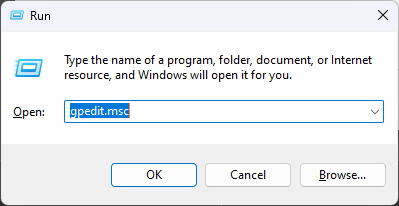
- Hit the Windows + R keys to open the Run command.
- Type gpedit.msc in the dialog box then hit Enter to open the Group Policy Editor.
- Navigate to the following location:
User Configuration/Administrative Templates/Control Panel/Programs - Find the Hide “Programs and Features” page option, right-click on it, and select Edit.

- A new window will open. Check the Enabled option and click Apply and OK to save the changes.

- To revert the changes, simply check the Not configured box, then click Apply and OK to save the changes.


4.2 Unhide optional features
- Launch the Run utility, type gpedit.msc in the Run box, and press Enter.
- Select User configuration on the left pane, followed by Administrative Template.
- Choose the Control Panel option.
- Now, select Programs.
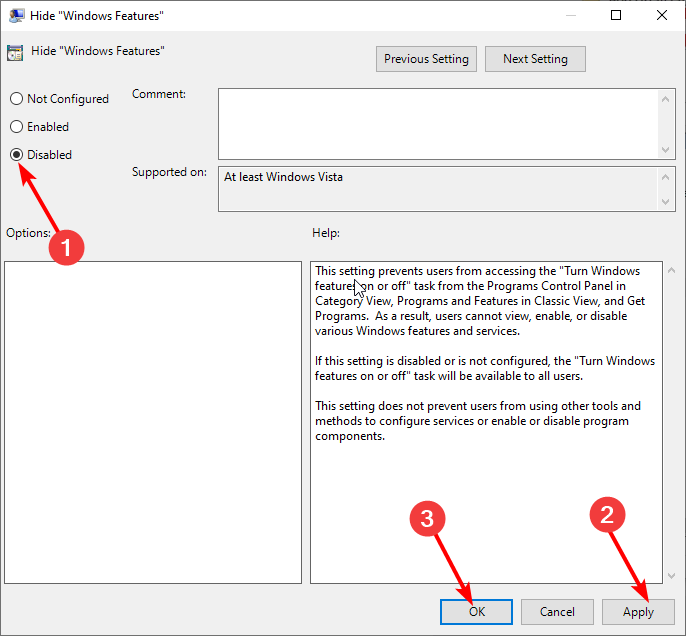
- Double-click on the Hide “Windows Features” option.
- Tick the radio button for Disabled.
- Finally, click Apply followed by OK.
Additional tips and considerations
While optional features enhance your experience, it’s also important to limit the number you add because too many expose your system to security vulnerabilities. They can also add bloatware to your system and make it slow.
Now that you have control of your optional features, it’s time to get to know them a little bit more. To kickstart your journey and ensure you’re getting the most out of your Windows 11, we have compiled some of the best optional features that we think will elevate your Windows experience.
Finally, we’d love to know what optional features you’ve enabled and why. Are there any you’ve had to remove? Let us know in the comment section below.


User forum
0 messages