How to Transfer Files from One OneDrive Account to Another
Transferring files between OneDrive accounts couldn't be any easier
Key notes
- However feature-rich it may be, OneDrive lacks the option to facilitate data transfer between accounts.
- The article below will show eight methods to move files from one OneDrive account to another.
- Read below to find out the detailed methods.

Cloud storage services are extremely popular nowadays. These services allow users to store personal data safely and securely without relying on local storage, and they require only a small subscription fee and Internet access.
Since the market is so profitable, there are many cloud storage providers out there, one of them being OneDrive from Microsoft.
However, there may be times when you need to move files from a OneDrive account to another, which isn’t as easy as it sounds. This article will show you how to move files from one OneDrive account to another quickly.
How do I transfer files from one OneDrive to another?
Before proceeding with any steps for copying files from a OneDrive account to another OneDrive account, ensure you have the credentials for both accounts, verify if you have a stable internet connection, make sure you log in using a user account with admin privileges, and ensure you have enough space on your PC or connect an external drive to sync the data.
1. Manually transfer OneDrive files to another account
1. Sign in to both OneDrive accounts. You can log on from the same PC and the same browser, as long as you connect with both accounts using different tabs.
2. Create a folder for each OneDrive account using a unique name to store the downloaded data.
3. Use the flow template to alter the folder’s name in the first account, as well as the name of the folder in the second account.

4. Save the flow template.
5. Test the folders by copying data between them to see if it gets transferred properly or not.
6. Select the files you want to migrate to the second account.
7. The files can then be automatically transferred to the second account’s folder.
If you’re wondering how to move files from one drive to another in Windows 10, you can do this yourself, without any third-party apps. What you need to do is manually download and upload the files.
The method described above is the only way to manually transfer files from one OneDrive account to another.
While the procedure isn’t hard at all, it is very time-consuming. And this is where a reliable third-party tool comes to your aid.
2. Using the Sync files feature
- Download and install the OneDrive app.

- Enter your Microsoft account email address and click Sign in.

- On the This is your OneDrive folder page, you can see the folder’s location on your disk; click Change location if you want to alter the location. Once done, click Next.

- On the Sync your OneDrive files to this PC page, place a checkmark next to Sync all files and folders in OneDrive- On MSFT, click Next. It will create a folder under its name on your computer.
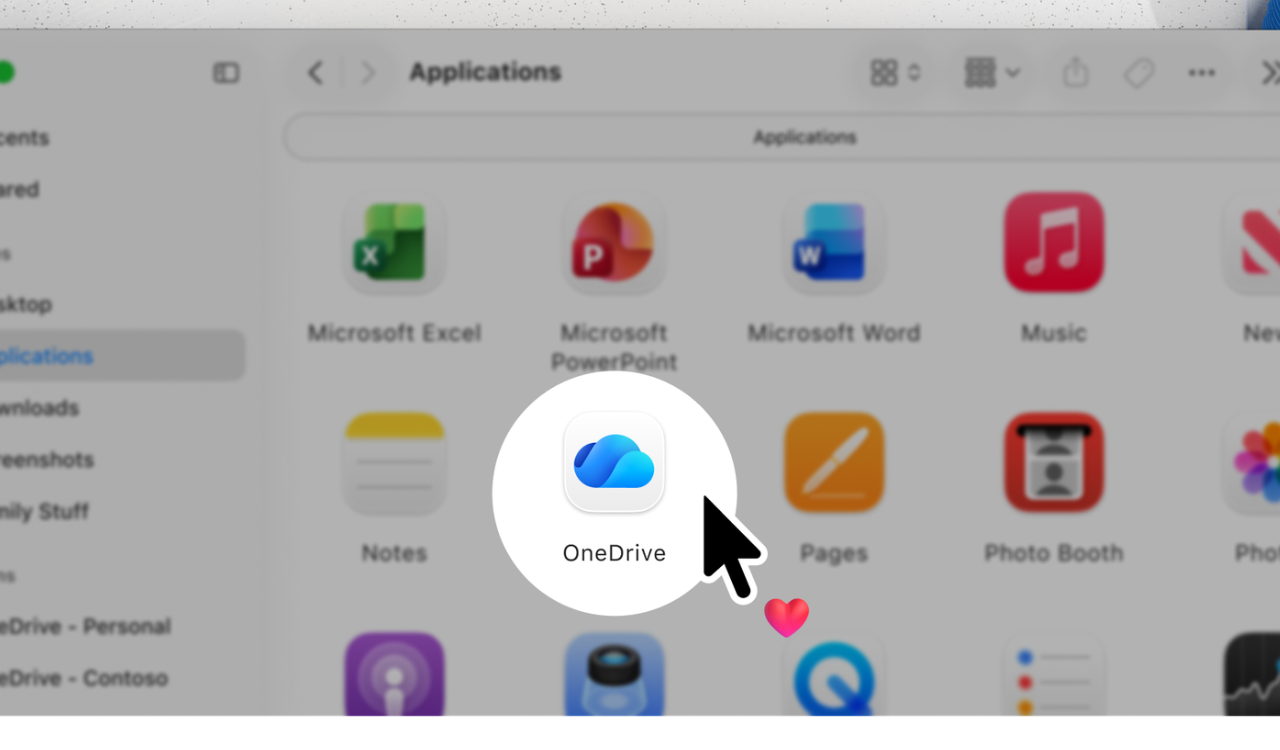
- To add another OneDrive account, click the OneDrive icon on the taskbar, then the Settings icon, and click the Settings option.

- Click Add an account, enter the details to sign in, and add the account using the above-mentioned steps.

- Now you have two OneDrive folders on your PC; select the files and drag them from the first account, then drop them to the second account.
One of the most important things to remember while migrating the files manually via the Sync feature is that you can’t sync two personal accounts on a single device.
If you are facing issues while syncing your files from your OneDrive account to the local account on your device, it could be due to insufficient space; to learn more about it, read this guide.
3. Using the Share feature on OneDrive
- Sign in to your OneDrive account, select the files you want to copy, and click Share.

- Choose Anyone with the link can edit or People you specify can edit, then enter the Email address of the second OneDrive account and Message if you want to add. Once done, click Send.

- You will receive an email on the second account about the shared folder; click it to open and download the files.
4. Using the Power Automate App (Works on Personal & Business accounts)
- Go to the Power Automate website and locate This flow will connect to, then click Sign in next to OneDrive.
- Enter your credentials to log in to your Microsoft account for the first OneDrive account.
- Next, click the three dots icon and select Add a new connection. Now, sign in using the second OneDrive account credentials.

- Once done, you will see both accounts on the page, then click Continue to proceed.

- Click on the Folder icon to select the source folder from the OneDrive account.

- For the Create file header, click the Folder icon, select the destination folder, and then click Save.

- Click the My Flows option from the left pane; you will see the list of flows and the new one you created.

- Try uploading one file from your first OneDrive and check if it is synced to your second account. If it appears, that means the connection is established successfully. You can also click the Cloud flow to see the history.

If you want to transfer everything from one account to another, choose Root for both OneDrive accounts. However, if you don’t want that, you must select the files you want to copy.
Also, you can only transfer data from one personal account to another or one business account to another, so check the accounts before proceeding.
5. Use third-party migration tools to move OneDrive files to another account

We live in a time where time and efficiency are everything, and using manual methods in some cases is simply ineffective, so third-party migration tools become your best alternative.
Some automated migration tools support the complete transfer of user settings, documents, data, and third-party applications with minimal effort on the user’s end.
One such tool is Laplink PCmover, which provides a simple setup that allows Windows users to migrate all files they want from one PC to another.
This automated file migration software has three main transfer options: Network transfer, USB cable transfer, or Ethernet cable transfer.
Additionally, for more specific options, users can create transfer files for removable media and create profile migrations to move their user settings and preferences.
It is very easy to use, with intuitive on-screen prompts for each transfer step. You have to start the process and let the program finish up. Once the process is complete, all applications and data will be ready.
Laplink PCmover
Quickly transfer everything you choose and benefit from enhanced speed rates and 24/7 professional assistance.<br>The File Based Transfer is the easiest way to move OneDrive files to another account with the Laplink PCmover application. Here’s how you can do that:
- Go to the Laplink PC mover website.
- Pick a license package suitable for you.
- Download the Laplink PCmover application.
- Install it and log in to the app.
- Click Advanced Options.

- Now select the File Based Transfer option and click Next.

- Select Customize Transfer File, locate your OneDrive files and click Next.

- After it finishes calculating, click Create Transfer File.
Wait for the process to complete. Now you will have to open the transfer files with the same Laplink credentials and add them to your new OneDrive account. Just like that, your files will be moved to your new OneDrive account seamlessly.
6. Using as script (Business account)
 NOTE
NOTE
- Press the Windows key, type powershell, and click Run as administrator.

- Type the following command to install the MSOnline module, and hit Enter:
Install-Module MSOnline - Copy & paste the following command to install the SharePointPnPPowerShellOnline module and press Enter:
Install-Module SharePointPnPPowerShellOnline
- Close the PowerShell window, visit the SharePoint Online Management Shell website, and click Download.

- Once downloaded, run the installer, accept the license terms, and click Install to get it on the device.

- Press the Windows key, type powershell ise, and click Run as administrator.

- Now, to transfer the files from one OneDrive account to another, copy and paste the below-mentioned script after replacing three things at the start of the script, press Enter to execute:
- The email address of the user who is leaving – Enter the email address of the first OneDrive account.
- The email address of the destination user – Enter the email address of the second OneDrive account.
- The username of the Global Admin account
departingUserEmail = Read-Host "Enter the email address of the user who is leaving"
$destinationUserEmail = Read-Host "Enter the email address of the destination user"
$adminUsername = Read-Host "Enter the username of the Global Admin account"

$adminCredentials = Get-Credential -Credential $adminUsername
Connect-MsolService -Credential $adminCredentials

$initialDomain = Get-MsolDomain | Where-Object {$_.IsInitial -eq $true}
$sharePointAdminURL = "https://$($initialDomain.Name.Split(".")[0])-admin.sharepoint.com"

$departingUserUnderscore = $departingUserEmail -replace "[^a-zA-Z]", "_"
$destinationUserUnderscore = $destinationUserEmail -replace "[^a-zA-Z]", "_"

$departingOneDriveSite = "https://$($initialDomain.Name.Split(".")[0])-my.sharepoint.com/personal/$departingUserUnderscore"
$destinationOneDriveSite = "https://$($initialDomain.Name.Split(".")[0])-my.sharepoint.com/personal/$destinationUserUnderscore"
Write-Host "`nEstablishing connection to SharePoint Online" -ForegroundColor Blue
Connect-SPOService -Url $sharePointAdminURL -Credential $adminCredentials

Write-Host "`nGranting administrative access to $adminUsername on both OneDrive site collections" -ForegroundColor Blue
Set-SPOUser -Site $departingOneDriveSite -LoginName $adminUsername -IsSiteCollectionAdmin $true
Set-SPOUser -Site $destinationOneDriveSite -LoginName $adminUsername -IsSiteCollectionAdmin $true

Write-Host "`nConnecting to $departingUserEmail's OneDrive using SharePoint Online PNP module" -ForegroundColor Blue
Connect-PnPOnline -Url $departingOneDriveSite -Credentials $adminCredentials

Write-Host "`nRetrieving display name of $departingUserEmail" -ForegroundColor Blue
$departingUser = Get-PnPSiteCollectionAdmin | Where-Object {$_.loginname -match $departingUserEmail}

if ($departingUser -contains $null) {
    $departingUser = @{
        Title = "Departing User"
	}
}

$departingOneDrivePath = "/personal/$departingUserUnderscore/Documents"
$destinationOneDrivePath = "/personal/$destinationUserUnderscore/Documents/$($departingUser.Title)'s Files"
$destinationOneDriveSiteRelativePath = "Documents/$($departingUser.Title)'s Files"

Write-Host "`nFetching all items from $($departingUser.Title)" -ForegroundColor Blue
$items = Get-PnPListItem -List Documents -PageSize 1000

$largeItems = $items | Where-Object {[long]$_.fieldvalues.SMTotalFileStreamSize -ge 261095424 -and $_.FileSystemObjectType -contains "File"}
if ($largeItems) {
    $largeExport = @()
    foreach ($item in $largeItems) {
        $largeExport += "$(Get-Date) - Size: $([math]::Round(($item.FieldValues.SMTotalFileStreamSize / 1MB),2)) MB Path: $($item.FieldValues.FileRef)"
        Write-Host "File size exceeds limit: $($item.FieldValues.FileRef)" -ForegroundColor DarkYellow
	}
    $largeExport | Out-file C:\LargeFiles.txt -Append
    Write-Host "A list of files exceeding the size limit from $($departingUser.Title) has been exported to C:\LargeFiles.txt" -ForegroundColor Yellow
}
$rightSizeItems = $items | Where-Object {[long]$_.fieldvalues.SMTotalFileStreamSize -lt 261095424 -or $_.FileSystemObjectType -contains "Folder"}

Write-Host "`nConnecting to $destinationUserEmail's OneDrive using SharePoint PNP PowerShell module" -ForegroundColor Blue
Connect-PnPOnline -Url $destinationOneDriveSite -Credentials $adminCredentials

Write-Host "`nFiltering items by folders" -ForegroundColor Blue
$folders = $rightSizeItems | Where-Object {$_.FileSystemObjectType -contains "Folder"}

Write-Host "`nCreating directory structure" -ForegroundColor Blue
foreach ($folder in $folders) {
	$path = ('{0}{1}' -f $destinationOneDriveSiteRelativePath, $folder.fieldvalues.FileRef).Replace($departingOneDrivePath, '')
	Write-Host "Creating folder in $path" -ForegroundColor Green
	$newFolder = Ensure-PnPFolder -SiteRelativePath $path
}

Write-Host "`nCopying files" -ForegroundColor Blue
$files = $rightSizeItems | Where-Object {$_.FileSystemObjectType -contains "File"}
$fileErrors = ""
foreach ($file in $files) {
	$destPath = ("$destinationOneDrivePath$($file.fieldvalues.FileDirRef)").Replace($departingOneDrivePath, "")
	Write-Host "Copying $($file.fieldvalues.FileLeafRef) to $destPath" -ForegroundColor Green
	$newFile = Copy-PnPFile -SourceUrl $file.fieldvalues.FileRef -TargetUrl $destPath -OverwriteIfAlreadyExists -Force -ErrorVariable errors -ErrorAction SilentlyContinue
	$fileErrors += $errors
}
$fileErrors | Out-File C:\fileErrors.txt

Write-Host "`nRevoking administrative access for $adminUsername on OneDrive site collections" -ForegroundColor Blue
Set-SPOUser -Site $departingOneDriveSite -LoginName $adminUsername -IsSiteCollectionAdmin $false
Set-SPOUser -Site $destinationOneDriveSite -LoginName $adminUsername -IsSiteCollectionAdmin $false

Write-Host "`nProcess completed!" -ForegroundColor Green
Don’t move files larger than 250 MB, as in that case, it might not complete the process. If there are files larger than that, the script process may take some time, and you can export a list of them at C:\Temp\largefiles.txt
7. Using the Exchange Admin Center (Business account)
- Log in to Exchange Admin Center and click Users.
- You will get the list of users and select the user from which you want to copy.

- Select the OneDrive tab and click the Create link to files option.

- You will get the link to OneDrive’s location; click the link to access the list of files.

- Click Download from the top menu.
- The selected files will be downloaded in a zip file; right-click and select Extract all to save them.
- Now, on the admin center, locate and click the OneDrive account to which you want to copy the files option, go to OneDrive, then click Create a link to view and edit OneDrive files.
- Click Upload, then select the files and click Upload.
8. Using the OneDrive Sync Client (Business account)
- Log into the Exchange Admin Center.
- Select the user account from which you want to copy files, and click OneDrive.
- Under Get access to files, click the Create link to files option. You will see the link, then click it to get all the content on the drive.
- Click the user account under Quick Access to access the files for the account.
- Click the Sync option, and all the files of OneDrive will be downloaded to the OneDrive local account.

- On the Open Microsoft OneDrive? popup message, select Always allow COMPANYNAME-my.sharepoint.com to open links of this type in the associated app and click Open Microsoft OneDrive.

- Click Close.
The process may take some time, depending on the files’ size; follow the steps to copy these files to the target account:
- Go to the Admin center and locate the user to which account you want to transfer.
- Click Add new at the top, and select Folder.

- Go to the newly created folder and click Sync.

- Press Windows + E to open File Explorer, and you will see the new folder. Now go to the files you downloaded from the first OneDrive account, press Ctrl + A to select and Ctrl + C to copy them.

- Go to the new folder and click Ctrl + V.

Once the files are synced to the cloud, you will see a green circle with a checkmark of the same color and can see the files you copied. Once you have the files, you can remove the sync. Follow these steps to do so:
- Click the OneDrive client icon from the system tray.
- Click the Setting icon, then select Settings.
- You will get the accounts synced in the list. Select Stop Sync next to both accounts.

This won’t delete the files from your computer, but the files will not sync in the future.
How can I automatically copy files from someone else’s OneDrive to yours?
You can use any of the methods to copy files from someone else’s OneDrive, provided you have access to their account.
If you are an administrator in an organization and have access to the Exchange admin center, you can use Method 6 & 7 to perform the steps.
Remember to copy or move files in small batches to avoid mishaps. If you shared the files via this old cloud service account, you need to share them again after you move them.
Moving the files from one OneDrive account to another is not tricky, and you can easily retain the files. However, you will lose the metadata details like Modified by and Modified Date.
You can synchronize files in SharePoint Online libraries with OneDrive for Business across devices; read this guide to learn more about the process.
And for a comprehensive OneDrive cheat sheet, check out our helpful guide.
If you have any questions or suggestions about the subject, please mention them in the comments section below.
Read our disclosure page to find out how can you help Windows Report sustain the editorial team. Read more


Improve this guide


User forum
0 messages