What is Ngen.exe & How to Fix Its High CPU Usage?
Allocating more CPU resources to a process can improve performance
![]() 5 min. read
5 min. read
![]() Updated on
Updated on
Share this article

Improve this guide
Read our disclosure page to find out how can you help Windows Report sustain the editorial team Read more
Key notes
- When it comes to high CPU usage issues, there are multiple reasons why a process might be causing your computer to slow down.
- For instance, the ngen.exe process uses high CPU because it requires a lot of resources.
- To mitigate this issue, you can allocate more CPU resources to the process and limit other non-critical processes.
When determining the number of processes you should be running on your PC, how powerful your CPU is is a key component. If you have an old processor, you should limit the number of processes to avoid performance degradation.
Ngen.exe is one of the processes that has been found to consume a lot of system resources, but the real question is: Is it a critical process that should be running? Find out here how to fix its high CPU consumption.
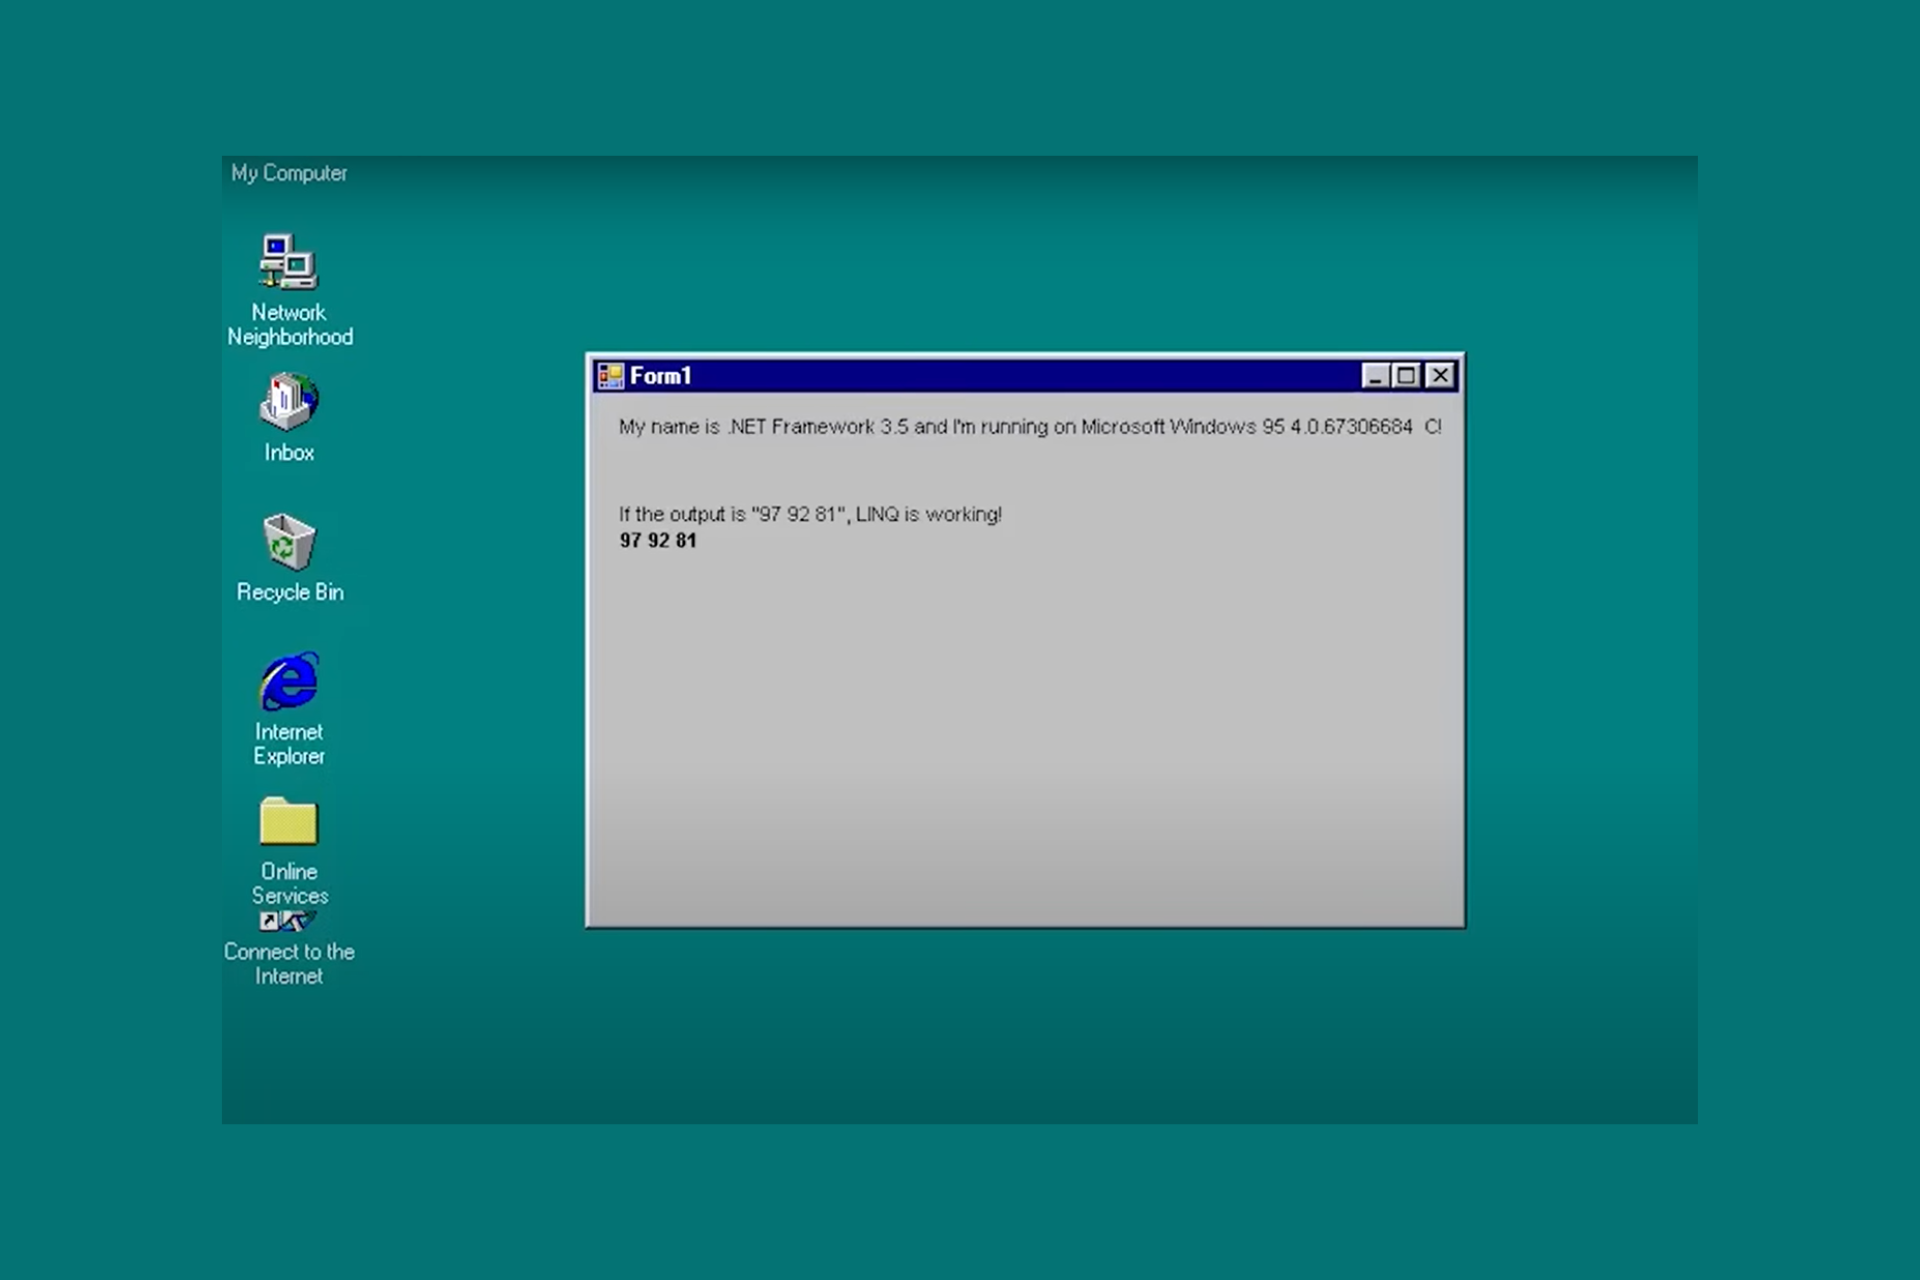
What is a native image .NET?
The .NET Framework is popular among developers as it helps build apps for Windows. Native images are a feature of the .NET Framework. The purpose of a native image is to optimize the deployment and execution of your application.
That’s where Windows ngen.exe comes in. It is particularly important in creating .NET applications because it allows you to create executable images that contain only your native code and machine-specific libraries.
This makes them smaller and faster than traditional managed executables, which include the entire framework on top of which they are built.
In less technical jargon, this means that when you run these applications, the startup time will be significantly reduced. The applications’ performance will also receive a major boost.
Another win for your system will be a reduced memory footprint. You’ll notice that when you free up memory on your PC, you can run apps more efficiently, and their response time improves.
With all these benefits lined up, it can be hard to imagine that the ngen.exe can cause problems for your PC. Well, it does.
Unfortunately, creating a native image takes much longer than creating a regular .NET assembly. This is because it takes additional time to compile the source code into instructions for native code execution.
The situation gets worse when you have a large data set. The native image optimization process will take a toll on your system resources; your CPU is almost always the victim.
A snippet from a user on the Microsft community platform reveals it’s a huge system resource hog.
NGEN.EXE keeps running on my system and hogging system resources.
Luckily, we have a few tricks up our sleeves to help you mitigate this issue, as you shall see below.
How can I fix ngen.exe high CPU usage?
A few preliminary steps to perform before any advanced troubleshooting include:
- Disable any unnecessary background processes and apps.
- Uninstall unused .NET applications.
- Ensure your system is up-to-date.
1. Update .NET Framework
The .NET Framework is the backbone of most applications on Windows. Being an integral part of developing apps, updating it to the latest version ensures you have the latest security features and any new improvements.
You’ll also get access to any new APIs that make it easier to develop your app and resolve compatibility issues with your operating system.
Microsoft regularly releases updates, so you can check its website to check if there’s a newer version than the one you’re currently using and download it.
2. Allocate more CPU to the process
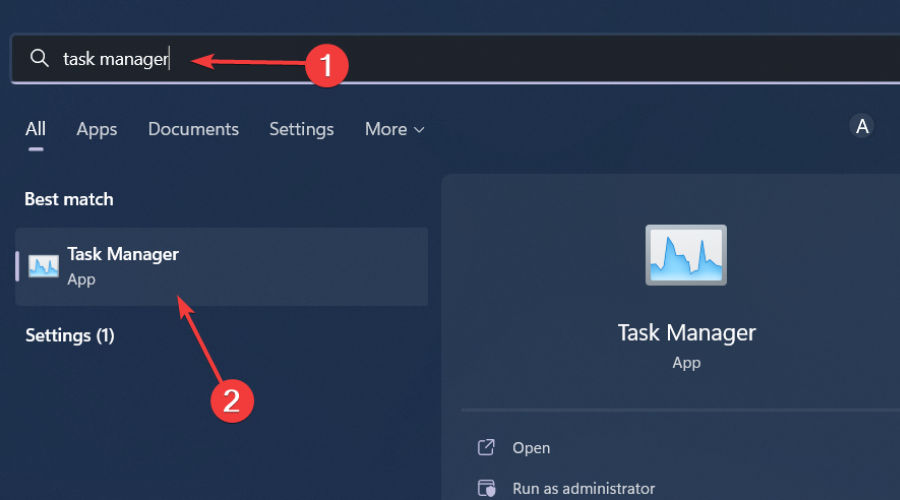
- Hit the Windows key, type Task Manager in the search bar, and click Open.

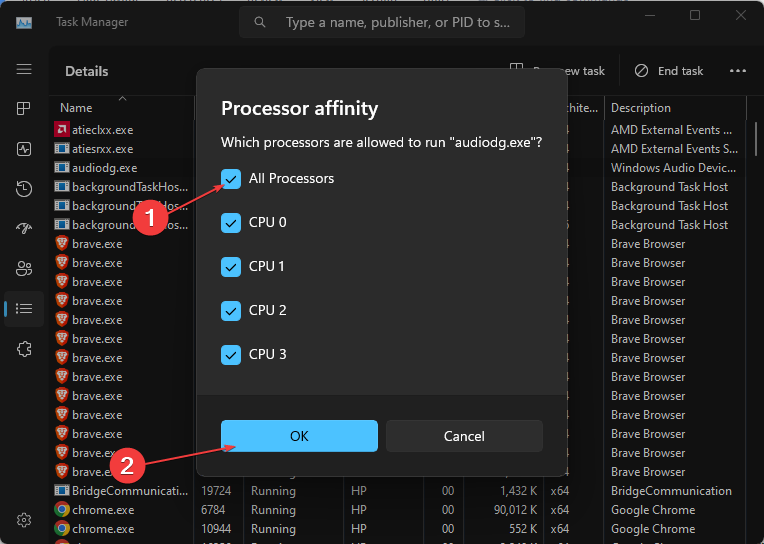
- Navigate to the Details tab and right-click on the program you wish to allocate more CPU. (In this case, ngen.exe). Next, click on the Set Affinity option from the pop-up menu.
- Next, select the cores you want to assign to this process from the options listed as CPU 0, CPU 1, CPU 2, and CPU 3 (for quad-core chipsets).

- Click on OK to apply the changes.
You can also limit the CPU usage of other non-essential processes if you want to optimize your system’s performance.
3. Scan for viruses
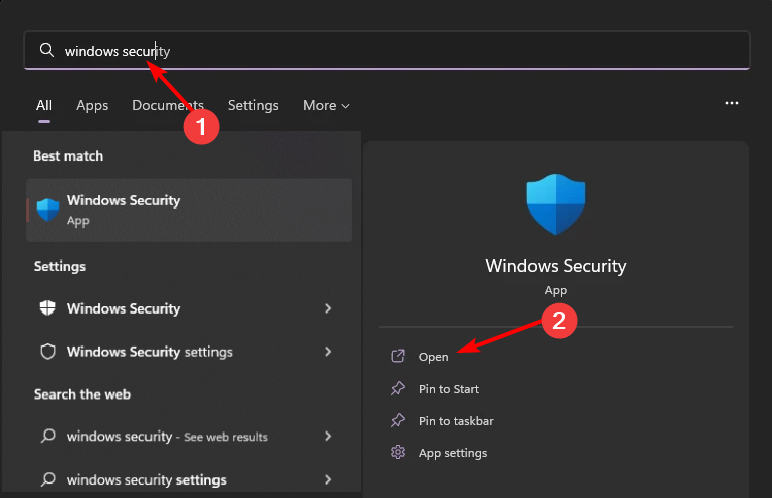
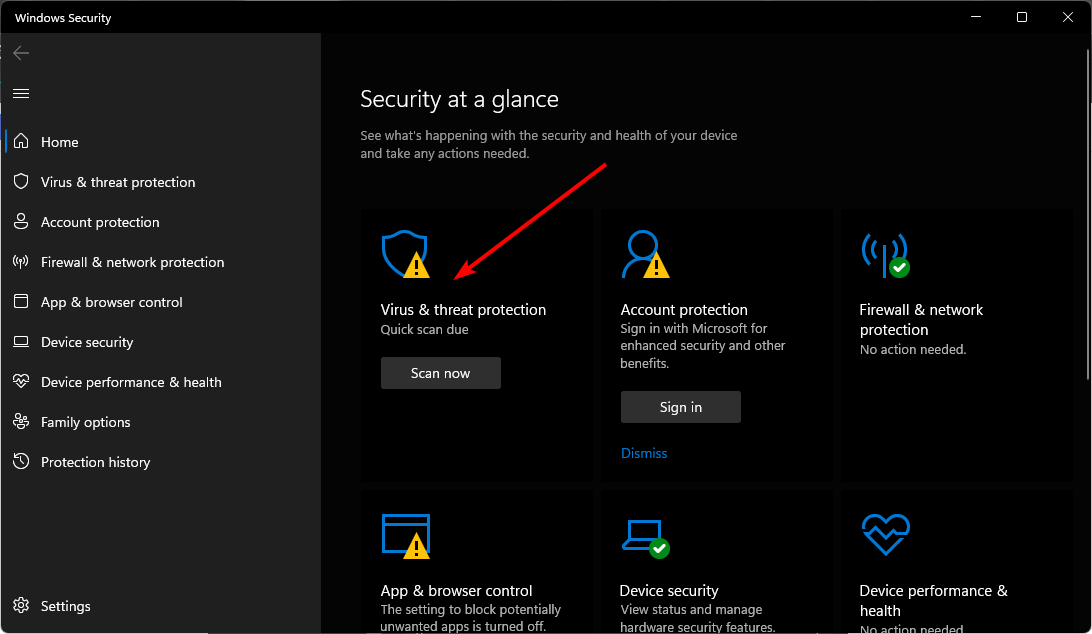
- Press the Windows key, search Windows Security, and click Open.

- Select Virus & threat protection.

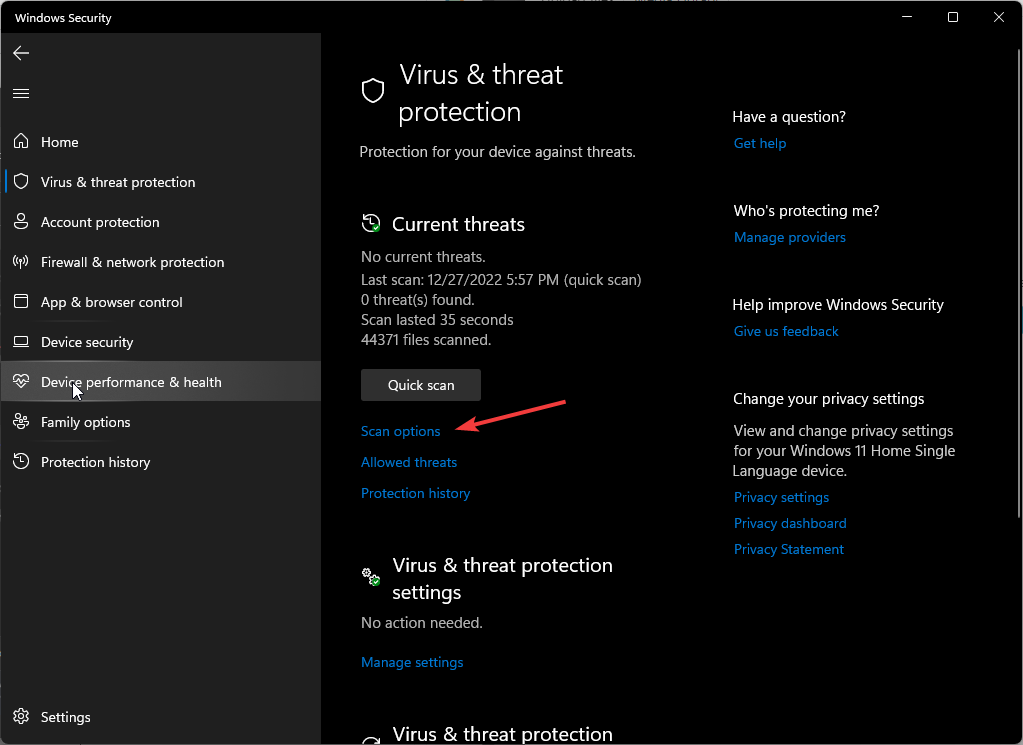
- Next, press Quick scan under Current threats.

- If you don’t find any threats, proceed to perform a full scan by clicking on Scan options just below Quick scan.

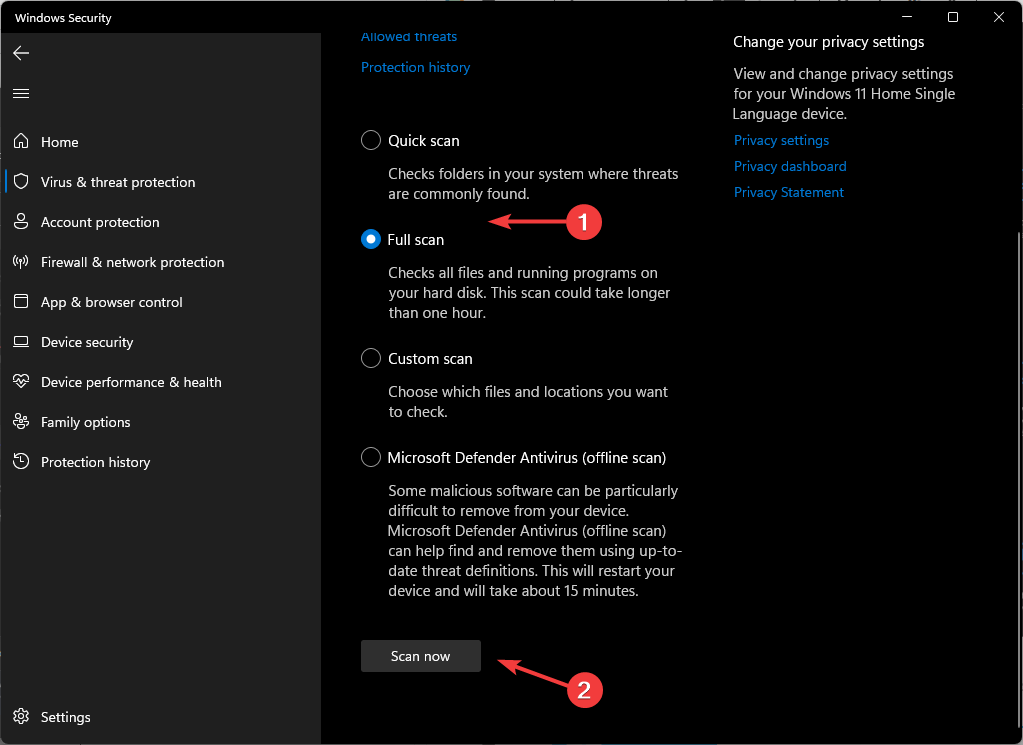
- Click on Full scan, then Scan now to perform a deep scan of your PC.
- Wait for the process to finish and restart your system.

In the absence of a comprehensive antivirus, malware can find its way to your PC. A similar file masquerading as the ngen.exe file may be behind the high CPU usage. That’s why it is important to run a virus scan, especially to use an antivirus solution because of its high detection rate and powerful deletion of all types of cyber threats.
⇒ Check the Best Antivirus Software
4. Disable .NET tasks
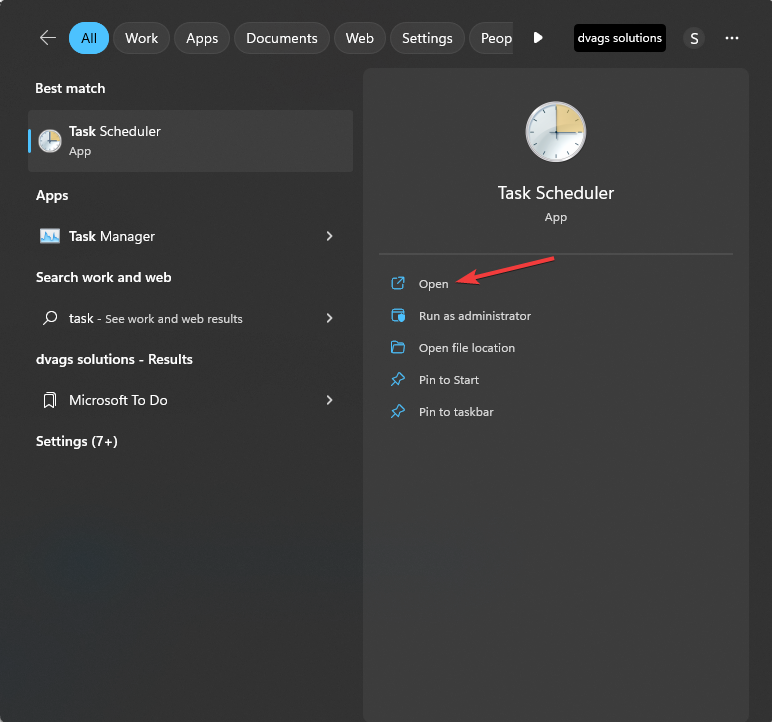
- Hit the Windows key, type Task Scheduler in the search bar, and click Open.

- Navigate to the following location:
Task Scheduler Library/Microsoft/Windows/.NET Framework - Locate all tasks labeled .NET Framework NGEN, right-click on them, and select Disable/Delete.

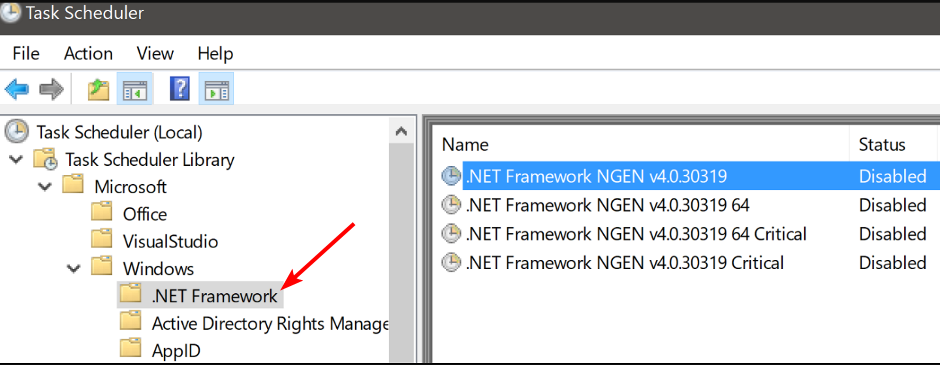
Ensure you’re not using the .NET Framework; otherwise, disabling these tasks could cause application problems.
To sum up, the ngen.exe process is safe and part of the Microsoft .NET framework. It helps speed up the application setup process, which means that you don’t have to wait too long before being able to use an application.
If your PC experiences high CPU usage when the ngen.exe process runs, the above fixes are sufficient to solve the issue.
However, they are in no way exhaustive, so if you have any other that we have not mentioned, let us know in the comment section below.