NTVDM.exe: What is it & How to Fix its Errors
Get rid of the process with out expert solutions!
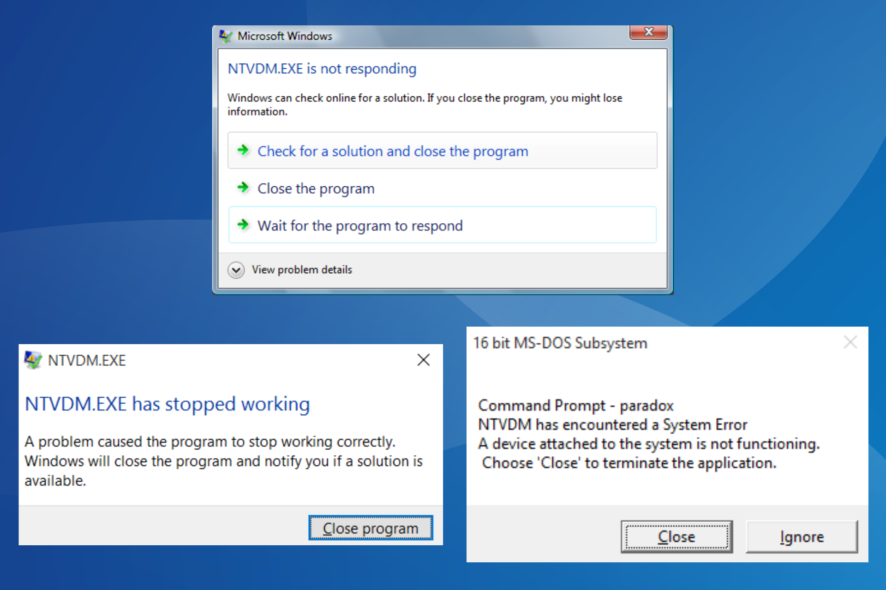
Several readers have been running into issues with NTVDM. While some get an error message at startup, others face problems while running an application.
If you have installed Windows 11, which doesn’t offer a 32-bit edition or another 64-bit iteration of Windows, the component would be missing, and the NTVDM.exe error will be frequently encountered.
Also, Microsoft has confirmed that NTVDM, an older technology, does not receive the same support anymore and encourages users to switch to 32-bit or 62-bit versions of the application relying on it. Besides, given the security risk, Microsoft recommends against using NTVDM in enterprise environments.
How do I fix NTVDM.exe errors?
1. Enable NTVDM
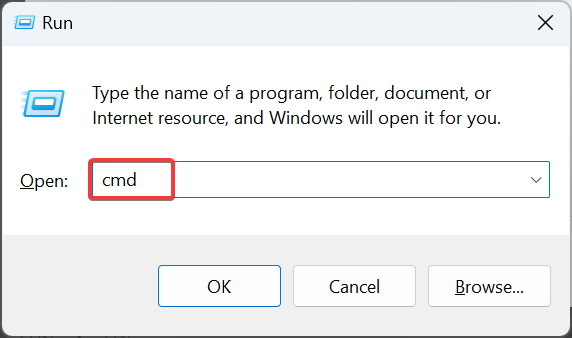
- Press Windows + R to open Run, type cmd, and hit Ctrl + Shift + Enter.
- Click Yes in the UAC prompt.
- Now, paste the following command and hit Enter:
DISM /online /enable-feature /all /featurename:NTVDM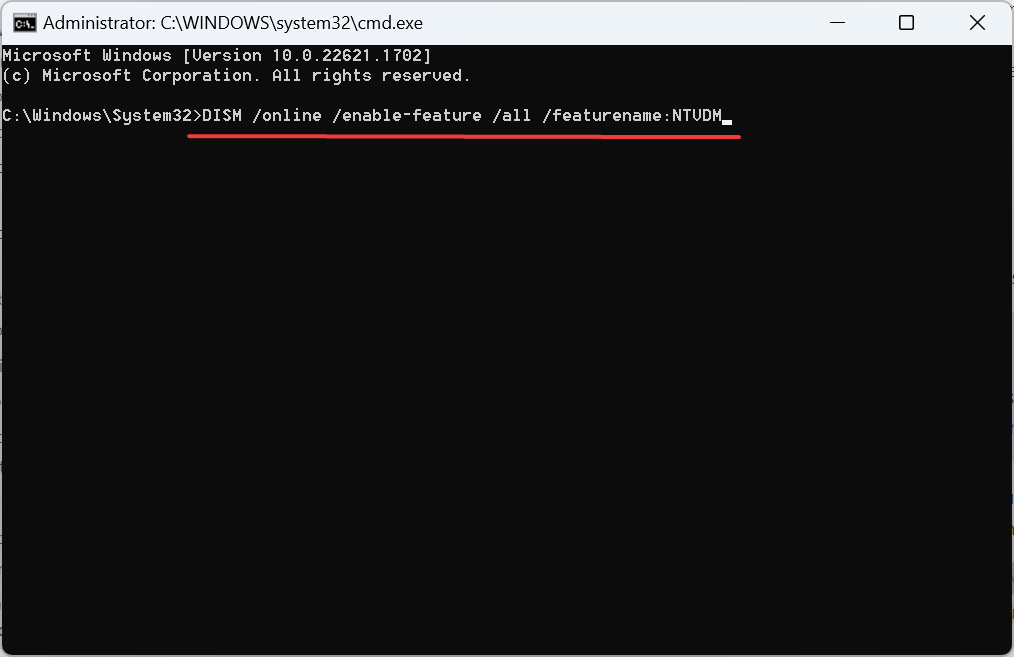
- Once done, restart the computer and check whether the error has disappeared.
Often, all that’s required is for you to enable the feature to get rid of NTVDM errors.
2. Install NTVDM
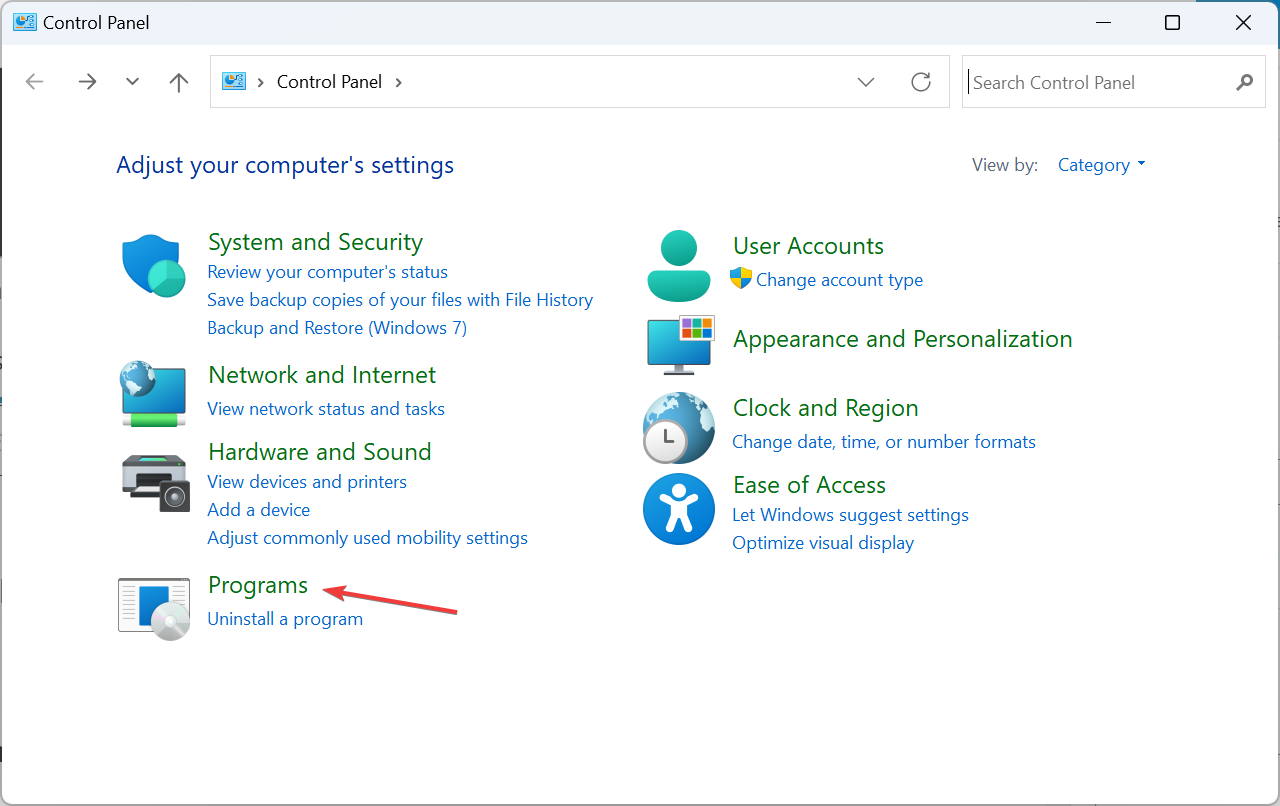
- Open Control Panel, and click on Programs.
- Now, click on Turn Windows features on or off.

- Expand Legacy Components, tick the checkbox for NTVDM, and click OK to install the component.
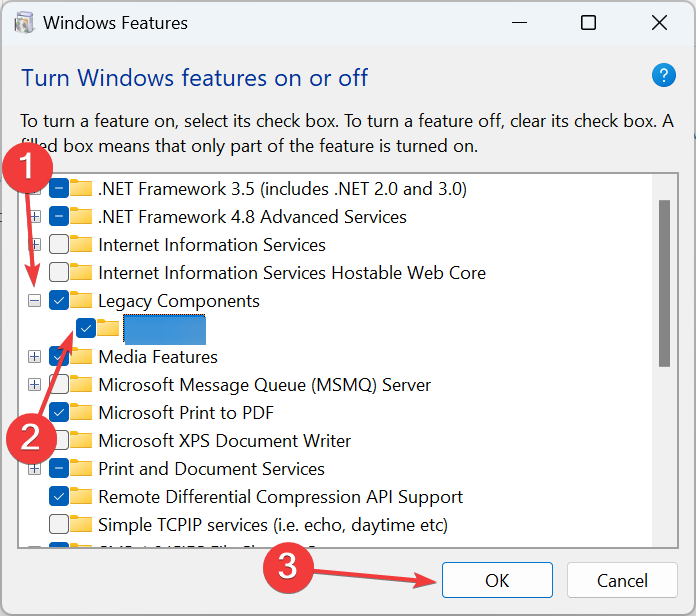
- Restart the computer for the changes to come into effect.
If you just installed Windows and are facing the error, a quick solution is to download NTVDM.exe via the built-in Windows Features option.
3. Delete the relevant files
- Boot your PC into Safe Mode.
- Press Windows + E to open File Explorer, and navigate the following path:
C:\Windows - Locate winhlp.exe and winhlp32.exe files, select them, and then hit Delete.
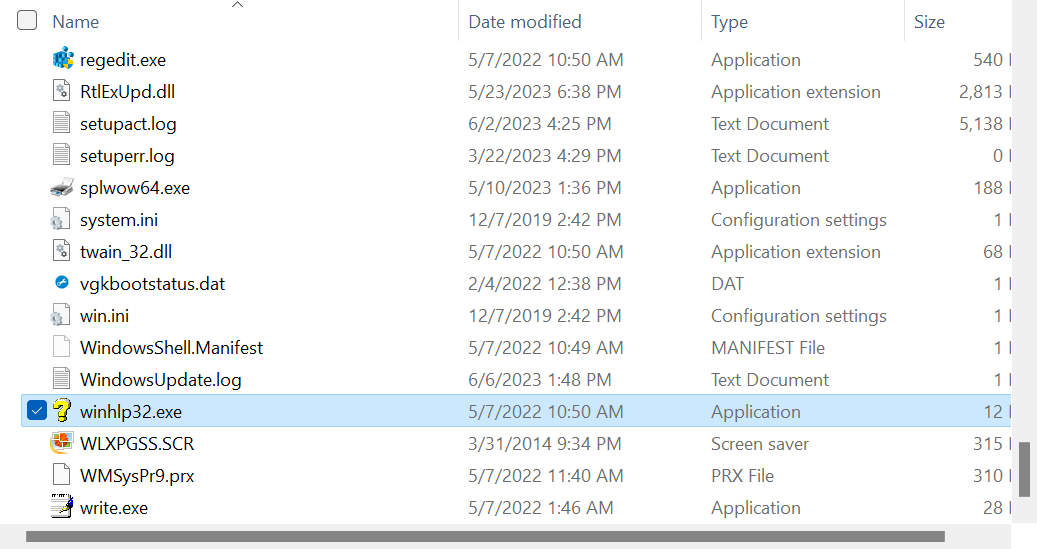
- Choose the appropriate response in case a confirmation prompt appears.
For some users facing NTVDM.exe high CPU consumption and not using any application that relied on the component, deleting the relevant files did the trick. So try doing that as well.
4. Run the app in compatibility mode
- Right-click on the app throwing the error, and select Properties from the context menu.
- Navigate to the Compatibility tab, tick the Run this program in compatibility mode for checkbox, and select an older iteration of Windows from the dropdown menu.
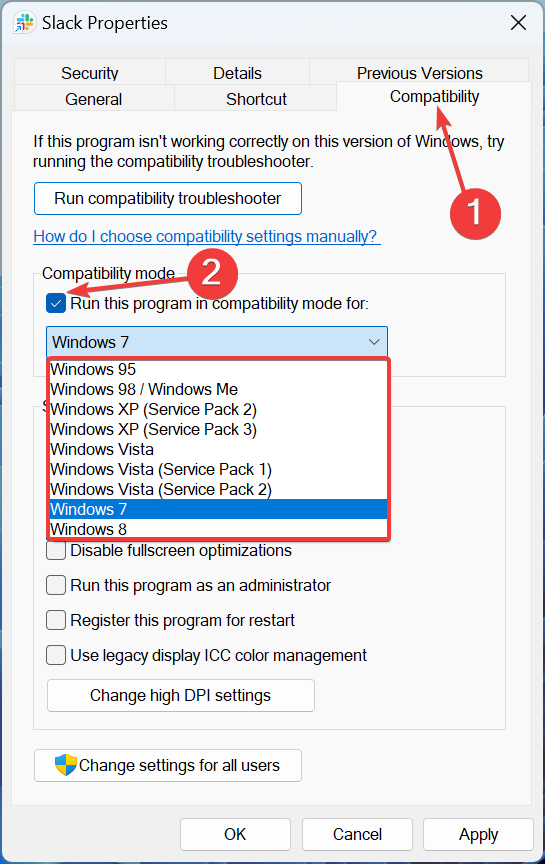
- Once done, click on Apply and OK to save the changes.
- If the error persists, choose another iteration in compatibility mode. This basically is a hit-and-trial thing.
In the case of some apps, running in compatibility mode fixed things when users kept getting the NTVDM.exe has stopped working error. Here, the app is run in an environment similar to what it was developed for, thus eliminating any errors.
5. Remove the problematic app
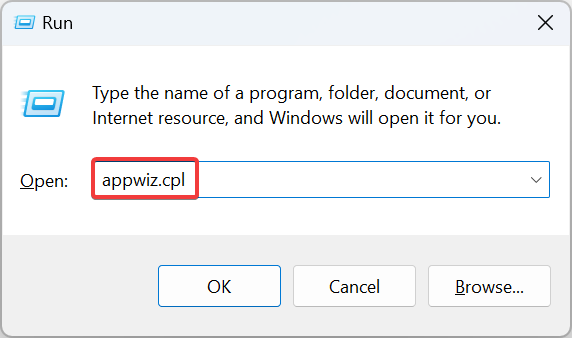
- Press Windows + R to open Run, type appwiz.cpl in the text field, and hit Enter.
- Select the program throwing the error, and click Uninstall.
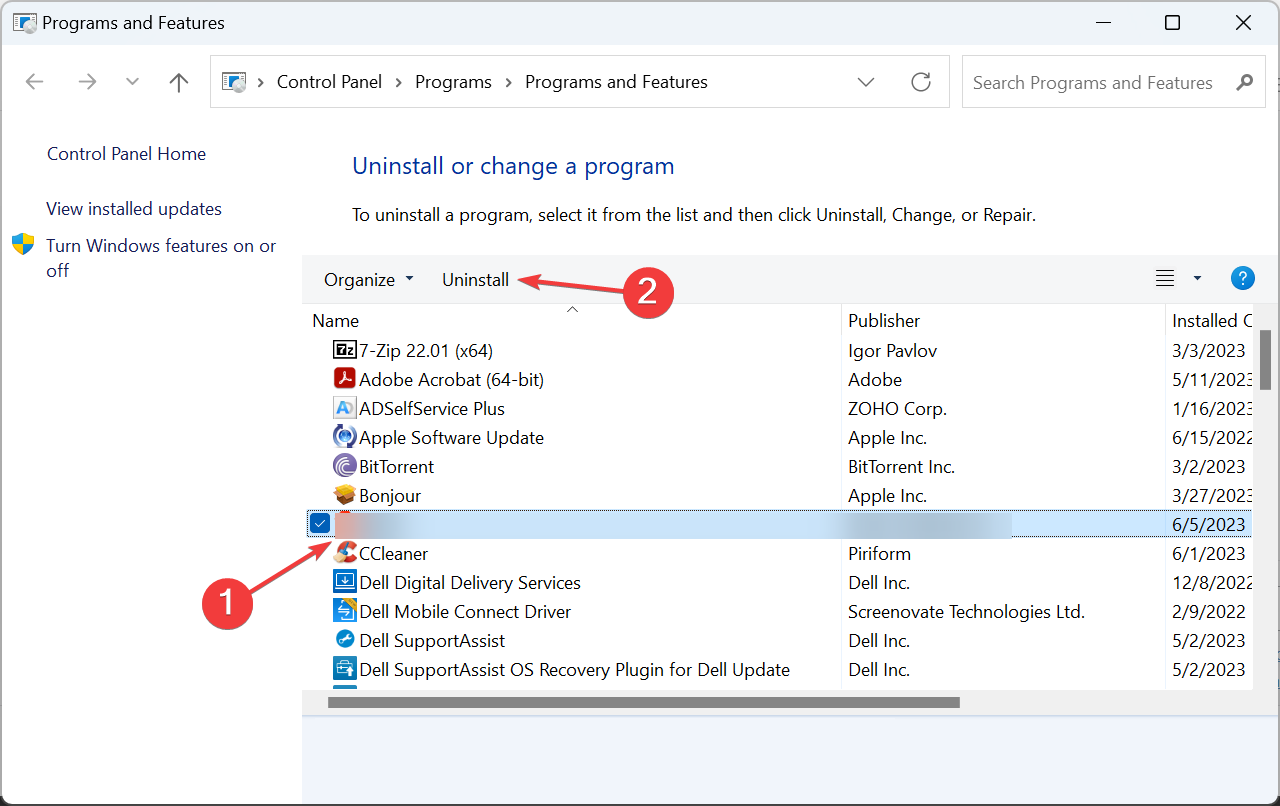
- Follow the on-screen instructions to complete the uninstallation process.
In case only a specific program requires NTVDM.exe, you should uninstall it since the component is now under maintenance mode and not development mode in recent iterations of Windows.
Also, for a few users, simply uninstalling the program didn’t work, and they had to clear the leftover files and registry entries. For that, we recommend you use a reliable uninstaller tool.
6. Uninstall recent Windows updates
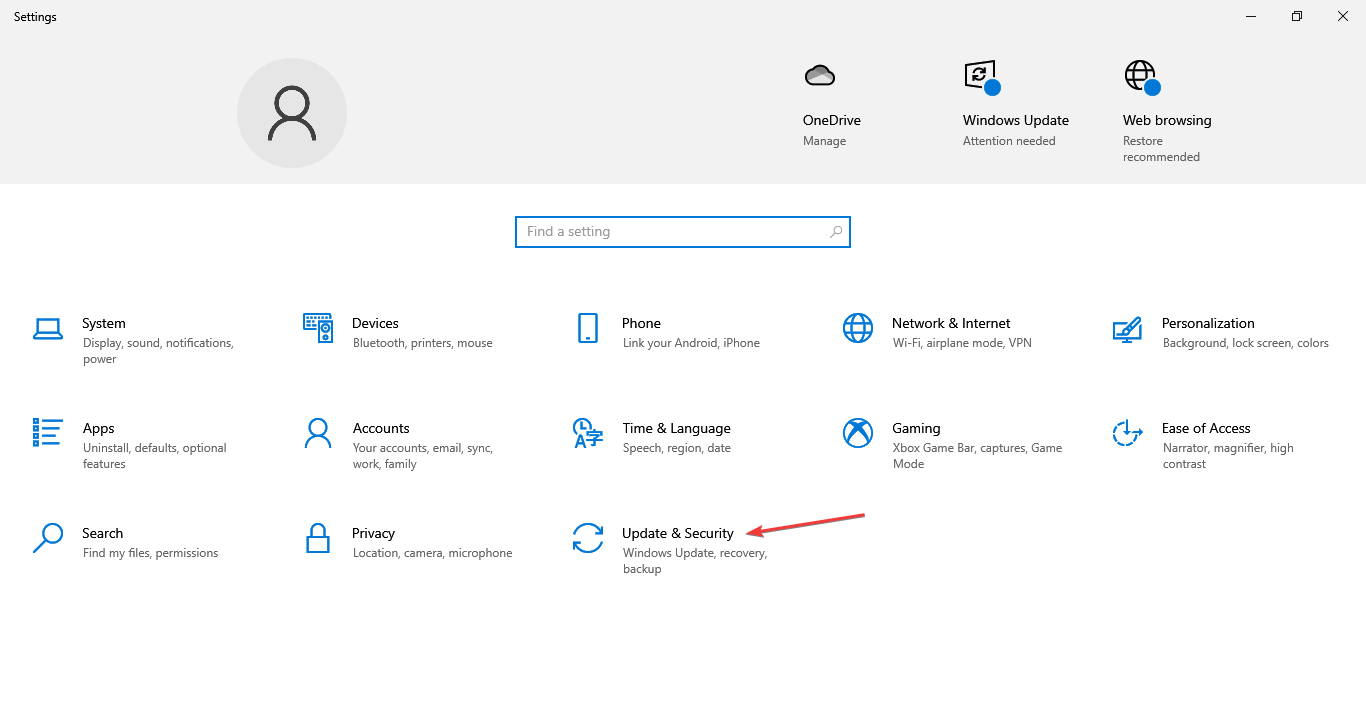
- Press Windows + I to open Settings, and click on Update & Security.
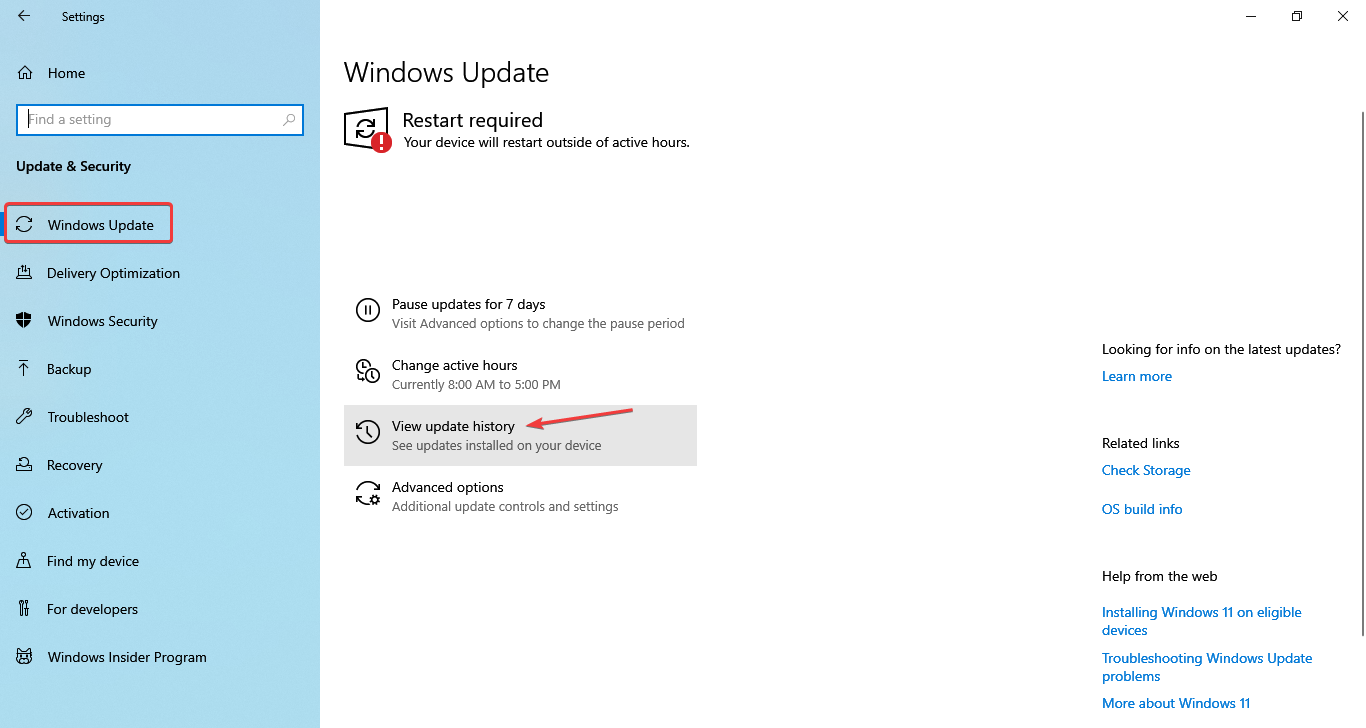
- Click on View update history on the right.
- Click on Uninstall updates.
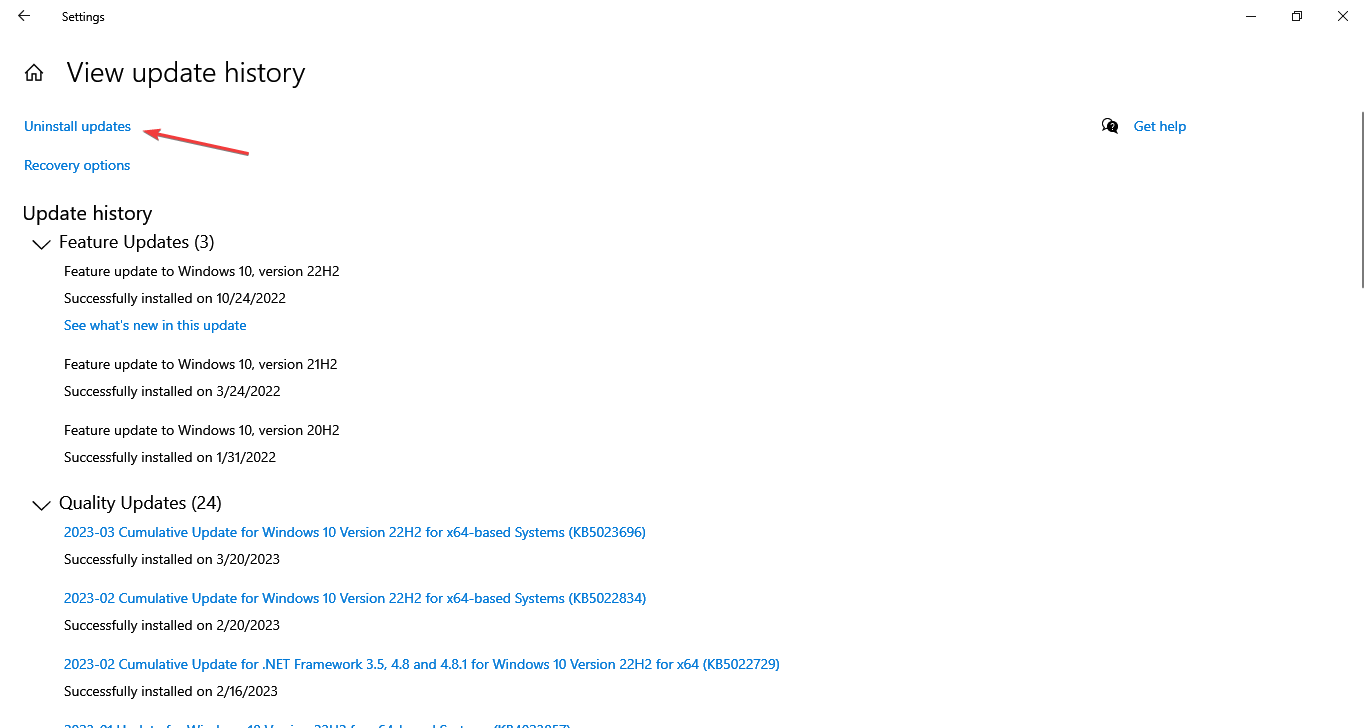
- Select the update after installing which the error first appeared, and click on Uninstall.

- Click Yes in the confirmation prompt.

If reports are to be believed, recent Windows Updates can also trigger the NTVDM.exe is not responding error for many users. And users managed to fix things by uninstalling Windows updates.
7. Perform a system restore
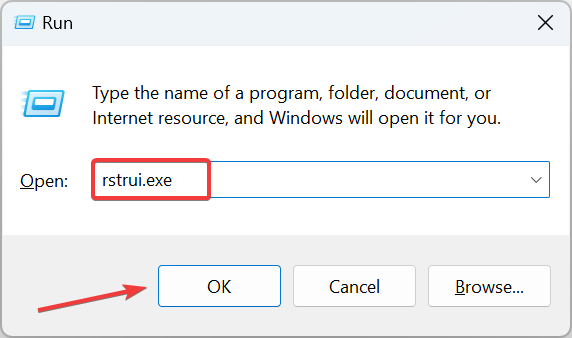
- Press Windows + R to open Run, type rstrui.exe in the text field, and click OK.
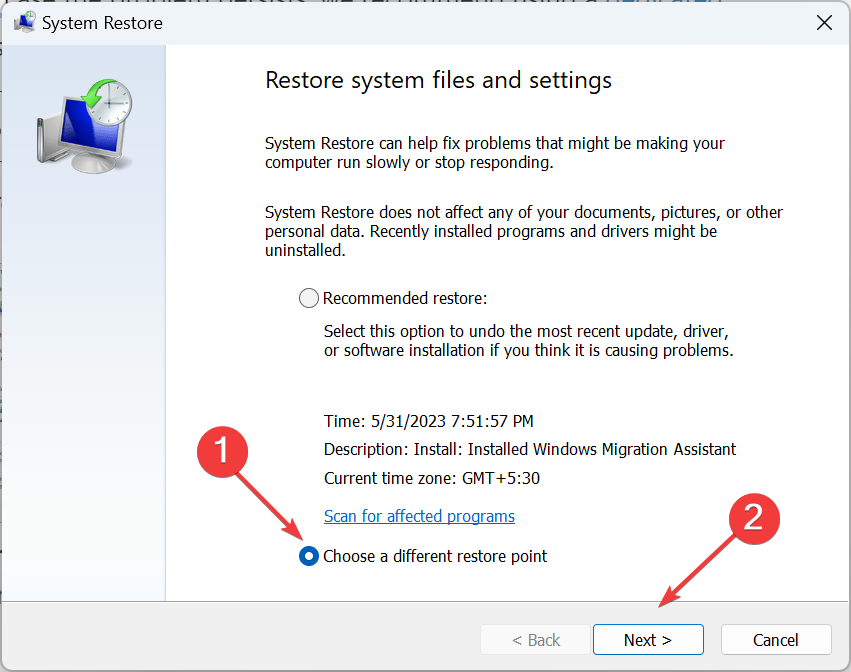
- Select Choose a different restore point, if the option is available, and click Next.
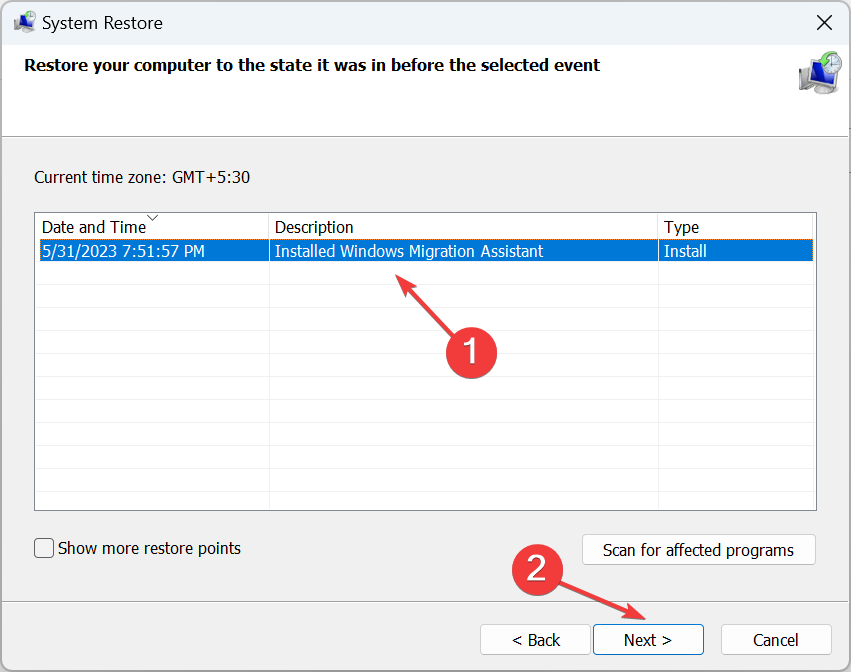
- Now, pick a restore point, one created before the error first apeared, and click on Next.
- Verify the restore details and click Finish to start the process.
- Wait for the restore to complete.
When nothing else works, often, a system restore does the job. It reverts your PC in time to a point where the error didn’t exist in the first place. That’s why we recommend creating restore points or configuring Windows to create some automatically before any major changes.
By now, you should have gotten rid of NTVDM.exe errors in Windows and should have the affected program either up and running or removed altogether.
Before you leave, do check some quick tips to optimize your PC for gaming and ways to make Windows run faster than ever.
For any queries or to share the solution that worked for you, drop a comment below.
Read our disclosure page to find out how can you help Windows Report sustain the editorial team. Read more


Improve this guide


User forum
0 messages