Feature Update Error 0x80240020(-2145124320): Fixed
Easy solutions to make your update work again
![]() 4 min. read
4 min. read
![]() Updated on
Updated on
Share this article

Improve this guide
Read our disclosure page to find out how can you help Windows Report sustain the editorial team Read more
Key notes
- Sometimes, users have this error because the updates do not apply to their computers.
- While these fixes may work, we recommend trying out first alternative internet solutions.
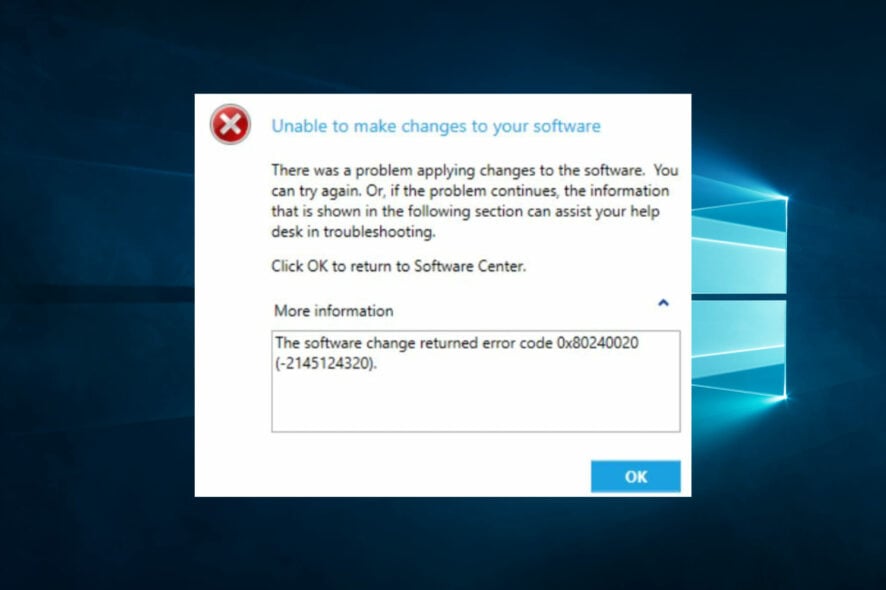
You must have found this article because you encountered error 0x80240020(-2145124320). Let us discuss all you need to know.
Error code 0x80240020 is a Windows Update error that occurs when there is a problem installing updates.
Some users have also faced 0x800f081f and 0x800f0900 errors. And some fixes here may apply as well.
To fix it, you should follow the steps we have highlighted below.
5 solutions to fix error 0X80240020
Various error codes could occur in Windows 10, and every single one of them is equally annoying. We already showed you how to solve some errors in Windows 10.
In this guide, we’re going to show you how to solve the error 0X80240020 in Windows 10.
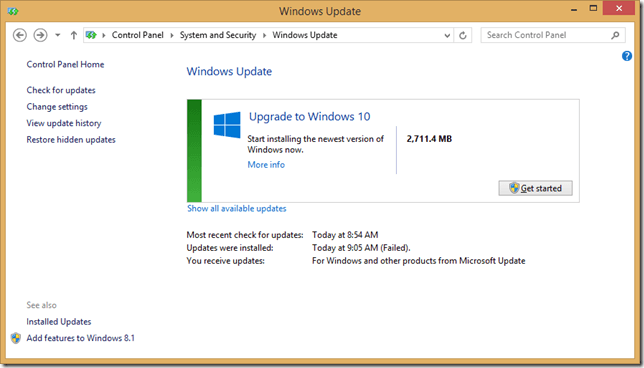
When you try to download a certain Windows update, like recent Windows 10 cumulative updates, or maybe a new version of the system itself, if you still didn’t upgrade, sometimes error 0X80240020 may occur.
This issue occurs if the Automatic Updates process is unable to complete your request and download certain updates. Luckily, there is a couple of workarounds that can resolve this issue.
How can I fix the error code 0x80240020(-2145124320)?
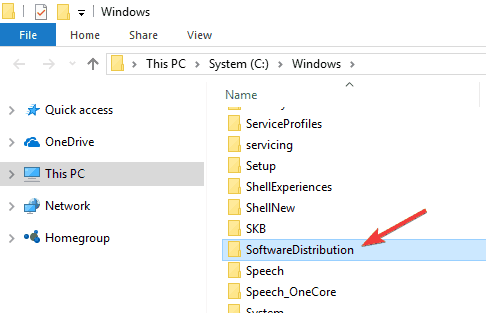
Solution 1 – Delete the SoftwareDistribution folder
This solution doesn’t only apply to the 0X80240020 error specifically because it could also solve other update errors. So, here’s what you need to do to delete the SoftwareDisribution folder and try to download updates again:
- Go to the following folder and delete everything in that folder:
C:WindowsSoftwareDistributionDownload
- Now, right-click on the Start Menu button and open Command Prompt (Admin)
- Enter the following line and press Enter: wuauclt.exe /updatenow
- Wait until the process is done and close the Command Prompt
- Now, go to Start Menu, open Settings app, go to Update and try to download updates again (or Go to Control Panel, Update, if you didn’t download Windows 10 yet)
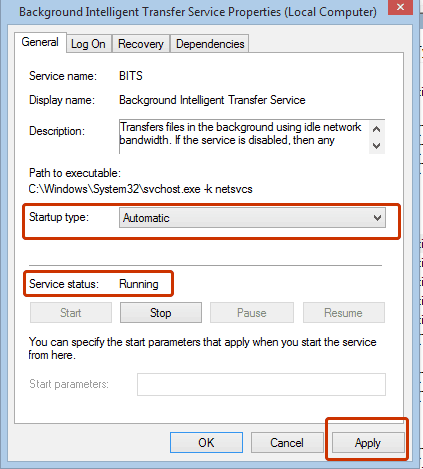
Solution 2 – Verify BITS service is enabled
BITS (Background Intelligent Transfer Service) is the main service for communication between your computer and Microsoft’s servers, so if something’s wrong with this service, you probably won’t be able to receive any updates. To make sure this service is running correctly, do the following:
- Go to Search, type services.msc, and open Services.
- Double-click Background Intelligent Transfer Service.
- In the Service Status section, make sure that the service is listed as Started.

- If the status is listed as Stopped, click Start, and then click OK.
- Try to install updates again.
Solution 3 – Verify Name Resolution
Another thing you can try is verifying your Name Resolution. To do this, follow these steps:
- Close any Windows Update or Microsoft Update browser windows.
- Right-click on the Start Menu button and open Command Prompt (Admin).
- Enter the following commands, and press Enter after entering each command in the command line:
- nslookup
- ns
- your computer name (You can check your computer name when you right-click on Properties on This Computer icon on your Desktop, under Computer name, domain and workgroup settings)
- After the process is finished, try to run updates again.
Solution 4 – Use sign-in info to complete the update
The fourth solution involves checking the option ‘Use my sign-in info to automatically finish setting up my device and reopen my apps after an update or restart.’
To enable this feature, navigate to Settings > then go to Accounts > Sign-in Options > and tick the respective check box.
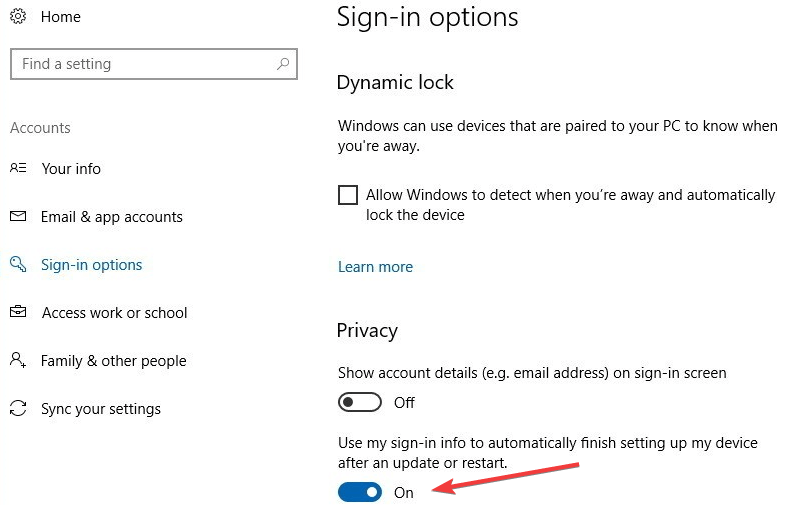
This is efficient for the 0x80240020(-2145124320) error.
You should also note that this error comes up on both Windows 10 and Windows 11.
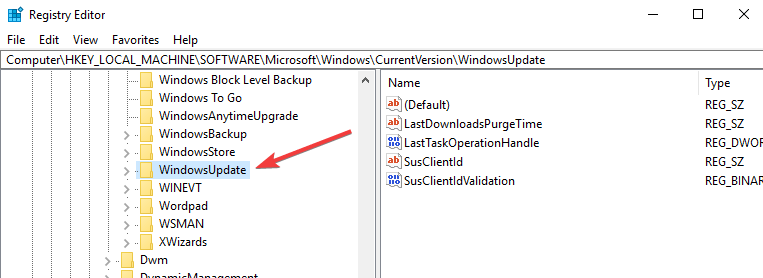
Solution 5 – Enable OSUpgrade in your Registry
If you’re a power user, you can also tweak your Registry to fix Windows 10 error code 0X80240020. Keep in mind that incorrect Registry changes may lead to severe technical issues. Don’t forget to back up your computer before you proceed. Here are the steps to follow:
- Go to Start > type Regedit > Open the Windows Registry tool.
- Locate this key:
HKEY_LOCAL_MACHINE\SOFTWARE\Microsoft\Windows\CurrentVersion\WindowsUpdate\OSUpgrade
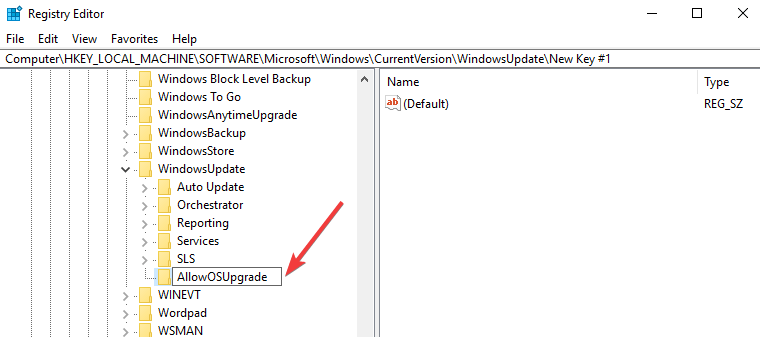
- If the OSUpgrade doesn’t exist, create it by right-clicking on WindowUpdate > select New > Key

- Create a new DWORD (32-bit) value and name it AllowOSUpgrade > set the Value = 0x00000001.
That’s it; we hope at least one of the mentioned solutions helped you to solve the problem with error 0X80240020 in Windows 10, or while downloading Windows 10.
If you have any comments, suggestions, or maybe some other solutions for this problem, don’t hesitate to write them down in the comment section below.
Also, if you have any other Windows 10-related issues, you can check for the solution in our Windows 10 Fix section.
RELATED GUIDES TO CHECK OUT: