5 Easy Ways to Fix Not Enough RAM Photoshop Error
Facing not enough RAM error while using Photoshop? Apply these fixes
Key notes
- The Photoshop not enough RAM error can often occur because working on big .psd files may require a lot of memory.
- In case of such an event, you should increase the Memory Usage setting or update the version of the program to fix the issue.
- Disabling other applications working in the background will also free some memory.
Photoshop users have reported a variety of issues on Windows 10 concerning Photoshop physical memory usage and management.
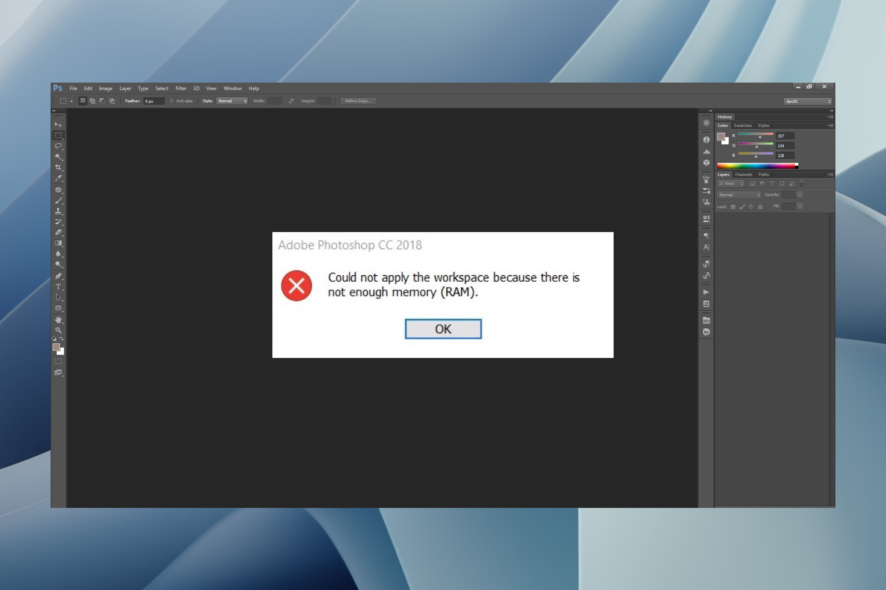
Namely, it seems that many of them get a variation of the not enough RAM Photoshop error in a variety of instances.
This occurs on startup and sometimes while accessing tools. Once it appears, it prevents any operations in Windows 10.
If you are stuck with this Photoshop error, check the steps we listed below to resolve it.
How much RAM is enough for Photoshop?
The official website says the minimum RAM requirement to run Photoshop on your PC is 8GB. However, it is recommended to have 16GB RAM installed.
Also, you need to have a minimum GPU with DirectX 12 support and 1.5 GB of GPU memory, with the recommended requirement of a GPU with DirectX 12 support and 4 GB of GPU memory for 4k displays and greater.
You can visit the official website to complete the system requirements to run Photoshop on your PC.
How do I fix the not enough RAM error in Photoshop?
1. Use RAM optimizing software
The entire RAM installed on your computer is shared between Windows and every other program running.
Even applications that run in the background, which you don’t interact with, consume RAM.
If there are too many running programs or if some of them encounter problems, not enough memory will be available for running Adobe Photoshop. Therefore, we recommend using a RAM optimizer for Windows 10.
You can adjust your operating system, hardware, and program settings to ensure that Photoshop runs consistently and at maximum performance on your computer.
A RAM optimizer should do the job if Photoshop is running slower than expected on your machine or if you have system freezes, lags, or delays.
2. Increase allowed RAM usage
- Open Photoshop.
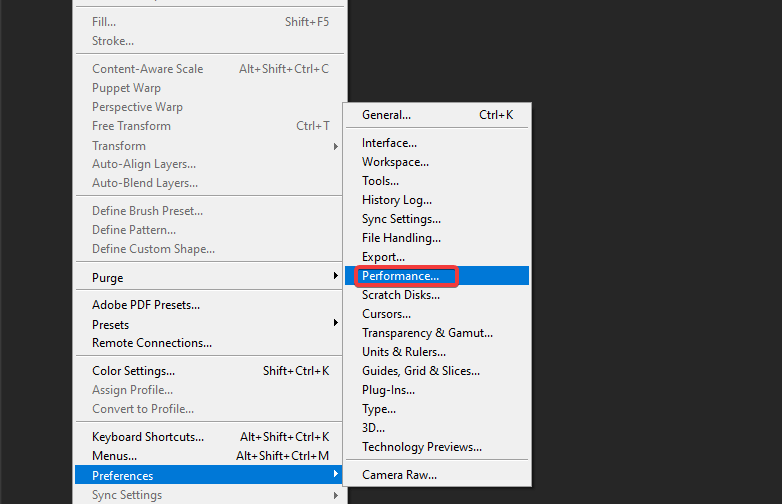
- Open Edit, click on Preferences, and then access Performance.
- Set the value to 100% of RAM by using the slider.
- Confirm the changes.
- If you cannot assign 100% to Memory Usage, set it to 96% and try again.
3. Disable background applications
- Open the Start menu, type msconfig, and open System Configuration.
- Under the Services tab, check the Hide all Microsoft services box.
- Click Disable all to disable all active third-party services.

- Confirm changes and try starting Photoshop again.
4. Edit the Registry entry
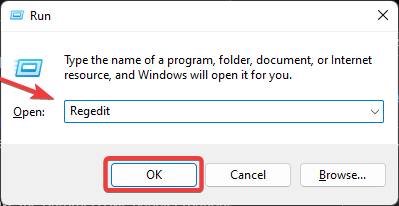
- Press the Win + R to open the Run dialogue.
- Type Regedit and press Enter.
- Navigate to the below path
ComputerHKEY_CURRENT_USERSoftwareAdobePhotoshop90.0.
The 90.0. part means that the Photoshop version in this example is Photoshop CC 2015. The values change for different versions.
- Right-click on the empty area of the right pane and choose New and select the DWORD (32-bit) Value.
- Name the newly created DWORD OverridePhysicalMemoryMB.
- Assign its value to 2400. Make sure that the Hexadecimal value is toggled and not Decimal.
- Save changes, start Photoshop and look for improvements.
5. Reinstall Photoshop
- Open the Start menu and launch Control Panel.

- Choose Programs and Features.

- Uninstall Photoshop.
- Navigate to Program Files on the system partition and delete the remaining folder.
- Reboot your PC.
- Download the version you have licensed and install it on your PC.
How do I reset my RAM in Photoshop?
Photoshop lets you set your preferences to help you use more optimally available resources. For example, you can tweak memory, cache, graphics processor, displays, etc.
To reset your RAM in Photoshop, follow the steps below.
- Launch Photoshop.
- Click on Edit, then select Preferences.
- Select Performance.

- By default, Photoshop uses 70% of RAM to function. You can change the value in the Let Photoshop Use box and reset it to the original. For example, if you tweaked it to 80%, you now know you must dial it back to 70%.

- Restart Photoshop for the changes to take effect.
That should deal comprehensively with the Not enough RAM Photoshop error, and hopefully, you got to the expected results.
If you have any other problems, check out our excellent guide on tackling the most critical issues with Photoshop in Windows 10.
In case you have any alternative solutions, make sure to tell us in the comments section below.
Read our disclosure page to find out how can you help Windows Report sustain the editorial team. Read more


Improve this guide
User forum
1 messages