Realtek WiFi Adapter not Working? Follow This Guide!
We know how painful it is when your Realtek WiFi adapter isn’t working. From errors like intermittent connections to the adapter not being detected at all, these issues can be incredibly frustrating.
Luckily, they’re fixable, and that’s exactly what we’ll show you how to do below:
How do I fix the Realtek Network Adapter not working
1. Uninstall and download the latest network driver
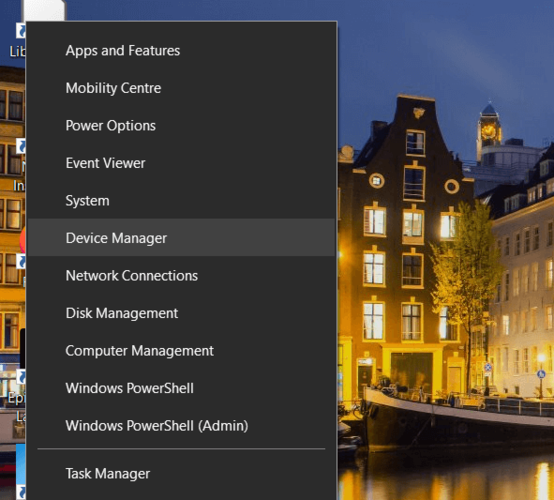
- Press Windows Key + X on your keyboard and go to Device Manager.
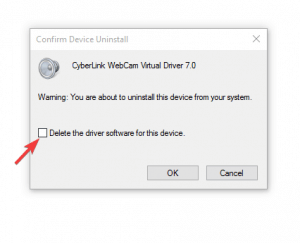
- Search for Network adapter, and when you find it right click it and choose Uninstall.

- In the Uninstall window, choose to Delete the driver software for this device.
- Follow the instructions on the screen, and restart the computer when the uninstall process is completed.
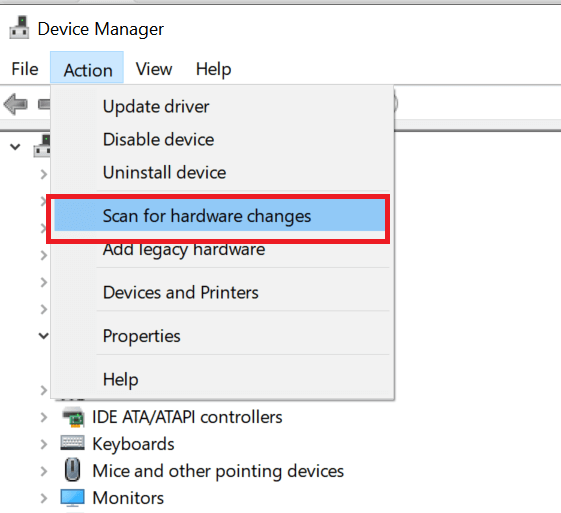
- After you’ve restarted your computer, go to Device Manager again and click the Scan for hardware changes button.
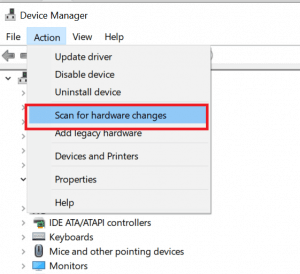
- Doing this will reinstall the default network drivers.

2. Delete your wireless profile
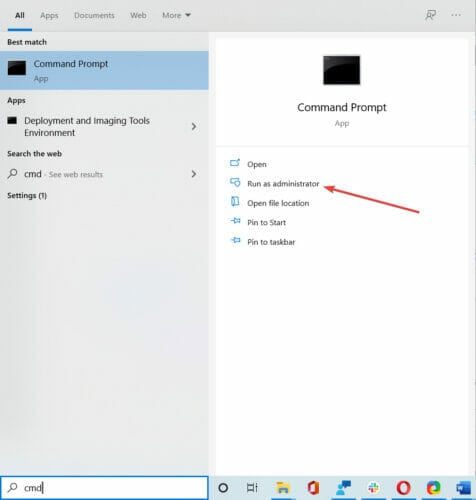
- Go to Search, type cmd, and open Command Prompt as Administrator.
- When Command Prompt stats type in the following command and press Enter:
netsh wlan delete profile name=”WirelessProfileName”
- Be sure to replace WirelessProfileName with the actual name of your wireless connection
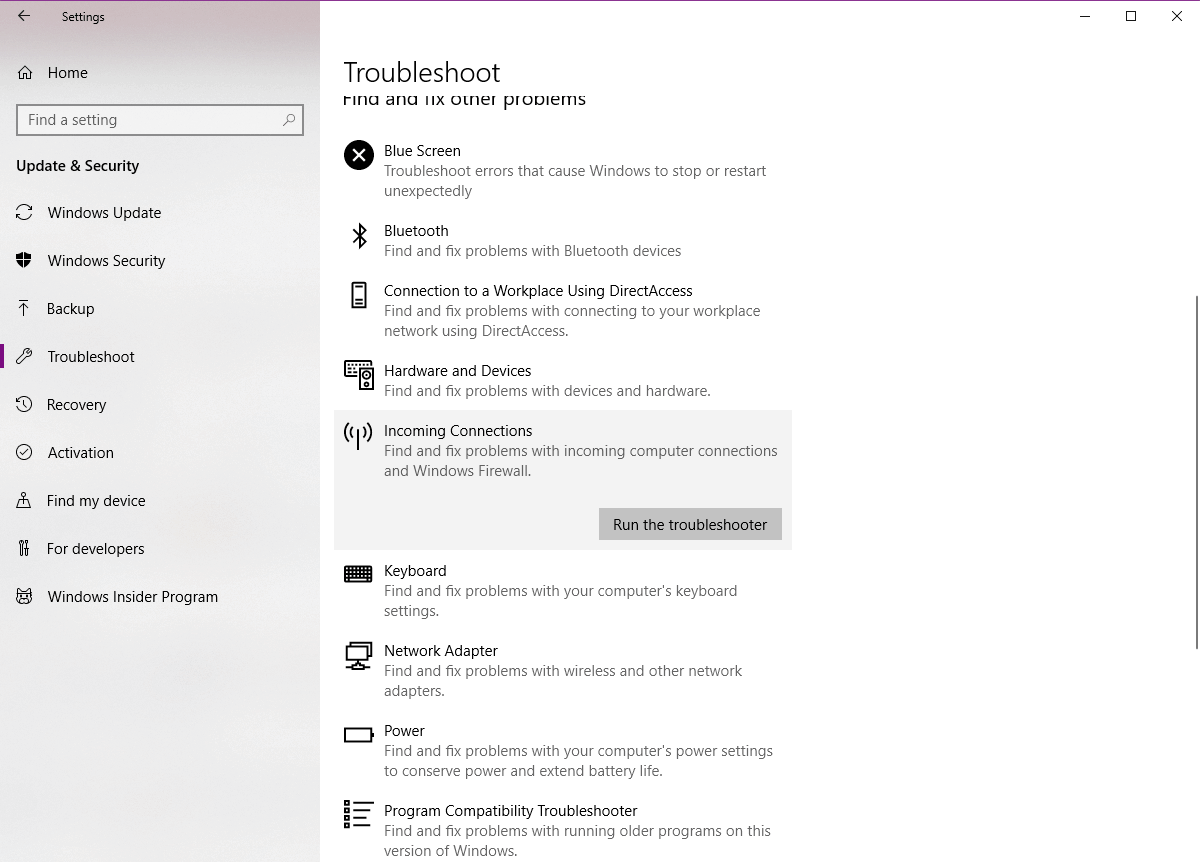
3. Run the Incoming connections Troubleshooter
- Go to Settings.
- Head over to Updates & Security > Troubleshoot.
- Select Internet Connections, and go to Run the Troubleshooter.
- Follow further on-screen instructions and let the process finish.
- Restart your computer.
4. Reset your router
Realtek WiFi adapter problems can also stem from improper router configuration. Therefore, you can try resetting your router. Just press the reset button.
For more information on resetting your router or exporting your router’s configuration, be sure to check your router’s manual.
5. Check if the network is enabled
- Go to Search, type devicemngr, and open Device Manager.
- When Device Manager opens, locate your wireless adapter and double-click it to open its properties.
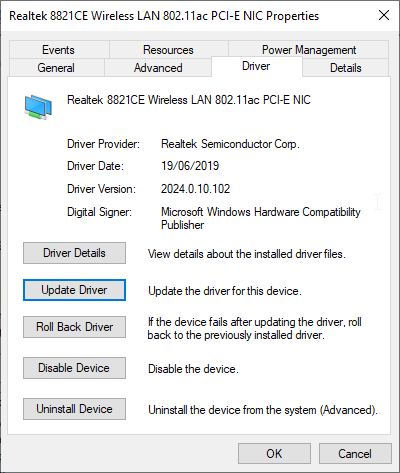
- Go to Driver tab and look for Enable button.
- If you don’t see the Enable button, it means that your device is enabled and working.
6. Reset the network
- Go to the Settings.
- Navigate to Network & Internet > Status.
- Scroll down and locate the Network reset option.
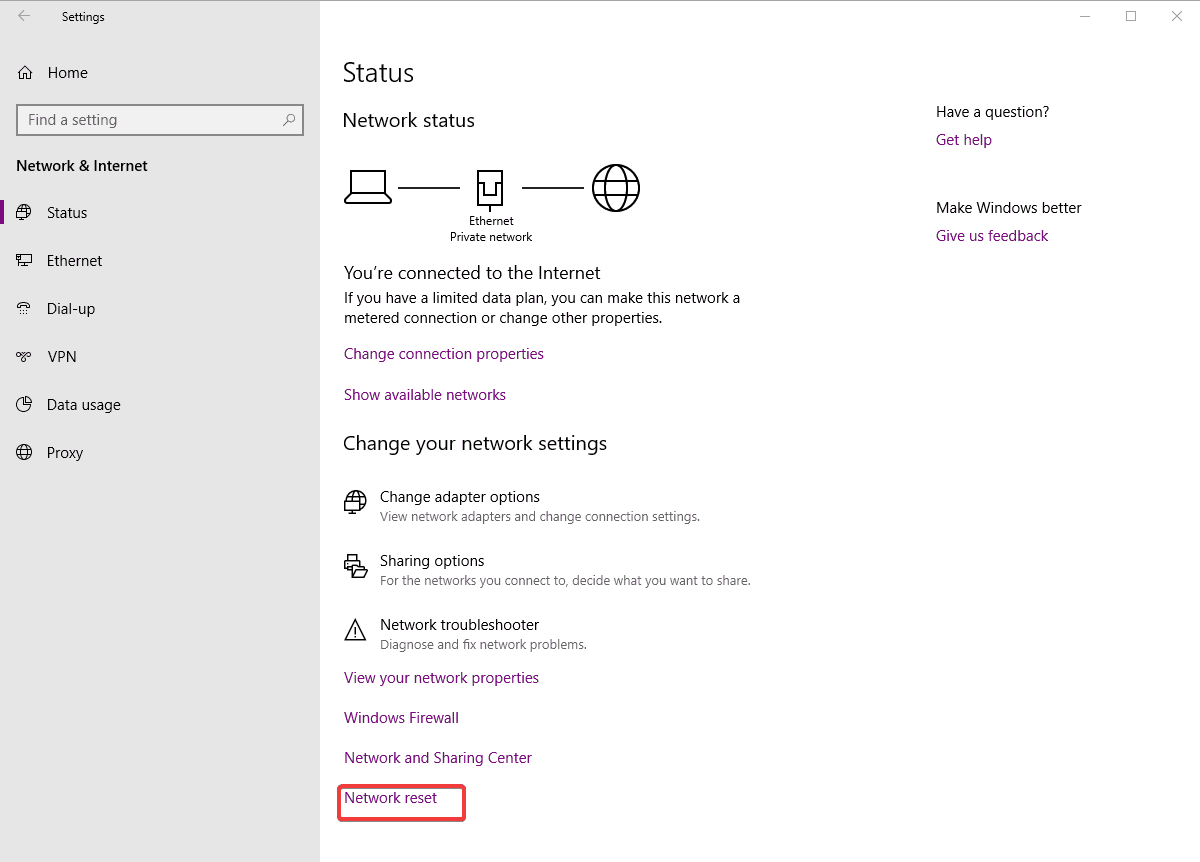
- Go to Reset now, and click Yes.
- Wait until your PC restarts and then check if your Ethernet connection is available.
7. Remove Cisco VPN client or any other unsupported VPN software
- Right-click the Start button and select Command Prompt (Admin)
- Type netcfg –s n in Command Prompt and press Enter.
- You’ll get list of networking protocols, services and drivers.
- Check the list for DNI_DNE. If you find it on the list, proceed to the next step.
- Type in the following:
reg delete HKCRCLSID{988248f3-a1ad-49bf-9170-676cbbc36ba3} /va /f and netcfg -v -u dni_dne i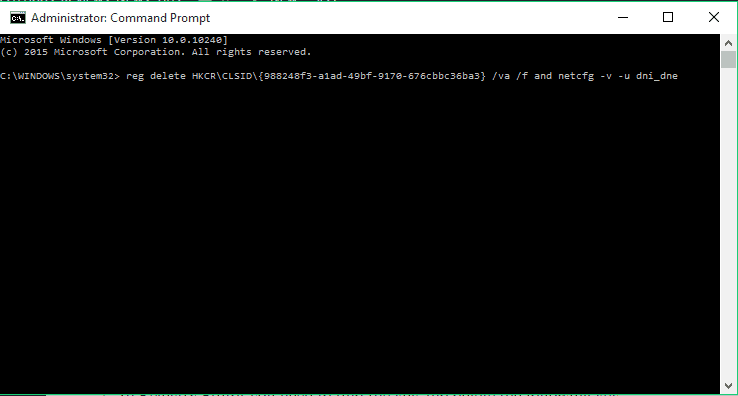
- If you receive error 0x80004002, it means that the process wasn’t completed and that you need to do it manually.
- Close Command Prompt and press Windows Key + R and type regedit to open Registry Editor.
- In Registry Editor you need to find the key and delete the following key:
HKEY_CLASSES_ROOTCLSID{988248f3-a1ad-49bf-9170-676cbbc36ba3}
Some VPN clients install their own network adapters which can then interfere with those you use for WiFi.
If you can’t run Command Prompt as Administrator, follow our comprehensive guide on this topic, and fix this issue with ease.
That’s about it. We certainly hope at least one of these solutions helped you resolve the problem with your Realtek Network Adapter not working or not being found, and now you can surf the web.
If you have any comments, questions, or suggestions, just let us know in the comments down below.
Read our disclosure page to find out how can you help Windows Report sustain the editorial team. Read more


Improve this guide


User forum
1 messages