What is SearchFilterHost.exe & How to Fix its Issues
Rebuilding the search index is the quickest fix
5 min. read
Published on
Read our disclosure page to find out how can you help Windows Report sustain the editorial team. Read more
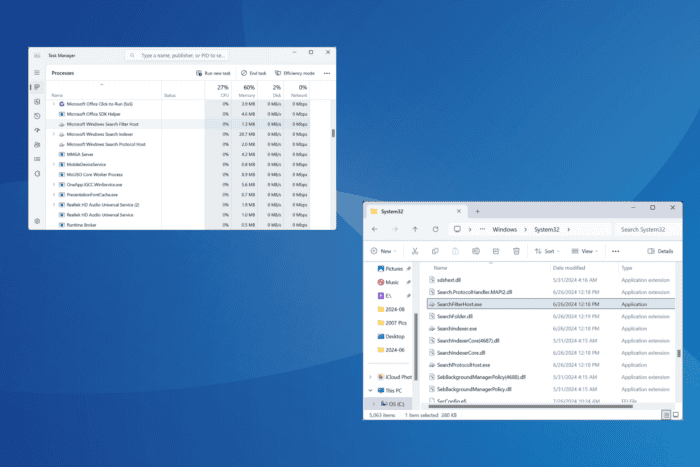
The Microsoft Windows Search Filter Host process or SearchFilterHost.exe is a vital component of the search functionality in Windows and has been a part of the OS since Windows XP. But over the years, many discovered high CPU usage by SearchFilterHost.exe or the process kept crashing!
The key reasons for SearchFilterHost.exe’s high CPU usage and crashes are corrupt search index, issues with active indexing, problems with Windows Search service, corrupt system files, or an incomplete Windows installation.
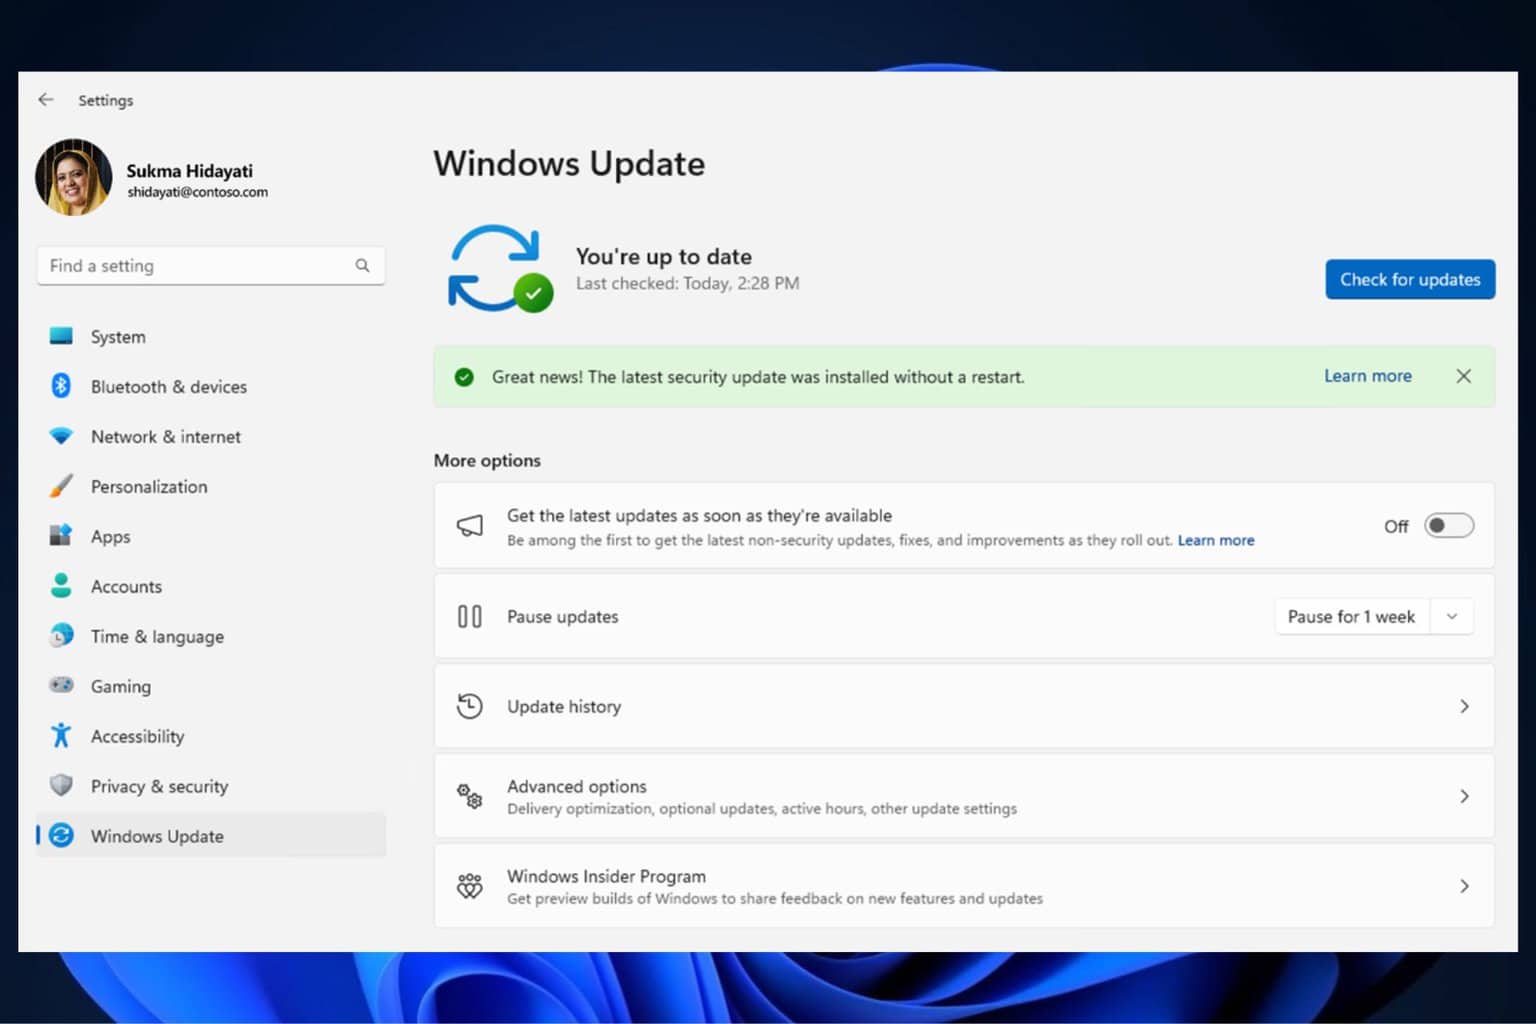
Before we begin with the slightly complex troubleshooting, reboot the PC, install all pending Windows updates, and switch to the high performance power plan. If the high CPU usage or crashes persist, head to the solutions listed next.
How do I fix high CPU usage by SearchFilterHost.exe?
1. Check the SearchFilterHost.exe file’s authenticity
Often, threat actors disguise a virus by using the name of a critical system file, which prevents early detection. So, it’s important to verify that SearchFilterHost.exe is not malware.
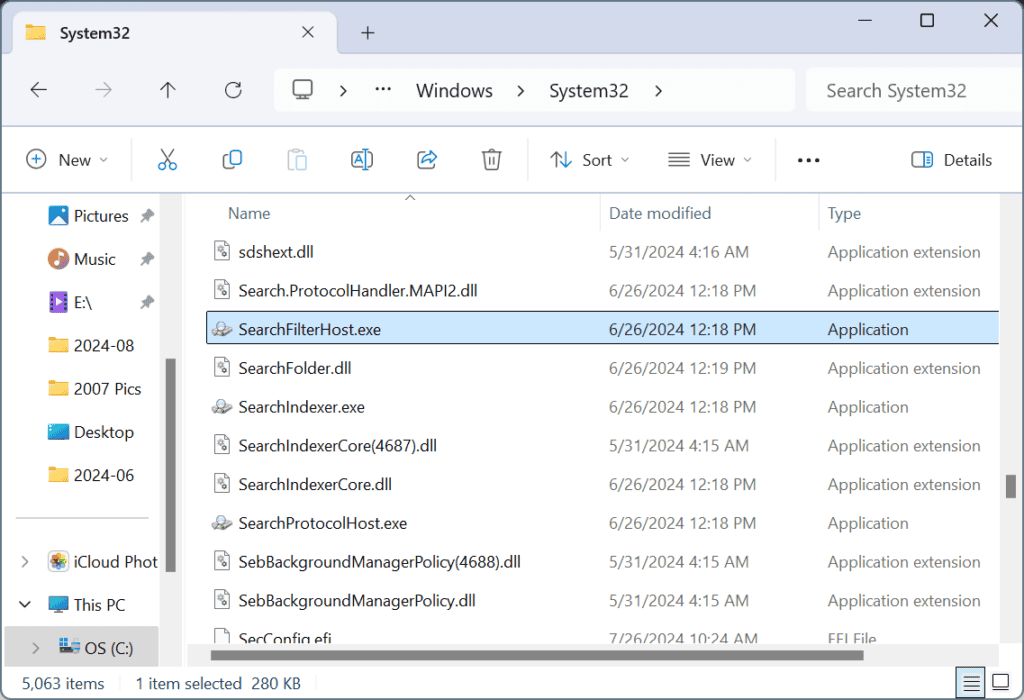
To do that, check the file location. The SearchFilterHost.exe file is, by default, stored in: C:\Windows\System32
If it’s stored elsewhere, scan the PC for malware using the built-in Windows Security or another top-rated antivirus solution.
2. Rebuild the search index
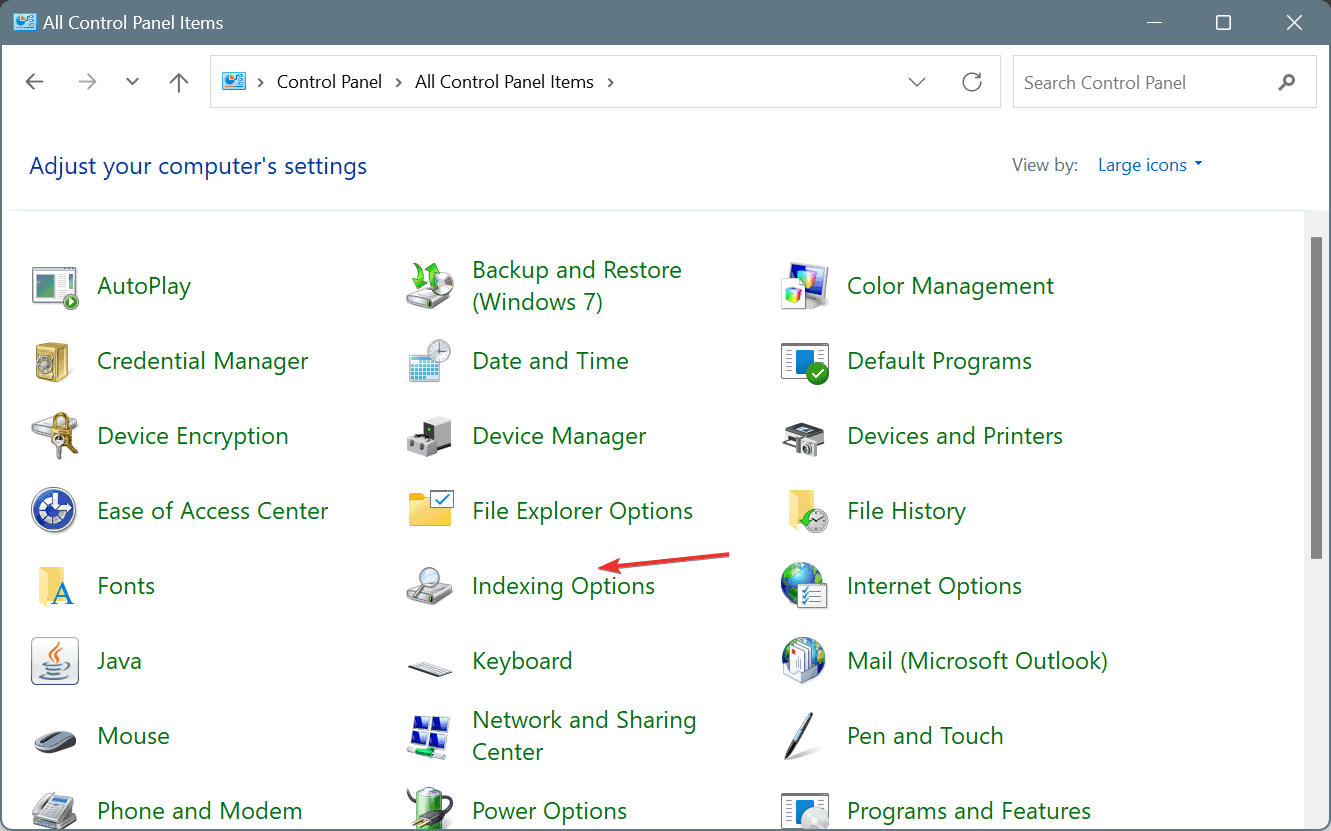
- Press Windows + S to open Search, type Control Panel in the text field, and click on the relevant result.
- Select Large icons from the View by dropdown menu near the top right.
- Locate and select Indexing Options.
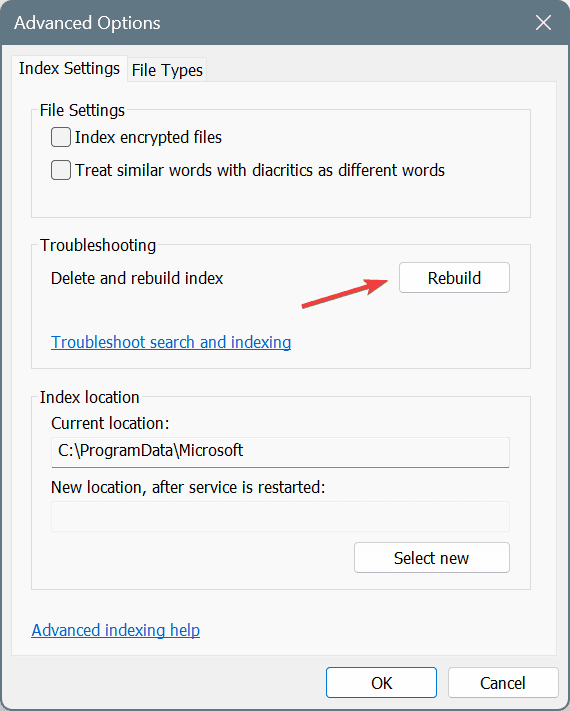
- Now, click the Advanced button.
- Click on Rebuild under Troubleshooting.
- Click OK in the prompt that appears.
For 9 out of 10 users (including me), rebuilding the index did the trick when SearchFilterHost.exe had a high CPU usage in Windows 11. Here, it was likely some issue with the existing search index, which made it difficult for Windows to fetch files and, subsequently, led to increased resource consumption.
3. Exclude OneDrive from indexing
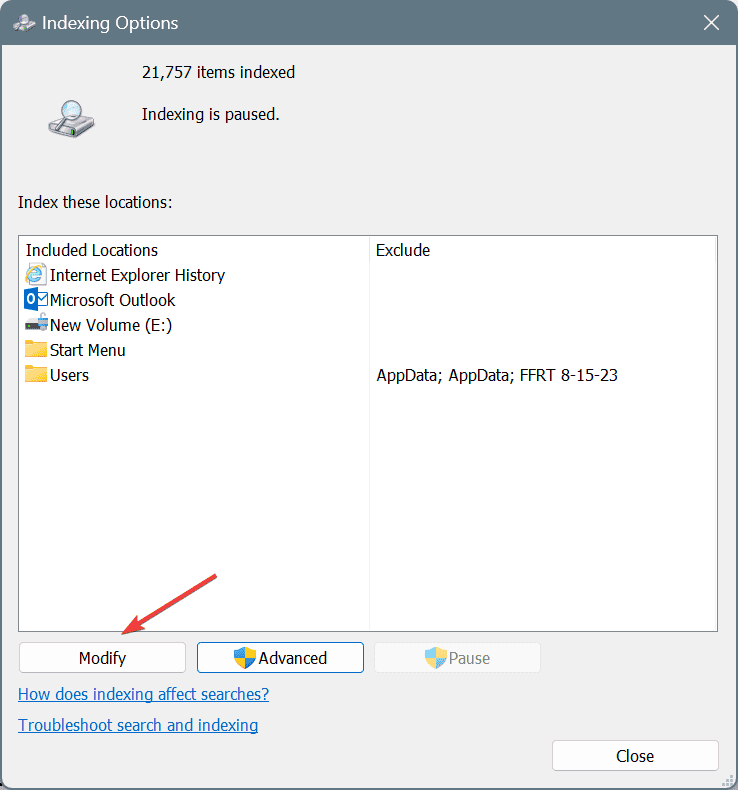
- Open the Control Panel, select Large icons from the View by menu, and click on Indexing options.
- Click on Modify.
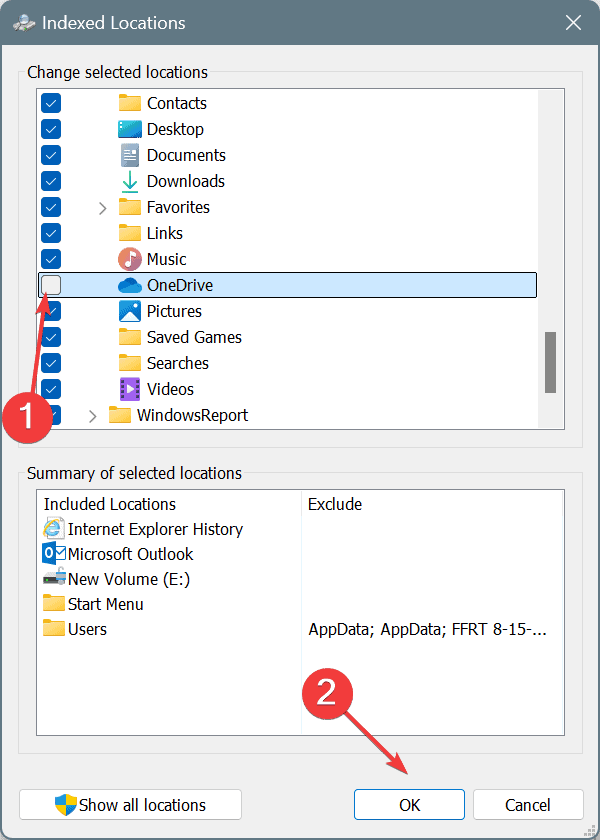
- Now, look through the various paths, identify the OneDrive folder, untick the checkbox before it, and click OK to save the changes. The OneDrive folder is usually stored under the following path, where Username is the active profile’s name:
C:\Users\Username
In the past, OneDrive and other similar cloud storage services have triggered high CPU usage by SearchFilterHost.exe due to issues with file indexing. So, the easiest way out is to exclude these from the search index!
4. Run the Search and Indexing troubleshooter
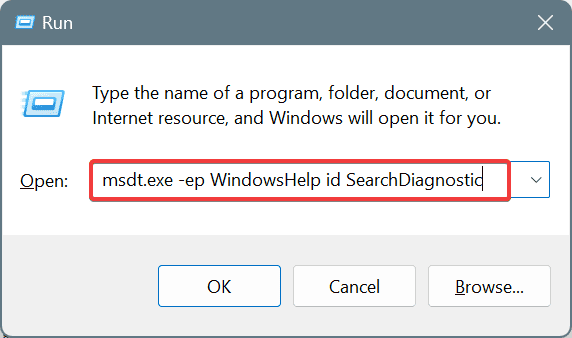
- Press Windows + R to open Run, paste the following in the text field, and hit Enter:
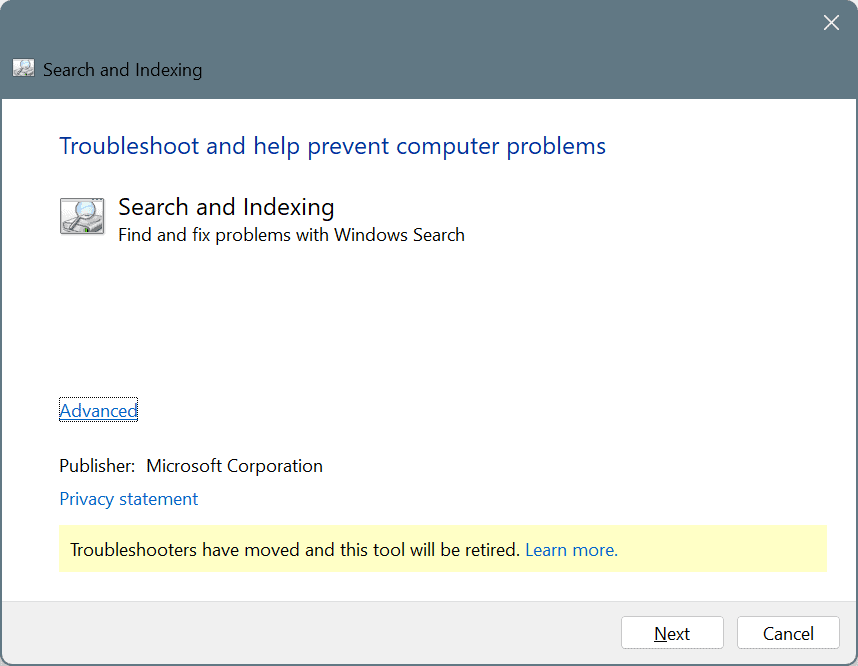
msdt.exe -ep WindowsHelp id SearchDiagnostic - Now, follow the on-screen instructions in the Search and Indexing troubleshooter and make the recommended changes, if any.
5. Disable the Windows Search service
- Press Windows + R to open Run, type services.msc in the text field, and hit Enter.
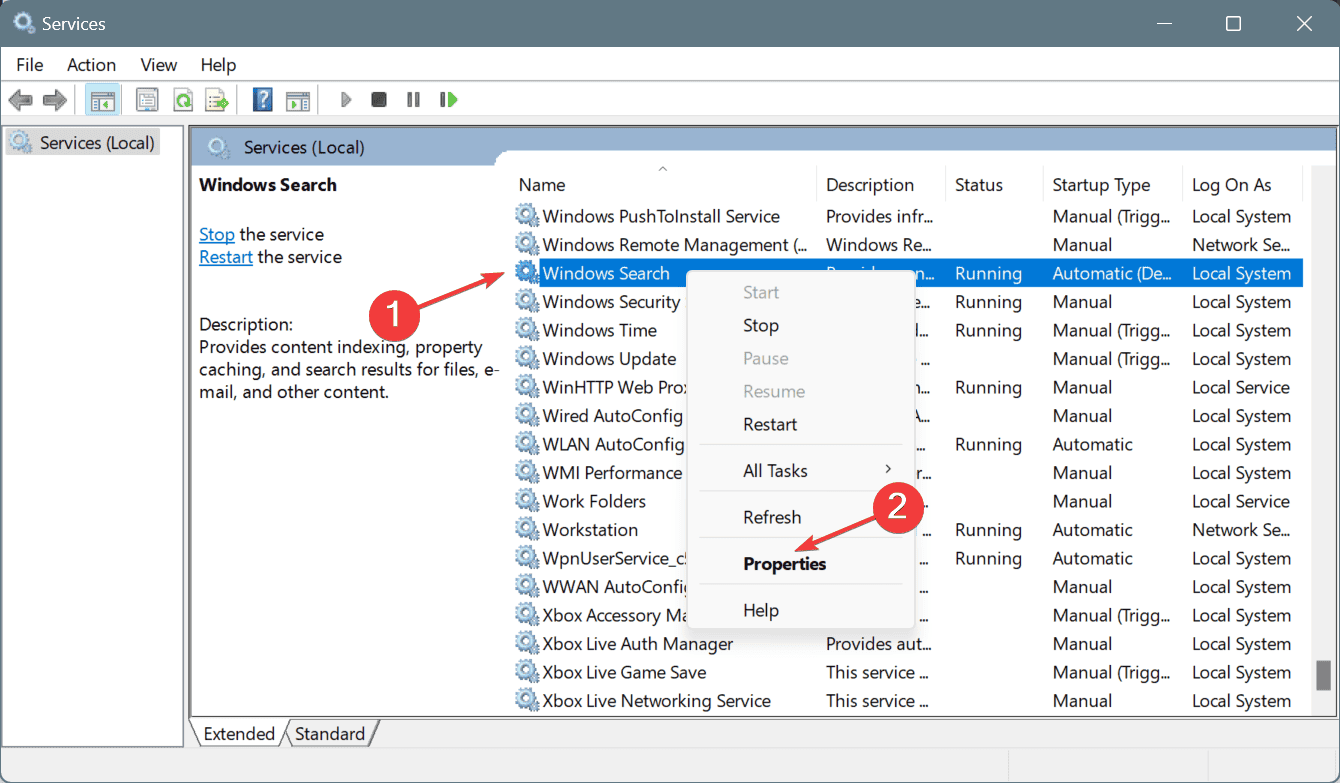
- Scroll down, right-click on the Windows Search service, and select Properties.
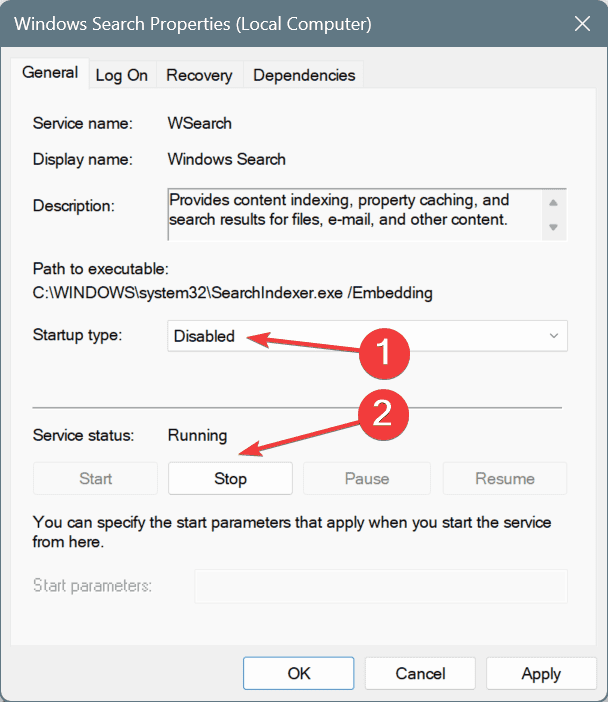
- Choose Disabled from the Startup type dropdown menu, and then click on Stop under Service status.
- Once the service stops running, click Apply and OK to save the changes.
Disabling Windows Search doesn’t affect the core functioning of the OS. The only downside is that future searches may take longer since the OS won’t update the index and would rely on the one created previously.
6. Repair the corrupt system files
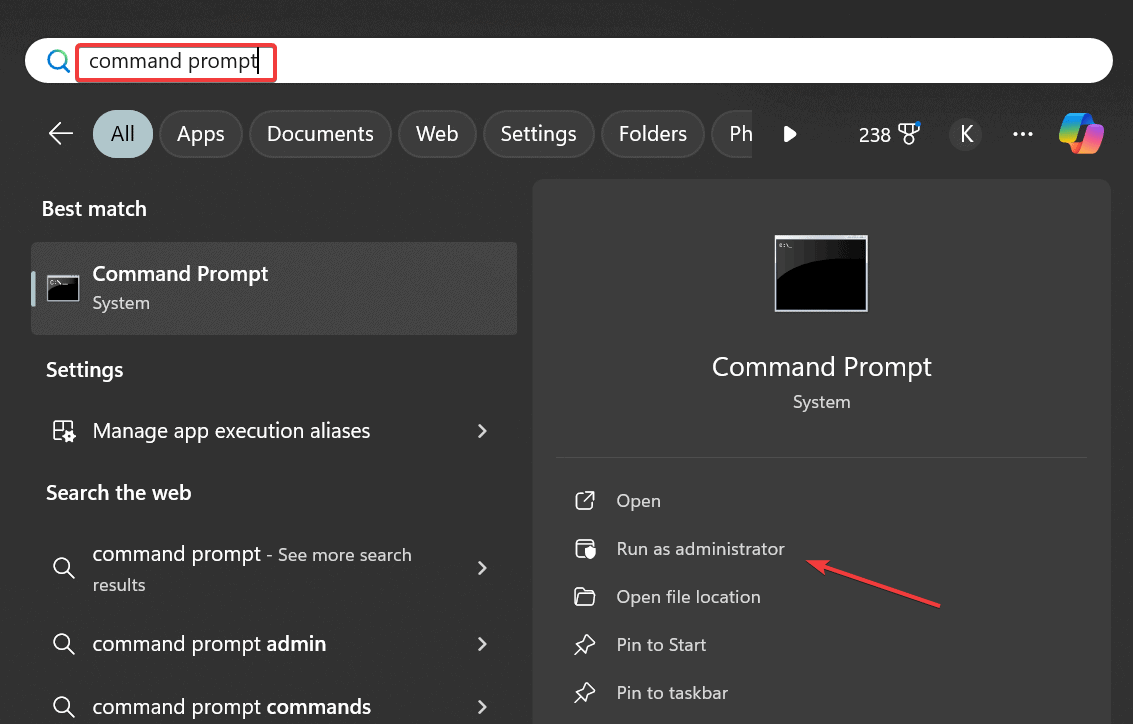
- Press Windows + S to open Search, type Command Prompt in the text field, and click on Run as administrator.
- Click Yes in the UAC prompt.
- Paste the following DISM commands individually and hit Enter after each:
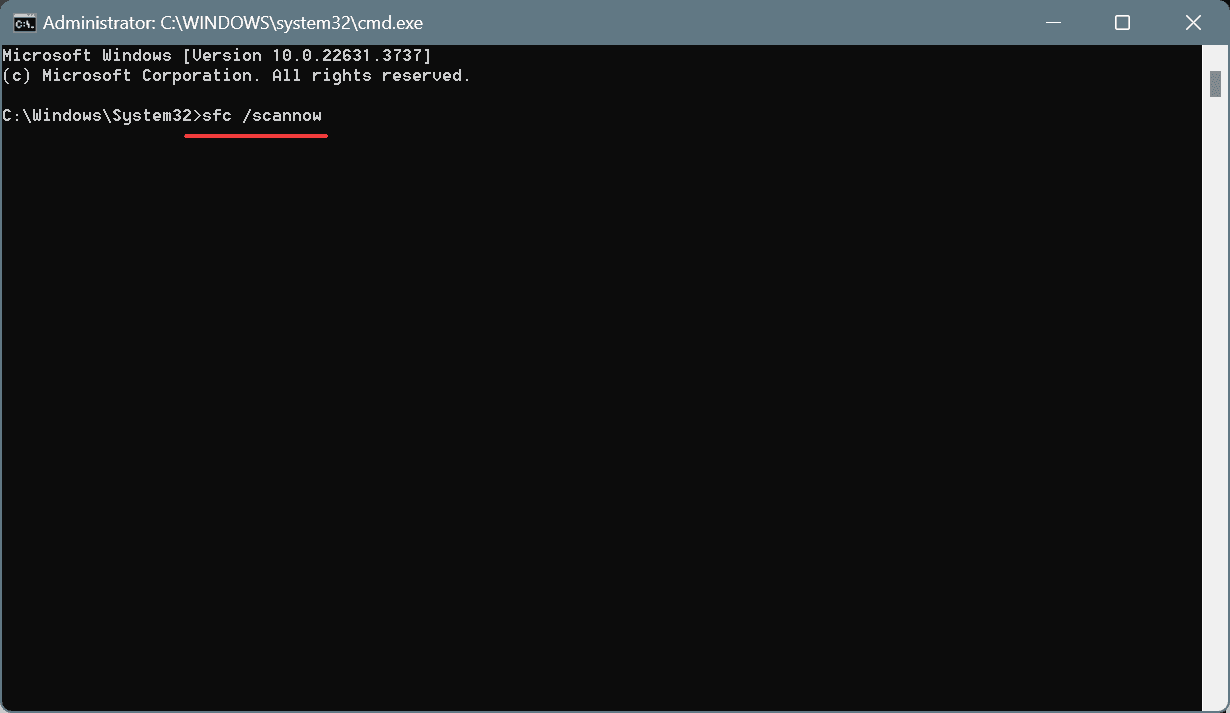
DISM /Online /Cleanup-Image /CheckHealthDISM /Online /Cleanup-Image /ScanHealthDISM /Online /Cleanup-Image /RestoreHealth - Next, run the following command for the SFC (System File Checker) scan:
sfc /scannow
Repairing the corrupt system files with DISM commands and SFC scans also helps when SearchFilterHost.exe keeps crashing on Windows 11.
7. Perform an in-place upgrade
 NOTE
NOTE
- Go to Microsoft’s official website, choose the OS edition and product language, and then download the Windows 11 ISO.
- Once downloaded, right-click on the ISO file, choose Mount, and then click Open in the confirmation prompt.
- Run the setup.exe file.
- Click on Next.
- Now, click Accept to agree to Microsoft’s license terms.
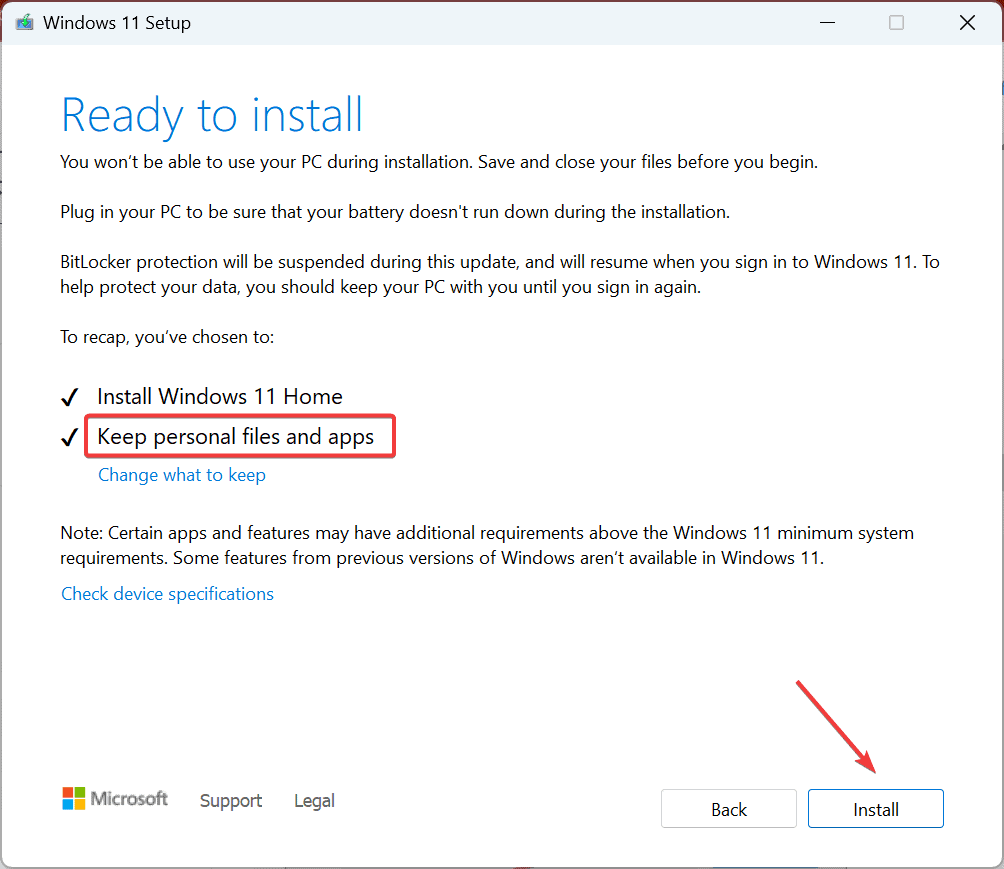
- Verify that the setup reads, Keep personal files and apps, and click on Install.
- Wait for the in-place upgrade to complete. It typically takes 1-3 hours.
An in-place upgrade is almost as good as reinstalling Windows and gets rid of problems like SearchFilterHost.exe crashing or showing high CPU usage. The best part about it is that you don’t lose stored files and installed apps during the process.
If this, too, fails to work, as a last resort, you can reset Windows 11 to factory defaults.
Also, before you leave, discover some quick tips to make your Windows 11 PC faster than ever!
Which fix worked for you? Share with our readers in the comments section.





User forum
0 messages