Windows 11 Disable Search: 5 Ways to Easily do it
Give a try to these quick methods now

It’s not uncommon for search indexing to be turned off via error or some features like web search not bringing results. Whenever you look for something on Windows 11, the OS will show you local results and search results from Bing.
Bing is an alright search engine, but most people use and prefer Google, so getting Bing results is not something many would even want.
How do I disable the search function on Windows 11?
1. Use the command prompt
- Open the search bar by clicking the magnifying glass icon and type in Command Prompt.
- When Command Prompt appears, click Run as administrator.

- Type in this command:
REG UPDATE HKLM\SYSTEM\CurrentControlSet\Services\WSearch\Start=3
- Press Enter on your keyboard when done.
- Then type in
net.exe stop "Windows Search"
- Hit Enter.
- Windows Search is now temporarily disabled. The functionality will reactivate after restarting your computer as soon as you use it.
2. Via the Services app
- Open the search bar and type in Services.
- Click on the first result you see.

- In the Services window, locate the Windows Search entry.

- Right-click on the entry and select Properties.

- Click on Stop in this new window.

- Click on the drop-down menu next to Startup type and select Manual.

- Click Ok to save your changes.

- To re-enable Windows Services, right-click on the entry again and select Properties.
- Click on the drop-down menu and select Automatic (Delayed Start).

- Click Start to activate it.

- Then Ok to save your changes.

3. Disable the searching feature permanently
- Open the search bar and type in Services.
- Click the first entry that appears.

- Locate the Windows Search entry and right-click it.

- Right-click on Windows Search and select Properties.

- Click on Stop.

- Click on the drop-down menu and select Disabled.

- Click on Ok to save your changes.

- Now you will have to rename the folder for Windows Search in order to prevent Windows 11 from accessing it.
- Open the file explorer.
- In the top bar, enter in C:\Windows\SystemApps\.

- Locate the folder titled Microsoft.Windows.Search_cw5n1h2txyewy.

- Right-click on the folder, then slect Show more options.

- Click on Rename and rename the folder.

- You will be asked to grant admin permissions. Select Yes.

- After renaming the folder, double click and open the folder.
- Locate the SearchApp.exe file.

- Right-click the file and select Show more options.

- Select Rename to rename the file.

- Grant the admin permissions when asked.

- Close the file explorer and restart the computer.
4. Disable Bing web results from appearing in Windows search
- Open the search bar and type in Registry Editor.
- Click on the first entry you see.

- Click on HKEY_CURRENT_USER to extend the drop-down menu.

- Next, click SOFTWARE to extend another drop-down menu.

- Select POLICIES.

- Click Microsoft.

- Then click Windows.

- Right-click on Windows, then select New.
- Select Key in this new menu.

- Name this new key Explorer, then press Enter to save.

- Right-click Explorer to open up a menu.
- Select New, then DWORD (32-bit) Value.

- Name this new entry DisableSearchBoxSuggestions, then hit Enter.

- Double-click the entry to open a new window. Set the Value data as 1 and click Ok.

5. Optimize power efficiency by configuring Windows Search (laptop only)
- In the Start menu, click on the Settings icon to open the menu.

- Select Privacy & security on the sidebar.

- Scroll down and click on Searching Windows.

- Toggle the swtich for Respect power settings when indexing.

Why would I need to disable Windows search?
Believe it or not, there are some benefits to disabling the search functionality on Windows 11 besides getting rid of pesky Bing results. These benefits include reclaiming computer resources and space on your hard drive and reducing the amount of power consumed and background tasks.
Plus, disabling functionality helps lower-end PCs that struggle with Windows 11. The system requirements for Windows 11 are pretty high, and by reducing the workload your computer has to deal with makes the machine run smoother and faster.

It’s not recommended that you disable any search functionality. Properly using Windows Search makes it the most efficient search tool on Windows 11, one of the few native apps that outperform third-party ones.
This guide will take you through how to disable the search functionality on Windows 11. It will also explain how to make Windows Search more power-efficient on laptops. Doing so will minimize indexing when your laptop is running low on power.
Are there any other search bar issues I should know about?
Rarely you will run into problems with the Windows 11 search bar, but sometimes you will run into that random glitch. If the search bar suddenly decides to start giving you problems one day, you should restart your computer and search for Windows updates.
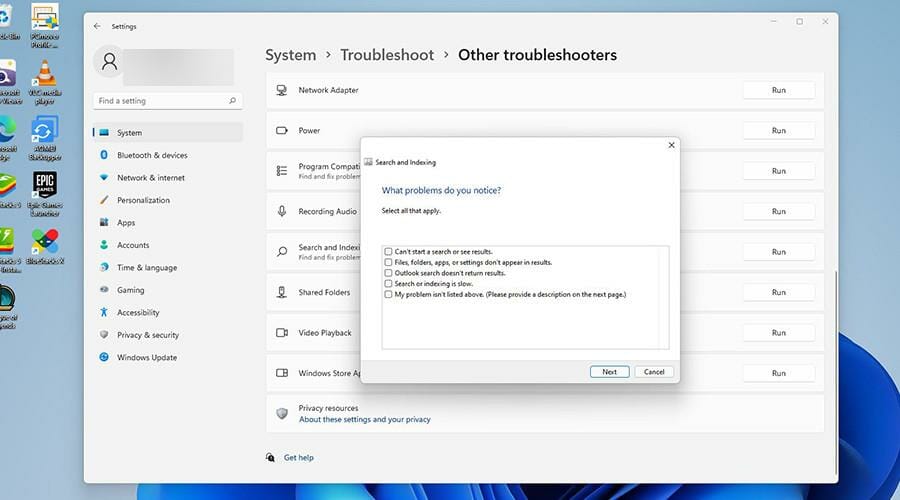
If that doesn’t work, you may have to go and run the indexing troubleshooter to find out what is wrong with the search bar. While in the file explorer, it may be good to learn how to add tabs on it while you search so you can keep track of where your files are.
It’s also good to know how to disable File Explorer search history. It’s a great way to keep your information private, especially on shared PCs. Having that search history readily available is annoying.
Feel free to comment below if you have any questions about other Windows 11 problems or bugs. And leave comments about guides that you’d like to see or information on Windows 11 features.
Read our disclosure page to find out how can you help Windows Report sustain the editorial team. Read more


Improve this guide


User forum
0 messages