What is Softthinks and how do I disable it?

If you are noticing high disk usage in your Task Manager and the process behind it is Softthinks, you might be wondering what Softthinks is and whether it is a critical process before trying to end the process.
In this article, we answer what is Softthinks and how you can fix the high disk usage caused by Softhinks Service Agent on your Windows system.
What is Softthinks and why its Service Agent causes high disk usage?
- What is Softthinks?
- Can you Safely Disable Softhinks Service Agent and how to do it?
- Disable Softhinks Agent Service
- Uninstall Softhinks Agent Service
What is Softthinks?
To put it simply, Softhinks is a backup utility that runs in the background and does not have an interface hence easy to miss for the users. This process when in use creates a backup of your system and helps you to recover your system in case of fatal error or crash.
Sometimes, the process can cause issues with the system and slows down the system by using all the disk resources. The resource can reach up to 100% for the hard drive as well as 80% of the CPU usage.
This usually happens in case the utility is not compatible with the version of Windows you are running. When a process starts to use 100% of disk resources, the system does not have enough resources to perform other operations hence starts to feel slow and buggy.
Some users have reported that due to Softthinks service agent the computer freezes for more than a few hours with 100% disk usage.
Can you Safely Disable Softhinks Service Agent and how to do it?
Yes, you can disable Softhinks safely without affecting any of the critical functionality of your Windows system. It is not an essential service for Windows and most of the time creates high resource usage issues resulting in freezing and battery draining issues.
This issue mostly affects only Dell made laptops as the service is exclusive to the laptop maker. Dell includes this little backup utility with its devices; however, due to the issues, Dell has released several updates to the fix the issue.
If you don’t need the backup utility and never used it before, we recommend you to disable it. Here is how you can disable Sofththinks agent service on your Windows 10 system.
- Also Read: 8 best free cloud software for Windows
Method 1: Disable Softhinks Agent Service
If you don’t want to delete the Dell backup utility just yet, you can choose to disable the service from starting automatically. Stopping the service will fix the high disk usage issue caused Softhinks service agents. Here is how to do it.
- Press “Windows Key + R” to open the Run dialog box.
- Type services.msc and hit enter.
- In the Services window, locate “Softhinks agent service”. You can search for the service by pressing S key on your keyboard.
- Right-click on “Softhinks agent services” and select Properties.

- In the Properties window, click on the drop-down Menu for Startup type and select Disabled. If you want to be able to launch the Dell Backup utility manually, select Manual instead.

- Click on the Stop button for “Service status”. This will kill the Softhinks service agent process.
- Click on Apply > OK to save the changes.
Reboot your system. After the system restarts, open the task manager and check the disk usage. It should be normal as you have successfully disabled the Softhinks agent service.
- Also Read: Top 7 antivirus with data recovery for 2019
Method 2: Uninstall Softhinks Agent Service
The Softhinks Agent Service is a software component of the DellBackuputility. If you don’t need the Dell Backup utility, you can uninstall it from your system.
- Press “Windows Key + R” to open Run.
- Type Control and hit enter to open the Control Panel.
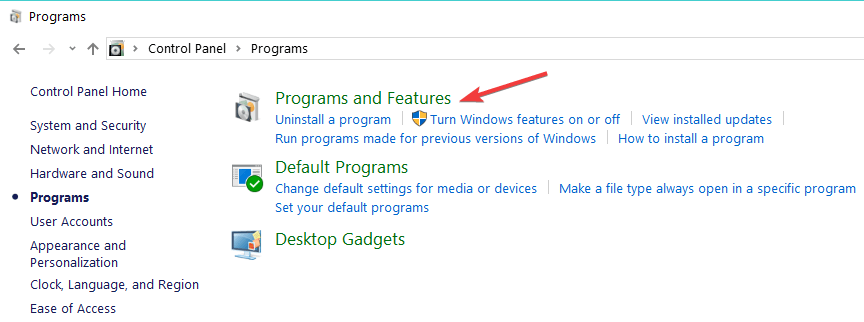
- Go to Programs > Programs and Features.
- Find “Dell Backup and Recovery” and select it.
- Click on Uninstall option to remove the tool completely from your computer.
- Restart your computer.
RELATED STORIES YOU MAY LIKE:
Read our disclosure page to find out how can you help Windows Report sustain the editorial team. Read more


Improve this guide


User forum
0 messages