The target device has insufficient resources to complete the operation [Fix]
![]() 8 min. read
8 min. read
![]() Updated on
Updated on
Share this article

Improve this guide
Read our disclosure page to find out how can you help Windows Report sustain the editorial team Read more
ERROR_DEVICE_NO_RESOURCES is a system error and it can appear on almost any PC. You can easily recognize this error thanks to its The target device has insufficient resources to complete the operation message, and today we’re going to show you how to fix it.
How to fix ERROR_DEVICE_NO_RESOURCES?
Fix – ERROR_DEVICE_NO_RESOURCES
Solution 1 – Check for updates
Windows 10 is a great operating system, but it’s not bug-free. Some compatibility issues and bugs can occur once in a while, and in order to prevent them from appearing it’s advised to keep your Windows up to date. Updating Windows is rather simple, and in most cases Windows 10 will automatically download and install the necessary updates. However, due to certain problems you might skip an update. To ensure your PC is up to date, we strongly advise you to check for updates manually. This is rather simple and you can do it by following these steps:
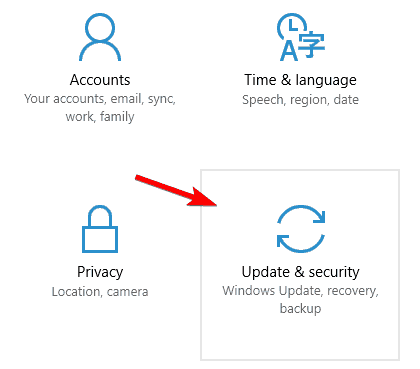
- Press Windows Key + I to open the Settings app.
- When Settings app opens, go to Update & security section.

- Click for Check for updates button.

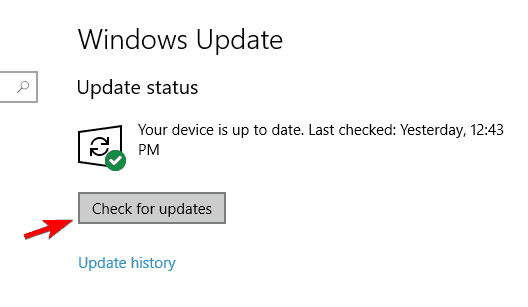
Windows will now check for updates. If any updates are available, they will be downloaded in the background and installed once you restart your PC. Once your PC is updated, the error should be resolved.
Solution 2 – Check your antivirus
Even though antivirus software is a necessity, it can sometimes interfere with your system and cause this and other errors to occur. If you’re using a third-party antivirus software, you might want to check its settings. Sometimes certain features can prevent specific operations from running, and to fix the problem you need to find and disable the problematic features. This isn’t as easy as it sounds, especially if you’re not familiar with your antivirus or computer security.
If disabling the problematic feature is too complicated for you, you can try disabling your antivirus software entirely. Even if you disable your antivirus, your PC will remain protected thanks to the Windows Defender.
If disabling the antivirus doesn’t fix the problem, your last option is to remove it. Keep in mind that antivirus tools tend to leave certain files and registry entries behind even after you remove them. These files can also interfere with your system, so it’s important that you remove them. The best way to do that is to use a dedicated removal tool. Almost all antivirus companies have dedicated removal tools for their software, so be sure to download one for your antivirus and use it to remove all leftover files.
If removing the antivirus fixes the problem, you can try switching to a different antivirus application or install the latest version of your antivirus software.
Solution 3 – Run Windows Update troubleshooter
According to users, you might be able to fix this problem simply by running Windows Update troubleshooter. Improperly installed update can cause this error to appear, but you can fix that by running Windows Update troubleshooter. This is relatively simple and you can do it by following these steps:
- Open the Settings app and navigate to Update & security section.
- Navigate to the Troubleshoot tab and choose Windows Update from the right pane. Click on Run the troubleshooter button.

- Follow the instructions on the screen to complete the troubleshooting process.

You can also troubleshoot Windows updates by doing the following:
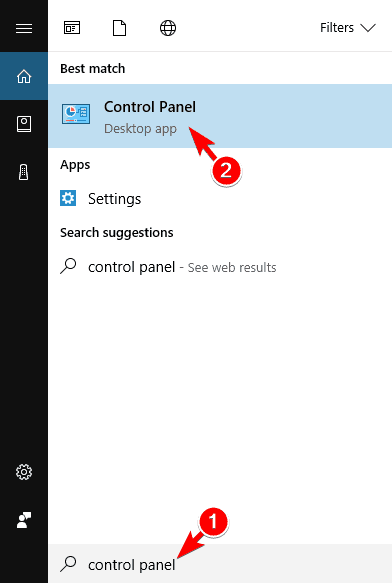
- Press Windows Key + S and enter control panel. Choose Control Panel from the list.

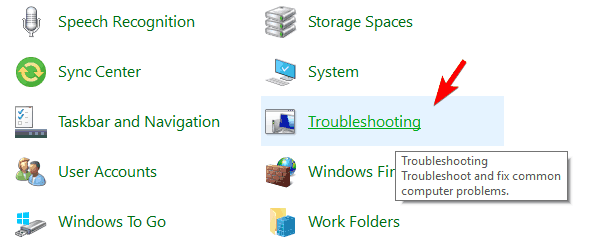
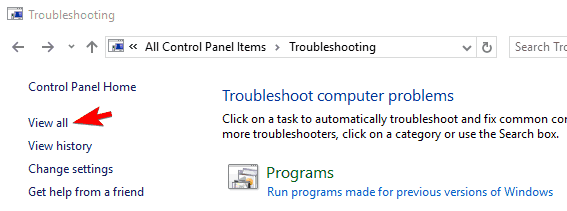
- Once Control Panel opens, click on Troubleshooting.

- Click on View all.

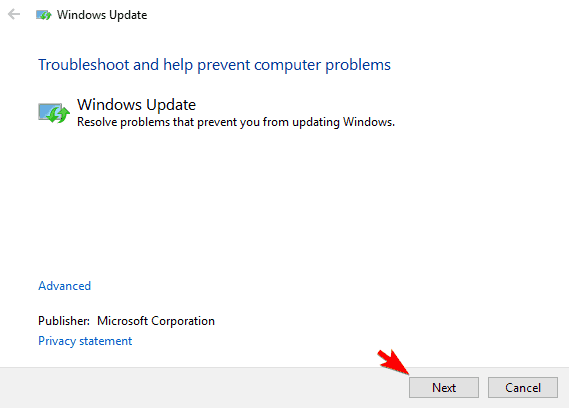
- Scroll all the way down and click on Windows Update.

- Click on Next to start the troubleshooter.

- Follow the instructions on the screen to complete the process.

Several users reported that running the troubleshooter fixed the problem for them, so be sure to try this solution.
Solution 4 – Remove a problematic update
Even though it’s important to keep your PC up to date, sometimes certain updates can cause this and other problems to appear. To fix the problem you might want to try removing any recently installed updates. This is rather simple and you can do it by following these steps:
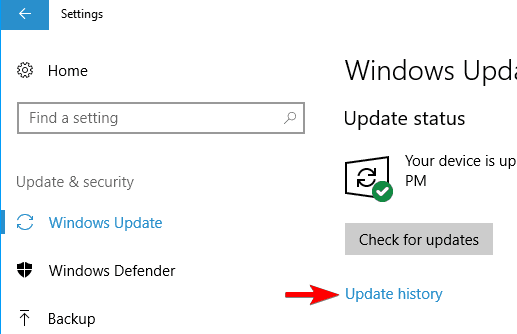
- Open the Settings app.
- Navigate to Update & security section and click on Update history.

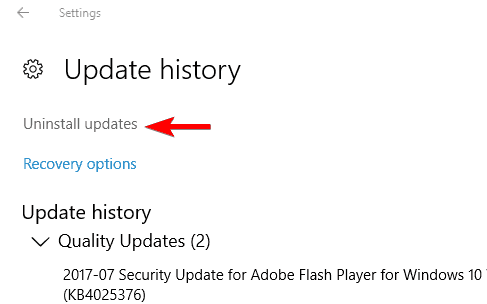
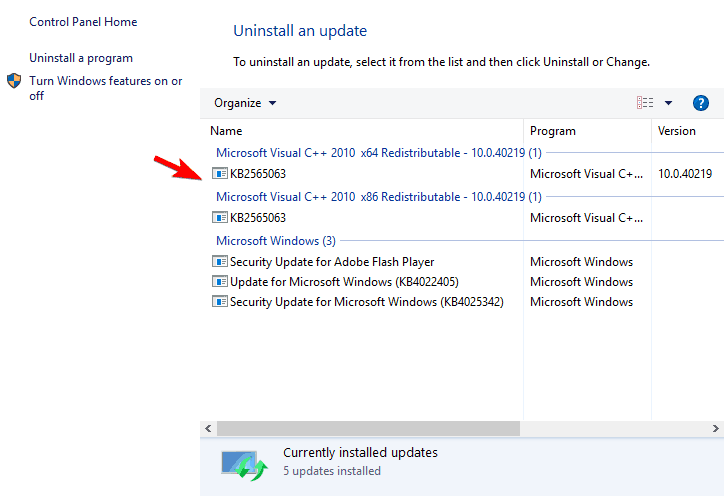
- Click on Uninstall updates option.

- Installed Updates window will appear. Look for any recent update and double click it to remove it.

After removing the problematic update, check if the problem still appears.
Solution 5 – Enter Safe Mode
Safe Mode is a special segment of Windows that runs with default drivers and applications, so it’s perfect for troubleshooting. To enter Safe Mode, do the following:
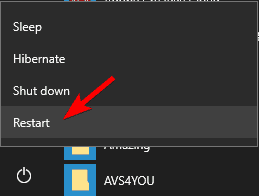
- Open the Start Menu and click on Power button. Now press and hold the Shift key on your keyboard and choose Restart from the menu.

- Choose Troubleshoot > Advanced options > Startup Settings. Click the Restart button.
- Once your PC restarts a list of options will appear. Select any version of Safe Mode by pressing the appropriate key.
Once you enter Safe Mode check if the problem still appears. If not, it means that one of disabled applications is probably causing this error. To fix it, you need to find and remove the problematic application from the PC. In most cases the cause is usually a recently installed application, so be sure to remove those applications first.
Solution 6 – Perform System Restore
If this error started appearing recently, you might be able to solve it by restoring your PC using System Restore. This is a useful feature that will restore your PC to the previous state and fix any recent problems. We have to warn you that this feature might remove any recently saved files as well, so we recommend to back up your files just in case. To perform System Restore, do the following:
- READ ALSO: Windows Update issues after installing Windows 10 Creators Update [Fix]
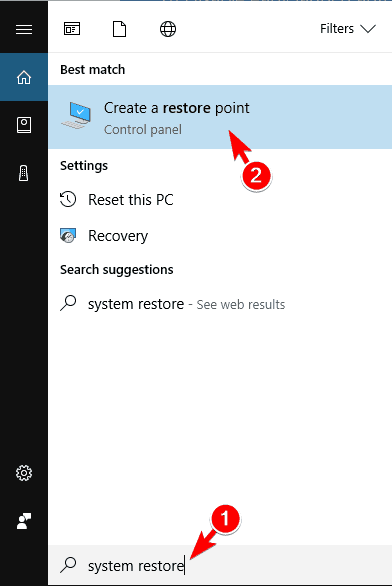
- Press Windows Key + S and enter system restore. Choose Create a restore point from the menu.

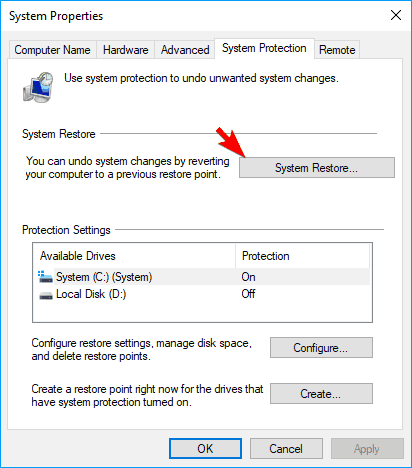
- System Properties window will appear. Click on System Restore button.

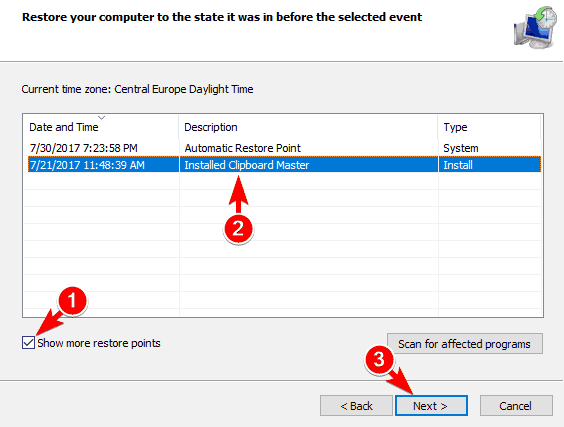
- Once System Restore window opens, click on Next.
- Check Show more restore points option and select the desired restore point. Click on Next to proceed.

- Follow the instructions on the screen to restore your system.
System Restore is a quick and simple way to fix computer errors, so if you’re having this problem, be sure to try this solution.
Solution 7 – Reset Windows 10
If other solutions can’t fix this problem, you might want to consider resetting Windows 10. We have to warn you that this process will remove all installed applications and files from your system drive, so be sure to back them up. You might need a Windows 10 installation media to perform the reset, so be sure to create it with Windows Media Creation Tool. To reset Windows 10, you need to do the following:
- Open the Start Menu, click the Power button, press and hold the Shift key and choose Restart from the menu.
- List of options will now appear. Choose Troubleshoot > Reset this PC > Remove everything. During this step you might need to insert Windows 10 installation media, so be sure to have it ready.
- Select your version of Windows and choose Only the drive where Windows is installed > Just remove my files.
- Now you’ll see a list of changes that reset will perform. Click the Reset button to start.
- Follow instructions on the screen to complete the reset.
After resetting Windows 10, all your files and apps will be removed from the system drive. Now you just have to restore your backup and check if the error appears again. This is a drastic solution, so you should use it only if other solutions can’t fix the problem.
ERROR_DEVICE_NO_RESOURCES and The target device has insufficient resources to complete the operation error message can cause some problems, but they aren’t serious errors. These errors are relatively simple to fix, and you should be able to fix them by using one of our solutions.
READ ALSO: