FIX: VirtualBox is not opening in Windows 10/11
Key notes
- Many users claimed that VirtualBox won’t open on their Windows 10 PCs after update.
- This can happen due to an incompatibility issue, so you will need to reinstall VirtualBox.
- Another solution is to update your graphics drivers using a reliable tool found below.
- You can also run the app in compatibility mode by following our step-by-step guide.

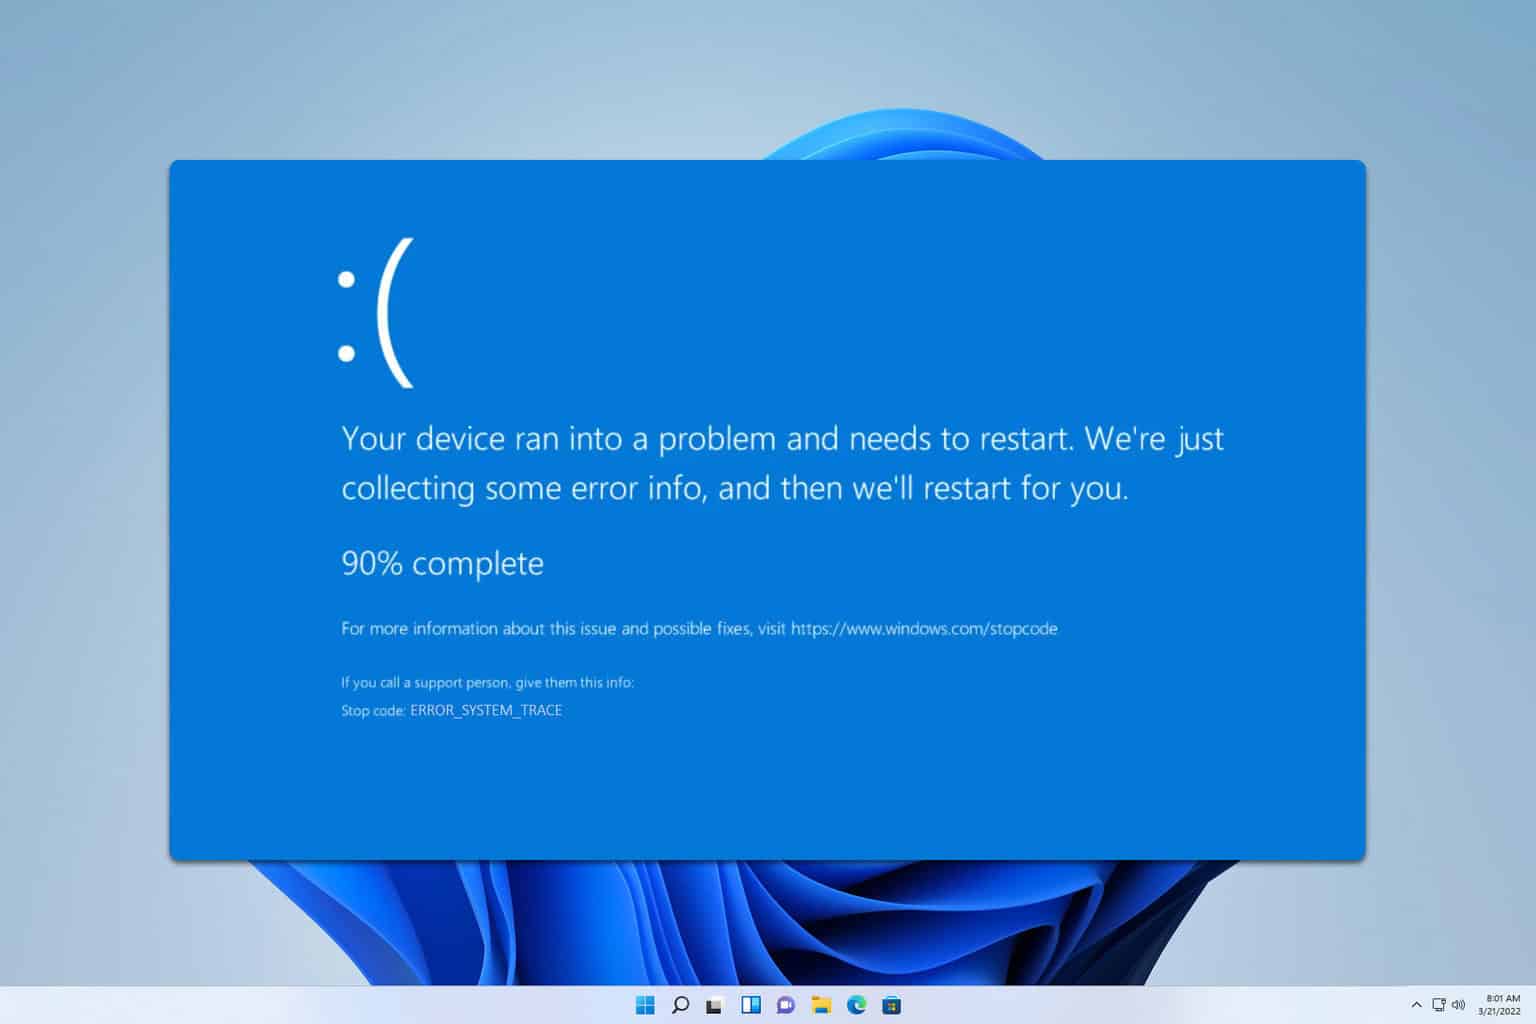
If VirtualBox stopped working on your Windows 10 system, you need to find the right fix without losing your recently saved files.
Most problems are related to recently applied Windows updates, which mean that we are discussing compatibility issues, certain Windows 10 settings that must be adjusted, or outdated drivers.
The overall idea is that VirtualBox can stop working on Windows 10 without any apparent reasons. However, this is a common problem that can be addressed easily and without losing your files.
So, if VirtualBox is no longer opening on Windows 10, don’t panic! You just have to apply the workarounds that are explained and detailed below.
What to do if VirtualBox is not opening in Windows 10?
- Reinstall VirtualBox
- Update graphic drivers
- Run the app in compatibility mode
- Turn off 3D graphics acceleration feature
1. Reinstall VirtualBox
- Right-click on the Windows Start icon.
- From the list that will be displayed, choose Control Panel.
- Switch to category and then, under Programs, click on Uninstall.
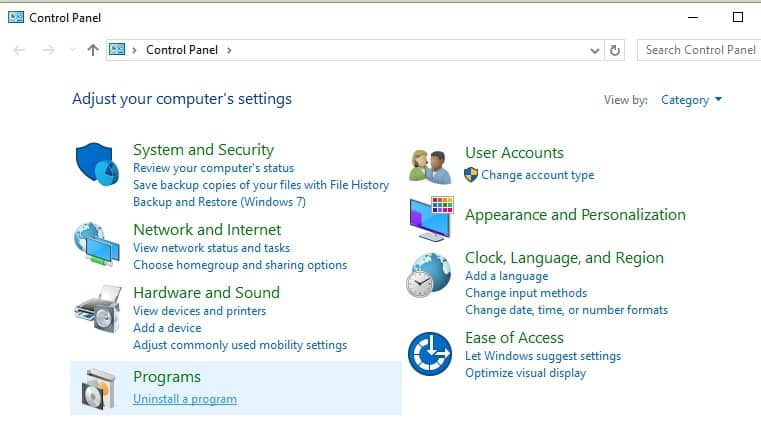
- Find the VirtualBox entry and uninstall the program from your computer.
- Make sure you keep all the recently saved files.
- Afterwards, reboot your Windows 10 device.
- Next, download the latest version of VirtualBox and install it by following on-screen prompts.
- That should be all; in the end, you should be able to use VirtualBox on Windows 10 without further problems.
Usually, VirtualBox stops working because of an incompatibility problem. In most situations, you might experience such malfunctions right after a Windows 10 update.
Thus, the right thing to do is to reinstall VirtualBox on your machine, by following the above steps.
Also, if the VirtualBox installation failed in Windows 10, check out our step-by-step guide and fix the issue in no time.
2. Update graphic drivers
- Right-click on the Windows Start icon.
- Click on the Device Manager entry.

- From Device Manager extend the Display adapters entry.
- Right-click on your graphic drivers, and choose Update.
We strongly suggest you update your driver automatically by using a dedicated tool. It will keep your system away from permanent damage caused by the installation of the wrong driver version.
After the installation, Outbyte Driver Updater will start running automatically so you don’t need to find its shortcut or the source folder. Outbyte Driver Updater will scan your system for any problems or missing drivers and it will provide a report in just a few seconds.
3. Run the app in compatibility mode
- Right-click on the VirtualBox executable file.
- Choose Properties, and go to the Compatibility tab.
- Click on Run compatibility troubleshooter or just check the Run this program in compatibility mode for field.
- Save your changes, and run the program with admin rights.
- VirtualBox should now open on your Windows 10 system.
If reinstalling VirtualBox isn’t working for you, a good idea will be to run the program with Administrator rights and in Compatibility mode.
Better stability after Windows 10 updates often comes from proper integration between the host and the virtual machine, so you should install VirtualBox Guest Additions to enable features like display resize, clipboard sync, and smoother startup in VirtualBox.
4. Turn off 3D graphics acceleration feature
- Right-click on any blank space from Desktop.
- Select Graphics properties from the list that will be open.

- Choose Basic Mode, and pick Ok.
- Navigate towards 3D option.
- Disable 3D graphics acceleration from this screen.
Additionally, follow:
- Right-click on the Windows Start logo.
- Choose Programs & Features.
- From the next window, click on Turn Windows Featues On or Off.

- In the list that will be displayed, find the Hyper-V entry.
- Expand Hyper-V, and turn it On.
- Reboot your Windows 10 system in the end.
Also, remember that VirtualBox can run only if you have a virtualization-capable CPU while the virtualization feature must be enabled from BIOS.
There you go; that’s how you can try to fix the VirtualBox not opening problem in Windows 10.
As mentioned, this error usually occurs after certain Windows 10 updates, so another workaround might be to uninstall the implied update.
You can also roll out your system to a previous release, and uninstall certain patches that you need.
Take a closer look at our detailed guide if you can’t install Windows 10 on VirtualBox, and fix it in no time.
You can tell us which method resolved your problem by filling out the comments form available below – in that way, you can help other users fix their own VirtualBox malfunctions.
Read our disclosure page to find out how can you help Windows Report sustain the editorial team. Read more


Improve this guide


User forum
0 messages