How to Stash Changes in Visual Studio Quickly

If you need to switch branches without losing your progress, use Git stash in Visual Studio. It temporarily stores your uncommitted work so you can restore it later.
Table of contents
How do I Stash Changes in Visual Studio?
How to Stash Changes in Visual Studio
Follow these steps to stash your work safely.
- Open Visual Studio and load your project.
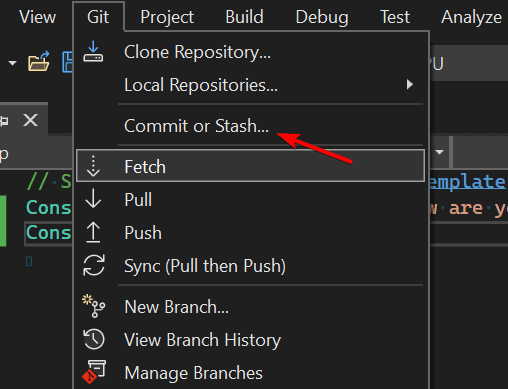
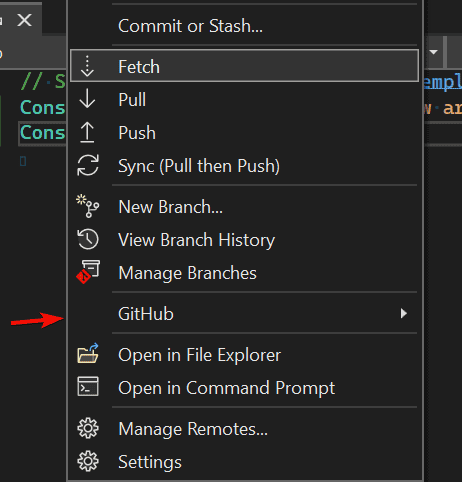
- Go to the Git menu in the top toolbar.
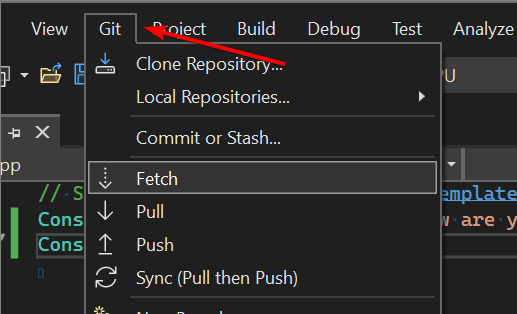
- Select Stash > Stash All.
- Enter a descriptive message for the stash.
- Click Stash to save your changes.
Your uncommitted files are now saved in a stash and your working directory is clean.
For project navigation, learn how to open Solution Explorer in Visual Studio.
How to Apply a Stash in Visual Studio
When you are ready to bring your stashed work back, do this.
- Open the Git menu.
- Choose Stash > Apply Stash.
- Select the stash entry you want to apply.
- Click Apply to restore changes.
If you want to remove the stash after restoring, choose Apply and Delete.
Before applying a stash, confirm your build is healthy. See how to compile a project in Visual Studio.
When troubleshooting build interruptions before applying your stash, learn how to stop a build in Visual Studio to ensure a smooth workflow.
How to View or Delete Stashed Changes
Manage your stashes from the Git Repository window.
- Open View > Git Repository.
- Expand the Stashes section.
- Right-click a stash to Apply, View, or Delete.
This keeps your repo organized when switching tasks.
Prefer a different interface language while working? You can change the display language in Visual Studio.
To better review differences between your stashed files, you can compare two files in Visual Studio and see changes side by side before applying them.
Why Use Git Stash in Visual Studio
- Keeps unfinished work safe when switching branches
- Reduces merge conflicts while testing quick fixes
- Makes it easy to pause and resume progress
FAQs
Yes. Check the Include untracked option when creating a stash.
They are stored locally in your Git repository and do not affect remote branches.
Yes. Add a clear message when you stash to identify the saved work.
Yes. Open View > Git Repository, expand Stashes, then double-click a stash to preview its changes.
Conclusion
Stashing changes in Visual Studio is a quick way to save work without committing. Use the built-in Git tools to stash, apply, and manage entries so you can switch branches with confidence.
Read our disclosure page to find out how can you help Windows Report sustain the editorial team. Read more


Improve this guide
User forum
0 messages