How to Normalize Volume in Windows 11: 3 Easy Ways
Avoid random sound spikes with a consistent volume output
Key notes
- Volume normalization is a feature that allows you to set the volume of all your tracks at the same level.
- It helps to keep the volume consistent across tracks so that one track doesn't override another one.

Volume normalization in Windows 11 is a digital audio processing technique compensating for the differences in audio volumes across different devices. In simple terms, it ensures that the loudest parts of your music are always at the same level.
If you’ve ever experienced a significant audio difference or the volume is too low, this feature can help balance it. In this article, we look at how you can achieve that balance.
Why do I need to normalize volume in Windows?
Volume normalization in Windows 11 may seem like an unnecessary process. But it’s important to ensure everyone can hear what you’re saying and understand what you’re saying. Other benefits include:
- Consistent sound levels – Normalizing sound in Windows ensures the audio levels are within a specific range.
- Avoid sound spikes – Normalization allows you to define the levels of your audio files. This ensures that there are no gaps or spikes in the volume.
- Prevent sound distortion – If you experience sound cackling or distortion in Windows 11, this feature allows you to hear everything clearly. You don’t have to worry about how loud each application or program is playing.
- Improve sound – If you have a high-quality microphone and low-quality headphones, normalizing can help you improve both inputs.
- Aids people with hearing problems – It makes it easier for people with hearing problems without their hearing damage being exacerbated by software changes made during normalization.
- Prevents ear damage – When you have multiple audio streams playing with distinct sound levels, it is easy to forget the recommended volume level, especially when using headphones. Over time, this can cause hearing impairment.
How do I normalize audio in Windows 11?
Before you embark on any sound normalization, ensure you do the following:
- Ensure you have updated your sound drivers to the latest version. If not, here’s how to get the best audio driver.
- If you use speakers or headphones, check whether they are plugged in correctly and properly.
- Check and test your microphone to ensure it is working.
1. Use Settings
- Hit the Windows key and click on Settings.

- Click on System on the left pane then select Sound on the right pane.

- Navigate to the Output section and click on your sound device.
- Scroll down and select More sound settings.

- In the Sound dialog box that pops up, under the Playback tab, click again on your sound device then select Properties at the bottom.

- Navigate to the Enhancements tab and check the Loudness Equalization box.

- Click Apply then OK to save changes.

2. Use the Control Panel
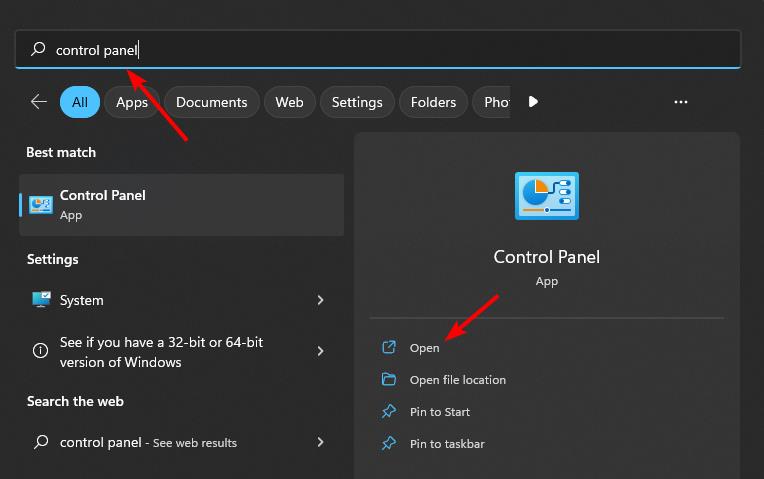
- Hit the Windows key, type Control Panel in the search bar and click Open.
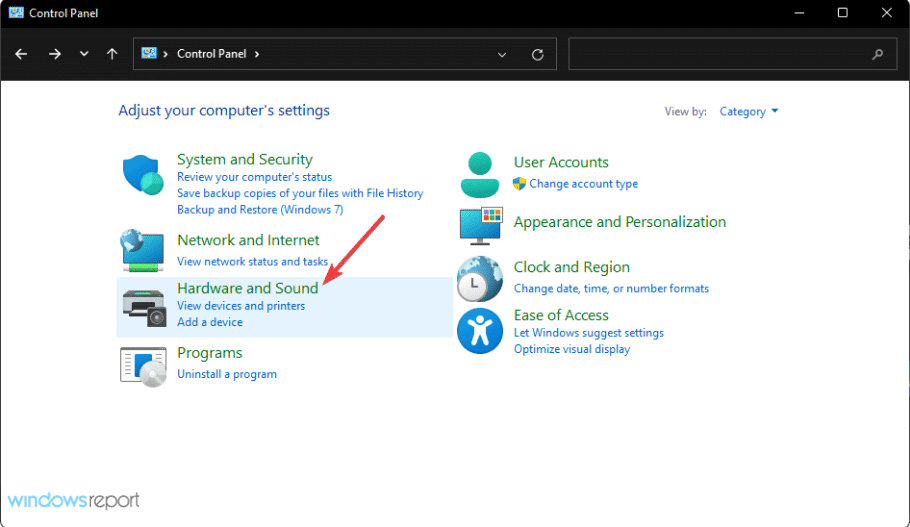
- Click on Hardware and Sound.
- Navigate to Sound.

- In the Sound dialog box that pops up, under the Playback tab, click on your sound device then select Properties at the bottom.
- Navigate to the Enhancements tab and check the Loudness Equalization box.
- Click Apply then OK to save changes.
It is important to note that at times, the Windows 11 loudness equalization feature may be missing from your PC. An easy workaround would be to update your sound card drivers.
3. Use third-party software
If you want more control over your sound output, use a third-party app. Several tools can be used to create custom sound settings for your Windows 11.
Some tend to be quite expensive or require some technical background knowledge. But others are free and very easy to customize your volume levels. To that effect, we have an expert recommendation of the best audio equalization software.
Does volume normalization affect sound quality?
Volume normalization is a signal processing technique that attempts to bring the loudest and quietest parts of an audio stream into balance. It does not affect sound quality in any way. If you’re looking for a way to enhance the sound, you’re better off installing audio enhancers.
However, when it comes to listening to some specific aspects, say high-pitch vocals or instruments that are meant to be a little bit quiet, volume normalization may not be for you.
This is because it removes all volume differences across channels. It can make it challenging to preserve crucial characteristics when using this technique. You may have to disable this feature if you want to retain some particular characteristic in each track.
Also, if you’re looking to optimize your sound while gaming, be sure to check out the best gaming equalizer settings that guarantee you an enhanced experience.
You may also benefit from volume mixer alternatives that have volume equalizer options for sound normalization. It can also be simply to get more control over your sound.
Let us know if you spot any difference when you normalize the volume in Windows 11 and when it’s off.
Read our disclosure page to find out how can you help Windows Report sustain the editorial team. Read more


Improve this guide


User forum
0 messages