VPN is Not Compatible with Windows 10: Here's a Quick Fix
VPN compatibility issues can be caused by bad configuration
Key notes
- Different types of VPNs may not be compatible with your Windows 10 device.
- If that ever happens, you need to take action immediately to protect your privacy.
- A quick and effective fix would be to set up a VPN profile or verify the VPN configuration.
- Check out our guide and learn what you can do if your VPN is not working on Windows 10.


World-class 24/7 support with 82% for a 2 years plan and 2 months free
70% of our readers choose Private Internet Access
70% of our readers choose ExpressVPN
Amazing connection speed with 61% off and 4 months free for the 2-years plan.
Best security protocols with 83% off and 2 months free for a 2-year plan.
Generally speaking, you can face various VPN issues that generate incompatibility with your Windows 10 PC.
Most VPN users need this software because they remain anonymous while online staying safe from hacking or spying, and their information isn’t tracked or targeted by online marketers and other online stalkers.
So what happens when your PC blocked the VPN connection on Windows 10 operating system?
Some of the common and known problems with VPN connections include:
- The connection is authorized but rejected
- The connection is unauthorized but accepted
- Inability to reach locations outside the VPN’s server
- Cannot establish a tunnel
However, this article looks at some solutions you can try if your PC not connecting to VPN, whether you just installed, upgraded from an older version, or updated it on your computer.
Why is my VPN not working on Windows 10?
Essentially, your VPN stops working on your Windows PC because of network issues, bad settings configuration, or simply server connection malfunctions.
It can be as well due to incompatible VPN services that don’t have the right protocols for your Windows version. So, if you require more useful support and solutions, the guides below will help you resolve this error.
How can I fix VPN not compatible with Windows 10?
1. Correctly install and configure the VPN
A VPN connection depends both on your operating system and your Internet Service Provider.
If your VPN is not compatible with Windows 10, check first how you installed and configured the VPN, and then go to the VPN service’s website and install and configure it correctly.
Different ISPs usually have different internet service plans and limitations so it is important to contact and/or consult with your ISP for any persistent issues.
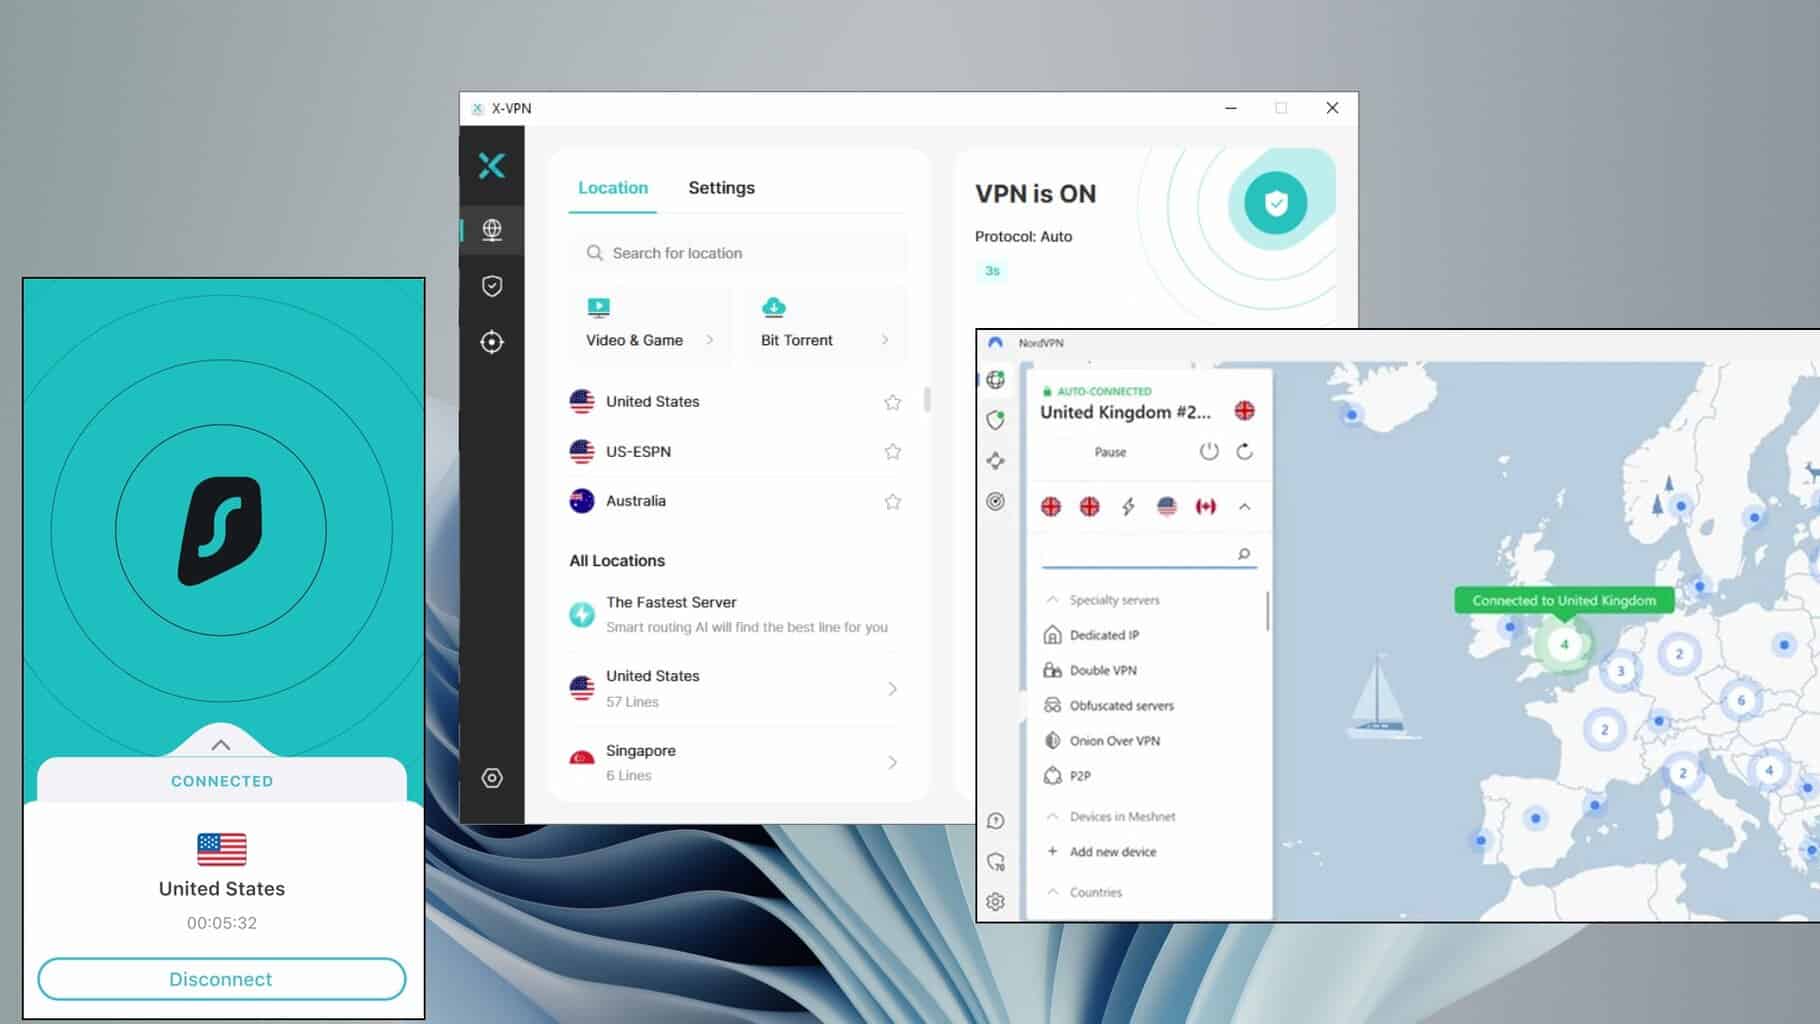
2. Try another compatible VPN
The best way to solve incompatibility issues is to ensure you possess efficient VPN software that is Windows 10 compatible from the beginning.
Our recommendation goes to ExpressVPN, a world-class VPN that runs perfectly with Windows devices and provides premium security and privacy-oriented features.
You have the strongest level of encryption to IP cloaking designed to anonymize your online presence, plus a strict no-logs policy meant to keep your data tracking-free.
Moreover, your traffic will be routed through secure VPN tunnels which create several layers of privacy around you.
You also benefit from a VPN test speed, servers in 94 countries, and secured access for multiple devices like PCs, mobiles, or Smart TVs and routers.
ExpressVPN
Use this VPN instead to ensure your high privacy and support for multiple devices.3. Check if you have a VPN profile and try to connect again
- Click Start and select Settings.

- Click Network & Internet.
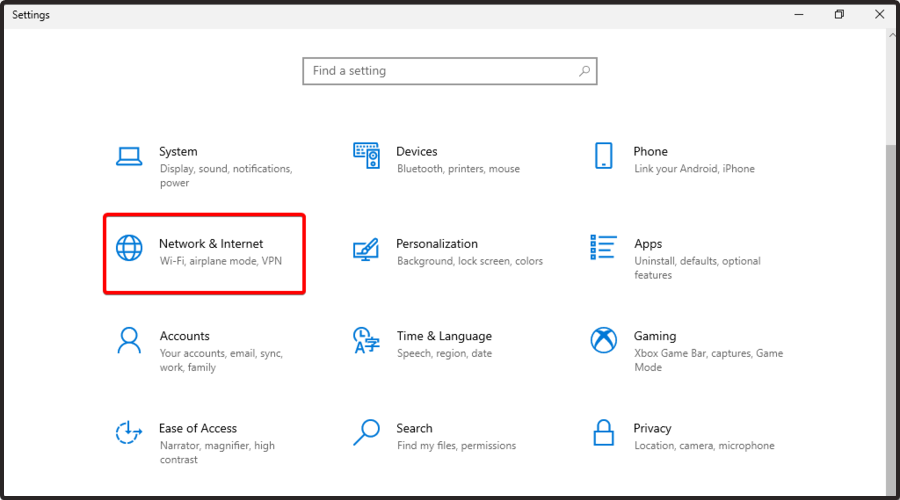
- Select VPN.

- Click Add a VPN connection.

- Under Add a VPN connection, do the following:
- Go to the VPN provider.

- Click on it and select Windows (built-in).

- In the Connection name, type any name of your choice for the VPN connection profile, which is what you’ll look for when trying to connect in the server name or address box.

- Then type the address for the VPN server.

- For VPN type, choose the type of connection you want to create. You can check which one your company or VPN service uses.

- Under Type of sign-in info, choose the info to use like a username or password, one-time password, certificate, or smart card if it’s VPN for work.

- Select Save.
- If you need to edit the VPN connection information or specify additional settings, choose the VPN connection and then click Advanced options.
If you don’t already have a VPN profile, then you may think that your VPN is not compatible with Windows 10, but you need a profile in order to connect.
If it’s for work, check the VPN settings or VPN app on your company’s intranet or check with the dedicated support person within the company.
If it’s for personal use, go to the Microsoft Store and check if there’s an app for that service, then go to the VPN service’s website and see if the connection settings are listed therein.
Here’s how to create a VPN profile:
Once you have a VPN profile, you can launch the VPN by clicking the Network icon on the taskbar, selecting the VPN connection, and clicking Connect. You can type your username or password or other sign-in if prompted to.
4. Scan for hardware changes
Here’s how to do this:
- Right-click Start.
- Select Device Manager.
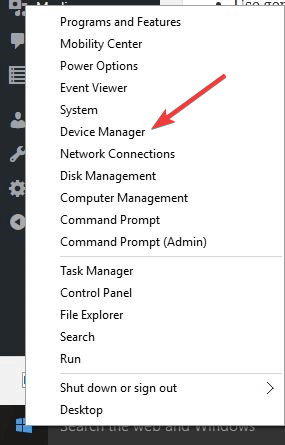
- Go to Network Adapters.
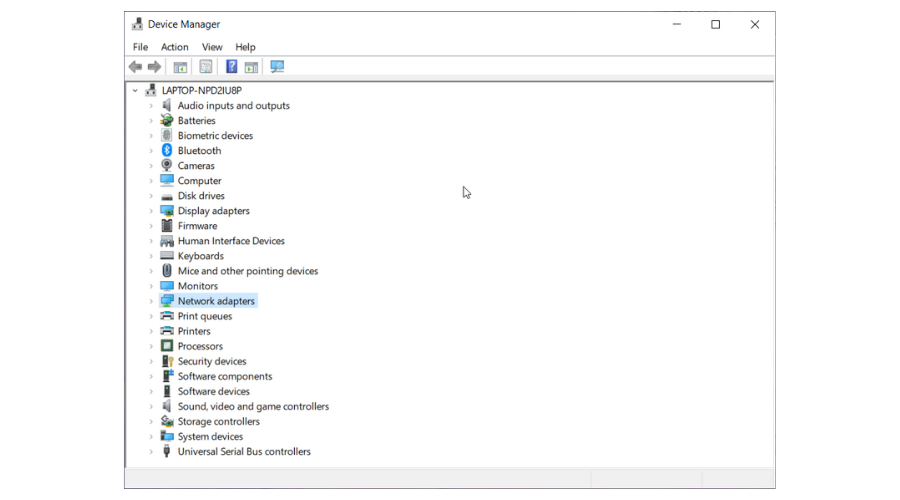
- Right-click again on Network Adapters.
- Click on Network Adapters to expand the list.

- Right-click on each entry under Network Adapters and Uninstall all adapters starting with WAN Miniport.

- Right-click again on Network Adapters.
- Select Scan for Hardware Changes.

The adapters will reinstall automatically without restarting your computer.
5. Check for any updates for your VPN or Windows Updates
Different VPNs have their updates and/or releases, for example, Cisco pushes its own solutions so you may have to wait for Cisco to release a compatible solution if your VPN is not compatible with Windows 10.
If your business supports L2TP/IPsec connections, check with your IT admin for assistance.
Note: Windows only runs apps from the Windows Store, so you need to contact your VPN service to see if they have an available app for VPN with Windows.
6. Ensure routing and remote access service are running
This is done by opening the Control Panel of the server, then clicking Administrative Tools, and then Services.
After confirming that both are running, try to ping the VPN server by the IP address from the VPN client. Initially, you should do this in order to verify that the TCP/IP connectivity is in existence.
Ping once, then if successful, ping again with the FQDN of the server, not its address.
If the ping fails yet the IP address ping was successful, then there’s a DNS problem as the VPN client cannot resolve the server’s name to the IP address.
7. Check the authentication process
Different methods of authentication exist for VPN connections, and both VPN clients and servers need to have at least one method that is common to each.
In order to check the authentication process, do the following:
- Right-click the Start button.
- Select Run.

- Type MMC and press Enter or click OK.

- An empty Microsoft Management Console session will open.

- Select Add/Remove Snap-In command from the File menu.

- Click Add to display the available snap-ins.

- Select Routing and Remote Access.
- Click Add.
- Click Close and This will add the Routing and Remote Access snap-in to the MMC.
- Right-click on the VPN server’s listing.
- Select Properties.
- Under the Security tab, click Authentication Methods – a dialog box will open with available methods of authentication.
- Enable or disable the methods by selecting/deselecting the related checkboxes.
8. Check your connection to the VPN server
If you’re using a dial-up connection to the internet, your remote user may not have dial-up privileges, which may be why your VPN is not compatible with Windows 10.
In this case, check your dial-up privileges from the Dial-In tab under User properties in the Active Directory Users and Computers, or check from the domain Remote Access Policy.
If your domain runs in Windows 2000 Native Mode, then the VPN server must be a member, otherwise, the logins will not be authenticated.
Also check the IP addresses as web-based VPN connections use two different addresses for a VPN client, one from the ISP, and another from the VPN server.
Let us know if your VPN is still not compatible with Windows 10 after trying these solutions. If they worked for you, share with us your experience in the comments section below. Additionally, if you’re experiencing these issues specifically with VyprVPN, we’ve got you covered.
Read our disclosure page to find out how can you help Windows Report sustain the editorial team. Read more


Improve this guide


User forum
1 messages