Windows 10 WiFi Connected but No Internet Access [Full Fix]
Rest assured that our tested solutions won't disappoint you
5 min. read
Updated on
Read our disclosure page to find out how can you help Windows Report sustain the editorial team. Read more
Key notes
- Many users reported being connected to Wi-Fi only to see their Internet connection is not working.
- In this article, we are exploring some ways you can fix this issue in no time.
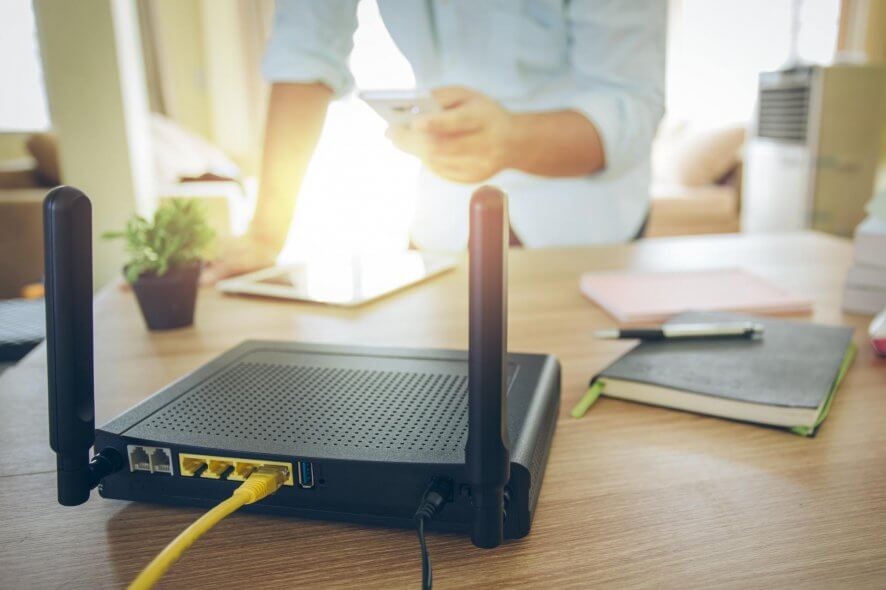
One of the most annoying problems regarding Wi-Fi is your device showing full Wi-Fi bars, yet your Internet connection is still not working.
Do not worry, as this is a relatively common situation that many users are complaining about.
Below, you can find some practical solutions to walkthrough if you face this situation.
How can I fix my device connected to Wi-Fi but not to the Internet?
1. Restart your computer
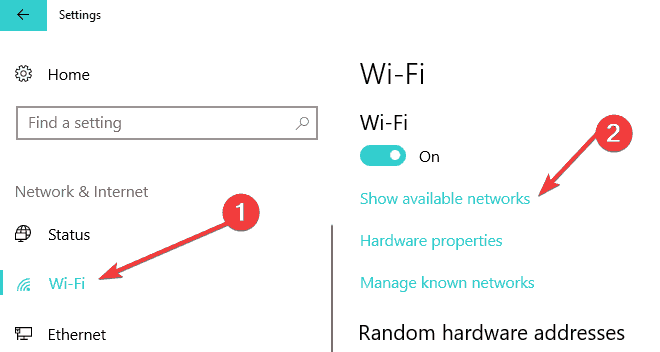
- Click the Start button and go to Settings.
- Navigate to Network & Internet.
- Next, choose Wi-Fi.
- Select your network connection and click Connect.
2. Restart your Internet modem and router
Another easy step that could fix your problem is unplugging your modem and router from their power sources, waiting for a few seconds, and plugging them back in.
Restarting the router and modem flushes the memory contents and helps reset any background or lingering problems.
3. Update the network adapter driver
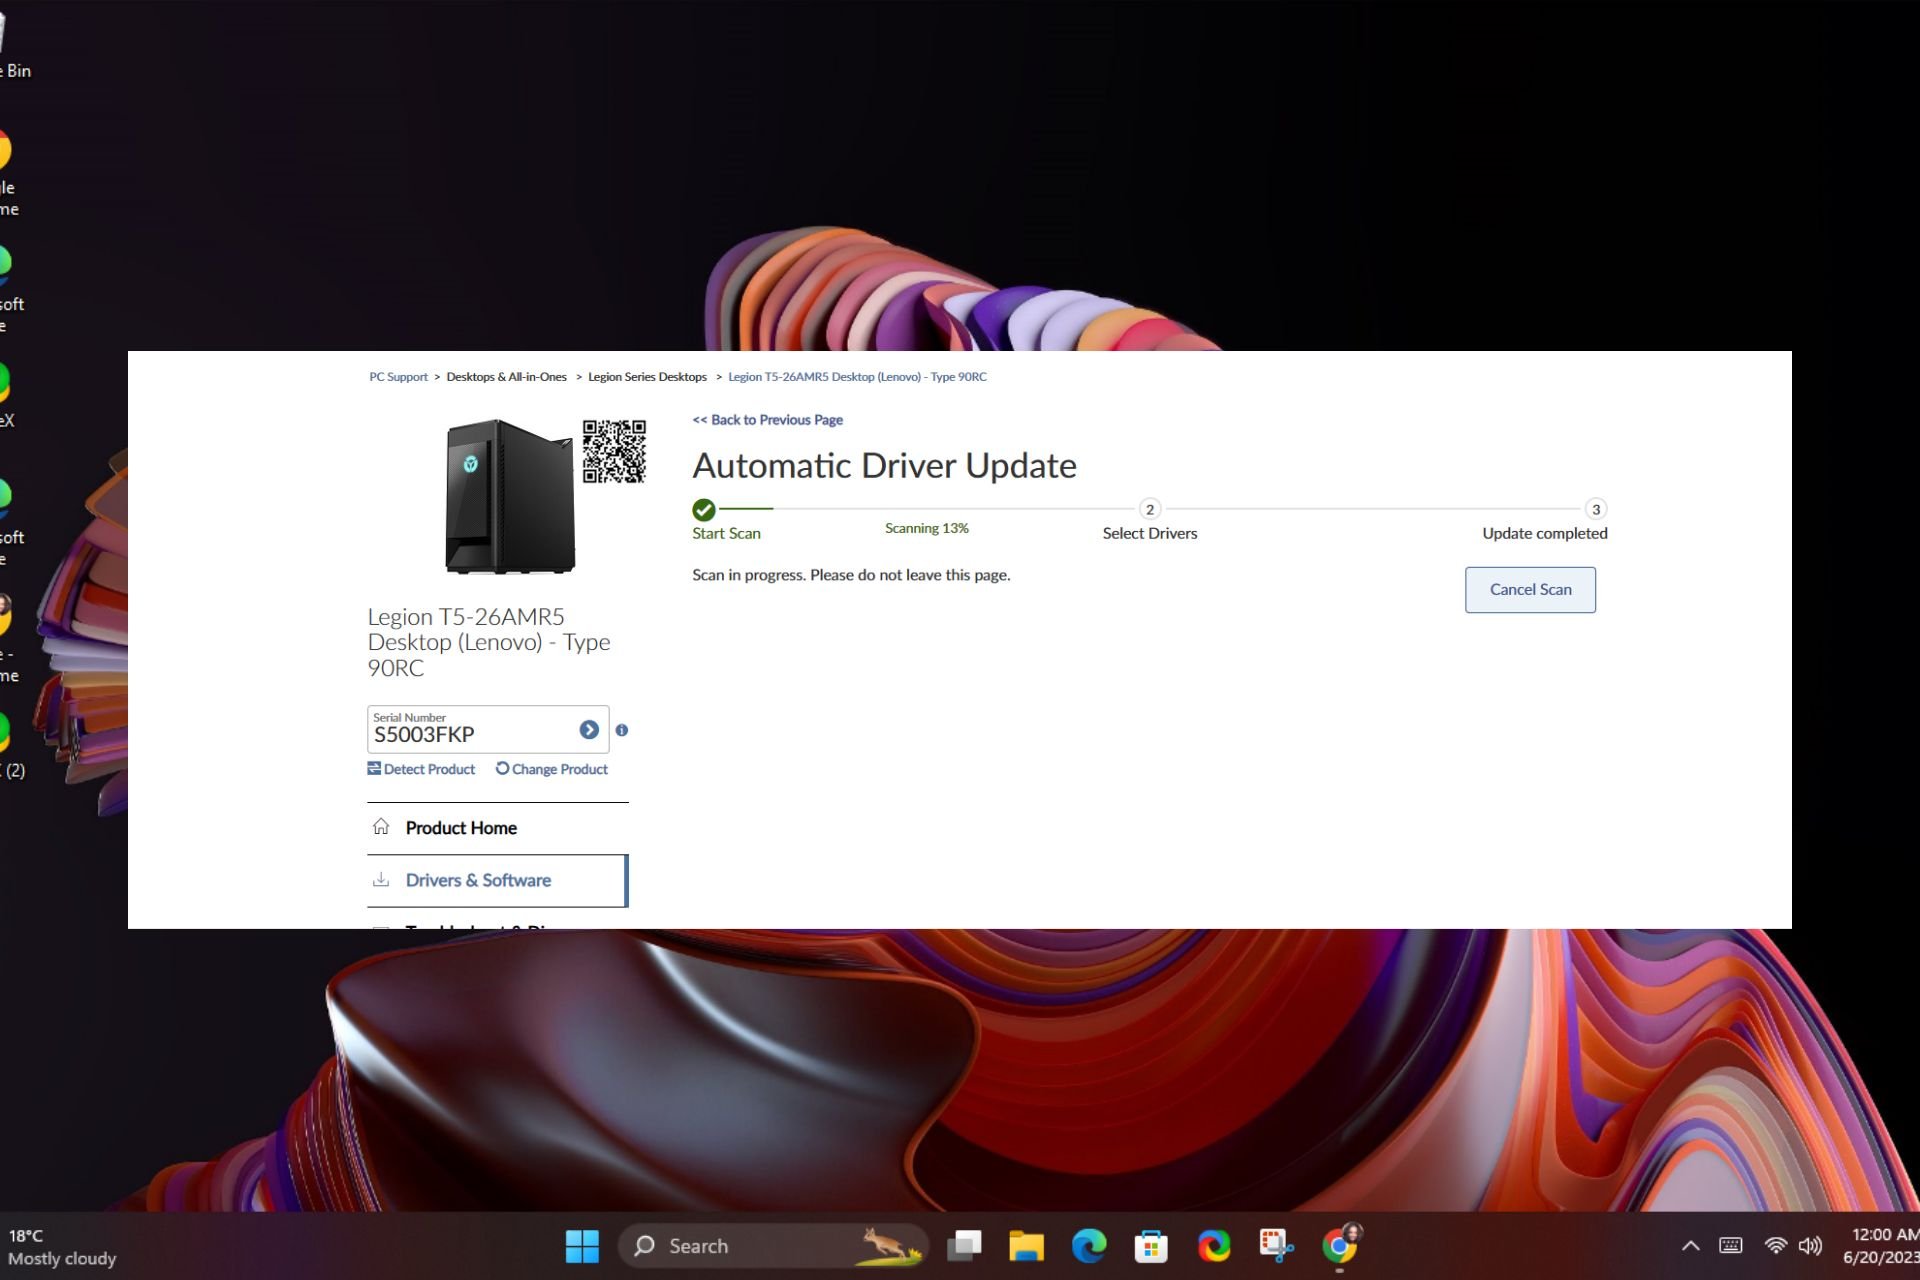
Wi-Fi not working can probably be caused by a missing or outdated network driver, and the way to solve this is to check and see if an updated driver is available.
Using a third-party driver update is the quickest way to fix this issue, and we recommend using PC HelpSoft Driver Updater.
This tool will scan your computer and inform you about outdated, damaged, or missing device drivers. Next, you can choose how to update your drivers manually or automatically.
Once you install the software, it will scan your device and let you know your driver’s status. The scan will not take long, and the better news about it is that it won’t use much CPU or RAM.
Next, you can update the drivers individually or in bulk. Then, you can let the automated process do the job for you and update the old drivers.
4. Make sure you connect to the correct network
Ensure your Wi-Fi device is not trying to reach a network next door because even if Wi-Fi is on and connected, you might still not have working internet.
To verify this, open the Wi-Fi settings and check the network name you are trying to connect to. It is probably not your network if you do not recognize it.
Also, if your device is connected to a VPN service, you might see a full Wi-Fi connection but no internet connectivity.
In this case, try a different VPN server or disconnect from the VPN completely to see if that fixes the problem.
5. Re-enter the wireless password
Some operating systems will not warn you if you put in the wrong wireless password.
Your computer might show that you have a strong Wi-Fi signal but if the password is incorrect, the router will refuse to properly communicate with your device.
If you are using a laptop on a public Wi-Fi hotspot, make sure the password is correct. You might be using an old password that used to work but has changed meanwhile.
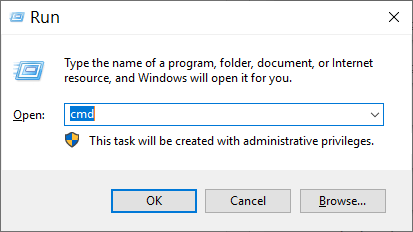
6. Run commands in Command Prompt
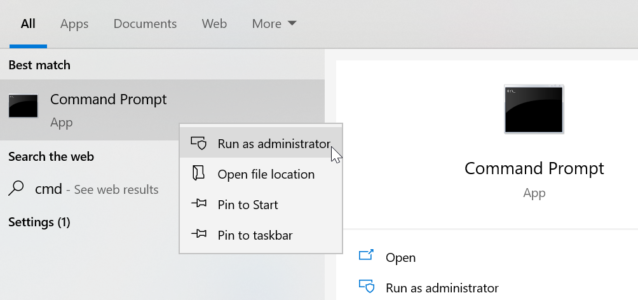
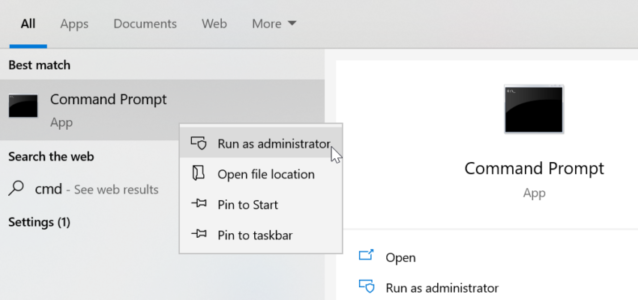
- In the search box on the taskbar, type Command prompt.
- Right-click Command prompt, and then select Run as administrator.
- In the Command prompt, run the following commands.
netsh winsock resetnetsh int ip resetipconfig /releaseipconfig /renewipconfig /flushdns
7. Use Windows Network Troubleshooter
- Type Network Troubleshooter in the search box.
- Click on Identify and Repair Network Connections.
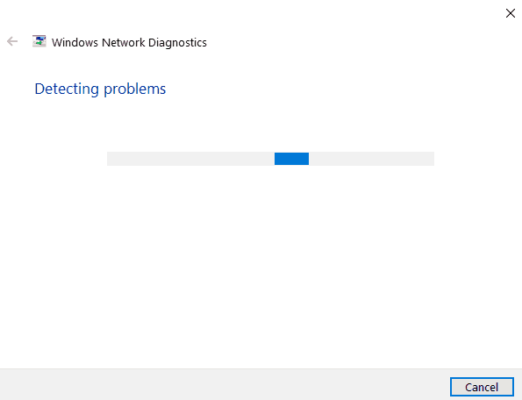
- The Windows Network Troubleshooter will start.
8. Reset DNS
- Right-click the network connection icon at the bottom right corner.
- Click Open Network and Sharing Center.
- Click Change adapter settings.
- Right-click your Wi-Fi adapter and click Properties.
- Select Internet Protocol Version 4 (TCP/IPv4).
- Next, click Properties.
- Click Obtain an IP address automatically.
- If you still cannot connect to the internet, select Use the following DNS server addresses and fill in the addresses:
- Preferred DNS server: 8.8.8.8
- Alternate DNS server: 8.8.4.4
9. Temporarily turn off your security software
Your problem can also be caused by interference with your security software. To see if that is the case, temporarily turn off your security software and check if the problem is solved.
Consult your software documentation for instructions to disable it. If this solves the problem, contact your security software vendor and ask them for advice, or install a different security program.
Note: While your security software is disabled, be extra careful what sites you visit, what emails you open, and what files you download, as your computer is very vulnerable.
Make sure you turn your antivirus software back on as soon as possible to ensure your computer is better protected.
10. Temporarily turn off your Firewall
- Open the Start menu and type Command Prompt.
- Right-click on the top link and select Run as administrator.
- Type netsh advfirewall set allprofiles state off.
- Next, press Enter.
Similarly, to turn your firewalls back on, return to Command Prompt and type netsh advfirewall set allprofiles state on.
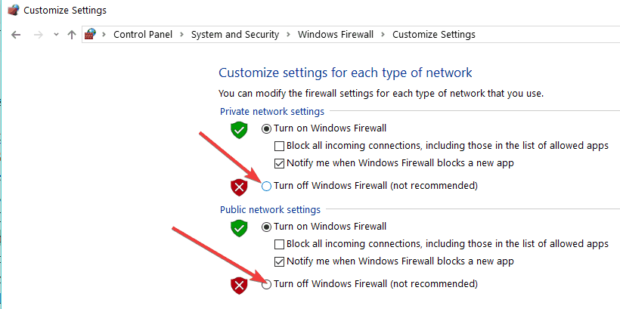
If you’re using Windows 10’s built-in firewall, you can disable it directly from the Control Panel, as shown in the screenshot below.
These are some workarounds you can use if your Wi-Fi appears connected, but the Internet is not working. For users who have multiple access points, it can be worth checking out whether your access point is temporarily full because this means your bandwidth is up to capacity.
In case no WiFi networks are found, we have a dedicated guide that addresses this issue, so don’t miss it.
Let us know which of these methods helped you fix your problem.





User forum
0 messages