Fix: Windows Cannot Boot Into The Next Phase of Installation
Try these methods if Windows fails to boot into the next installation phase
Key notes
- Windows may not boot into the next installation phase for many reasons.
- If your BIOS doesn’t support the version of Windows you’re installing, it may result in errors.
- Updating BIOS and deleting partitions can fix the error.

Some of our readers have complained about errors they encounter when installing or upgrading an existing version of Windows. The error message saying Windows could not prepare the computer to boot into the next installation phase is one of these errors.
You can also experience the Installation failing on the Safe_os Phase on Windows 11.
Why can’t Windows boot into the next installation phase?
The main culprit for this error is BIOS not supporting the version of Windows you’re installing. It indicates that your hardware is not compatible with the version of the OS it’s trying to install.
Furthermore, other factors that may prompt Windows not to boot into the next phase of installation are:
- Corrupt system files or software – When you have a corrupt system file or software on your PC, it can affect the installation of Windows or upgrade an existing version of Windows.
- Issues with BIOS settings – Windows installation on your PC can run into errors due to some file corruption in the BIOS. It causes problems with your computer and the new OS you’re installing on it.
- Many unnecessary devices plugged in – Sometimes, having many nonessential devices connected to your PC can affect the installation or upgrading process. Likewise, if the BIOS version isn’t strong enough, it’ll act up if it’s overworked by these devices, resulting in Windows not being able to boot to the next installation phase.
However, these causes may vary on numerous PCs but can be resolved by troubleshooting some settings on your computer.
What can I do if Windows cannot boot into the next phase of installation?
Before proceeding with any advanced troubleshooting steps for fixing the error, go through the preliminary check below:
- Turn off background apps on your PC to increase available system resources.
- Ensure there is enough disk space on your computer.
- Unplug unnecessary USB or external devices connected to the computer.
- Create a system image backup on your PC.
- Temporarily disable third-party Antivirus software running on the PC, likewise the Windows Defender Firewall.
If you’re unable to fix the issues, proceed with the solutions below:
1. Update your BIOS
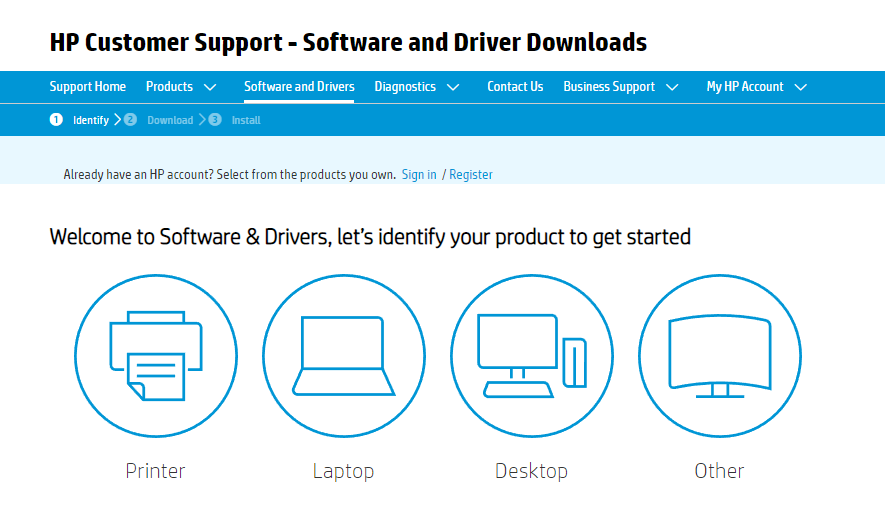
- Go to the HP driver and software download website and identify your product by selecting from the list.
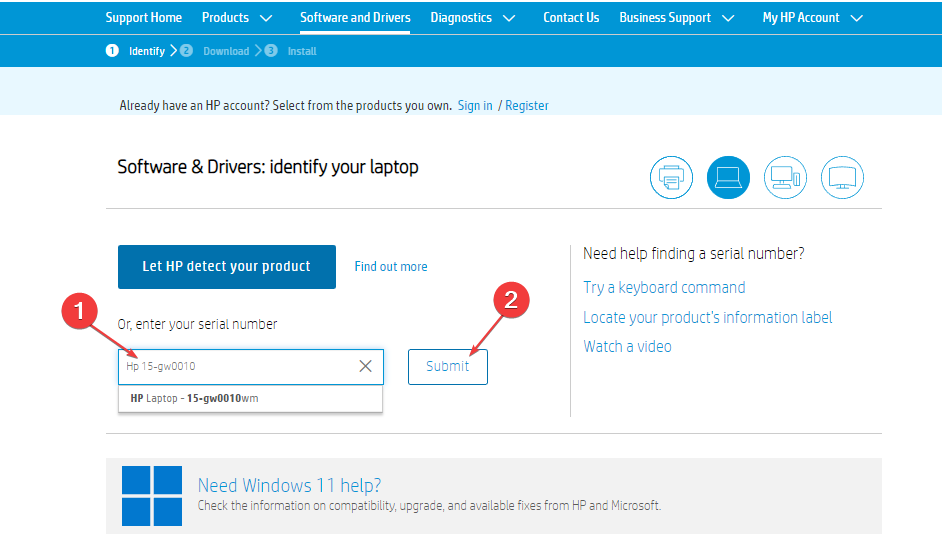
- Click on the Serial number box, input your serial number or exact computer model, and select Submit.
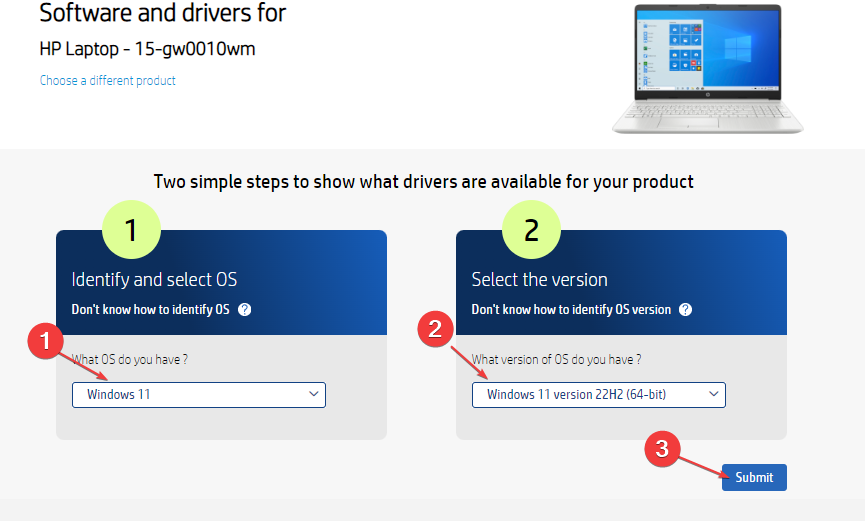
- Select your OS and your OS version.
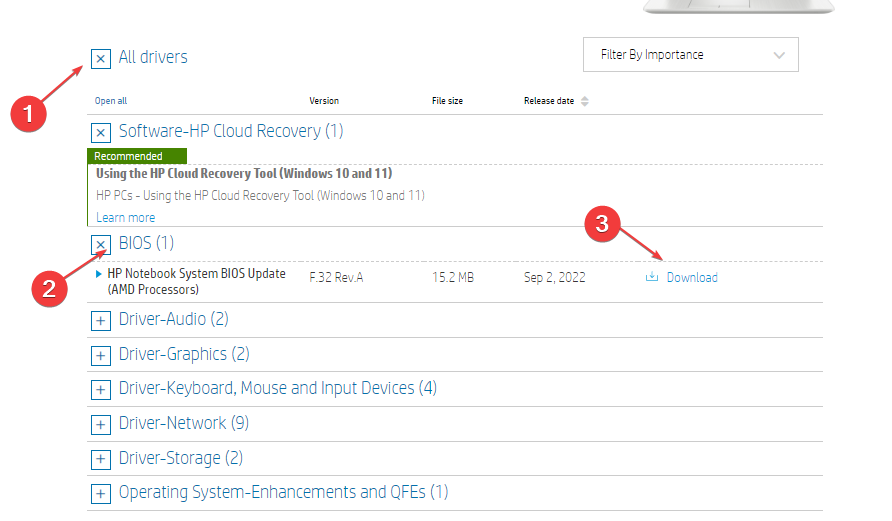
- Click the plus All drivers, then click BIOS to expand it, see available updates, and click on Download.
- Double-click the downloaded file to install the .exe file, then follow the on-screen instructions to complete the installation.

- Restart your PC and select the Apply Update Now option to implement the installed BIOS update during the startup.
Updating the BIOS improves its compatibility, making it compatible with new hardware versions. Also, it enhances its stability and prevents crashing.
The updating process varies on different PCs, so we have a guide on how to check and update BIOS on various laptops.
2. Delete partitions on your computer
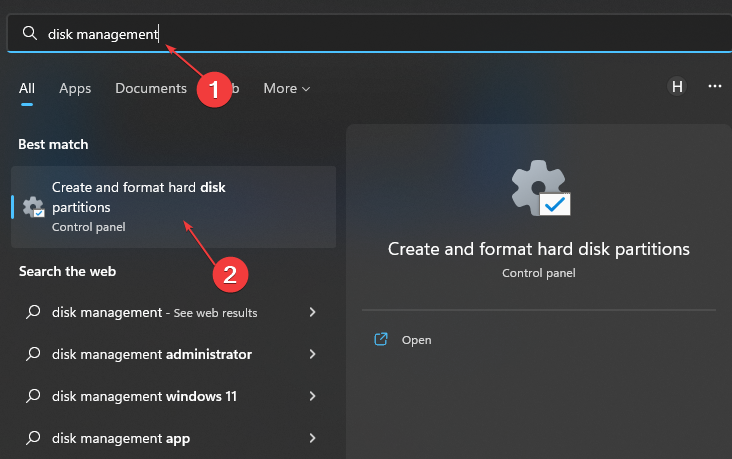
- Left-click the Start button, search for Disk Management and launch the Create and format hard disk partition.
- Right-click the drive with the Partition you want to delete and click on the Delete Volume option from the drop-down.
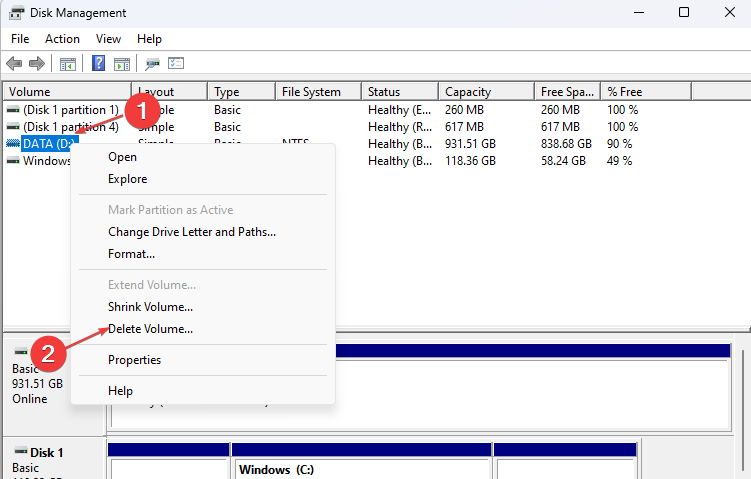
- Click the Yes button to confirm that you want to delete the selected partition data.
Deleting the partitions on your PC allows it to recreate and reformat. Likewise, it frees up memory space for installing a new OS. So, you can fix the Windows but cannot prepare the computer to boot into the next installation phase.
Check what to do if you accidentally delete the recovery/boot partition on Windows 10/11.
3. Create Installation Media properly
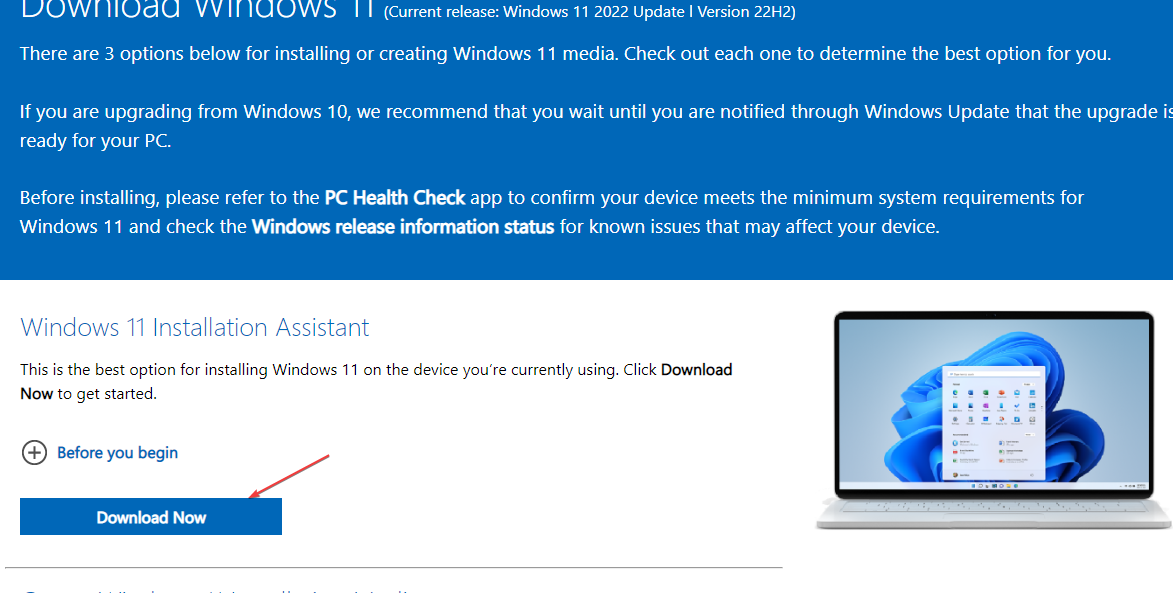
- Download and launch Windows 11 Media Creation Tool on this PC.
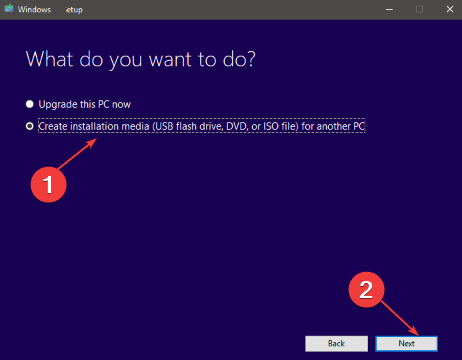
- Select Create installation media (USB flash drive, DVD, or ISO file) for another PC option and click Next.
- Select the language, architecture, and edition of Windows 10. It’s essential to choose the correct architecture, 64-bit or 32-bit, or you can select both.
- Select the USB flash drive option.
- Select the removable drive you want to use from the list.
After the Windows 10 installation files have been downloaded, your computer will create a bootable USB that will be compatible with devices using UEFI or BIOS.
Installing Windows via a bootable USB drive can fix the problem. If you encounter any issues creating the drive, read how to create a bootable USB drive for Windows 11
Nevertheless, we have a detailed guide on how to fix issues with Windows installation on your PC.
You can also read how to fix Windows 11 installation that has failed: error 0xc1900101 on your computer.
Read our disclosure page to find out how can you help Windows Report sustain the editorial team. Read more


Improve this guide


User forum
0 messages