Solved: Windows Update error 0x8024d001 on Windows 11
Make sure that the stand-alone installer was downloaded properly
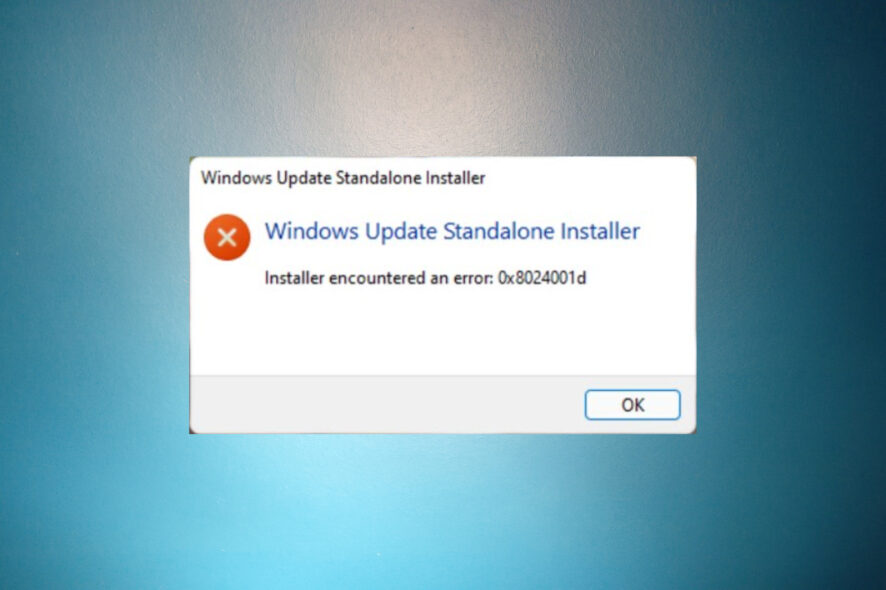
Error number 0x8024d001 Windows Update shows up on Windows 11 if you’re using a stand-alone installer and the easiest way to fix it is to run the dedicated troubleshooter. The message reads Installer Encountered Error Code: 0x8024001d. We’ve come across this issue, so here’s what to do.
How do I fix the Windows Update error 0x8024d001?
1. Run the Windows Update troubleshooter
- Click the Start button and go to Settings.
- In the System tab, choose Troubleshoot.
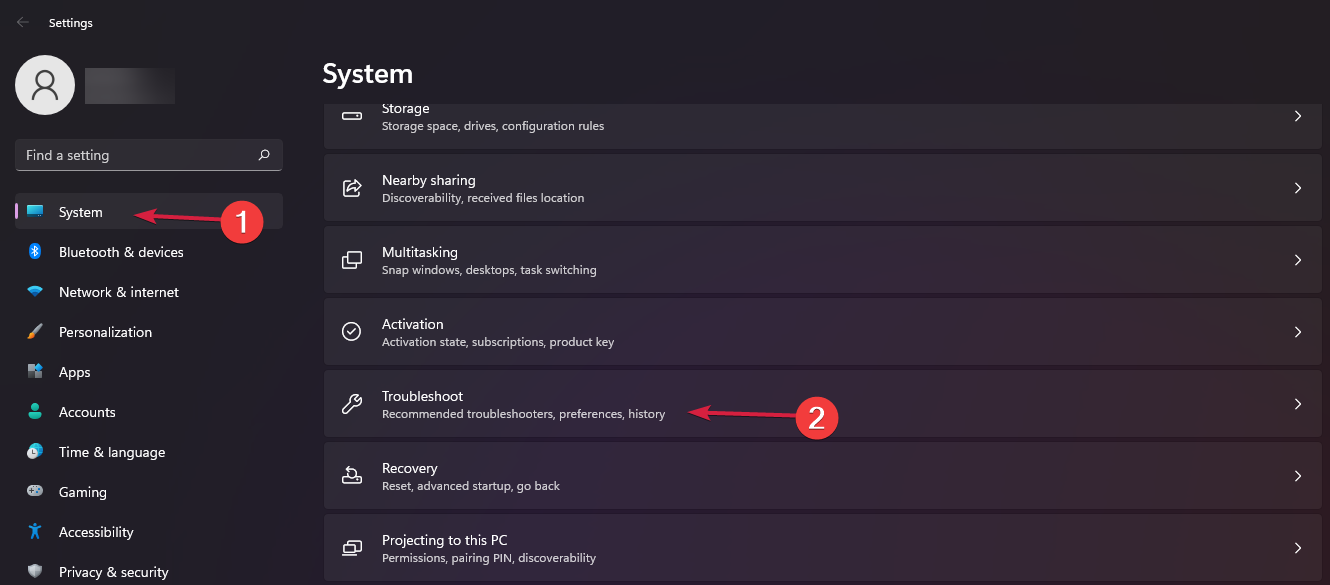
- Now, click on Other troubleshooters.

- Finally, click the Run button for Windows Update.
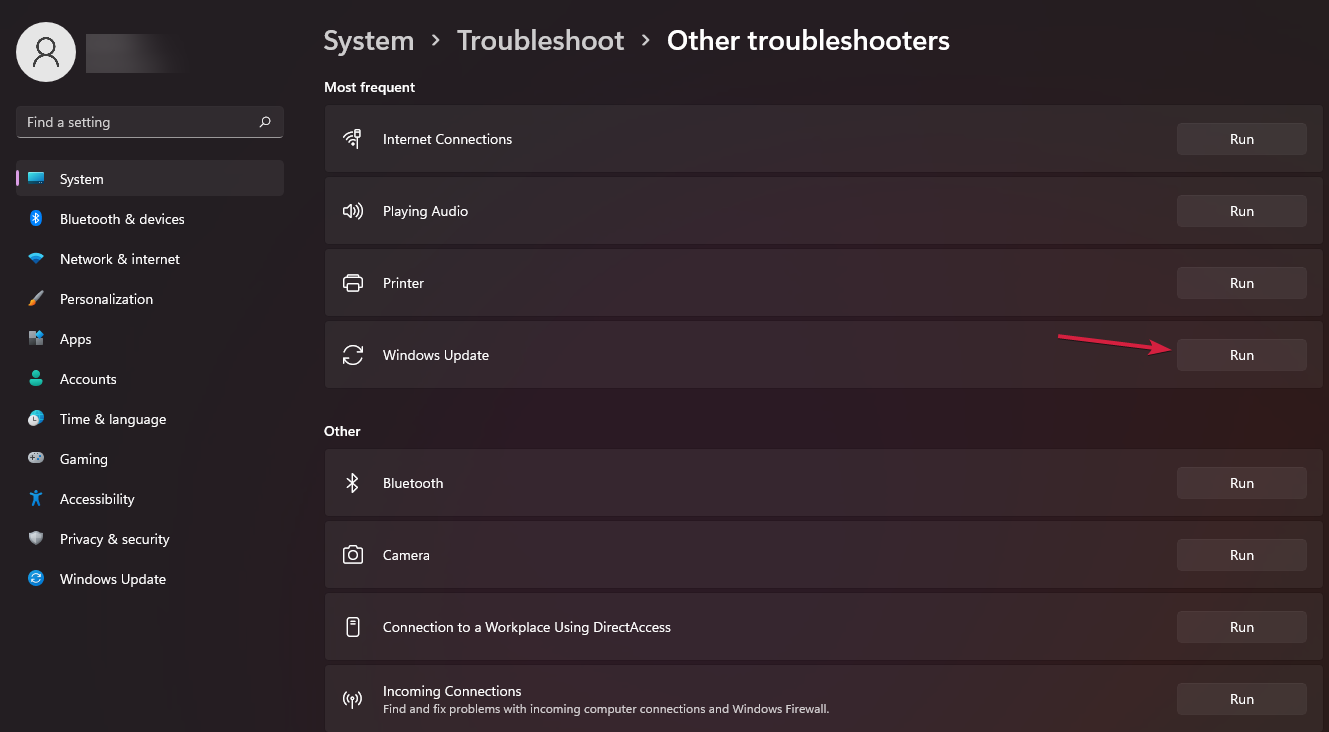
- The system will, most likely, find the Windows Update error and fix it. Check to see if the error 0x8024d001 still occurs.
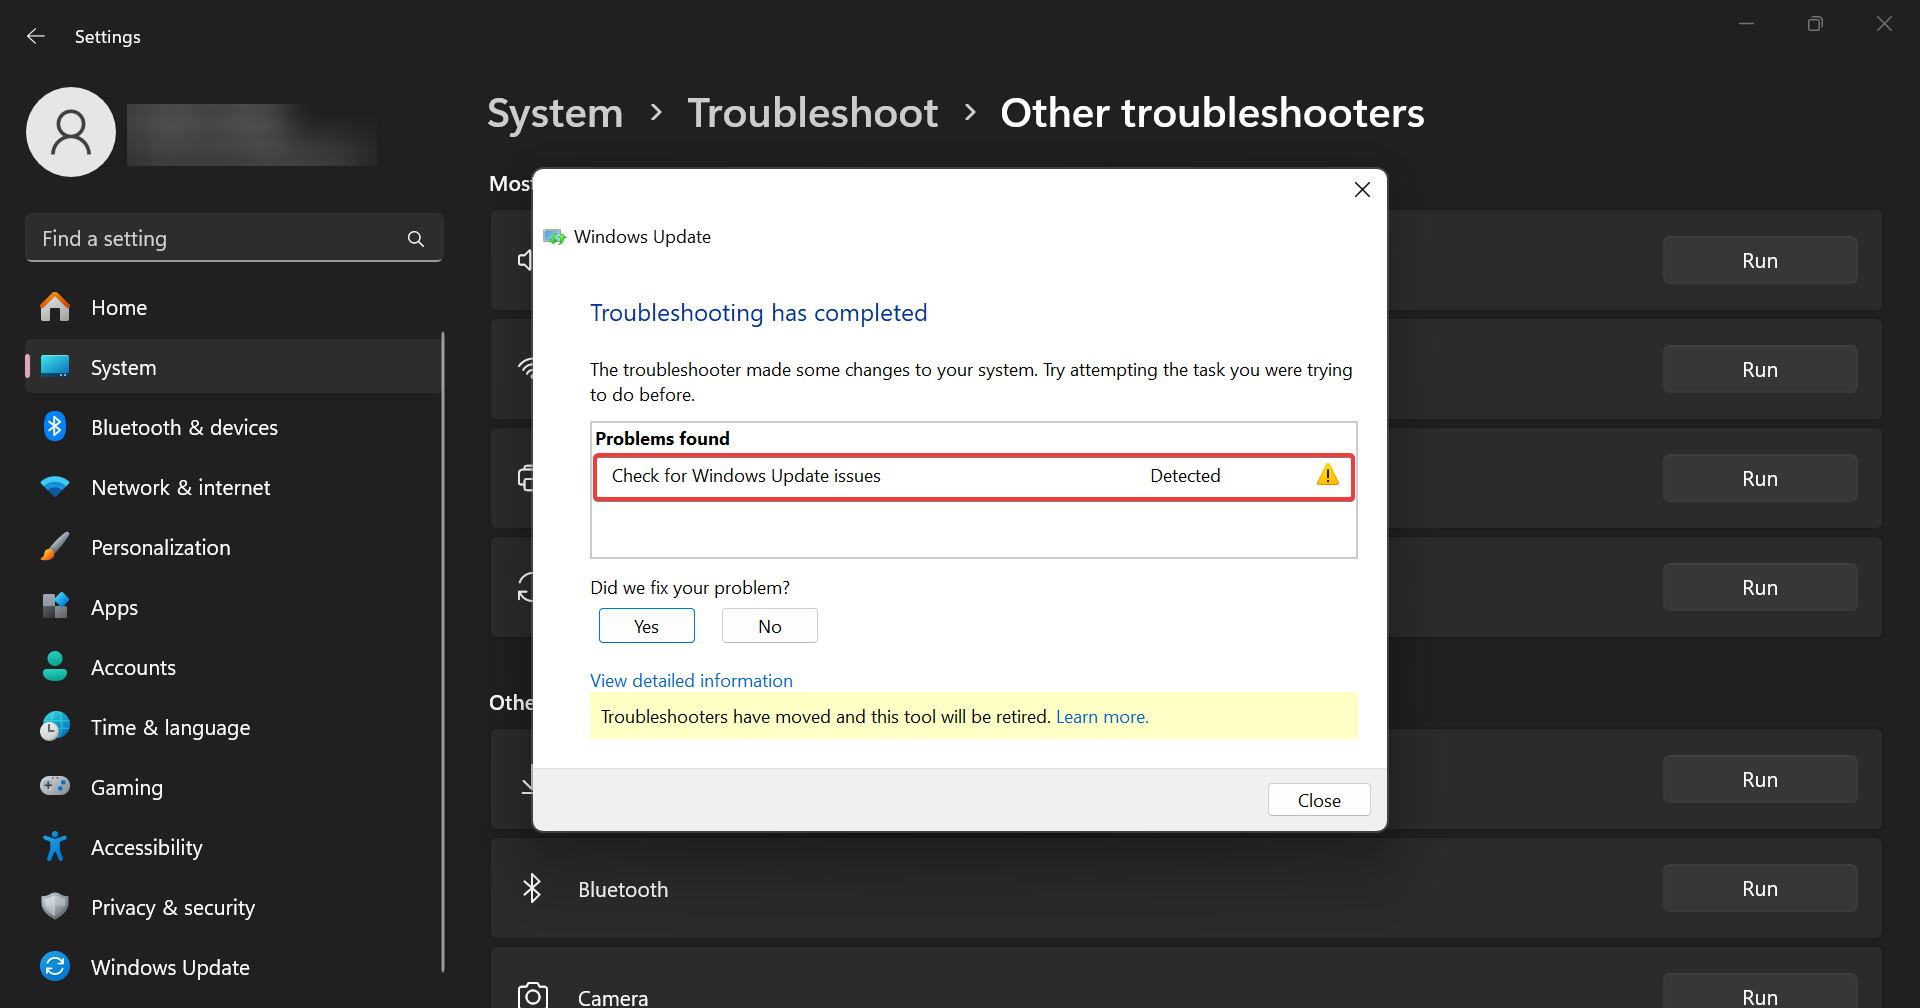
So, the easiest way to fix the error number 0x8024d001 Windows Update is by using the built-in troubleshooter. From our tests in the WR labs, this simple method fixed the problem.
We also have a more general guide on how to fix Windows 11 update errors. You can check it for further information.
2. Delete the downloads from the SoftwareDistribution folder
- Press the Windows key + E to start File Explorer.
- Go to the following path:
C:\Windows\SoftwareDistribution\Download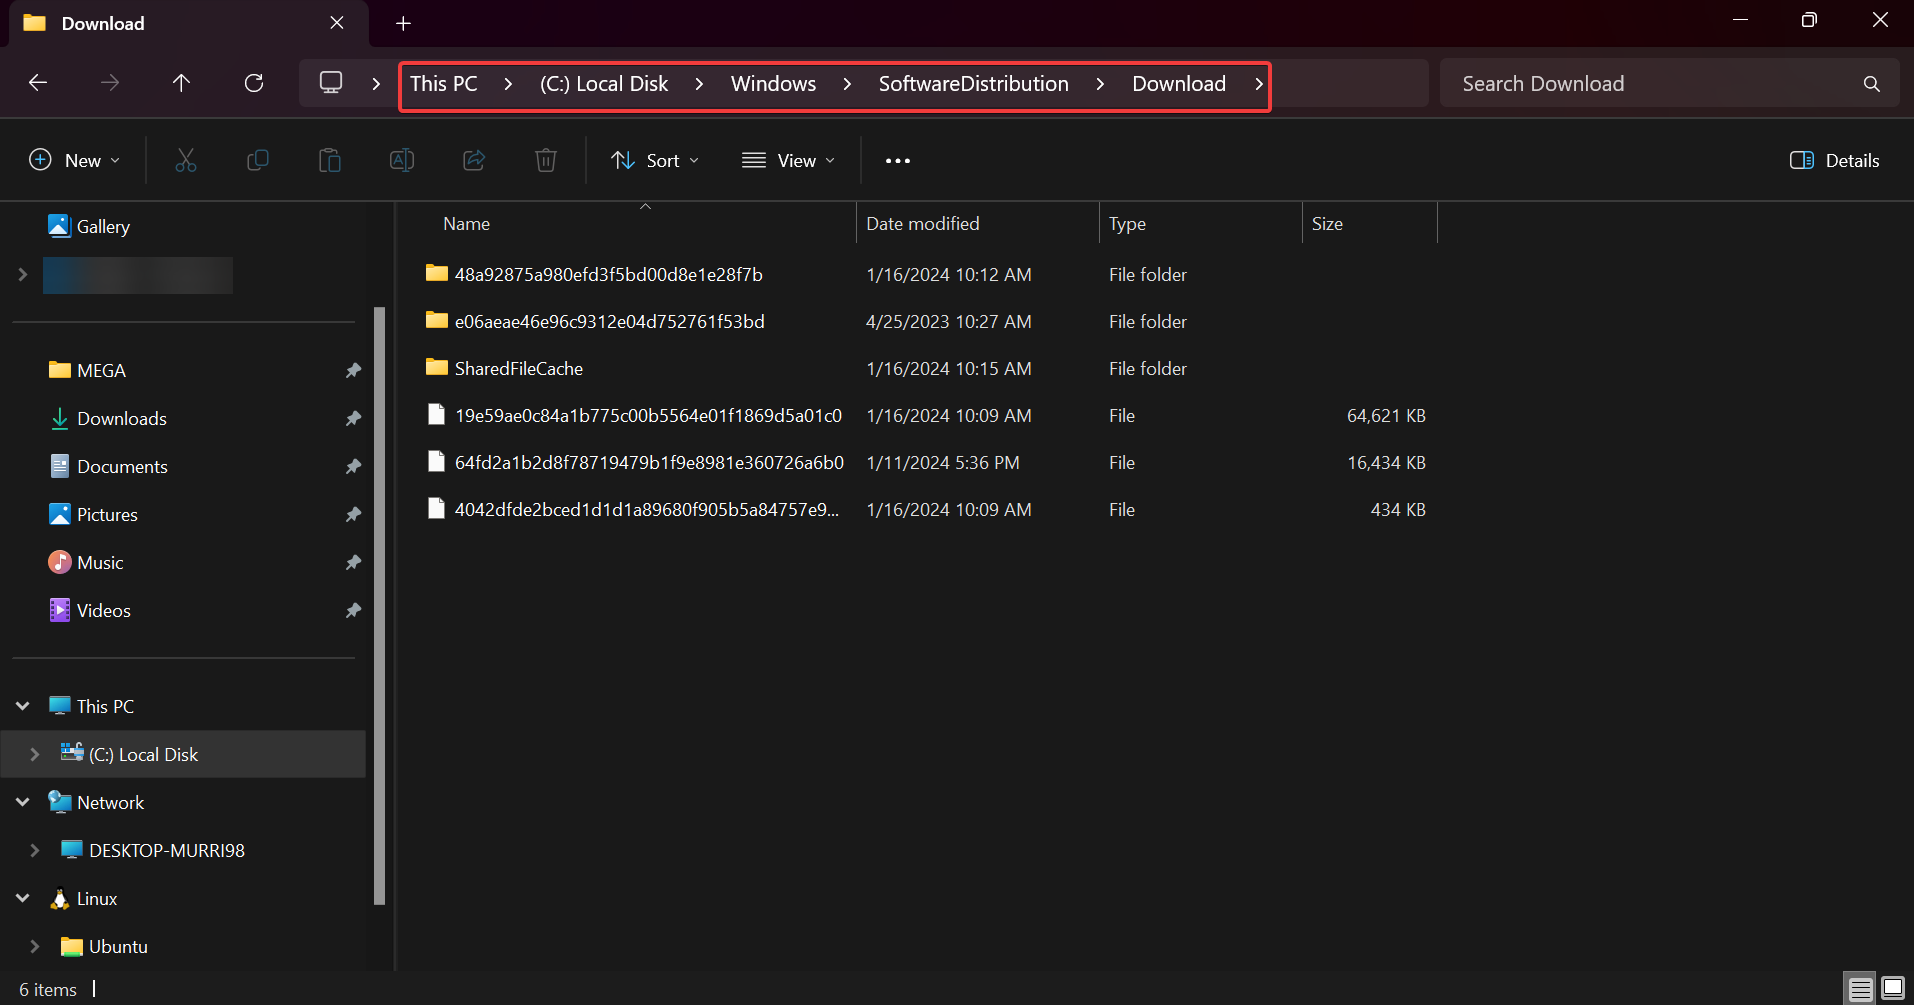
- Now, select all the files in the folder with your mouse or by pressing Ctrl + A and hit the Del button.
- Restart your PC and try the Windows Update again to see if the 0x8024d001 error persists.
The error number 0x8024d001 on Windows Update is sometimes caused by the incomplete or corrupted download of the update. Deleting the contents from the SoftwareDistibution > Download folder will refresh the Windows Update process.
We also have a dedicated guide on how to delete the SoftwareDistribution folder safely if you need more information.
3. Restart the Windows Update service
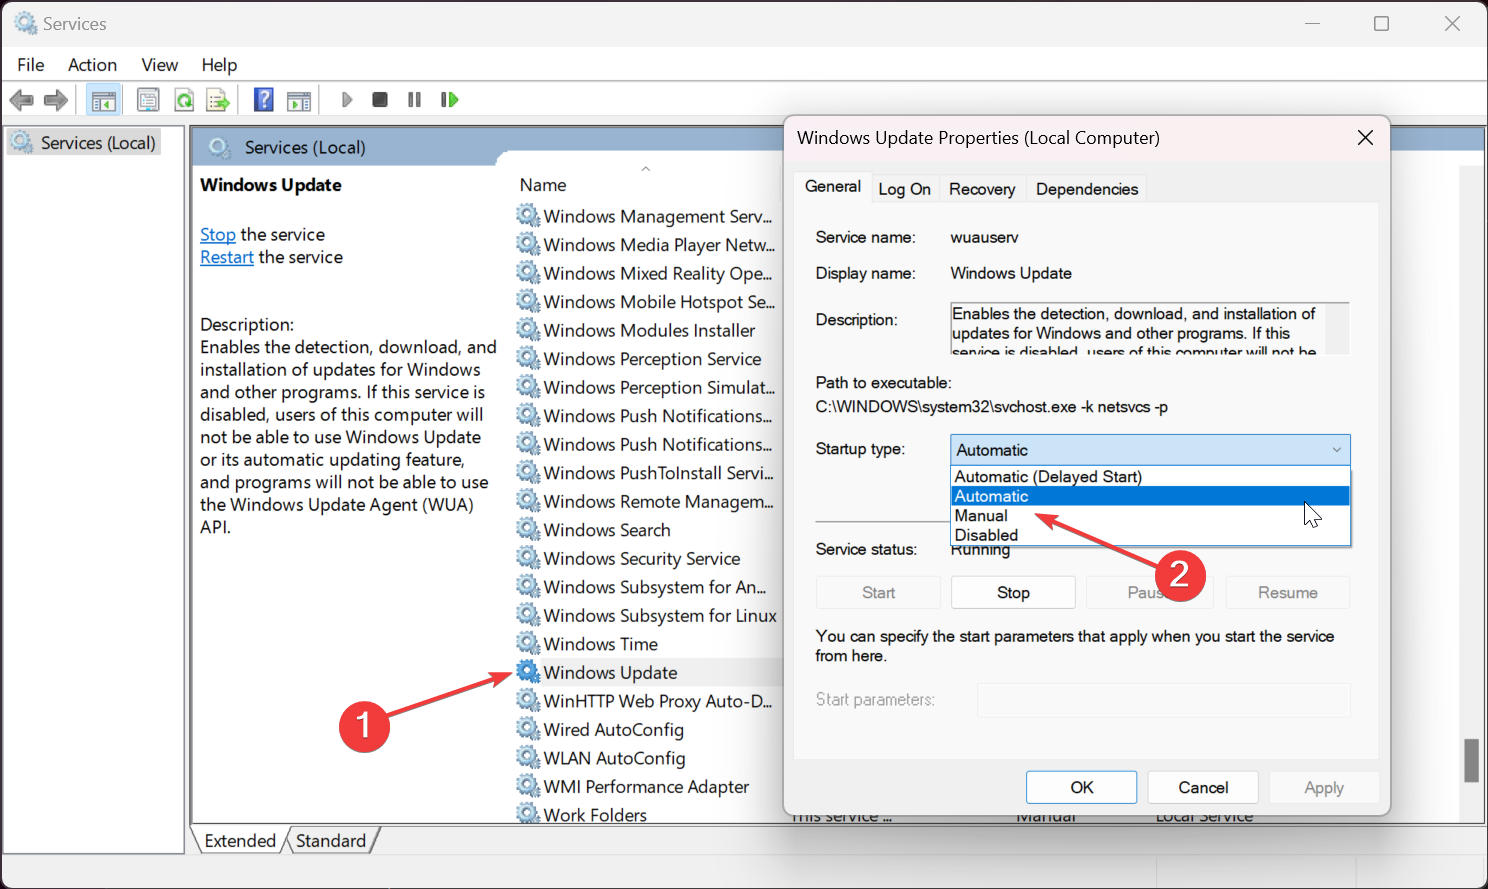
- Press the Windows key + R to start the Run console, type services.msc, and press Enter or click OK.

- Scroll down, and double-click on the Windows Update service, then make sure that the Start-up type is set to Automatic. If not, change it from the drop-down menu.
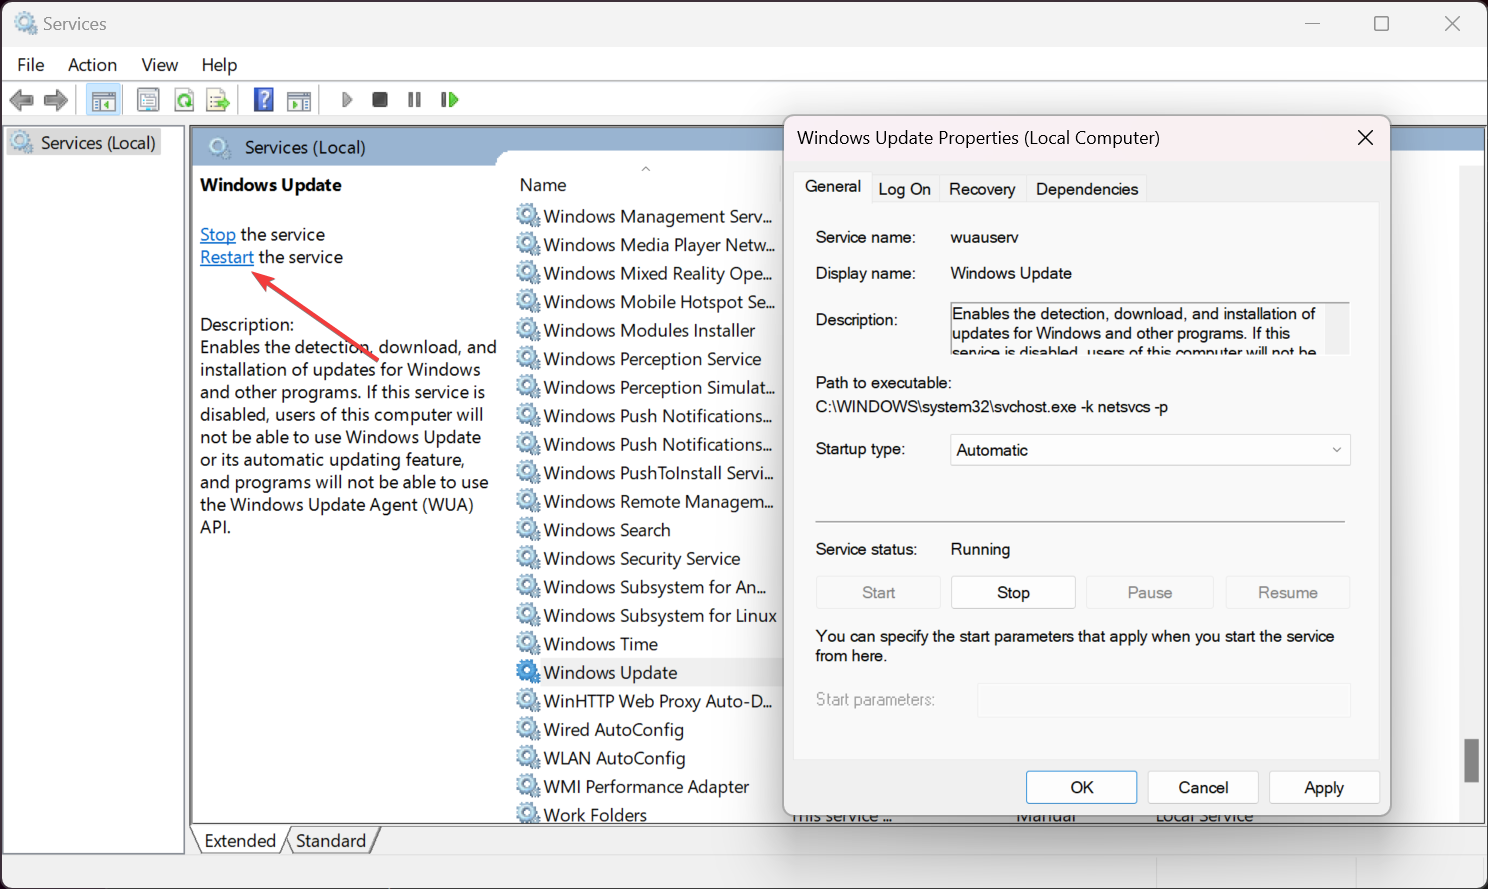
- Now, click on Start to turn on the service. If that doesn’t work, return to this window and hit the Restart option from the top left.
This won’t help you if you insist on using a stand-alone installer, but by restarting the Windows Update service, you will be able to use the built-in tool to perform the updates.
If the Windows Update service is not working at all, this guide will provide the best solutions to fix it.
4. Run an SFC scan
- Click the Search icon, type cmd, and select Run as administrator from the results.
- Now, type the following command and press Enter:
sfc /scannow
- Wait until the scan is complete, then restart your PC and check if the Windows Update is working properly.
Sometimes, the Windows Update can return the 0x8024d001 error code due to corrupted system files. The SFC scan will reveal any such issues and correct them.
5. Reset the Windows Update components
- Click the Search icon, type cmd, and choose Run as administrator from the results.
- Type or paste the following commands one by one and press Enter after each:
net stop wuauserv
net stop cryptSvc
net stop bits
net stop msiserver
ren C:\Windows\SoftwareDistribution SoftwareDistribution.old
ren C:\Windows\System32\catroot2 catroot2.old
net start wuauserv
net start cryptSvc
net start bits
net start msiserver
If all else fails, resetting the Windows Update components as indicated above will completely refresh the OS update process, fixing the 0x8024d001 error along the way.
You can also use a dedicated script to reset the Windows Update components. It’s mostly for more advanced users but if you do it once, you will have the script handy if you need it again.
So, to recap our guide, to fix the error number 0x8024d001 Windows Update, the quickest way is to launch the Windows Update troubleshooter. Deleting the downloads from the SoftwareDistribution folder, and restarting the update service will also work. You might also scan the system for errors and reset the Windows Update components.
While you’re at this issue, you may also be interested on how to delete the Windows Update cache. Additionally, if you need any help with error code 8024200d, we have just the guide for you.
Did our guide help you fix the 0x8024d001 Windows Update error? Leave us a note in the comments section below.
Read our disclosure page to find out how can you help Windows Report sustain the editorial team. Read more


Improve this guide


User forum
0 messages