0xC1900101 – 0x20004 Install Error: 3 Ways to Fix it
Detach all the unused SATA devices to resolve this error
5 min. read
Updated on
Read our disclosure page to find out how can you help Windows Report sustain the editorial team. Read more
Key notes
- The error code 0xC1900101 - 0x20004 mainly occurs on Windows PC and stops installation at 25%.
- The primary cause of the error is reported to be incorrect BIOS settings & faulty SATA cables.
- By detaching the SATA cables of unused devices, resetting the BIOS settings, and temporarily disabling network adapters, you should fix the issue.

The error code 0xC1900101 – 0x20004 is commonly encountered during the installation or upgrade of the Windows operating system. Several users have shared their experiences of getting stuck at 25% while installing their Windows PC update.
In this article, we will discuss the causes and provide efficient solutions to rectify them promptly.
What causes the 0xC1900101 – 0x20004 install error?
There can be factors leading to this error. The following are a few common causes:
- Incorrect BIOS settings or faulty SATA cables – Incorrect BIOS settings & faulty SATA cables are potential causes for the 0xC1900101 – 0x20004 install errors.
- Incompatible hardware drivers – When upgrading to Windows, specific drivers may not be compatible with the new operating system, leading to installation errors.
- Insufficient disk space on the drive -The update process may fail if your system doesn’t have enough free space on the hard drive.
- Windows update service issues – Problems with the Windows Update service, such as corrupted files or settings, can also trigger this error.
Now that you know some of the potential reasons behind the 0xC1900101 – 0x20004 install error, let’s now proceed to how to resolve the error.
How can I fix the 0xC1900101 – 0x20004 install error?
Before attempting any of the advanced solutions outlined in this guide, it could prove beneficial to start with the following initial checks:
- Make sure to save a backup of your crucial files, possibly to an external USB flash drive.
- Visit your computer manufacturer’s website and check for available BIOS/UEFI updates.
- Disconnect any external USB or SD card and any unnecessary component connected to your computer peripherals.
- Make sure all your hardware drivers are up to date.
Once you have completed the checks above, you can utilize any of the methods outlined below if you need additional support.
1. Remove all unused SATA devices
- Shut down your computer and disconnect the power cable from your computer.
- Open the computer case.
- Identify the unused SATA devices. (These can include hard drives, solid-state drives (SSDs), optical drives, or any other SATA-connected devices).
- Gently pull out the SATA cables from the SATA ports on the unused devices.
- Unscrew any mounting brackets or screws that secure the unused devices in place. Carefully slide or lift the devices out of their slots or drive bays.
- Close the computer case and secure any screws or panels that were removed earlier.
Removing the unused SATA devices has been proven by several users to have fixed the 0xC1900101 – 0x20004 install error. After removing the SATA cables, try the installation again.
Alternatively, if your SATA controllers do not support the AHCI mode, try to exchange the SATA drivers.
2. Disable the WLAN chip
- Press the Windows + R keys to open the Run command dialog. Type devmgmt.msc and press Enter to open the Device Manager.
- Expand Network Adapters, right-click on the WLAN chip and select Disable.
- Now try the Windows 10 installation again and re-enable the WLAN chip in Device Manager.
Some users claimed disabling the network adapters worked for them, hopefully, the error should be fixed by now.
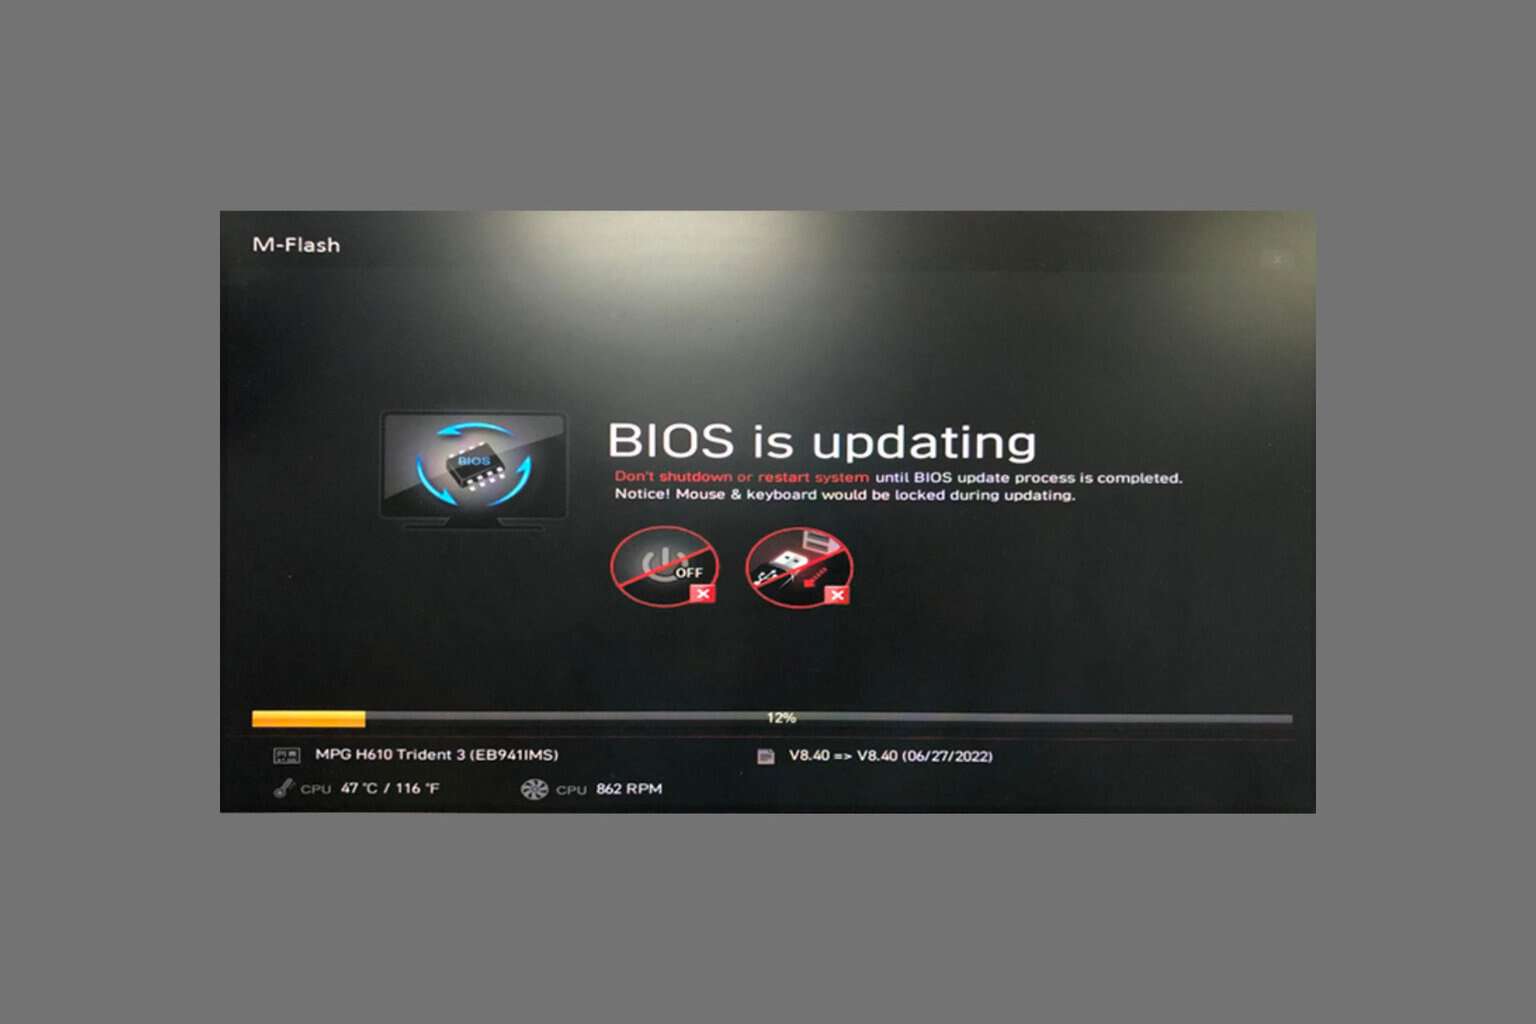
3. Update BIOS through Windows
- Download the newest BIOS version from your motherboard manufacturer’s website and copy it onto an USB flash drive.
- Open the Start Menu and click the Power button.
- Hold the Shift key and choose the Restart option.
- You should see several options available. Choose Troubleshoot.
- Now select Advanced options and select UEFI Firmware Settings.
- Click the Restart button and your computer should now boot to BIOS.
- Once you enter BIOS, look for BIOS update option and select it.
- Now you need to choose the BIOS update file from your USB flash drive and wait while your BIOS updates.
4. Reset BIOS
- Shut down your computer and disconnect the power cable.
- Open the computer case to access the motherboard and locate the CMOS battery on the motherboard.
- Remove the CMOS battery from its socket and wait a few minutes to allow the residual power to drain.
- Reinstall the CMOS battery into its socket and close the computer case.
- Reconnect the power cable and power on your computer to boot into the default BIOS settings.
It is important to note that resetting the BIOS will revert any custom settings made, so you may need to reconfigure any preferences or parameters you previously set.
And that’s it on how to fix the 0xC1900101 – 0x20004 install error. The methods provided in this guide have worked for others. Hopefully, you should be able to resolve the error too.
Some other users have reported similar issues, such as Windows 11 0xC1900101 (We couldn’t install Windows), 0xC1900101 – 0x30018 install error, etc.
If you have any questions or suggestions, do not hesitate to use the comments section below.


User forum
0 messages