Space Marine 2 Error Code 140 [Fix]
Rejoin multiplayer sessions with a quick DNS update

Getting locked out of a multiplayer session while playing Space Marine 2 is no fun so if you spot the error code 140, you can’t join in the fun but there’s a way around it.
How do I fix the Space Marine 2 error code 140?
1. Sync time
- Press the Win + I buttons to open Settings.
- Click on Time & language.

- Select Date & time.
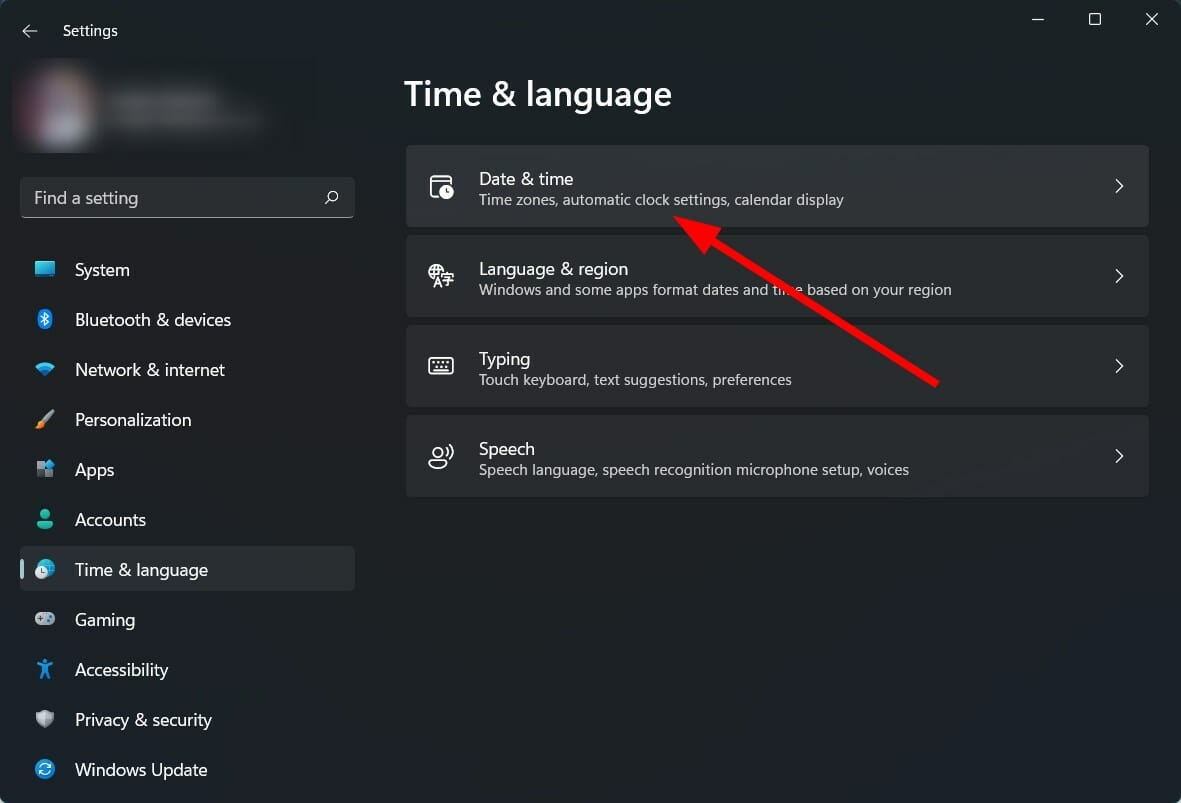
- Scroll down and under Additional settings, hit the Sync now button.

- The tick will appear confirming that your PC has updated and synced the time. Also ensure the set time zone automatically toggle is on.

2. Disable the Steam Overlay
- Left-click the Start button, type Steam in the search bar, and launch it.
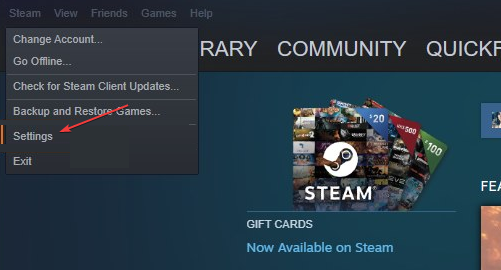
- Click the Steam tab and select Settings.
- Hit on In-Game, then uncheck the box next to Enable the Steam Overlay while in-game.

- Click OK to save your changes.
- Restart the game client and check if the issue persists.
3. Verify the game files
- Press the Windows key, then type epic and select Epic Launcher to launch it.
- Go to Library, then click three dots next to Fortnite.
- Select Manage from the context menu.

- Next, locate the Verify File option, then click the Verify button. This will check and repair the corrupted or missing game files.

4. Reset TCP/IP
- Press the Windows key, type cmd in the search bar, and click Open.

- Type in the following commands and press Enter after each one:
netsh winsock reset catalognetsh int ipv4 reset reset.lognetsh int ipv6 reset reset.log

- Now restart your PC and see if the error is still there.
5. Change your DNS settings
- Head over to the Settings app using the Windows + I shortcut.
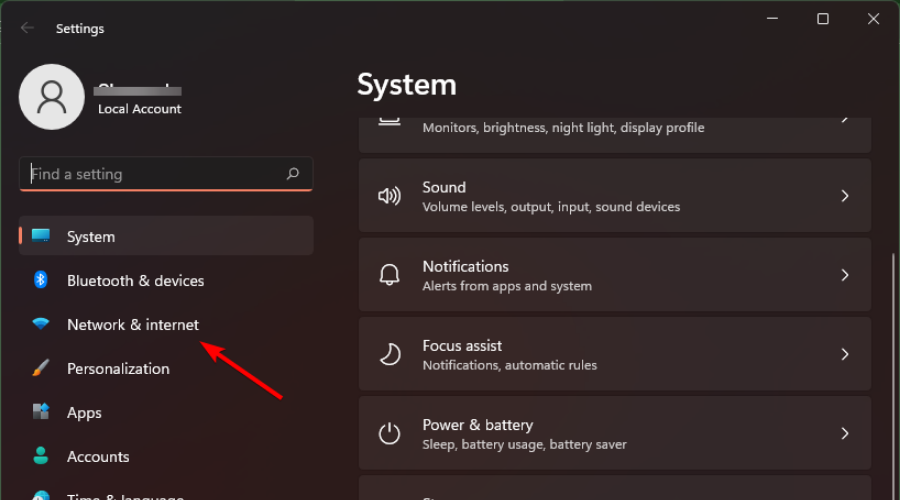
- Select Network & internet from the left sidebar.
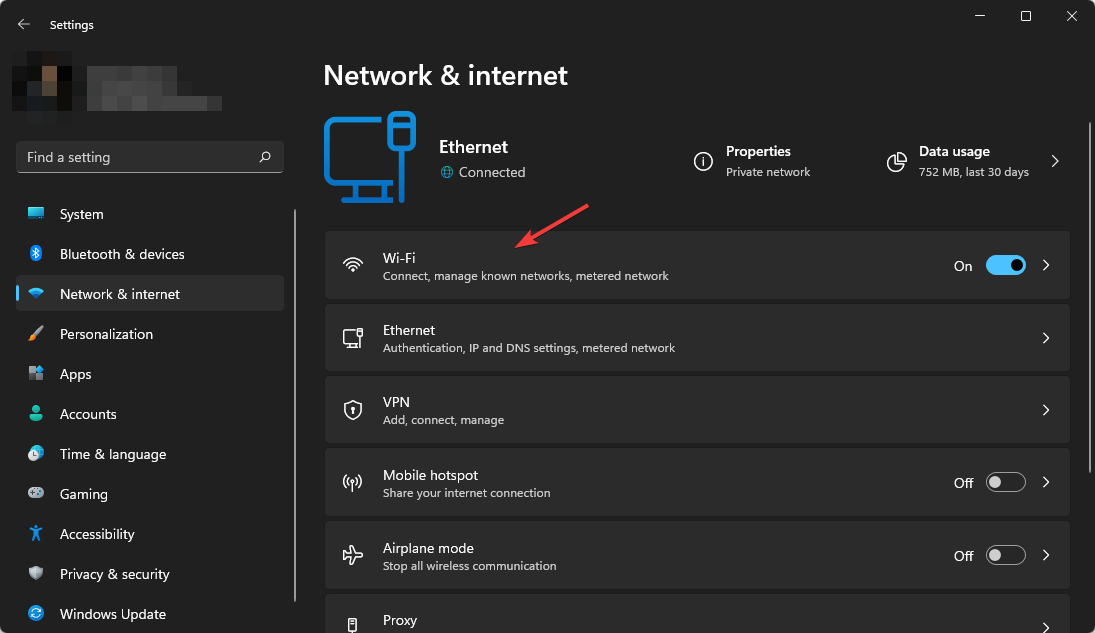
- Next, choose Wi-Fi or Ethernet from the right section, depending on your internet connection.
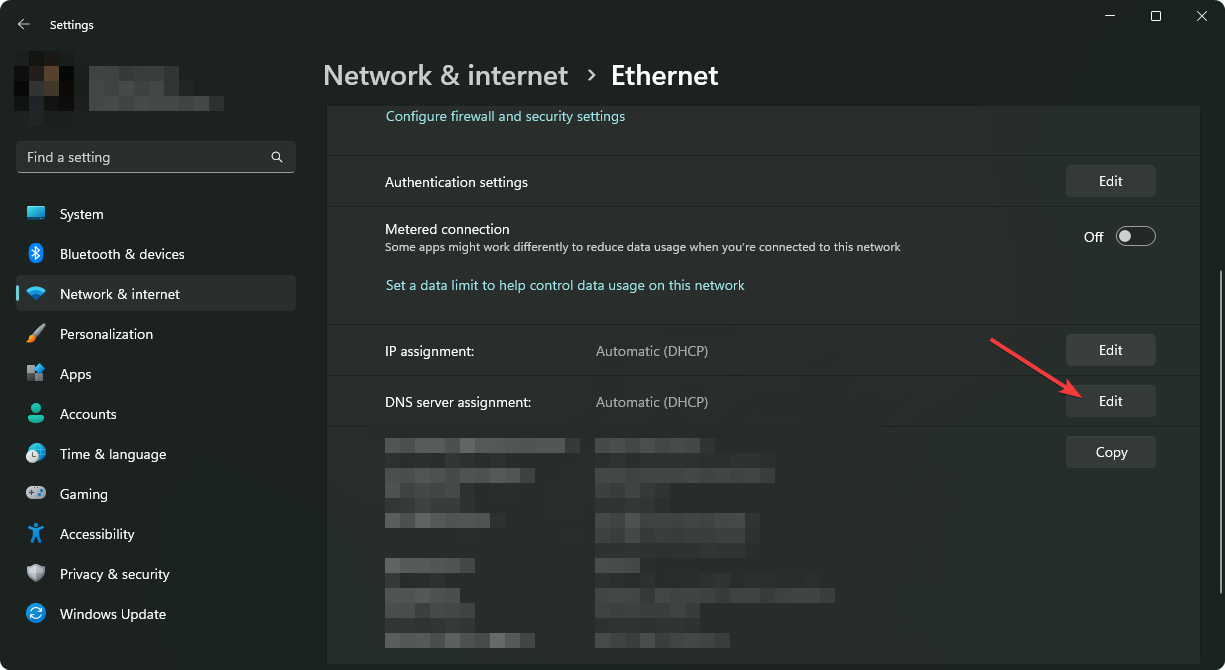
- Scroll down and select Hardware properties.

- Locate the DNS server assignment setting and click the Edit button next to it.
- This will open the Edit DNS settings popup. Here, expand the drop-down on the top and choose Manual instead of Automatic (DHCP).
- Next, enable the toggle for either IPv4 or IPv6, based on the IP connection type.
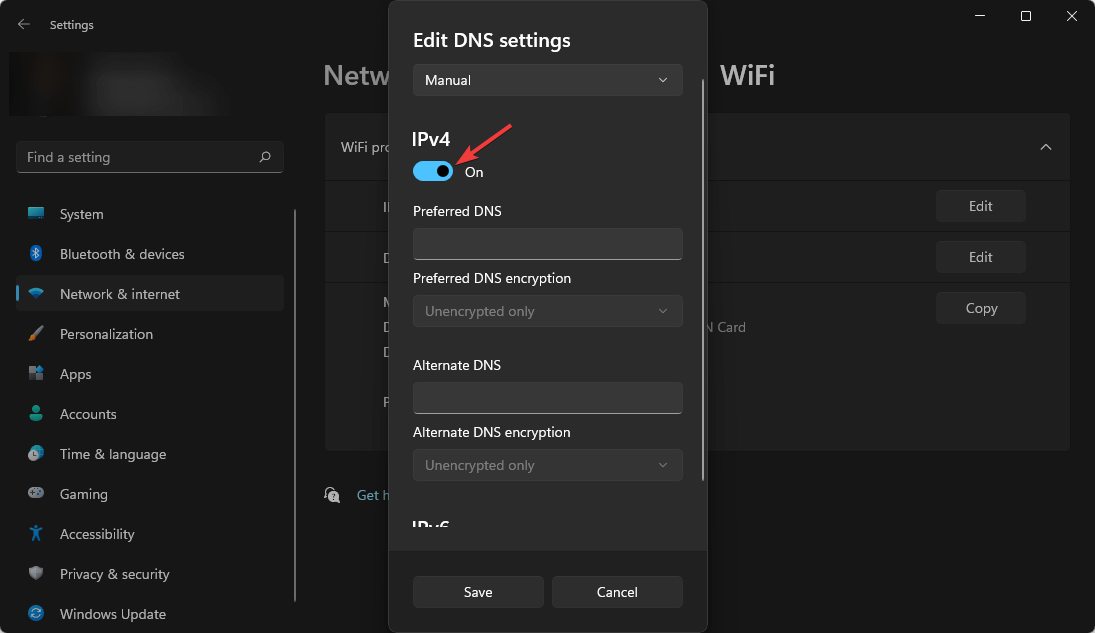
- Now provide the primary DNS server address in the Preferred DNS field followed by a secondary DNS server address in the Alternate DNS field. (For instance, 8.8.8.8 is the preferred DNS address, and 8.8.4.4 alternative DNS address for Google’s DNS server).
- If you wish to enable the DNS over HTTPS feature to encrypt DNS requests, choose Encrypted only (DNS over HTTPS) for both Preferred DNS Encryption and Alternate DNS Encryption dropdowns.
- Press the Save button once you are done with the changes.
Changing the DNS settings can cause changes in your latency, so be sure to test Warhammer 40K Space Marine 2 ping once you change your DNS.
6. Add Space Marine to the Firewall exception list
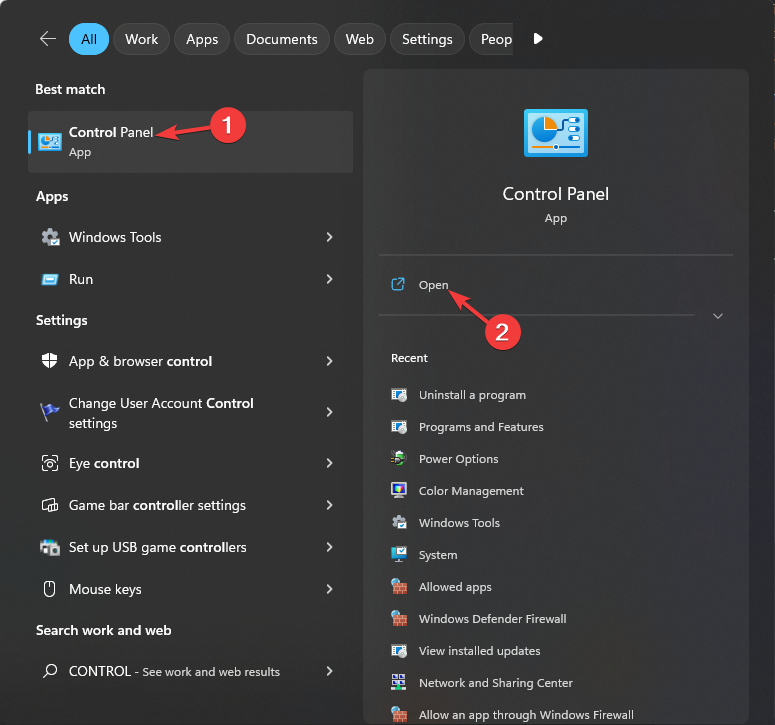
- Press the Windows key, type control panel, and click Open.
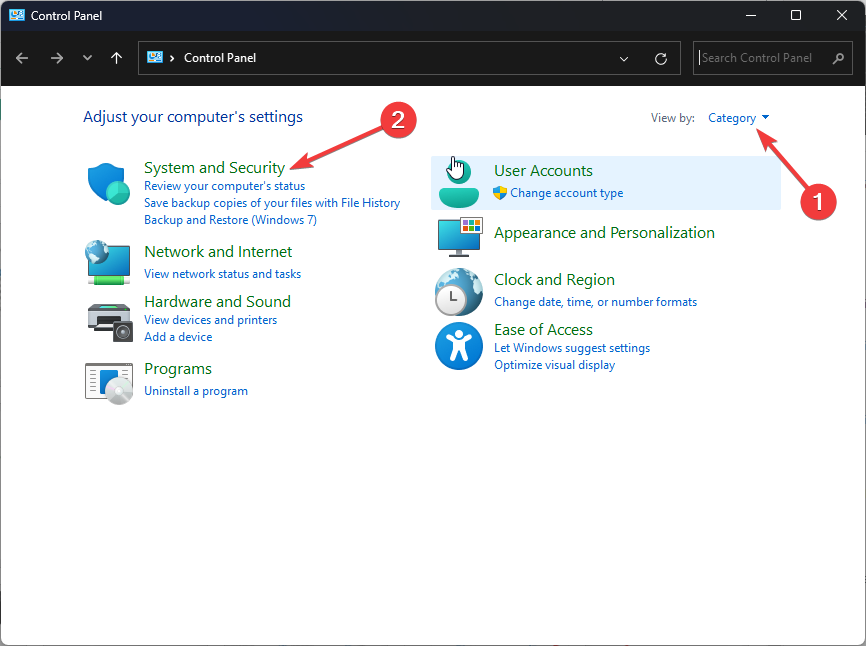
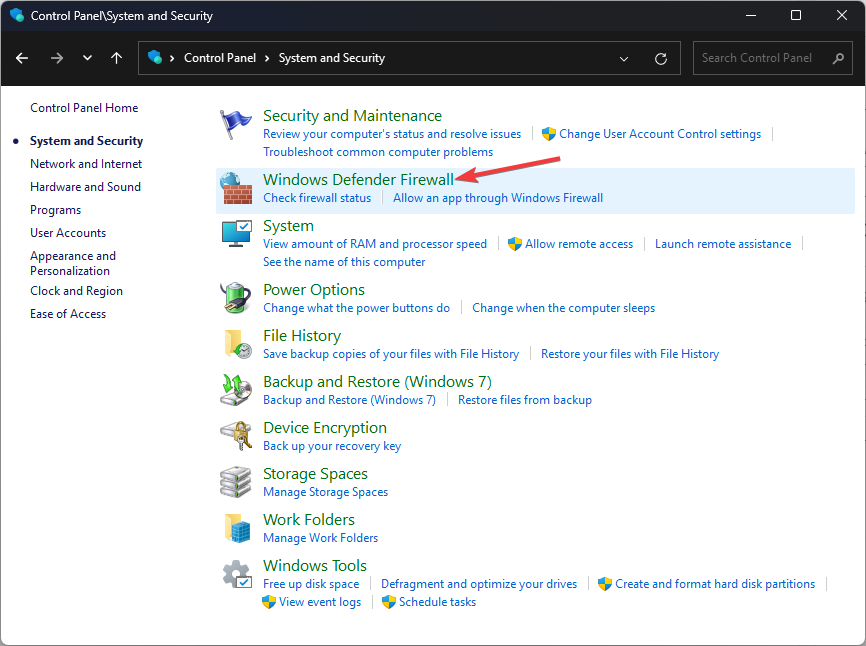
- Select View by as Category and click System & Security.
- Click Windows Defender Firewall.
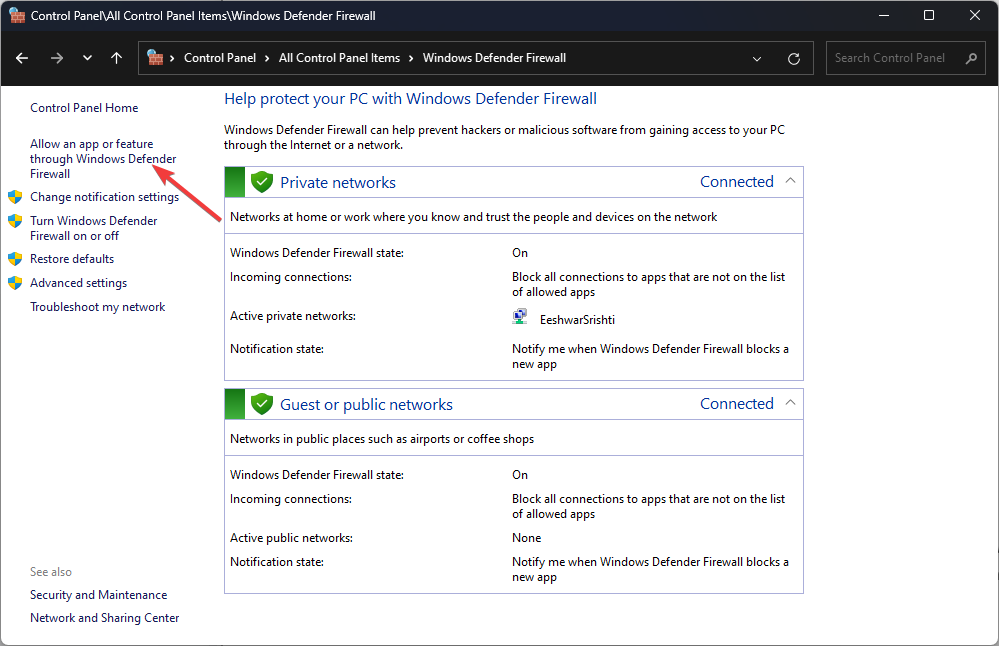
- Now click Allow an app or feature through Windows Defender Firewall.
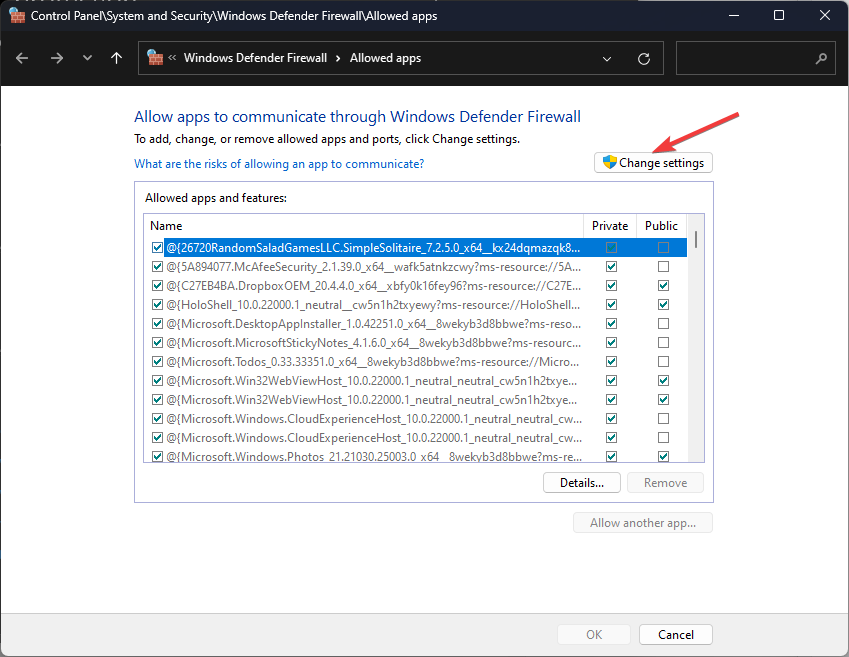
- Click Change settings.
- Select Allow another app.
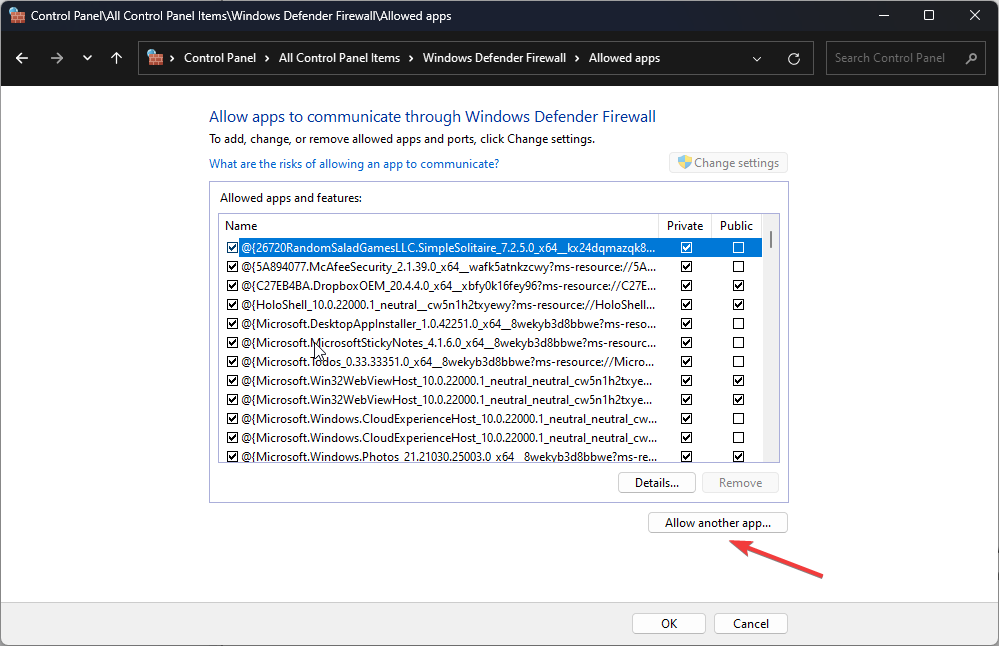
- Click the Browse option and select Space Marine.
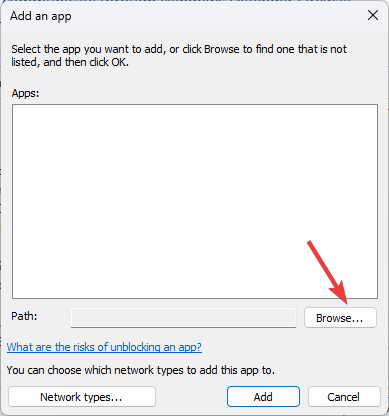
- Next, click the Add option.

- Make sure for the Private and Public options are select
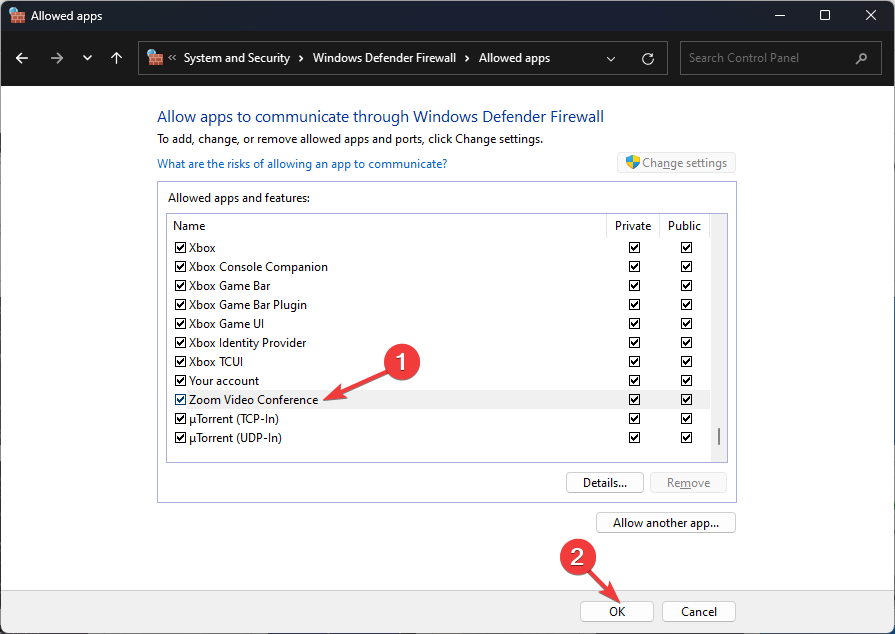
- Click OK to close the window.
7. Disable crossplay
7.1 PS5
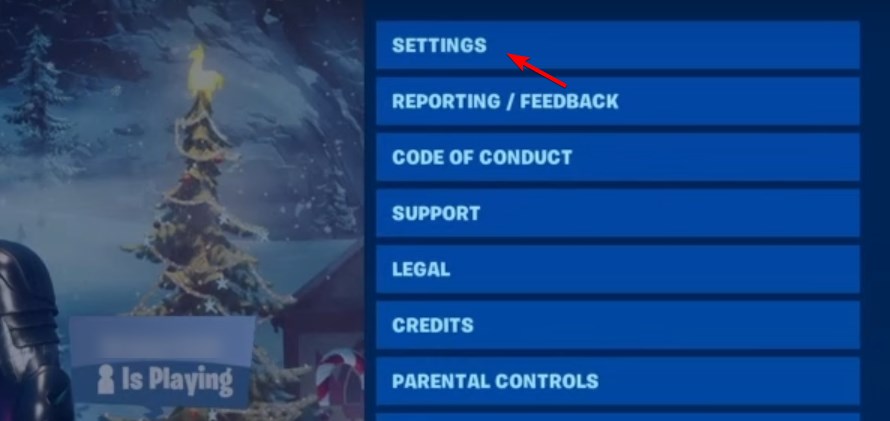
- Open the Options menu and choose Settings.
- Locate Allow cross platform play and set it to No.
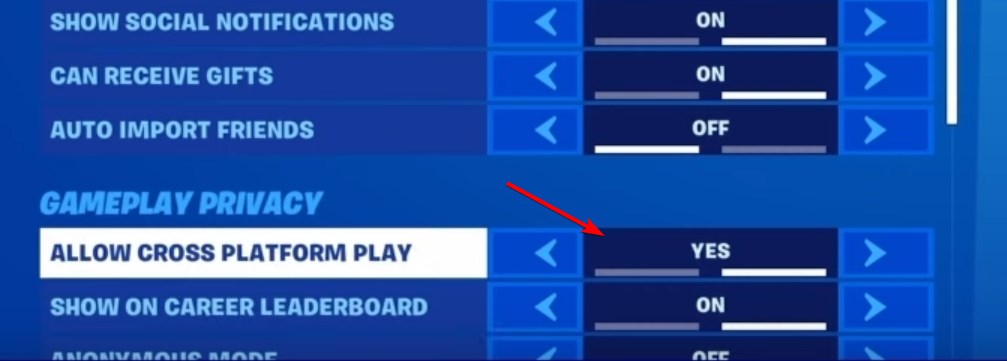
- After making this change, try to matchmake again.
7.2 Xbox
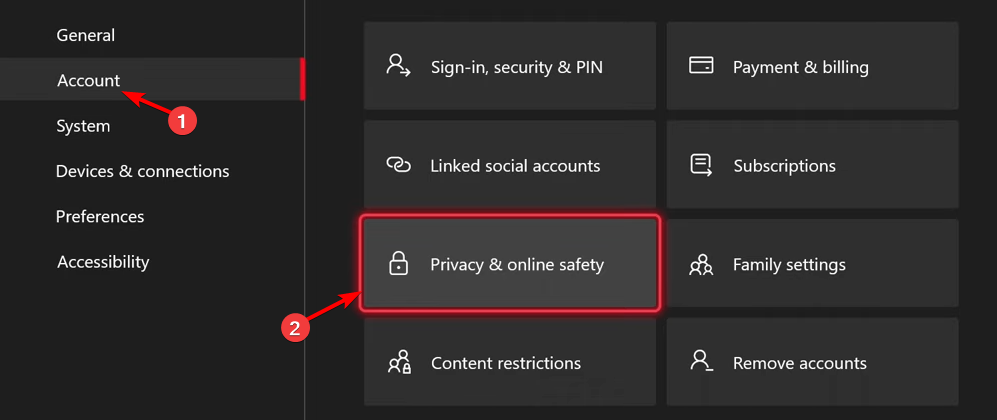
- Press the Xbox button and go to Settings.
- Navigate to Account and select Privacy & online safety.
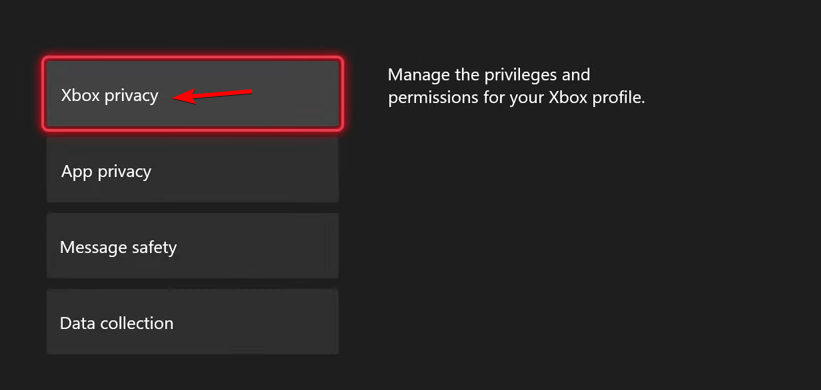
- Next, go to Xbox privacy.
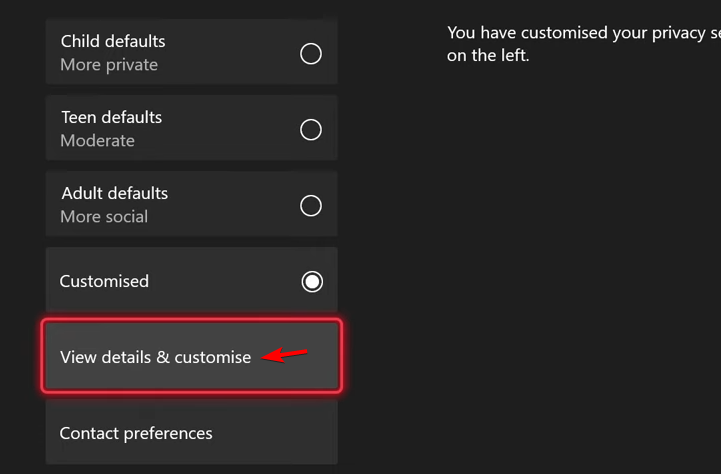
- After that, select View details & customise.
- Head over to Communication & multiplayer.
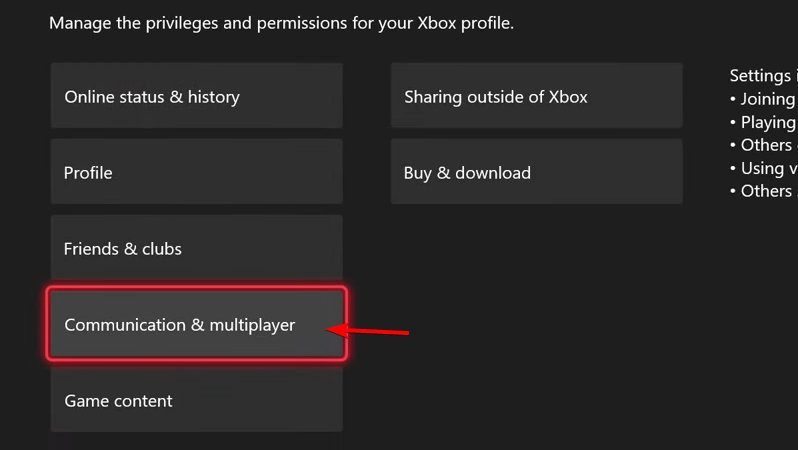
- Set You can join cross-network play to Block.
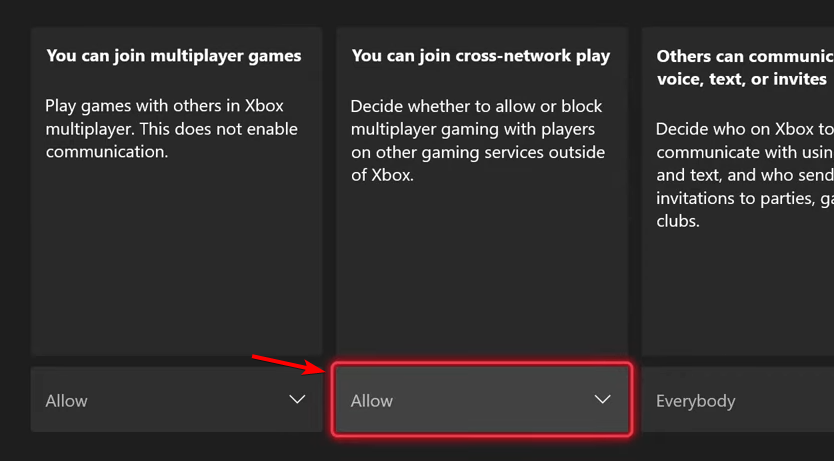
- Save changes, go back to the game, and test if it works.
8. Use a VPN
- Press the Windows key and select Settings.

- Next, select Network & internet and click on VPN in the right-side menu.
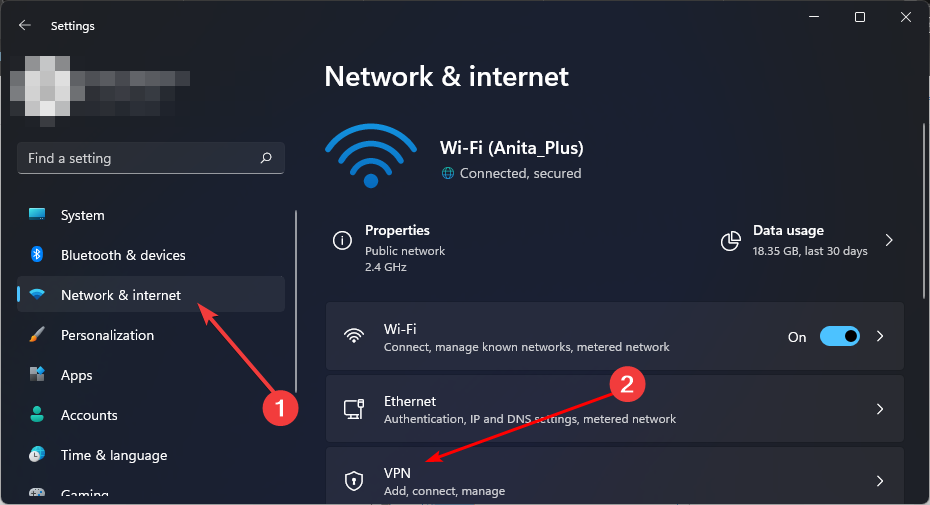
- Click on Add VPN and follow the prompts to enable it.
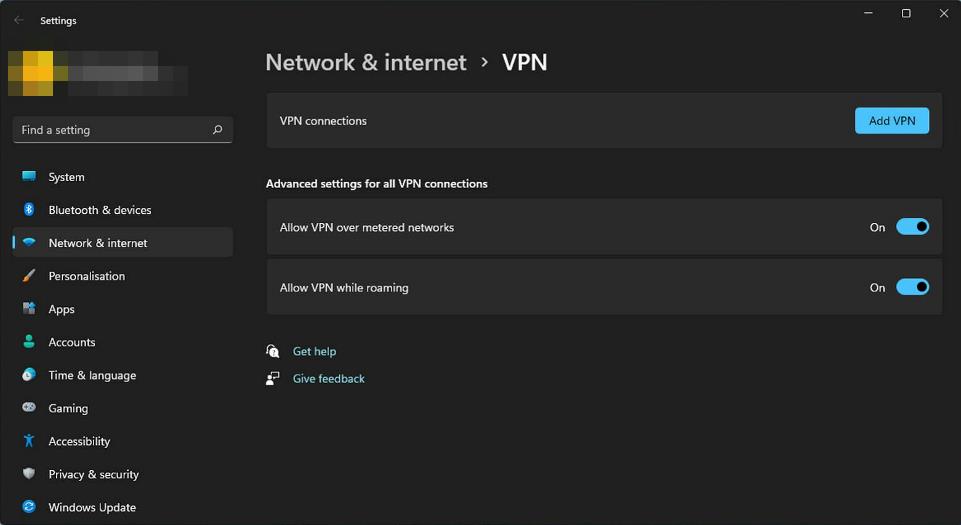
- Try logging in again and see if the issue persists.
Alternatively, you can employ the help of specialized VPN software, such as ExpressVPN. This tool can bypass any network restriction and offer you a smooth connection to any game server.
If you’ve tried all of the above and verified the server status is active, contact the Space Marine 2 customer care support. Unfortunately, this is not the only Space Marine network error you might encounter but lucky for you, we’ve addressed most of them.
Being locked out of joining a multiplayer game is more common than we’d like to admit as Fortnite diehards also reported error 6 where they were unable to join matchmaking. To prevent such issues, check whether it is your Xbox experiencing multiplayer issues.
That’s a wrap from us but do let us know if you’ve regained access and if so, which solution did it for you. Drop us a line below.
Read our disclosure page to find out how can you help Windows Report sustain the editorial team. Read more


Improve this guide


User forum
0 messages