FIX: Error 404 – the requested resource is not available
5 min. read
Updated on
Read our disclosure page to find out how can you help Windows Report sustain the editorial team. Read more

Whenever you request a web page and receive the Error 404 – the requested resource is not available at the top of your browser, or you get messages such as the page cannot be found, or the page you are looking for might have been removed, had its name changed, or is temporarily unavailable, it can be due to several causes.
Some of the most known and common causes, when the webserver returns the HTTP Error 404 – the requested resource is not available message, include:
- The file you requested has been renamed
- The file has been moved elsewhere and/or deleted
- The file is temporarily unavailable due to maintenance, upgrades or other causes that are unknown
- The file doesn’t exist
- IIS 6.0 – the appropriate web service extension or MIME type has not been enabled
- A virtual directory has been mapped to the root of a drive on a different server
While this Error 404 may sound technical at face value, there are some quick fixes you can try and see whether it helps solve the issue on your PC.
How do I fix HTTP Error 404 – the requested resource is not found?
1. Check your URL
Check if you typed the correct URL. A wrong URL will bring up the error 404, whether it’s a single letter or number, it makes a difference.
2. Boot in Safe Mode with Networking
- Restart your PC.
- When the sign-in screen is displayed, hold down the SHIFT key while you select Power then Restart.
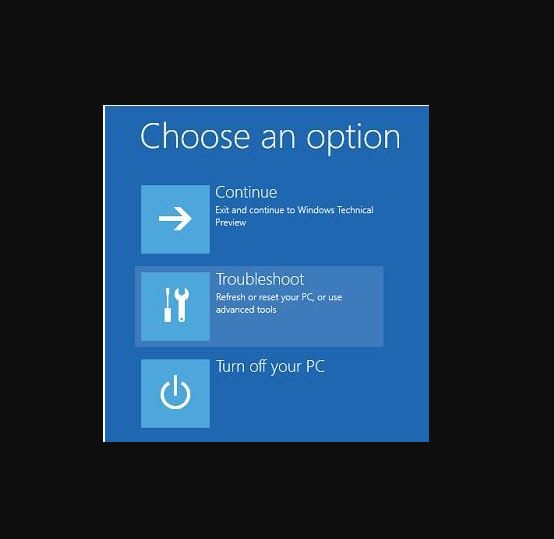
- After the computer restarts to Choose an option screen, select Troubleshoot.
4. Click Advanced options.
5. Click Startup Settings.
6. Click Restart.
7. Once it restarts, you will see a list of options. select 5 or F5 for Safe Mode with Networking.
Safe Mode with Networking starts Windows in safe mode, including the network drivers and services you need to access the internet or other computers on the same network.
Once you’re in safe mode, try to perform a clean boot as described in the next solution.
3. Perform a Clean Boot
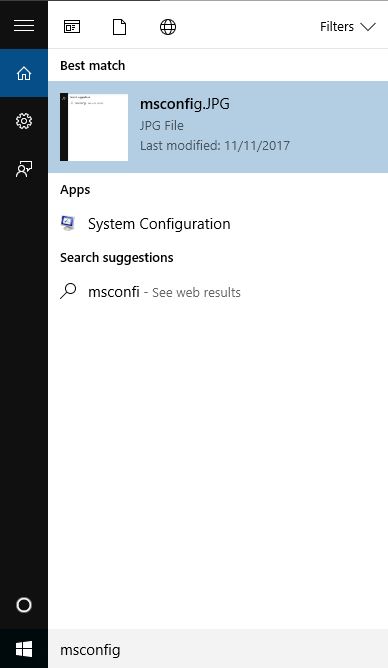
- Go to the search box.
- Type msconfig.
3. Select System Configuration.
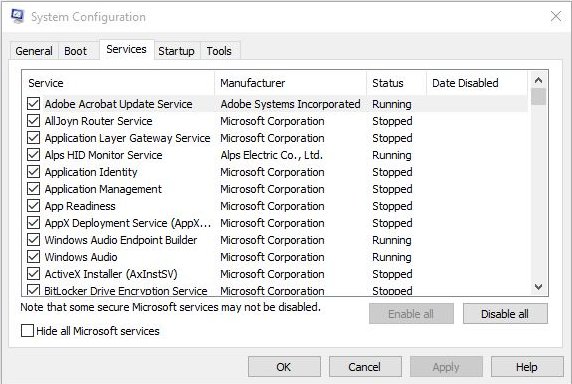
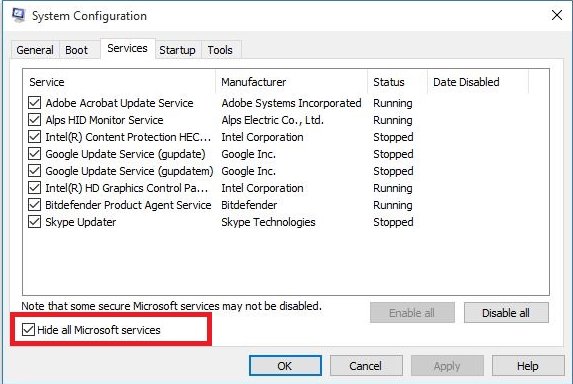
4. Find Services tab.
5. Select Hide all Microsoft services box.
6. Click Disable all.
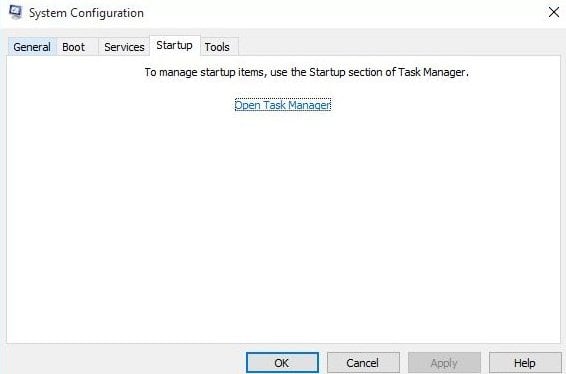
7. Go to Startup tab.
8. Click Open Task Manager.
9. Close Task manager then click Ok.
10. Reboot your computer.
Performing a clean boot for your computer reduces conflicts related to software that can bring up the root causes of error 404. These conflicts can be caused by applications and services that start up and run in the background whenever you start Windows normally.
You will have a clean boot environment after all these steps are carefully followed, after which you can try and check if the problem is gone.
How to exit Safe Mode with Networking:
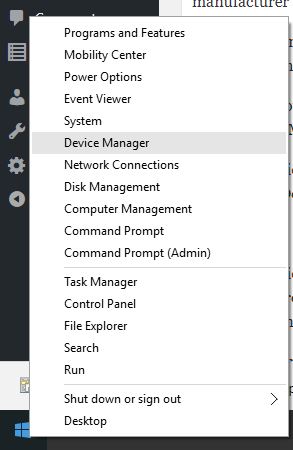
- Right-click Start button.
- Select Run.
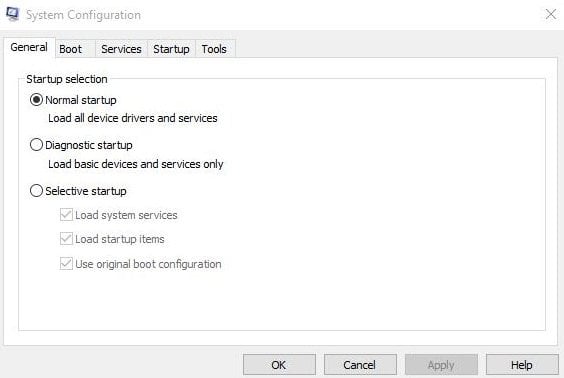
3. Type msconfig.
4. A pop up will open.
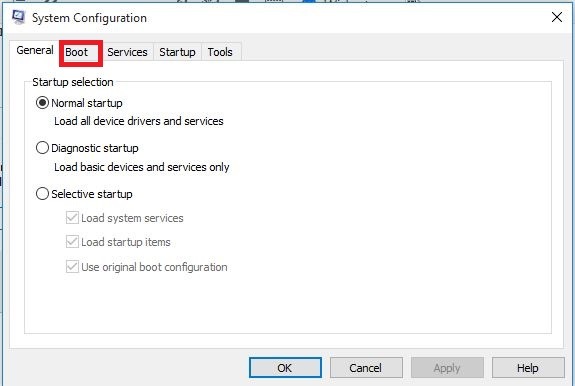
5. Go to the Boot tab.
6. Deselect or uncheck Safe Boot option box.
7. Restart your computer.
Missing the Safe mode feature in Windows 10? Check out this guide and learn how to get it back in no time.
4. Perform a system file checker scan
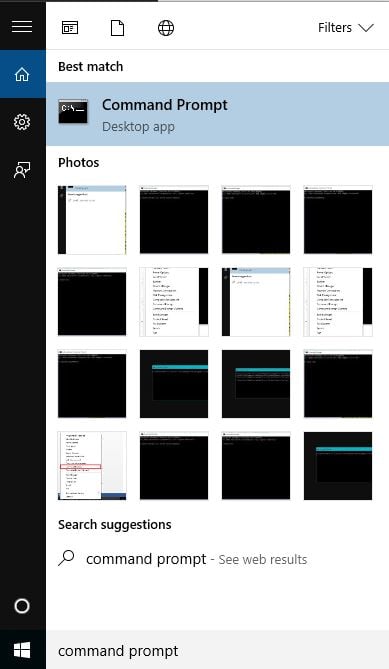
- Click Start.
- Go to the search field box and type CMD.
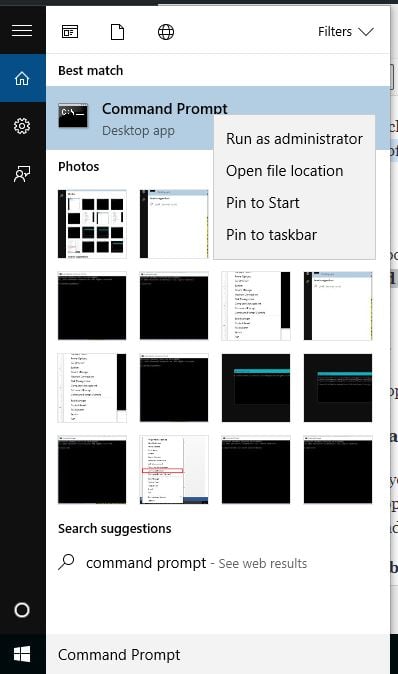
- Select Command Prompt.
4. Right-click and select Run as Administrator.
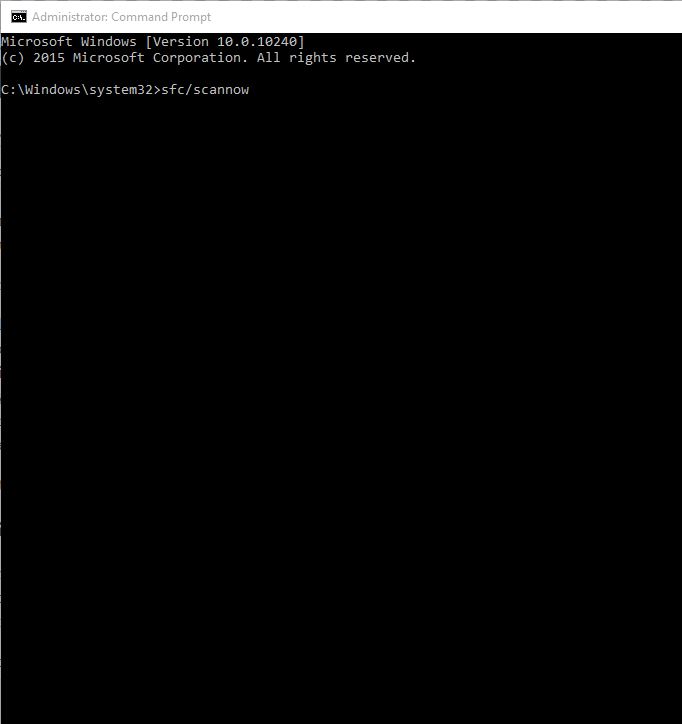
5. Type sfc/scannow.
6. Press Enter.
7. Restart your computer.
A System File Checker scan checks or scans all protected system files, and then replaces the incorrect versions, with the genuine, correct Microsoft versions.
If you’re having trouble accessing Command Prompt as an admin, then you better take a closer look at this guide.
scannow command has stopped before the process finished? Don’t worry, we’ve got an easy fix for you.
5. Run Internet Explorer in No Add-ons mode
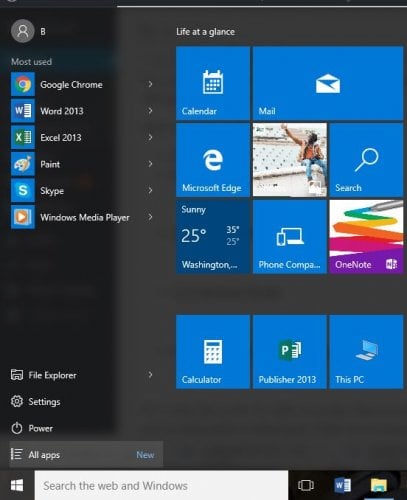
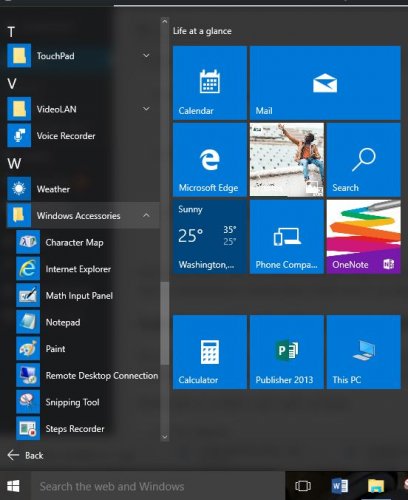
- Click Start.
- Select All Apps.
3. Click Accessories.
4. Click Internet Explorer.
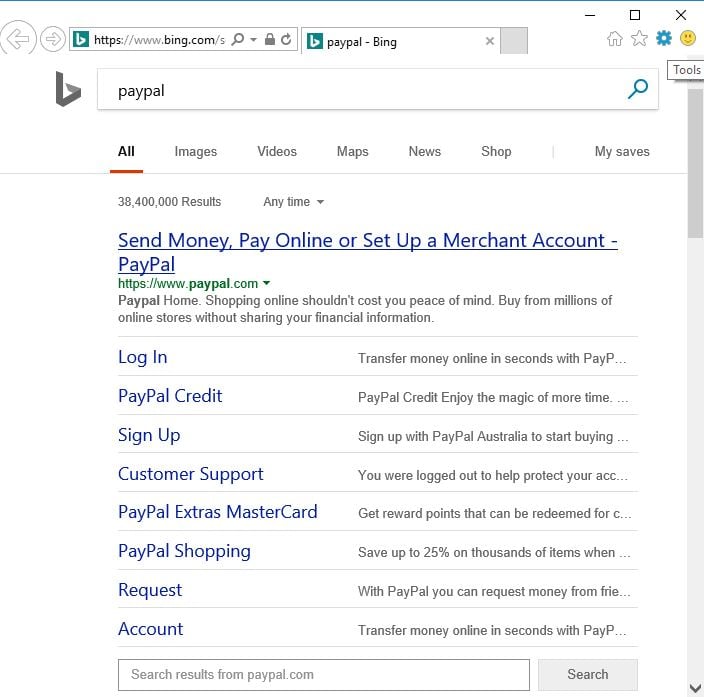
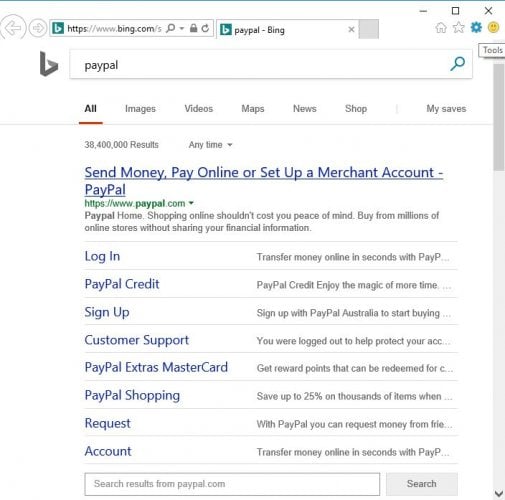
5. Click Tools.
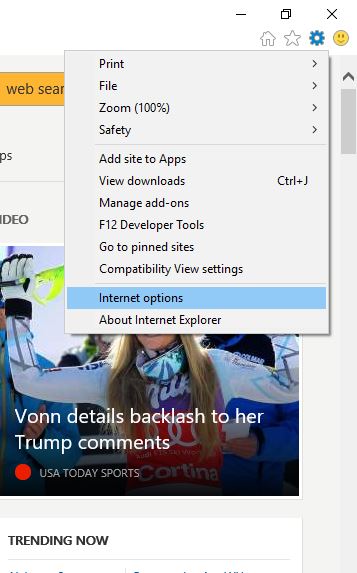
6. Select Internet Options.
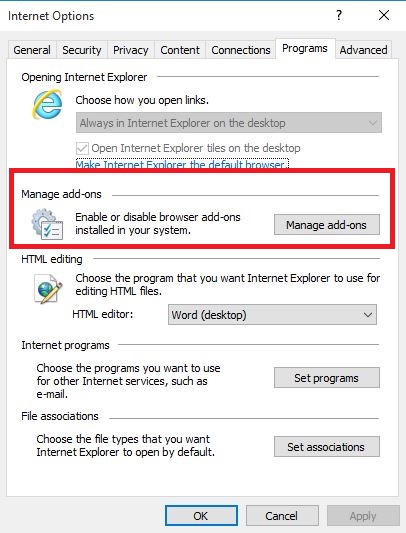
7. Under Programs tab, click Manage Add-ons.
As you open web pages on your computer, you can use Internet Explorer (with No Add-Ons mode) as a failsafe mode, or an alternative browser with its own safe mode, and check Error 404 – the requested resource is not available issue persists. This means you temporarily disable all add-ons and see if they’re causing the issue.
If it works fine in the No Add-ons mode, then an add-on could be causing the error, so you need to re-enable each one by elimination to determine which one is causing the issue.
If you’re having Internet Explorer black screen issues you can also check this resource which provides the best fixes.
6. Reset Internet Explorer
- Close all windows.
- Select Tools.
3. Select Internet Options.
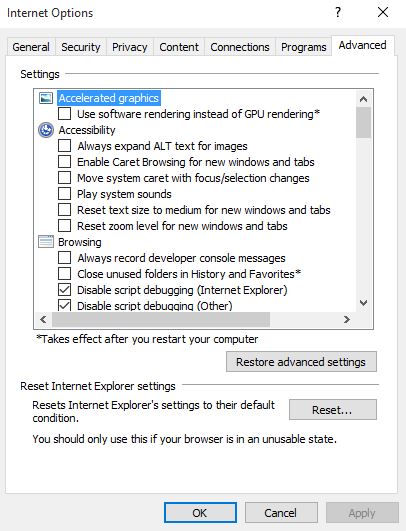
4. Select Advanced tab.
5. Go to Reset Internet Explorer Settings.

6. Select Reset.
7. Select Close once default settings have been applied.
8. Click OK.
9. Restart your computer to apply changes.
Resetting Internet Explorer is irreversible and may remove security or privacy preferences added to the list of Trusted Sites. This includes parental control settings so note the sites before you do the reset.
7. Troubleshoot error 404 on a server running IIS
If you’re on a server running IIS, you can resolve error 404 by verifying that the file requested exists on the IIS computer and it is in the correct location.
Use the IIS Microsoft Management Console (MMC) snap-in to determine where the file exists in the IIS computer’s file system.
This is important if the website uses a virtual directory – one that isn’t contained in the home directory of the website, but appears to the client browser as if it does. The virtual directory must be mapped to a subfolder on a drive or reference files by name.
Did any of these solutions helped you fix the Error 404 – the requested resource is not available problem? Let us know in the comments section below.
[wl_navigator]





User forum
0 messages