Can’t Connect to VPN in Windows 10? Here’s How to Unblock it
Resolve VPN block on your Windows PC using open-source VPN technology
9 min. read
Updated on
Read our disclosure page to find out how can you help Windows Report sustain the editorial team. Read more
Key notes
- If Windows blocks your VPN, your privacy could be jeopardized in no time.
- Fortunately, there are several ways you can fix this issue, depending on its cause.
- Luckily for you, we have compiled a list of potential fixes that you could check below.
- Follow our instructions carefully if you want to restore your VPN functionality quickly.
Is your VPN blocked on Windows 10? Windows Report has got you covered. A Virtual Private Network (VPN) is a network that enables you to surf the web anonymously without fear of being snooped on by government agencies. Also, VPN is used to access geo-restricted or censored websites.
However, Windows 10 users reported that their VPN was blocked after connecting to the Internet.
There are several reasons for this blockage which could be due to the Windows 10 settings, Internet connection settings, and also the VPN itself.
If you experience VPN blockage on your Windows 10 computer, we’ve got the applicable workarounds to fix this problem. Use the solutions below to do this.
Why can’t my PC connect to a VPN?
You have specific causes for your PC not being able to connect to your VPN software. Usually, that have to do with wrong network settings or incorrect VPN configuration.
To give you a better idea, these are the main issues you should look for to resolve this problem on your PC:
➡️ Double-check your VPN credentials
➡️ Be sure your WiFi network is stable
➡️ Look for different VPN software running issues
➡️ Check if your firewall settings block the VPN
➡️ See if your VPN server network is working
Generally speaking, you should verify all the tips enumerated below to easily find a workaround for this unpleasant error on your computer.
How to fix VPN not working in Windows 10?
If you’re stuck with your VPN service on the Windows 10 device, you can solve it briefly from the Windows settings.
Firstly, check the system time and date to see if it’s not properly set up. In case you operate on an incorrect date and time the VPN can get blocked as well.
Another fix is to set up your VPN as an exclusion in the antivirus settings. This is required because your antivirus may block the software.
In addition, other users reported multiple issues regarding VPN usage on their Windows 10 or 11 devices:
- Windows 10 VPN L2TP not working – the L2TP connection attempt failed because the security layer encountered a processing error
- Windows 11 VPN not working
- Windows 10 PPTP VPN not working
- A connection to the remote computer could not be established you might need to change the network
- Windows 10 21h2 vpn not working
- No internet when connected to VPN
- Windows 10 built-in VPN not connecting
- VPN connection not showing in network connections Windows 10
- Can’t connect to VPN after Windows update
You should get more in-depth instructions checking the solutions presented down below.
1. Change your system date and time
One of the quick fixes to fix the VPN blocked on Windows 10 problem is to change your system date and time. Sometimes, incorrect date and time settings on your Windows 10 PC can block your VPN.
Hence, you need to check the date and time settings to ensure they are correct. You can disable the automatic update of date and time using the Internet, and set the date/time parameters manually.
Also, you should change the region/location to be the same as the selected server location on your VPN settings.
Alternatively, you can change your Internet connection and try to use the VPN afterward. If you are using a dial-up modem Internet connection, then you may need to consider changing your Internet connection mode to LAN, broadband, Wi-Fi connection, or any other Internet connection modes available to you.
However, if you still get the error after trying out this fix, you may proceed to the next solution.
2. Switch to another VPN
A practical method to fix the VPN connection on Windows 10 would be to replace your current VPN with a more effective one.
There are several VPN providers available that do an excellent job. We evaluated a bunch of the top-rated options and believe Express VPN is one of the top choices for the task.
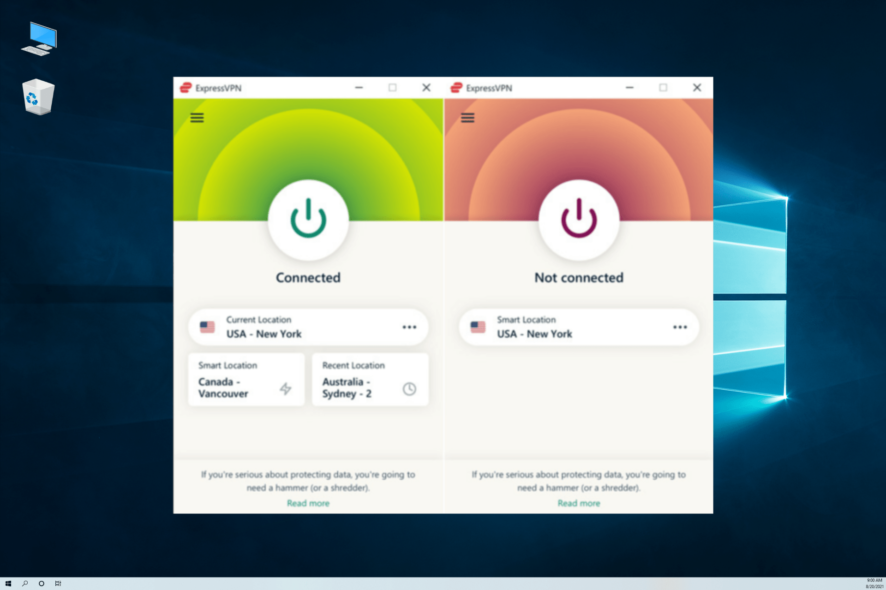
Express VPN, comes with a beneficial tool capable to guard your digital presence, with stable servers in +94 regions and hiding IP addresses on multiple devices.
To have a better idea, you can use advanced features to increase your privacy as we speak. For example, there is a VPN split-tunneling to route traffic, a network kill switch, an encrypted DNS for every server, and more so.
It’s also worth knowing about the TrustedServer technology capable to keep any information from being stored on a hard drive.

ExpressVPN
Unblock your protection and get a more stable server connection with this VPN on your Windows 10 device.3. Manually configure VPN connection
- Right-click Start > Settings> Click Network and Internet > Click VPN
- Now, Click Add a VPN connection and then click the dropdown menu
- Check Windows (built-in), and then click the Connection name field
- Type a name for the VPN connection
- (You can use the name of your VPN provider and the server location.)
- Click the Server name or address field and enter the server’s address. (You will be provided with your server name and address by your VPN provider.)
- Click the dropdown menu below VPN type and select a connection protocol.
- Now, click the dropdown menu below “Type of sign-in info”, tick a sign-in method, and then click on Save
- To connect, click on the VPN you just set up., and click Connect
Another workaround for VPN blocked on Windows 10 problem is to manually configure VPN connection using Windows built-in feature.
Please note that you need a working Internet connection and VPN account before you proceed. Here’s how to do this:
Alternatively, you will be provided with the executable VPN client software by the VPN provider as well.
You can double-click on the executable file and follow the prompts to complete the installation of the VPN client software. After, installing the software, you should be able to use your VPN.
However, if your VPN is still blocked on Windows 10, you may proceed to the next step.
4. Exclude VPN in your antivirus settings
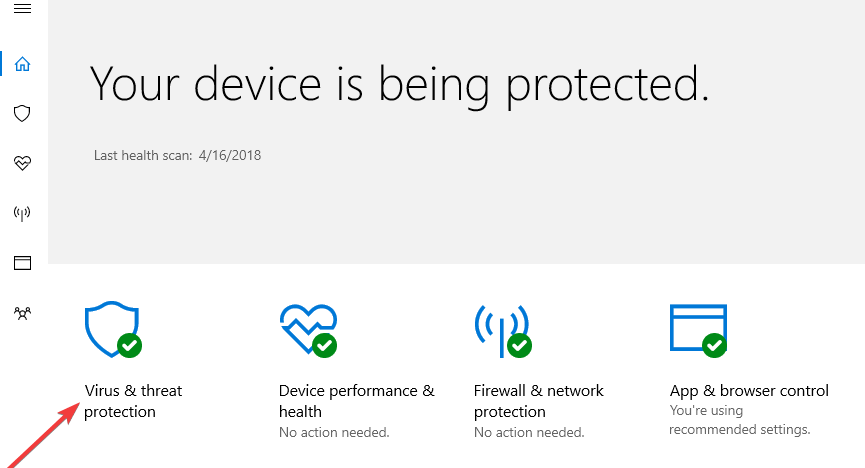
Sometimes, antivirus programs can block VPNs on Windows 10. Hence, the best workaround is to exclude your VPN from your antivirus protection settings. Here’s how to do this in Windows Defender:
 NOTE
NOTE
If your Windows Firewall is blocking the VPN, check out this simple guide to solve the issue in no time.
5. Enable VPN software in Windows Firewall
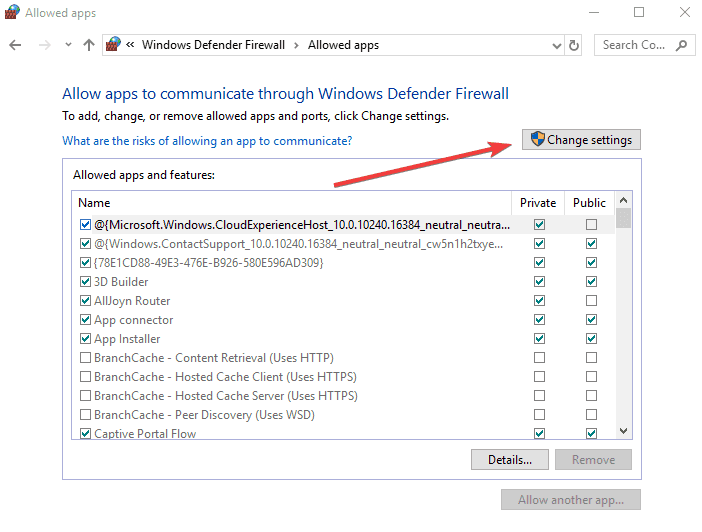
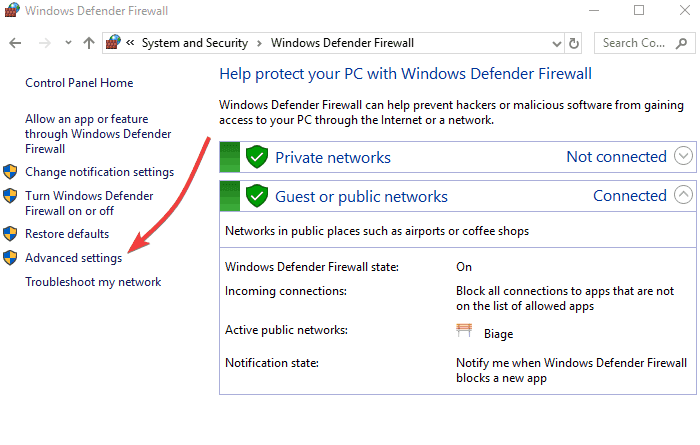
- Go to Start > Type Allow a program through Windows firewall and then hit the Enter key
- Click on Change Settings options
- Now, click on Allow another program
- Select the VPN software you want to add or click Browse to find the VPN software, and then click OK
- Check if you can connect to your VPN.
If your VPN was blocked by the Windows firewall, resolve this issue efficiently by adding the privacy tool to the Firewall allowed apps.
Another reason why VPN is blocked on Windows 10 is due to Windows Firewall settings. Hence, you also need to enable your VPN in Windows Firewall. Here’s how to do this:
6. Flush DNS/Clear Cache
Step 1: Flush the DNS
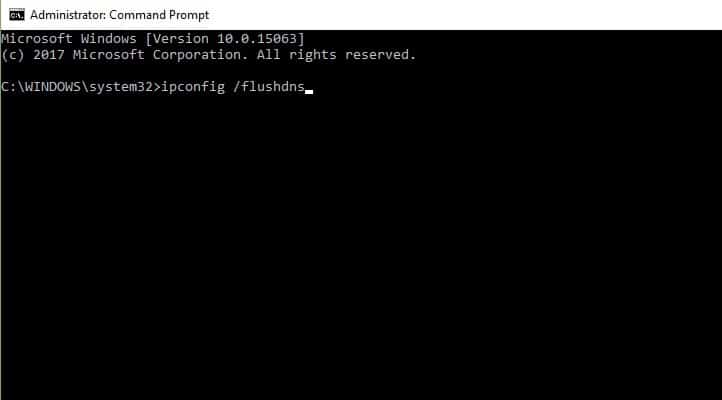
- Go to Start > Type command prompt
- Right-click Start and select Command Prompt (Admin)
- Type ipconfig /flushdns and press Enter. You should get a confirmation that says: Windows IP Configuration Successfully flushed the DNS Resolver Cache
Step 2: Clear Web Browser Cache
- Launch your web browser e.g. Mozilla Firefox
- Press Ctrl + Shift + Delete to access the Clear recent history dialog box
- Under the Time range to clear drop-down menu, select Everything
- Make sure to check the Cache box
- Click on Clear Now
Sometimes DNS entries from your Internet Service Provider (ISP) may be wrong. Hence, you need to flush your DNS and clear your web browser’s cache afterward. Here’s how to do this:
Note: Ctrl + Shift + Delete can also be used to clear the cache on other web browsers such as Mozilla Firefox, Internet Explorer, Opera, Microsoft Edge, Google Chrome, etc.
7. Reinstall your VPN client
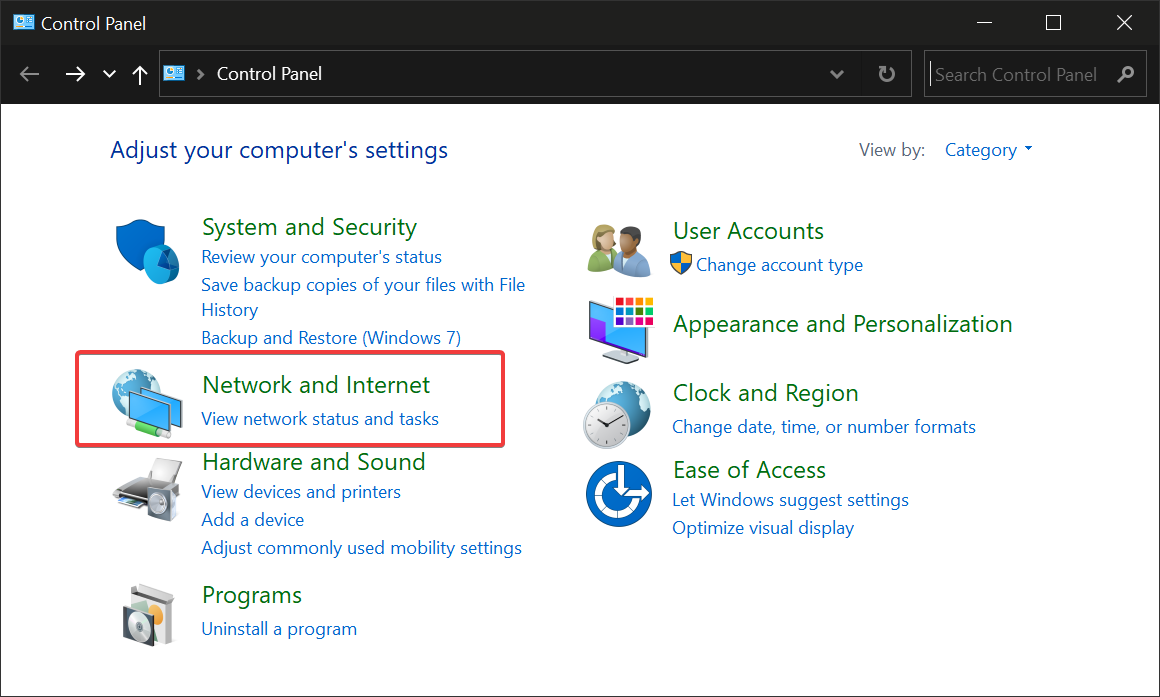
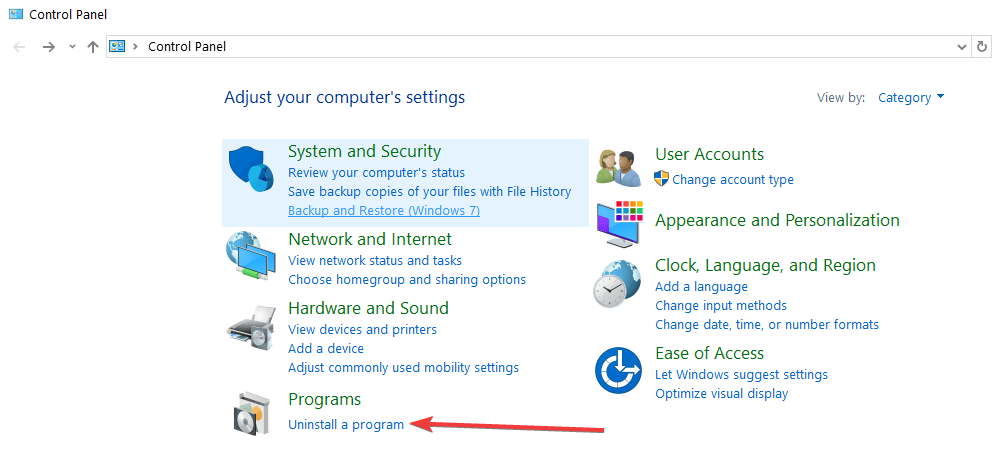
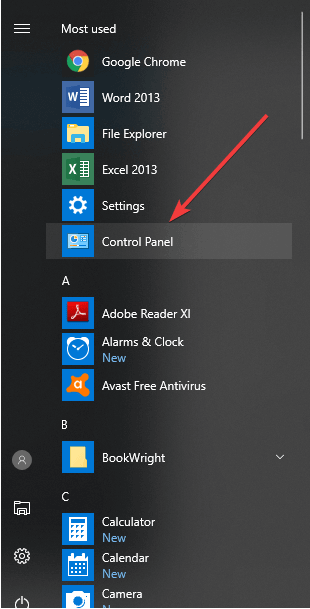
- Go to Start > type control panel > hit Enter to launch Control Panel
- Select Uninstall a program under the program’s menu
- Find your VPN from the list of programs and select Uninstall
- In the Setup Wizard, click you’ll get a notification after a successful uninstall, so click Close to exit the wizard.
- If the VPN is still listed as available after uninstalling it, go to Start > Run
- Type ncpa.cpl and press Enter to open the Network Connections window
- Under Network Connections, right-click on the WAN Miniport labeled as your VPN
- Select Delete
- Go to Start > Type Network Connections, and press Enter. Right-click a VPN connection and use the Delete option
- Select VPN. If you see your VPN as available, delete it.
In addition, reinstalling your VPN client can also fix VPN blocked on Windows 10 issue. Here’s how to do this:
After complete uninstall, you can then install the VPN client on your Windows 10 PC afterward.
8. Enable rule for PPTP
Some VPNs require PPTP; hence, you need to enable the rule for PPTP.
For Inbound Rules: right-click “Routing and Remote Access (PPTP-In)”, and select “Enable Rule”. For Outbound Rules: right-click “Routing and Remote Access (PPTP-Out)”, select “Enable Rule”.
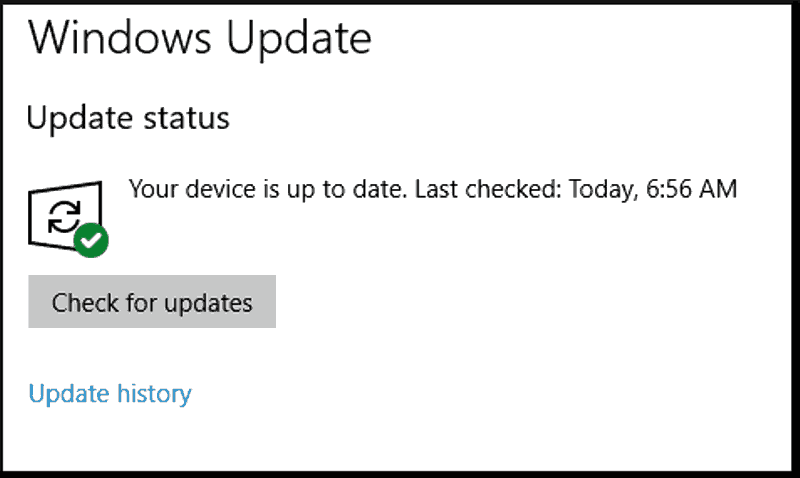
9. Install the latest Windows updates
The latest Windows updates improve the system’s stability and fix various issues including VPN blocked on Windows 10 issue. Hence, you can follow these steps to update any Windows OS:
That being said, with one of the presented guides you should be able to get through the blocked VPN problem.
In addition, we provide a resourceful guide in case you need to solve Windows 11 VPN not working on your PC.
Have you fixed the VPN blocked on Windows 10 issue using the solutions above? Let us know by leaving a comment in the section below.







User forum
1 messages