Transfer Photos From iPhone to PC Without iTunes: 5 Simple Ways
No iTunes? No problem. There are multiple ways to transfer iPhone photos to a PC.
4 min. read
Updated on
Read our disclosure page to find out how can you help Windows Report sustain the editorial team. Read more
Want to transfer photos from your iPhone to your Windows PC without iTunes? You’re in the right place.
No matter why you decided to opt out of Apple’s Media Player, we’ll show you a few ways to do it.
Copying photos from your iPhone not only saves your phone storage, but it’s also a good backup method.
Let’s get started.
How can I transfer iPhone photos to a PC without iTunes?
Here are a few easy methods to quickly move your iPhone photos to Windows without iTunes:
1. Use iCloud
- On your iPhone, go to Settings.
- Locate iCloud and then Photos.
- Enable transferring photos to iCloud. You can transfer all photos or select which ones you want to transfer.
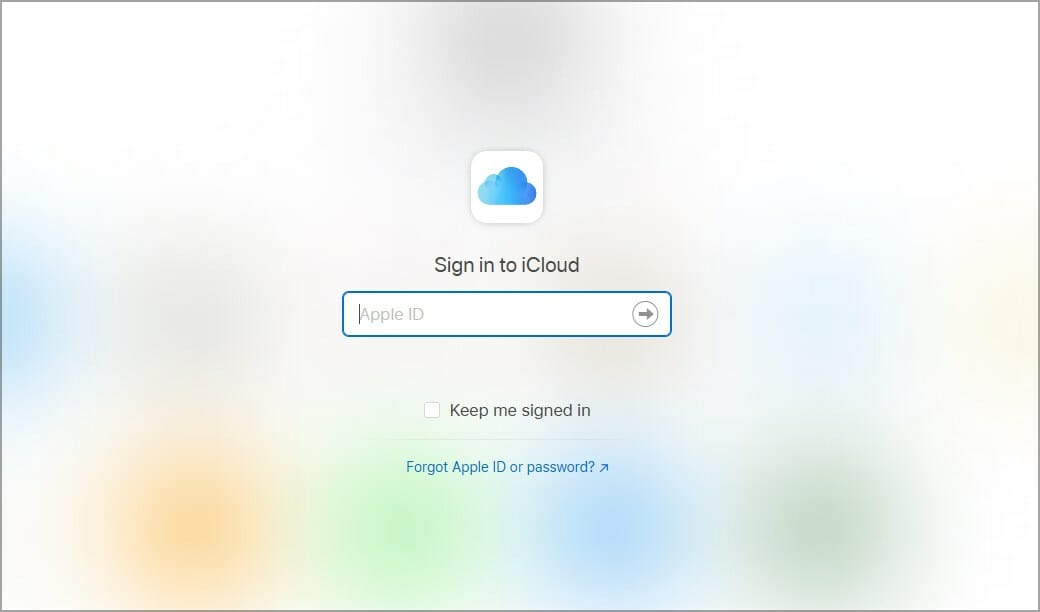
- On your PC, navigate to the iCloud website.
- Now sign in with your Apple ID.
- Once you sign in, you should be able to see all your photos and download them to your PC.
Alternatively, you can install iCloud software on your PC to have quick access to your photos at all times.
2. Use Windows Photos
- Connect your iPhone to the PC using the USB cable.
- Enter your passcode on the phone if asked and tap on Trust.
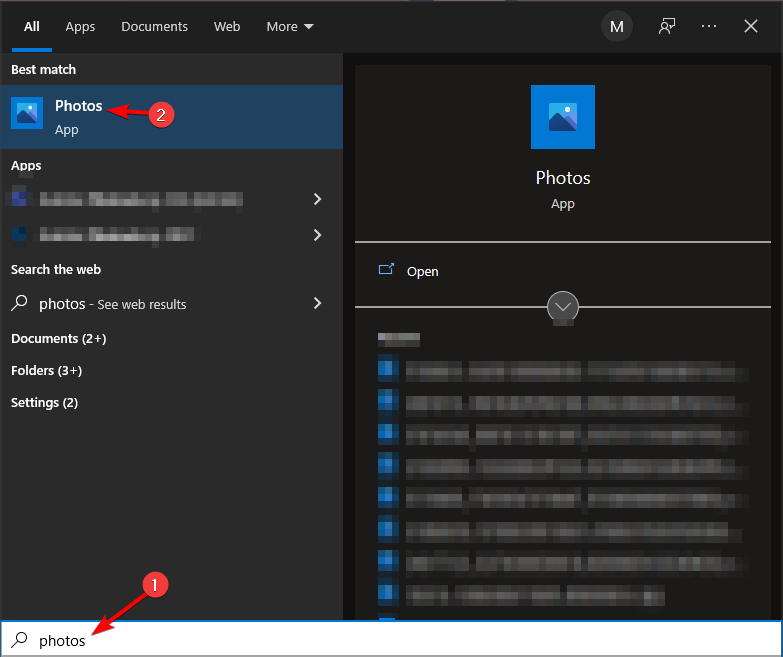
- Press Windows key + S and enter photos. Select Photos from the list of results.
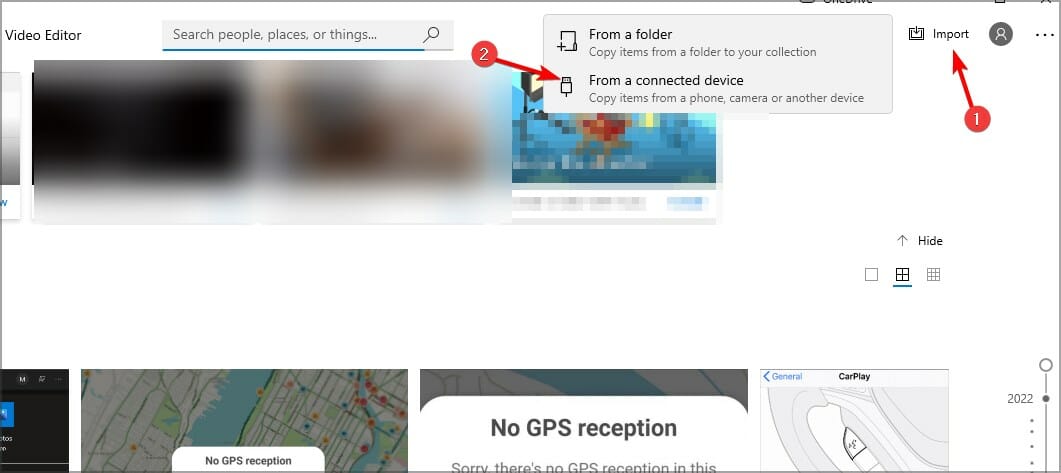
- Select Import and choose From a connected device.
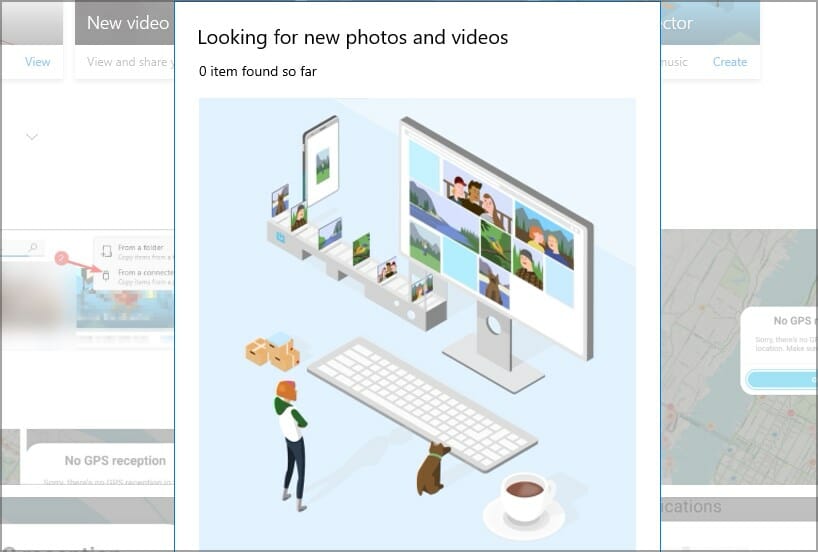
- The application will now scan your phone for any available images.
- Select the files that you want to import and click on Import selected.
- Wait for the process to finish.
3. Use File Explorer
- Connect your iPhone to your PC with a USB cable.
- If asked, enter the passcode on your phone and choose the Trust option.
- Open File Explorer. You can do that with Windows key + E shortcut.
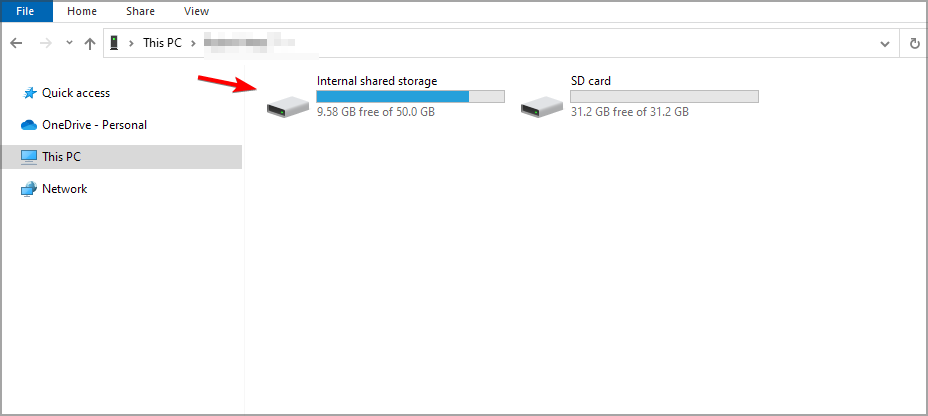
- Select your phone from the list of devices.
- Now go to Internal storage.
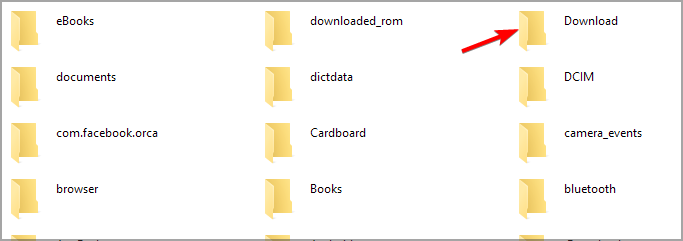
- Navigate to the Download folder.
- Now go to the 100APPLE directory and copy the desired photos.
4. Use cloud services or email
You can also add your photos to a cloud service and access them on your PC. If you’re not a big fan of iTunes and don’t want to use iCloud either, there are these are good and cheap (or free) options.
The process is as simple as it sounds: sign up for a cloud service account, add your iPhone photos to it, and then download them onto your PC. Here are some services you can rely on:
- Google Photos: 15 GB free storage, up to 30 TB storage on paid plans
- Dropbox: 2 GB free storage, up to 3 TB storage on paid plans
Or, if you don’t have a whole lot of photos, you can also email them to yourself from your iPhone and access them on PC.
5. Use third-party iPhone transfer tools
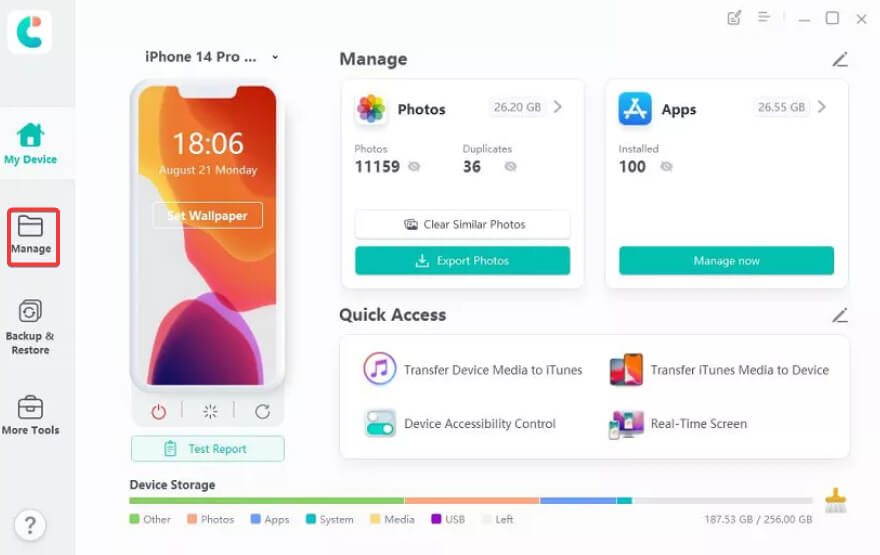
- Download a dedicated iPhone transfer tool on your PC. We highly recommend Tenorshare iCareFone for its reliability and ease of use.
- Connect your iPhone to your PC via a USB cable.
- Once the app recognizes your phone, select the Manage submenu.
- Select Import from the bottom menu.
- Pick the files you want to add to your PC and confirm.
Tenorshare iCareFone lets you effortlessly backup iPhone photos to PC. Export photos, contacts, and more seamlessly with a virtual USB drive. Simplify backup with 2-way file sync.
Can you back up the iPhone to PC without iTunes?
As you can see, you can easily back up your photos to PC without iTunes, but what if you want to make a full phone backup?
It’s possible to do that and to see how to do it, we suggest reading our iPhone backup software guide for more information.
These are some of the solutions that you can apply if you want to backup iPhone photos to a PC without using iTunes.
In case you’re having problems with the file transfer, we suggest visiting our Can’t transfer photos from iPhone to Windows guide for more information.
What method do you use to back up your iPhone photos? Let us know in the comments section below.




User forum
0 messages