Boot Menu Is Not Opening on Your Lenovo PC? Here’s What to Do
Key notes
- The boot menu is a handy feature that allows you to boot your computer from a USB drive or other external device.
- It is an essential part of the Windows operating system and if you’re ever in a situation where it won’t open, you need to address it immediately.
- A boot menu can be accessed using various ways so try that first before updating your BIOS from your manufacturer.

If you have a Lenovo PC, you may have encountered an issue where the boot menu is not opening. This can be very frustrating for users who are used to accessing the menu.
There are various ways of opening the boot menu, but if all of them fail, you need to get to the root of the issue. Here’s what to do when you can’t open your boot menu.
Why is the Lenovo Boot menu not opening?
The boot menu is a very important feature on your Lenovo PC. It allows you to choose which operating system you want to start and allows you to repair the existing OS.
If you’re having problems with the boot menu, you may not be able to access it and use its troubleshooting tools. This can be frustrating, especially if your computer keeps freezing or crashing unexpectedly.
Below are some reasons why this may happen:
- No valid operating system installed – If you’re using Windows, but your computer doesn’t have an activated copy of Windows installed, you won’t be able to access the Boot Menu.
- Hardware compatibility issue – If you’ve recently made significant hardware changes, such as a motherboard or GPU, compatibility issues may arise.
- Corrupt registry files – If you have recently installed any type of software or driver on your PC, then it could have corrupted some registry files. These corrupted registry files can cause an issue with how your PC boots up.
- Incompatible firmware – If you recently upgraded your computer’s firmware or it’s been a while since you last upgraded, it’s possible that the firmware does not work with your Lenovo machine.
- Corrupt BIOS – The BIOS is the software that controls how your computer boots up and runs. If you have a corrupt BIOS, it can cause problems with your computer not booting properly.
- Power supply problem – The boot menu uses a lot of resources from your CPU and RAM, so if either of these components does not work properly due to insufficient power, then it will cause problems with the boot menu.
What to do if boot menu is not opening?
Start with the following preliminary checks before moving to the slightly technical steps:
- Unplug all peripherals and leave only the mouse and keyboard.
- Check that all cables are securely connected between all components of your computer and power supply.
- If you are using a laptop, ensure your device is fully charged.
- Try restarting your PC in Safe Mode to see if the problem persists.
1. Update BIOS
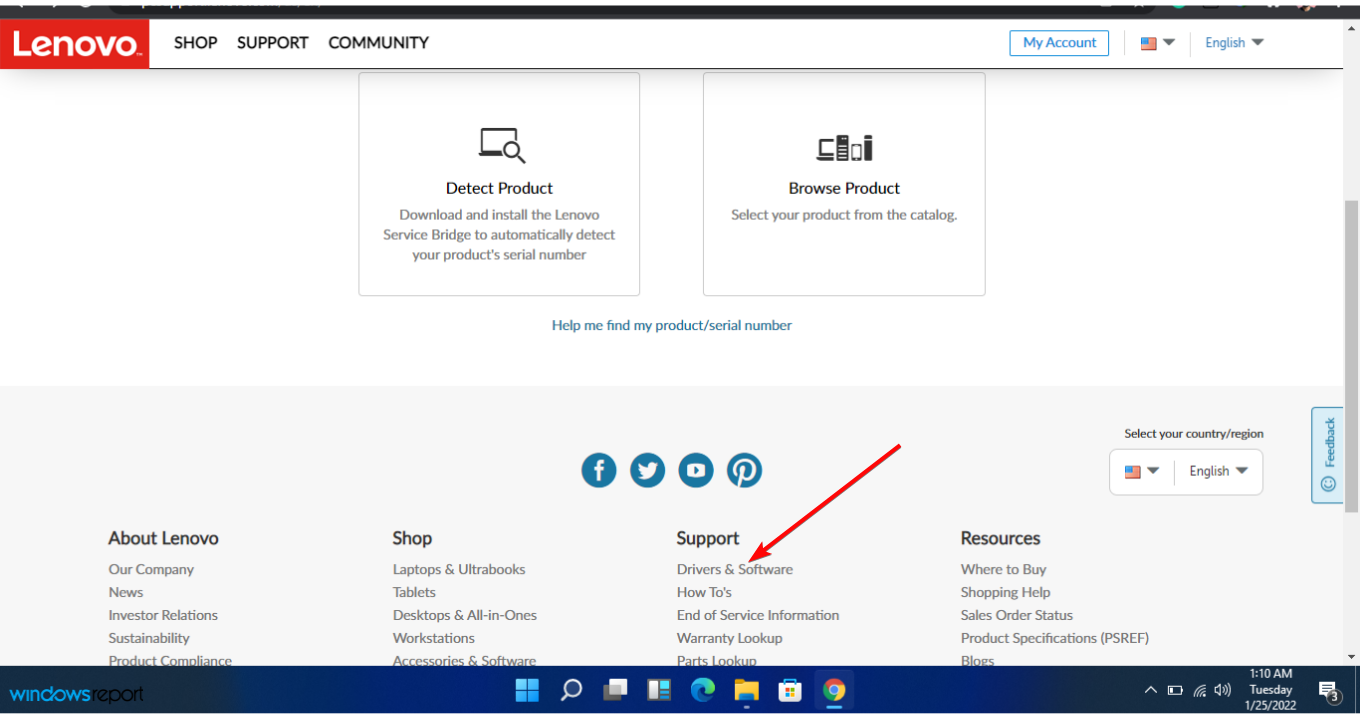
- Navigate to your browser and go to the Lenovo support site.
- Scroll down and click Drivers & Software under Support.
- Click on the Start menu, type cmd, and click Run as administrator.

- Type wmic baseboard, get product, manufacturer, version, serial number, and press Enter.
- Enter your serial number from 4 above.
- Select your operating system.
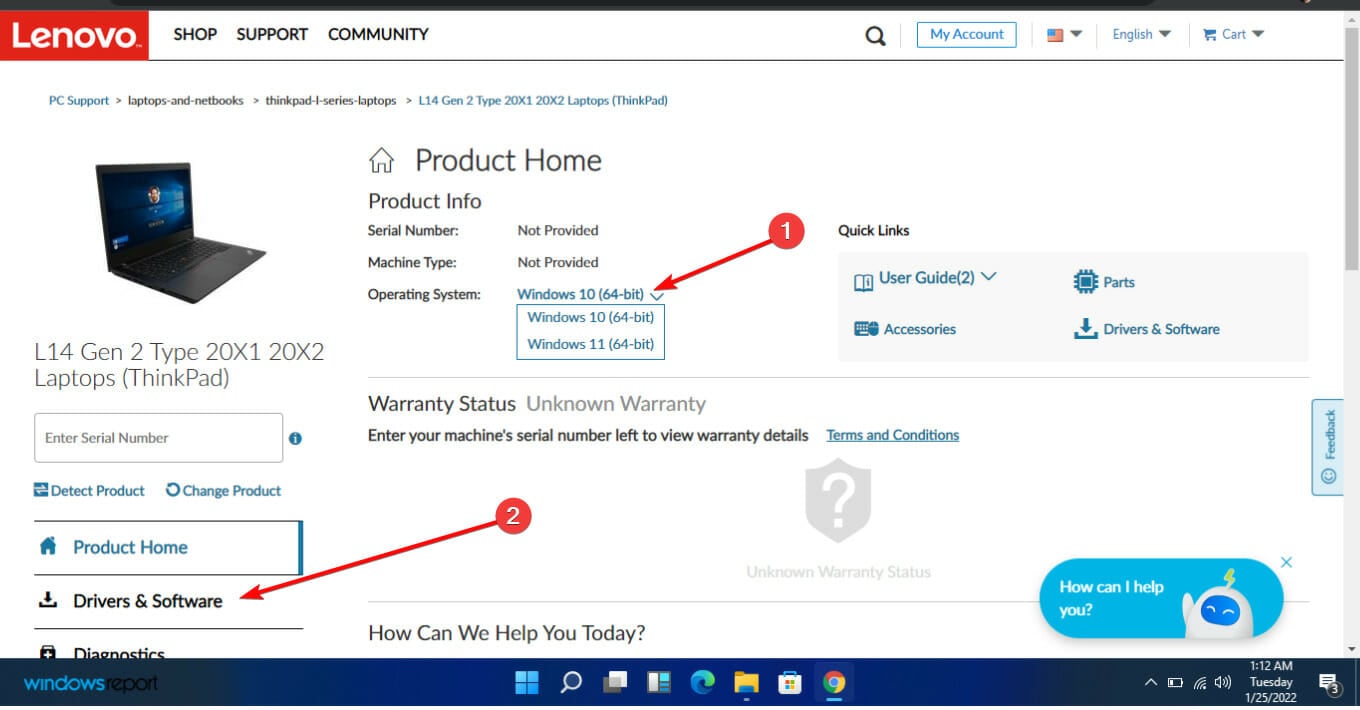
- Choose Drivers & Software and navigate to Manual Update.
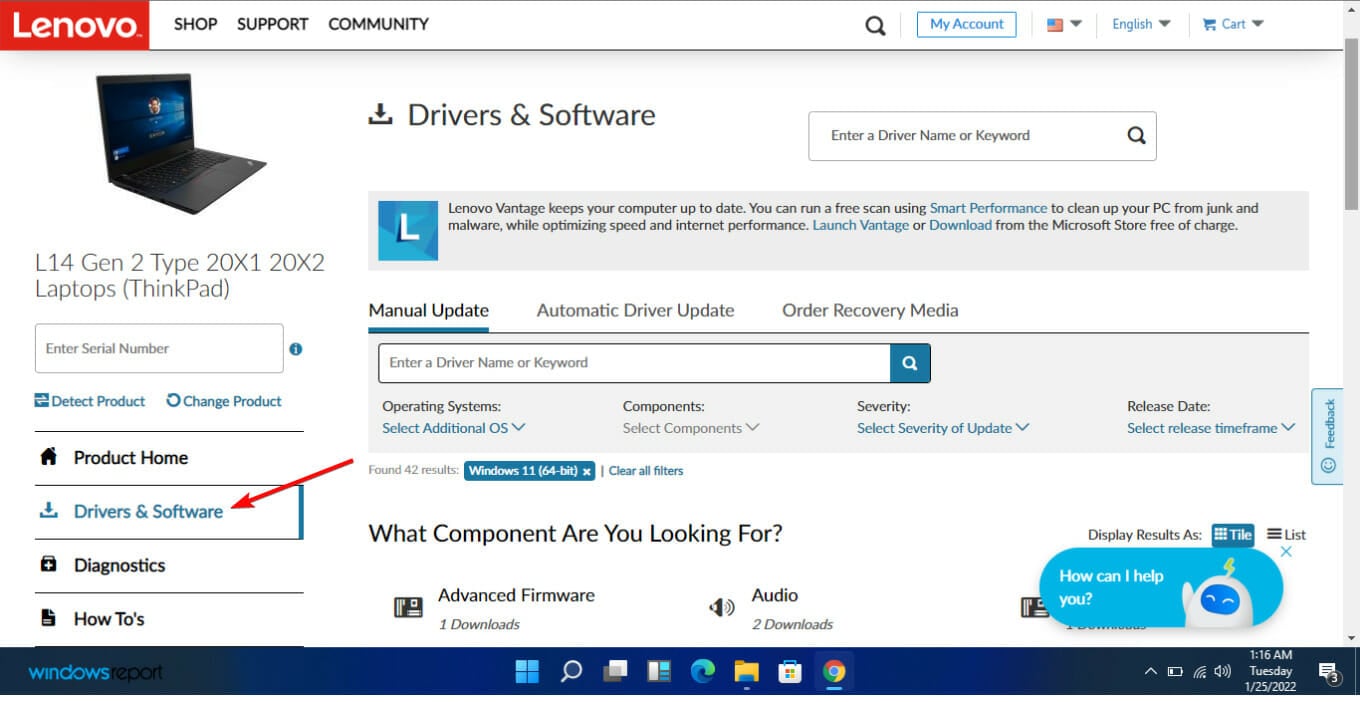
- Expand the BIOS/UEFI option.
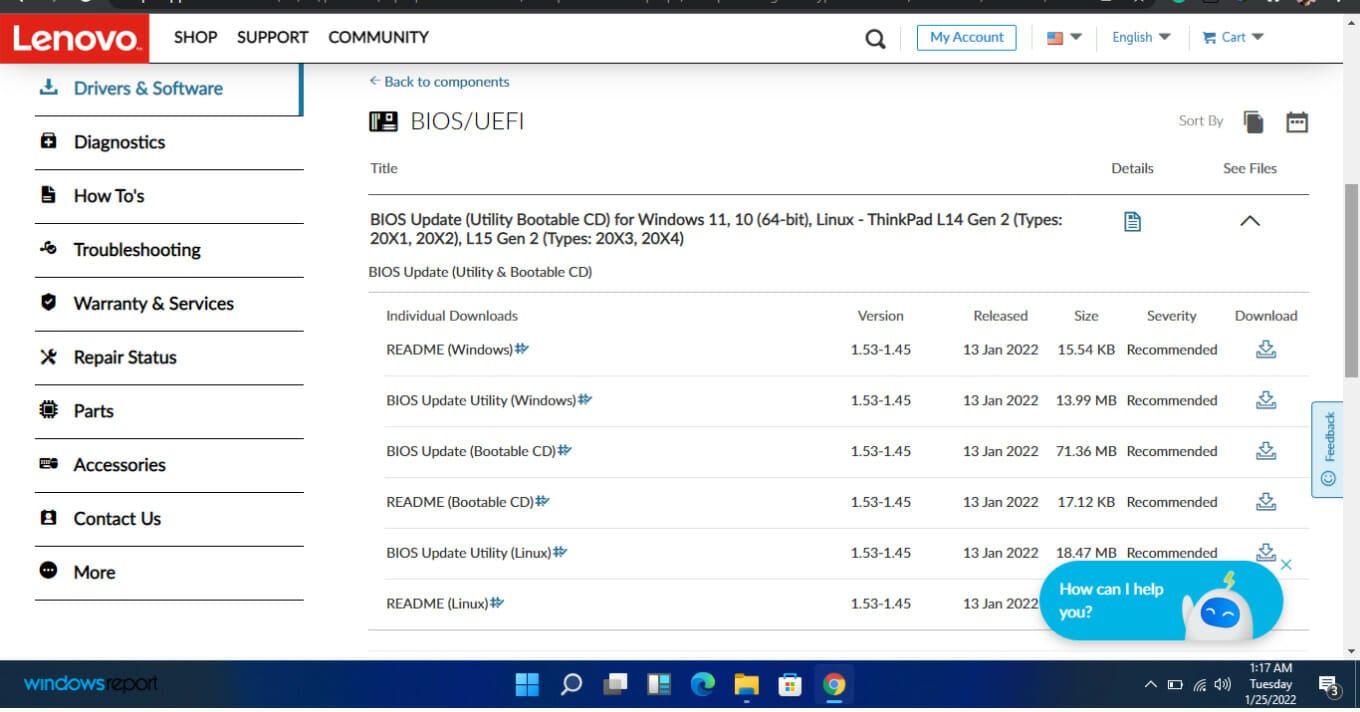
- Click on download once you find what you’re looking for.
- Once the file is done downloading, extract it and run it. Follow the onscreen instructions.
- Restart your computer after you’re done.
2. Reset BIOS
- Enter into your BIOS.
- Navigate to the Exit tab and click on Load Optimal Defaults.

- Click Yes in the next prompt and your BIOS will be reset.
Resetting your BIOS can fix some problems with your computer, such as a failed BIOS update or a corrupted BIOS.
3. Reset your PC
- Ensure you have created a backup of your files before this step.
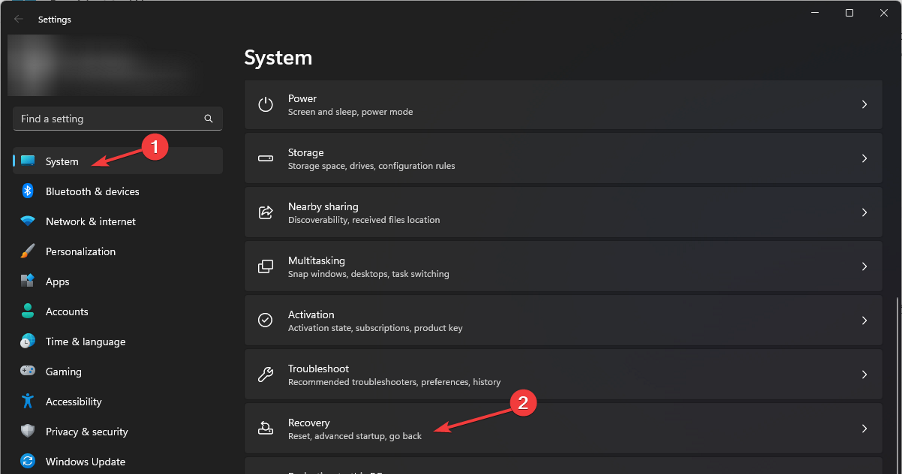
- Hit the Windows key and select Settings.

- In the left window pane, select System, then click on Recovery on the right pane.
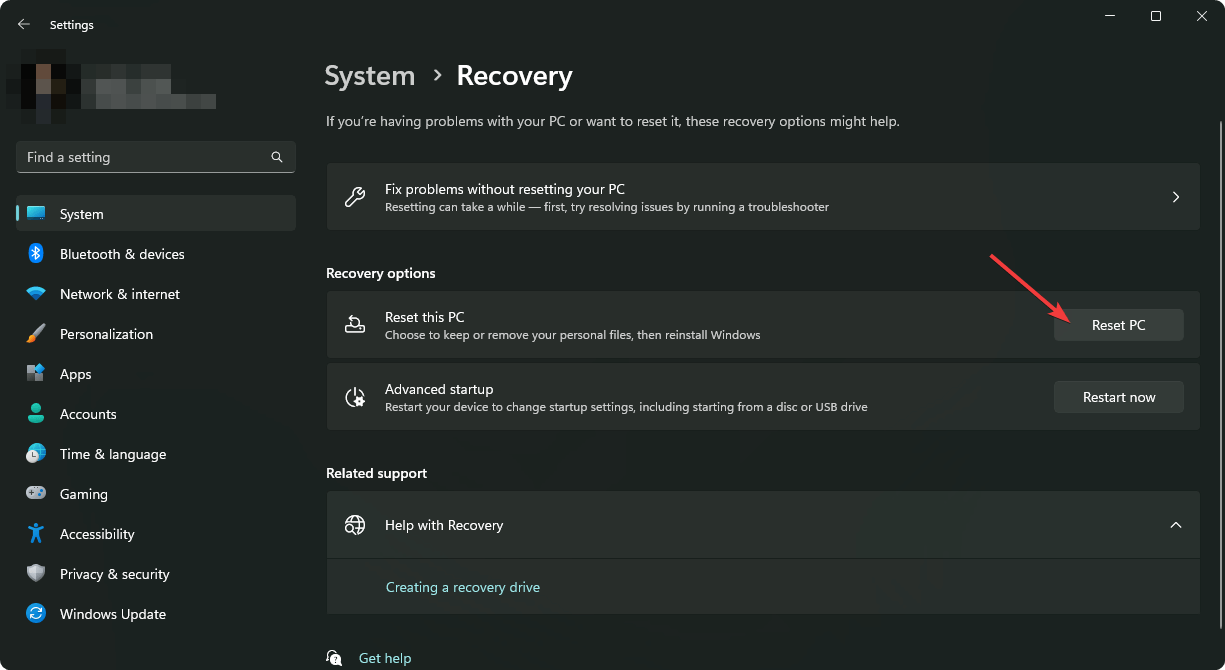
- Click on Reset PC from the right side.
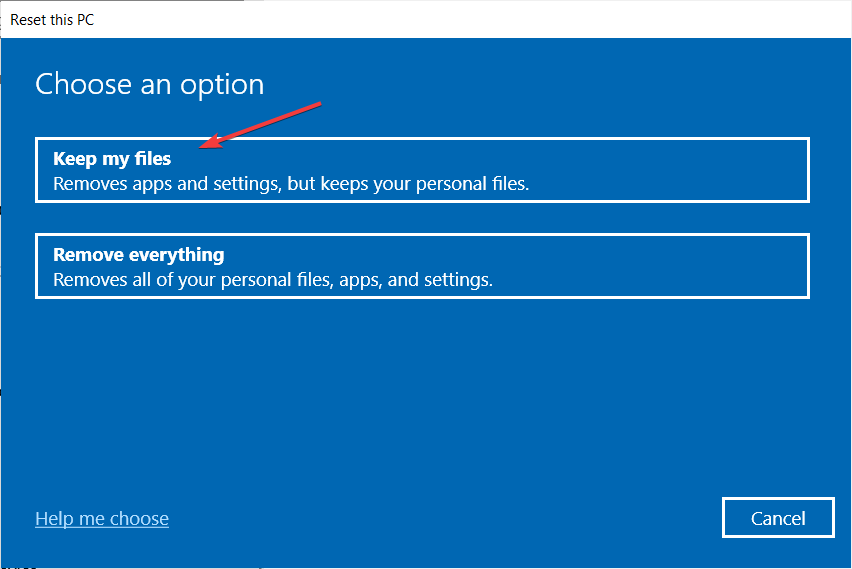
- Choose the type of factory reset you need. You can keep your files or completely delete all the files, apps, and settings on the PC.
- Select the option you want to reinstall Windows: Cloud download or Local reinstall.
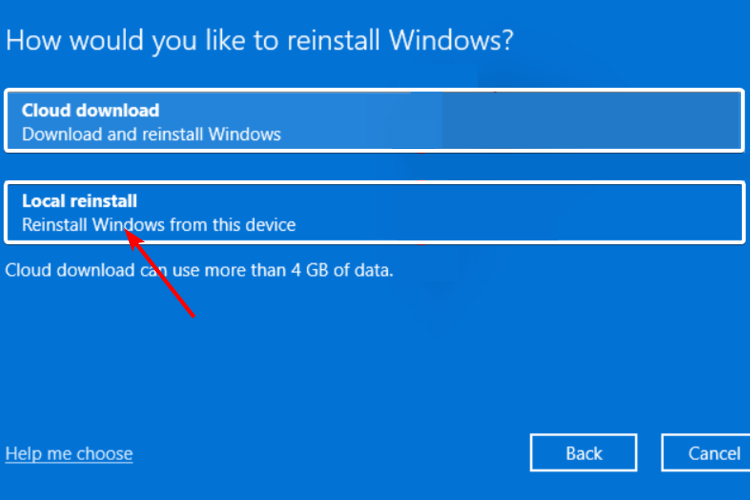
- Click on Next.
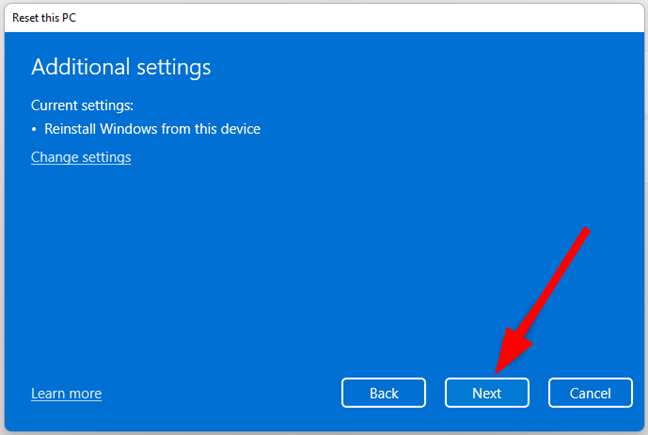
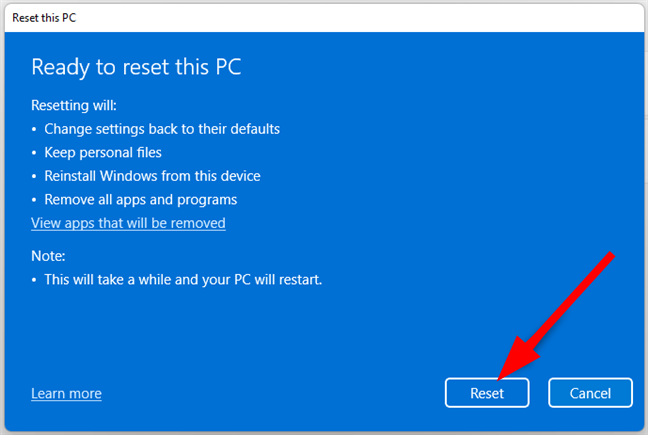
- Finally, press the Reset button.
If you have tried all the above methods and still failed to fix the problem, you may have to reinstall your copy of Windows.
That may sound too extreme for some users, so we recommend you take your device to a trusted technician. You can also contact Lenovo support for further guidance.
In other instances, you may find your PC immediately goes into BIOS whenever you startup. If this is an issue you have encountered, check out our recommended fixes.
That wraps up this article, but we’d love to get your feedback on this issue and any other thoughts related to this topic down below.
Read our disclosure page to find out how can you help Windows Report sustain the editorial team. Read more


Improve this guide

User forum
0 messages